Knothole Island Drowning
Fable II Walkthrough and Guide
Fable 2: Knothole Island Downloadable Content Guide
Knothole Island Drowning
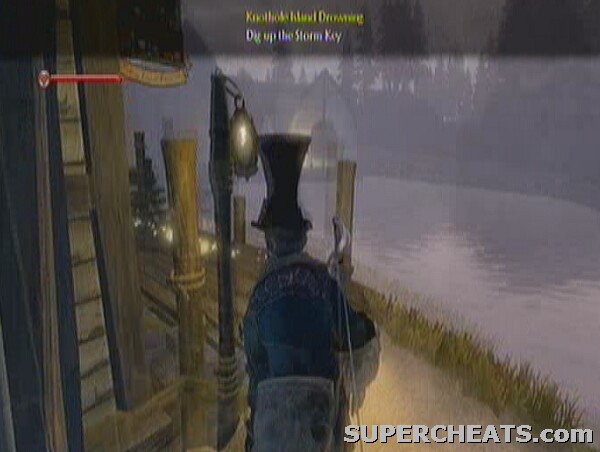
We now need to repeat the steps at the end of the last quest: fast travel out of Knothole Island, accept the next quest: Knothole Island Drowning, and then fast travel back again. Repeat the familiar route to the chief once back on the isle. Head up the path from the docks and turn left just before it turns into decking past the lake and head into the house to see the chief.
As you may have predicted, the wealth of water that we bestowed upon the island has now also refused to stop, though why they can't use the Sun Totem we nearly died getting for them is unclear. Still, we must travel to the Storm Shrine and retrieve the Ice Totem, which would obviously stop the water and return Knothole to the icy state it was in when we got there.
 Head in the direction of the Storm Key |
Locating the Storm Key
We obviously need to dig up the key before we can enter the shrine, so head along the wooden promenade and turn left up the hill when it breaks to sand. Dive into the canyon similarly to how we did on the last quest, but this time head to the right. Note that there is a dive spot in the right hand corner of this little inlet, so make use of it and then climb up onto the beach. Open the chest on the right, and walk up the incline. At the top you will find the ring of light, and your dog will find a dig spot.
 Locate the ring of light and your dog will let you know exactly where to dig. |
Stick your spade in there to dig up the Storm Key.
Locating the Storm Shrine
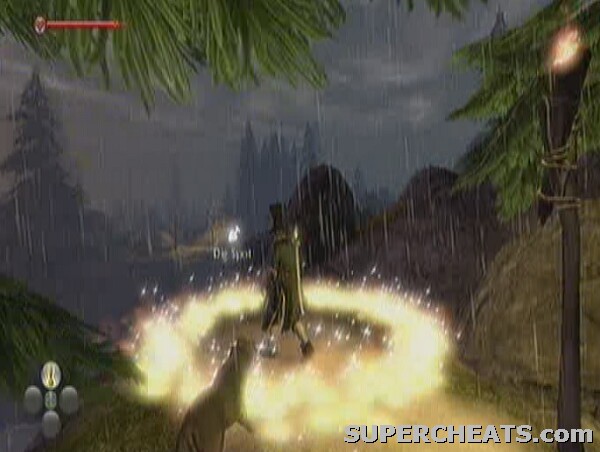
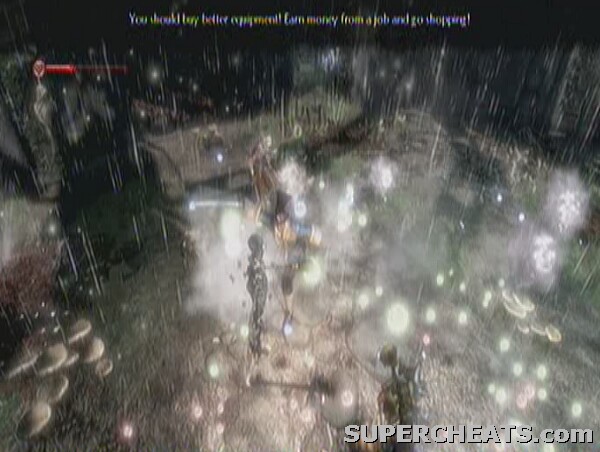
From the dig-spot location, dive into the lake and swim through the canyon gap, before climbing onto the beach and moving up the path on the right. A short way along you will be attacked by a group of troublesome Balverines (hopefully just a pair). Use Time Control or Raise Dead to give yourself a larger attack window or to give them multiple targets. Move along the path further once you have dealt with them and vault down when you get to the dead end.
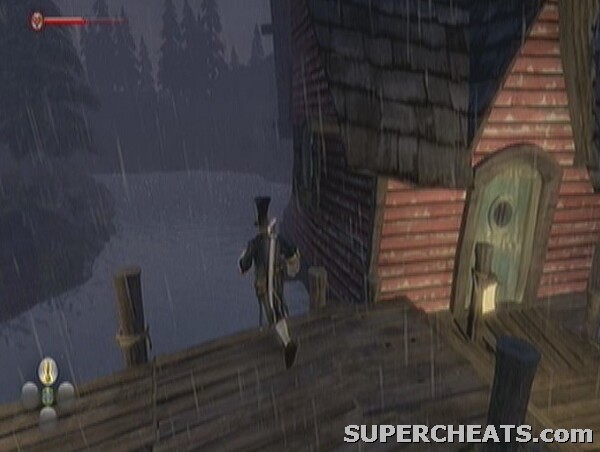
Head along the familiar wooden-walkway past the chief's house, but this time, rather than heading left and up the hill, join up with the other walkway. Jump off it as it crosses the water and swim away from the village across the lake.
 Jump into the lake in pursuit of the Storm Shrine |
Swim past the temple tower and defeat the Hobbe army at the top of the windy path which comes off it. Get in the water at the top, locating the dive spot to the left of the shrine entrance if you want it, before getting out at the other side and placing the key in the door.
Locating the Ice Totem
Upon entering the shrine, move into the room with the low layer of mist on the floor. To the right, between a few of the pillars of rock, you will find Knothole Island Vol. IV. Head straight on and up the steps into an odd outdoor section. This is quite a tough section with a lot of enemies. After you are prompted to look at the large building in the distance, you should notice a group of Shadow Creatures at the end of your walkway. Pick off most of them with a ranged weapon and they shouldn't be able to get to you before they are all dead. Once in the open area, strike the blue flit-switch to see it fly off to the right.
Locating Volume 4 in the Storm Shrine
Follow it down the steps and turn left. More shadow creatures are waiting for you, of which at least one is a Balverine. Head inside the oval building and strike the flit-switch again. It will move to the next one, just across the way. Again, there will be a Balverine guarding it – try to shoot it repeatedly from distance before it spots you if you can. He will also have some Shadow Creatures with him, so take them out and hit the flit switch, which is in the same place as the last room. Open the chest before you depart in pursuit to find the Knothole Knight Armour.
 Defeat the shadow monsters |
Turn immediately left as you come out of the front of the building and follow the walkway, up the steps and along the concrete wall. Hit the switch yet again and it will move into the distance and turn yellow. Use accurate targeting to aim at it and make the shot. It will move into another of the circular buildings. Jump down and turn left up the steps into the initial area by the building we're trying to get into. Take the left hand corridor, back down the way we came into the area, but turn right in the opening about half way along. Destroy the pair of Shadow Creatures within, open the chest, and strike the blue flit-switch.
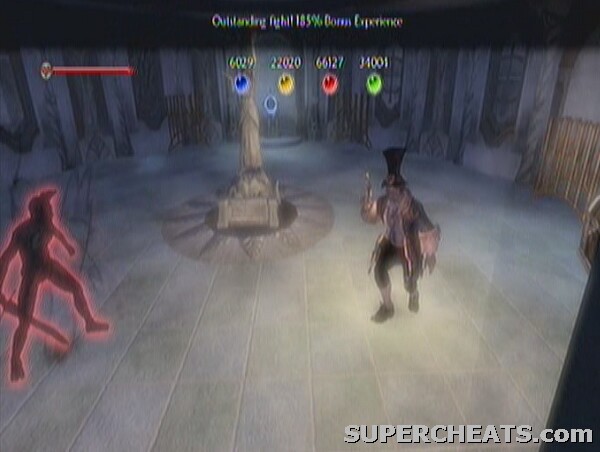
Head back to the main area, though be aware that there will be a group of Shadow Creatures populating it once again. At least three Balverines will be amongst them. Use surrounding spells to damage as many of the myriad enemies at once as possible. With the group defeated, head up the steps at the end of the area, hit the flit-switch once again, and enter the door. Press A to vault down the hole into the depths of the shrine.
Turn around once inside and swim under the plant-covered door to find a dive spot. Head back the other way and swim under the waterfall this time. Climb the steps to enter a grassy room. There is a damaged wall panel to the right which contains a chest. From this secret room, head straight across to the door in front. It will slam shut and you will be forced to fight off some Hollow Men.
 Defeat the Hollow Men |
Head through the door and turn right, ignoring the sealed door and head up the stairs. You should find yourself in an overwhelming room full of platforms and cogs. Turn left immediately when inside to find a chest. Otherwise, move through the centre of the room and press A to climb the ladder at the other end. Hit the flit-switch on the first platform and jump across to the next one. Hit it again, and repeat this all the way across the platforms until you reach the last one and send the switch through the pipe in the ceiling. Jump back down to the lower floor to locate it. Hit it once you are there and shoot it as it turns yellow. It will then go out of the room, down the stairs and open the locked door mentioned earlier, back in the passage between the grassy main room and the machinery-filled one we are currently in. Follow the path up the stairs until you see a ladder. In the dark area just before it you will find a chest on the right. Head up the ladder after this.
Turn right 90 degrees and walk forward as you emerge in this room to find a secret, if bemusing room through the solid-looking wall. Back in the main room, head along the central platform and defeat the Hollow Men that meet you in the middle. Deal with them and continue straight across and up the steps. You will come to a challenging little room with a flit-switch puzzle that needs to be solved. Position yourself so you think you can use both ranged skill and magic attacks to reach the pipes in the centre of the room and then shoot the flit-switch in its first position. It will then reappear in the second pipe, but red, so project a magic attack at it (push the control stick in the direction and press but don't hold B). The next two pipes both require skill attacks, and the final one a magic attack. So the order is Skill, Magic, Skill, Skill, Magic. If you don't do one in time the orb will move back down the pipes in the same order, so you may have time to rescue it in the later stages. For the magic attacks, Raise Dead works best as a quick projectile based move.
The door will then open and a lever made available for you to use to open a new area.
Beat this tricky little room
With the level pulled, head back to the main room where we met the Hollow Men. Turn left at the central platform and head up the stairs into another flit-switch room. This one's nice and easy. Simply use whatever attack is indicated by the colour of each orb passing up the central pipe to destroy them. Once every orb has been destroyed, the door will open. Enter and pull the switch at the end of the corridor. Head back to the Hollow Men room to find a Banshee waiting for you. Take it out.
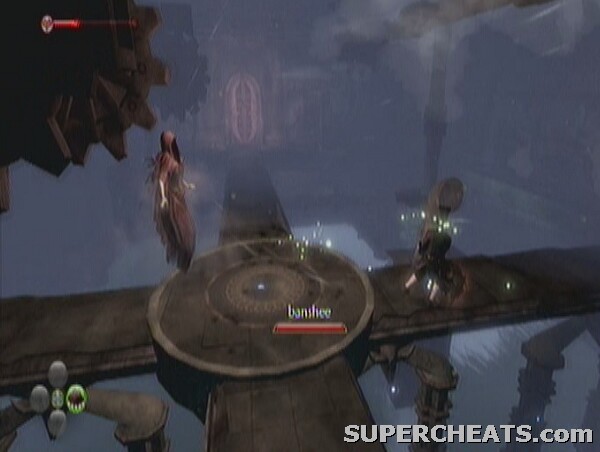 Get past the Banshee |
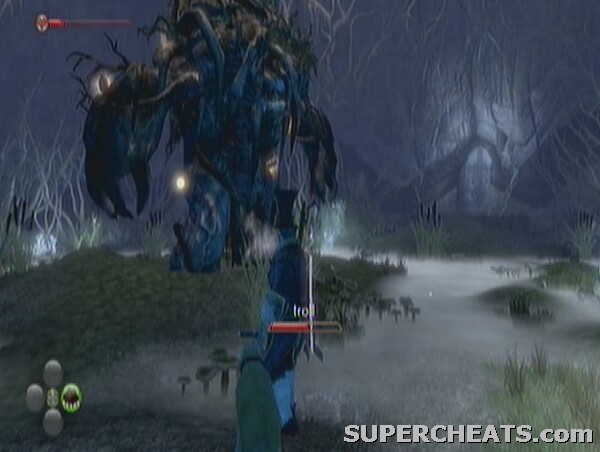
The final door will then open across the platform. Enter it and climb the steps to find a chest halfway up, containing the Knothole Knight Helmet, and a blocked door at the top. Use ranged magic or skill attacks to destroy the explosives in front of the door and clear a path through. Once beyond the door you will have to fight a Troll. You should have come across these before, but basically the trick is to dodge and roll around it, avoiding the rocks it enjoys throwing at you, and then either use skill attacks or Blades to hit the glowing warts on its body. Once they are all popped, it will be destroyed.
Go through the exit and corridor into the snowy cavern. Follow the path and you will end up at the Ice Totem. Press A to activate it.
 Walk up and activate the Totem |
Return to the Chief
Back in snowy Knothole, we must get back to the chief for the final time to deliver our good news (if he hasn't realized that the weather has changed already). You will have to fight a Banshee as soon as you exit the shrine, but with that done, proceed down the path. Do not jump down yet however, as there is Knothole Island Vol. X to get. From the exit of the shrine it is behind the large rock off the path to the right. This should be the last one and thus should also activate the Bibliophile achievement in the process.
With that, vault down to the frozen lake and return to the village past the temple tower. The villagers have gathered around the chief in the centre of the lake. He is trying to extort money from the villagers for 'maintaining' the newly recaptured weather system. The villagers are unwilling to pay this, but can't stand up to the chief without your help. To side with the chief and gain his pretty meagre 10,000 gold reward, walk up to him and hold A. To side with Jessica and the villagers, do the same of them. You get 100 good morality points for the latter choice, and 100 evil for the former. There is also 3000 renown in it for you.
With that done, you should unlock the Meteorologist achievement and can then access the Weather Chamber using the pedestal in the centre of the lake. To locate any Knothole Island Volumes that you do not already have, replicate the weather conditions of the appropriate quest to enter the shrine (the name of the shrine indicates the weather conditions you need to open it) or any otherwise inaccessible areas (many places in Knothole Island can only be reached in certain weather conditions) and locate them using the instructions and movies in this guide.
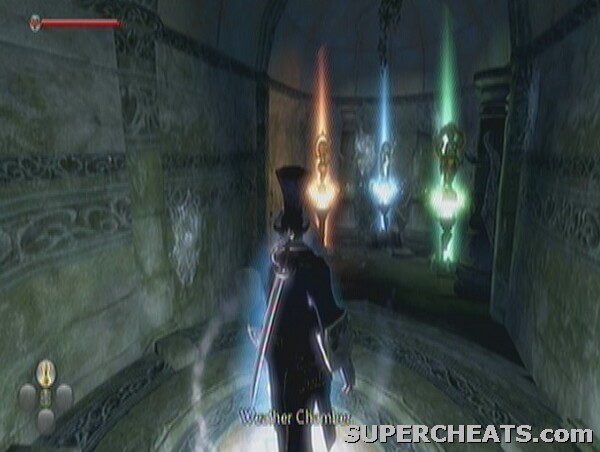 Your new Weather Chamber! |
You should now have all the volumes of the Knothole Island book and have completed the bulk of this downloadable content.
Fable 2 SuperCheats
Hey there need help with the last part knothole drowning I left town and everything but it has not shown up on my quests p lease help also I have the free version of the Knothole Knight quest but Iwas still able to go tto the island and finish part one and two just missing the last one and I really want that armor please help
this really helped thanks
Near the last Banchee, when you exit the shrine, there is a Chest incased in ice, DO I need to change the weather to get to the chest, or is it a tease?
what is the point in the dog dying????????????????????[/strike][/strike] [spoiler][/spoiler] [center][/center] [quote][/quote] [url][/url]
I would love to figure out how to open the chest near where the banshee shows up after the final ice totem quest. I'm finally able to get to it after being teleported out of the shrine, but it's completely incased in a huge block of ice. I think we should have been able to at least use the inferno spell. Please help.
Where is book 10 thats all I need
stupid game there is no way on my stupid machine that I can shoot fire and shoot again and again because every time I try the last one bam it acts like hello I forgot what to do what the hell