Scenario: Save the Priest 2
From the hotel, travel to Old Count's Rose Garden > Indoor Garden to use the door and start where you left off. The path to the left will be blocked so head north and don’t open the chests yet. Head to the northern area to spawn a single but powerful gargoyle fiend. Defeat it then loot the chest will produce in the middle of the six other chests. Backtrack past the door and follow the path.
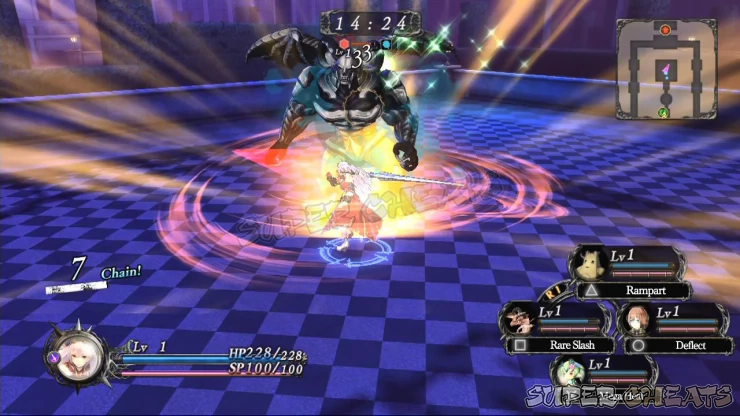
The path to the north is blocked again so you have to choice but to spawn the enemies in the alcove to the west and defeat all of them to remove the barrier. Once done, continue along the long corridor to the north and defeat more enemies along the way. The grassy fields in the NW corner of the map has some recovery items and good amount of Libra so clear it when you reach it.
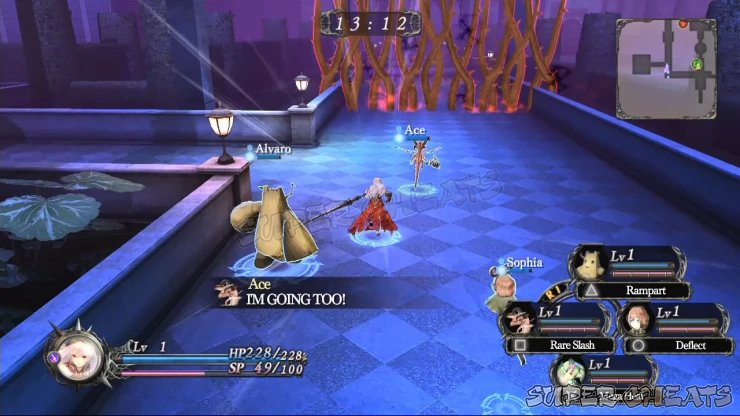
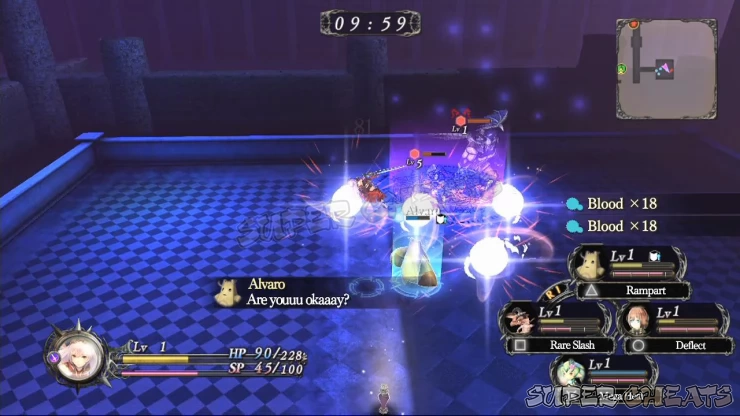
Continue to the middle-north area to spawn more enemies. Be careful of their area-of-effect attacks and use your Golem’s Rampart skill as necessary. Once clear, a chest will appear at the northern exit. You can leave it as is for the meantime if you don’t need to recover your HP and SP yet. From there, you can either head north to the boss area or take the optional but dangerous path to the southeast.
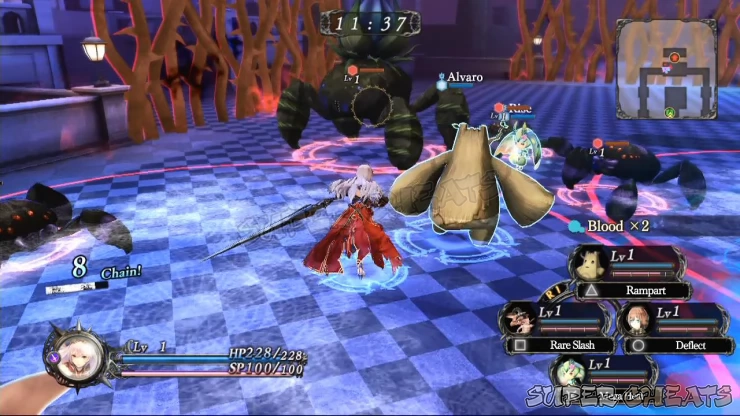
Should you decide to test the southern path, as soon as Arnice steps in the corridor leading there, she’ll pause and will state that she has a bad feeling about going there. This will prove through since you’ll be facing LV3-4 fiends here. If you manage the defeat them, continue along the hallway going south to spawn two enemies: a dinosword and a LV6 fiend that fires an energy beam through its eye and causes a massive explosion upon death.
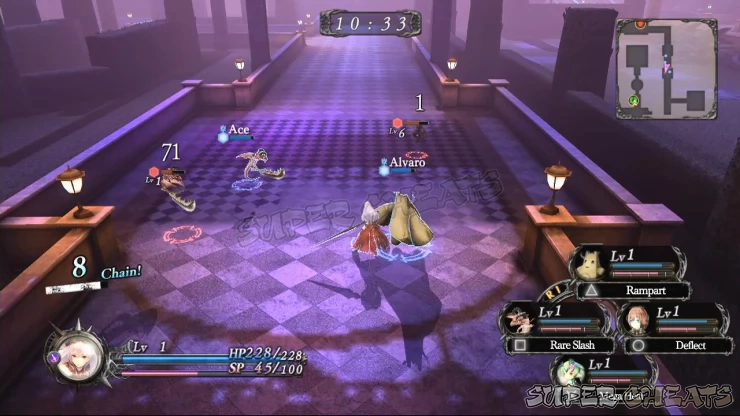

Finally, in the end of this corridor, in the small alcove, you’ll have to deal with a gargoyle, same as the one you fought early in the stage but it will be escorted by tons of those highly-volatile fiends that will also serve as his shield. Expect to get decimated here unless you use your Transformation (unlocked by fighting the next boss) or if you’re able to hold them off using quick dodges and servan bursts. Remember that you don’t need to clear this area in order to proceed to the boss area.

Anything missing from this guide?
ASK A QUESTION for Nights of Azure
Comments for Scenario: Save the Priest 2
Add a comment
Please log in above or sign up for free to post comments- Basics
- Transformations
- Skills
- Servans
- Chapter 1: Destined Reunion
- Chapter 2: Unknown Messenger
- Chapter 3: Farewell Plan
- Chapter 4: Saint's Sorrow
- Slay Quests
- Search Quests
- Investigation Quests
- Day Quests
- Arena
 Join us on Discord
