Scenario: Lost Altar (2)
Fight your way eastward and defeat the fiends along the way. After defeating all fiends in the stairs halfway to the church entrance, a chest will appear. Destroy it to reveal the items for the taking. Continue fighting your way until you reach the church interior.
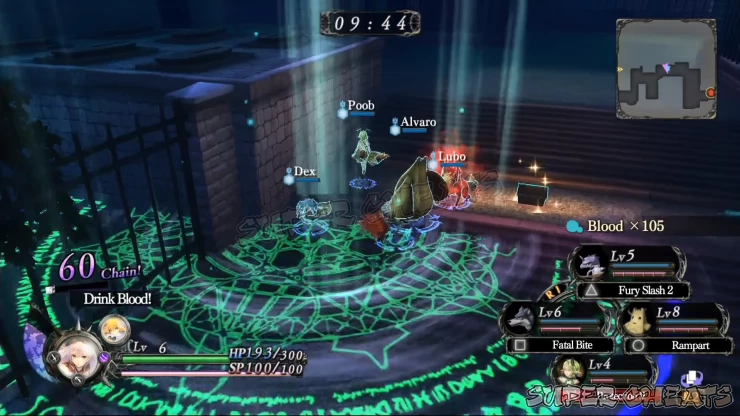
In the Church of the Defiant God –Narthex area, there’s a red-gold chest in the southeast corner, to your immediate right after entering. There’s also another chest and a memory fragment in the same area.
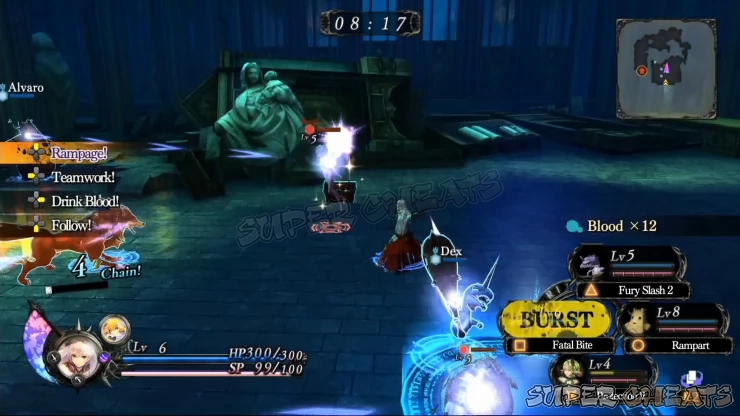
Defeat the fiends then follow the single path leading to the next area. The path will be blocked by a group of golems in the northern path so defeat them to clear the way. Exit through the SW to the Church of the Defiant God – Nave area.
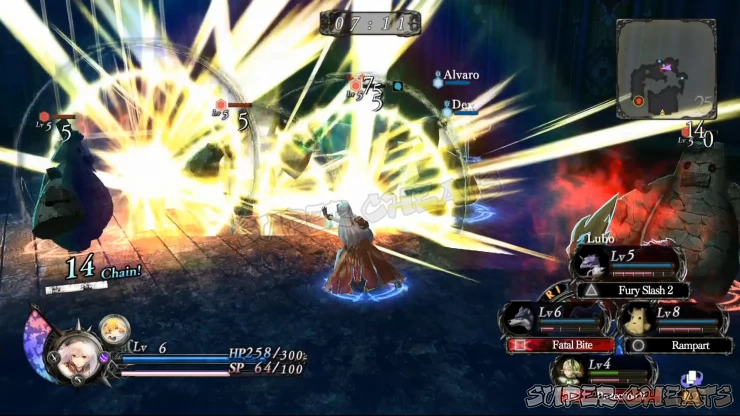
The Door is found in front of you as soon as you enter the Nave area. Continue to the north and follow the path as it turns to the right. You'll be trapped by fiends in the small library so defeat all enemies to proceed forth. Upon reaching the stairs, three bomb fiends will appear. Take them out then continue to the next library. More fiends will entrap you inside. Clear the room then continue forth.
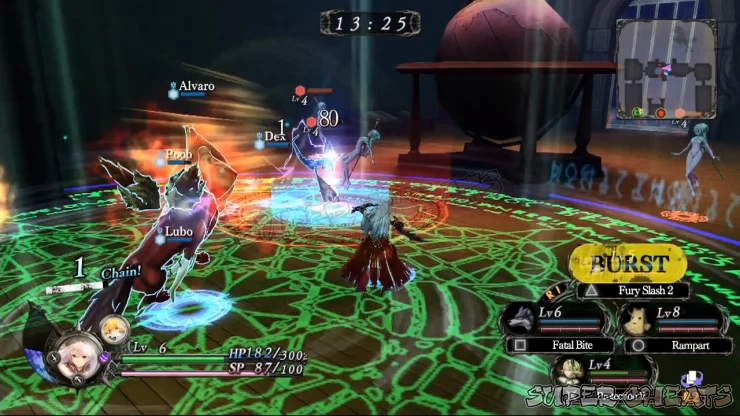
There's a red chest in the small room to the north of this area's exit point. Loot it to get some bonus blood then defeat the last wave of enemies that will appear near the exit so you can continue to the Altar area.
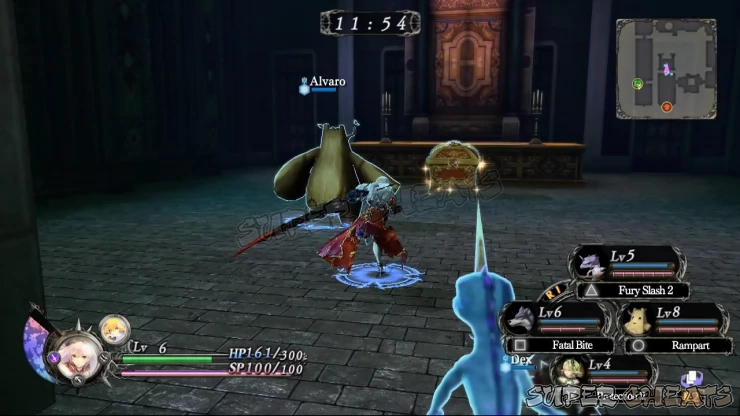
In the Altar area, there are line of candlesticks. Destroy them to get some loot then jump from the broken part of the ledge to reach the altar itself. The boss will attack you afterward.
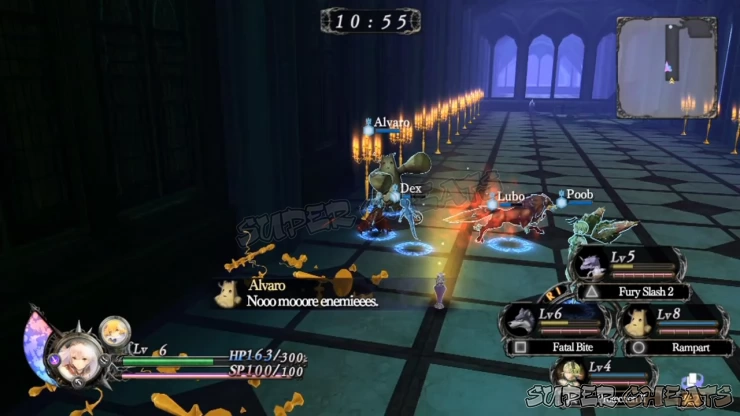
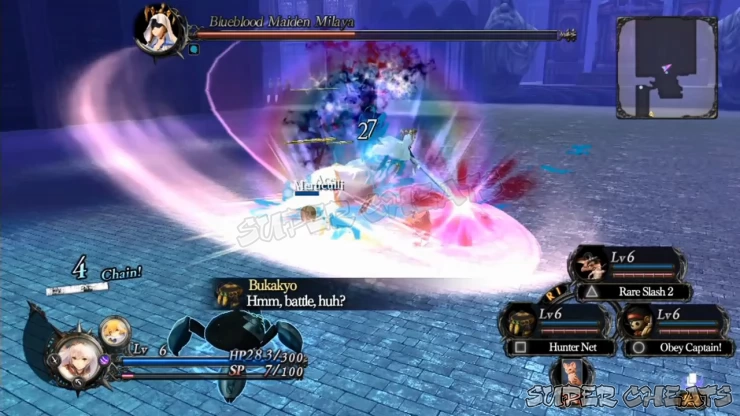
Boss Battle: Blueblood Maiden Milaya
Milaya is very fast and agile, making it quite hard to catch up to her and perform combos. Treat her as a slippery snake as she is. Like the other bosses, her attack pattern and threat increases as she steadily loses HP. For the start of the battle, she's capable of using small area attacks, quick dash attacks, and the two spinning blades on her shoulders can be thrown as projectiles as well. Once thrown, she can summon them back again in which she’ll be immobile briefly when restoring these blades. At 75% HP, she’ll summon more blades which she’ll release shortly as some kind of special attack. This will deal damage to anyone nearby.
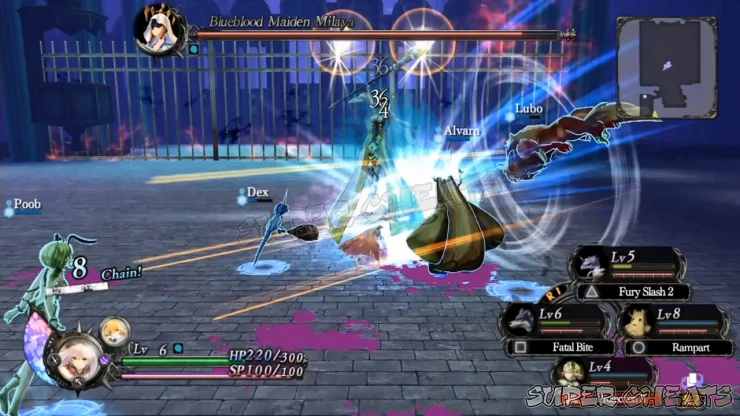
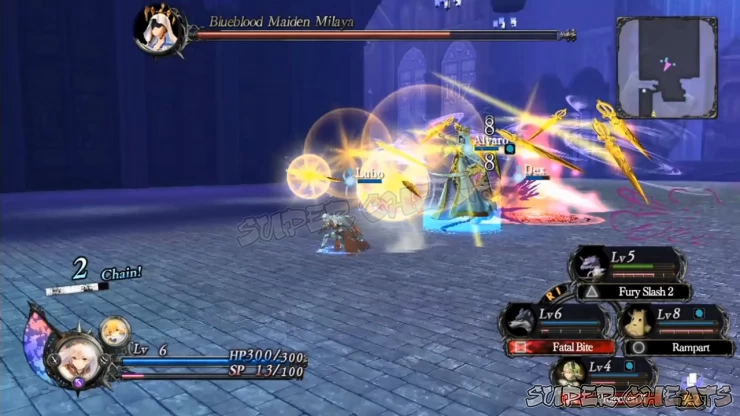
At around 60% HP, Milaya’s scythe will transform, allowing her to deal more damage and her attacks to be more aggressive. She has a three-slash combo which has good reach and decent damage. Agile and ranged servans will be your best bet against this boss, preferably enhanced servans. Time your Servan Burst attacks properly; the best time to use them is when Milaya lets down her guard to re-summon her spinning blades. When her HP is below 50%, you should be able to knock her down with powerful attacks, allowing your servans to get more hits.

Milaya’s area attack and her scythe’s wide attack range may give your melee servans a hard time. If you have good melee servans and at least a tank, switch to the Blaster weapon and take the support role. Otherwise, having one healer in the party should be enough to keep you and some of your melee fiends afloat for the entire battle.

After defeating the Church's boss, watch the following scenes and the scenario will be complete.

Anything missing from this guide?
ASK A QUESTION for Nights of Azure
Comments for Scenario: Lost Altar (2)
Add a comment
Please log in above or sign up for free to post comments- Basics
- Transformations
- Skills
- Servans
- Chapter 1: Destined Reunion
- Chapter 2: Unknown Messenger
- Chapter 3: Farewell Plan
- Chapter 4: Saint's Sorrow
- Slay Quests
- Search Quests
- Investigation Quests
- Day Quests
- Arena
 Join us on Discord
