Vendetta Campaign
The Darkness 2 Walkthrough and Guide
by vhayste
Vendetta Campaign
The Vendetta campaign takes place with the concurrent events in the main story campaign. You can select one of the four unique characters, each with their own set of skills and special weapons. All characters can use firearms though they can't dual-wield generic weapons. They all follow the same 8 missions available in this mode. This can be played offline or cooperatively online. (There's no split screen)
You can only keep one save per character so starting a new Vendetta campaign will overwrite your existing campaign. However, the earned essences and purchased talents of the characters are permanently saved so even if you start campaigns and switch between characters, their character progress won't be lost. If you're after the achievements, there are individual achievements awarded by finishing at least one mission for each character so you'll have the chance to try them all out and decide which one you'll use to complete the campaign.
Also, there are a total of four relics scattered in certain Vendetta missions. This guide will help you locate them as well. (These doesn't count to the 29 relics achievement)
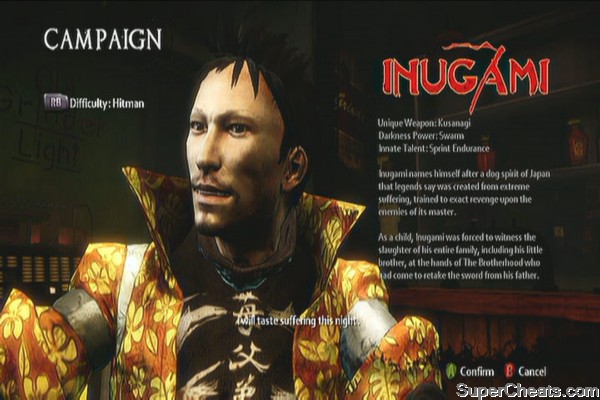
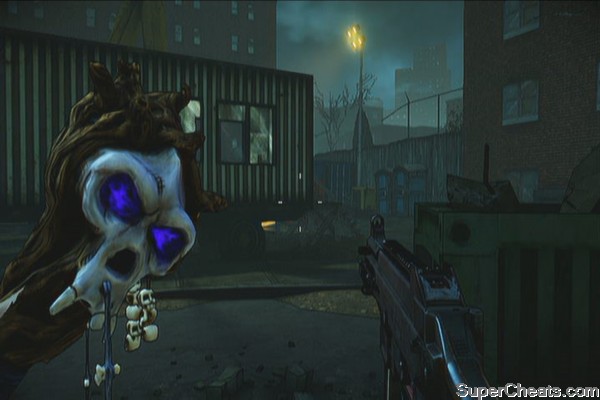
Inugami
Unique Weapon: Kusanagi
Darkness Power: Swarm
Innate Talent: Sprint Endurance
Inugami excels in melee combat. His weapon, Kusanagi can deliver fatal blows to enemies with just one or two slashes. His power, Swarm allows him to stagger and render multiple enemies vulnerable which will make it easier for him to get up close and execute them. This skill can be further improved via its own talent tree.
When playing as Inugami, a player will need to use sprint often to close the distance to his targets. One of his talents significantly mitigates damage when he's sprinting and even temporary invincibility after each executions. You can also control his slashes by holding RB and controlling the right analog stick. This is a bit weaker but can effectively stop enemies on their feet. This is also effective against those more heavily armored enemies in the later missions.
 |
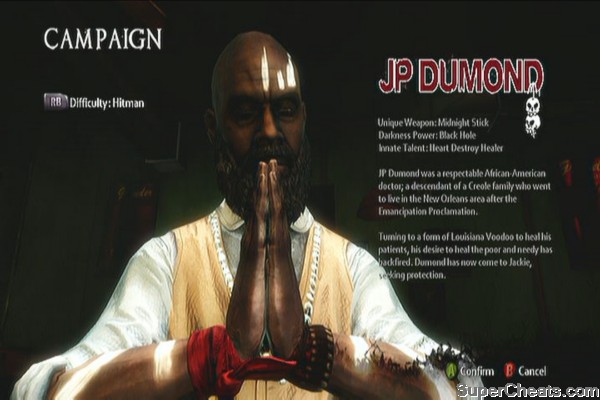
JP Dumond
Unique Weapon: Midnight Stick
Darkness Power: Black Hole
Innate Talent: Heart Destroy Healer
JP's power is probably the most powerful in all four characters. His black hole ability can effectively take care of multiple enemies within its range. Though there are enemies capable of resisting it (if they're not too close to it), JP can knock them off their feet and send them hurling to the swirling dark hole of death by using the Midnight Stick's “lift” attack or just simply shoot them. The black hole's duration and size can be increased through JP's talent tree. You can even increase the number of enemies that can be sucked.
JP's weapon, the Midnight Stick can also lift enemies for a few seconds, making them vulnerable to gunfire or executions. When playing as him, you should consider moving from cover to cover and not rushing towards enemies since he doesn't have any skills to mitigate damage.
 |
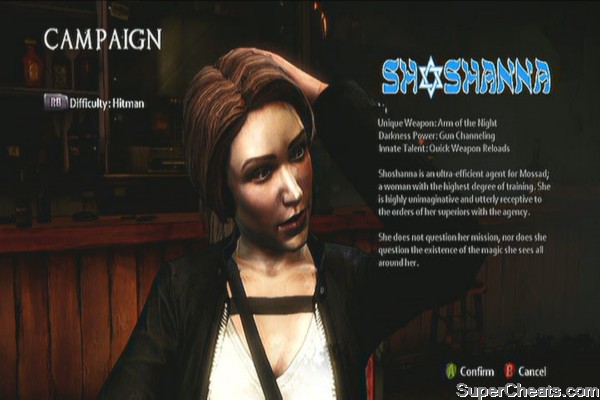
ShoShanna
Unique Weapon: Arm of the Night
Darkness Power: Gun Channeling
Innate Talent: Quick Weapon Reloads
Shoshanna's probably the most easiest character to play as. No other gimmicks; just shoot, shoot and shoot. Her special weapon is a sawed-off shotgun which regenerates ammo and can also release a very powerful charged shot. Upgrades can also increase her special weapon's ammo and spread.
Her ability, Gun Channeling, works the same way as Jackie's. Her guns' damage increases and her ammo is unlimited while this ability is active. Further upgrades can also enable her to shoot through walls and auto-target enemies.
 |
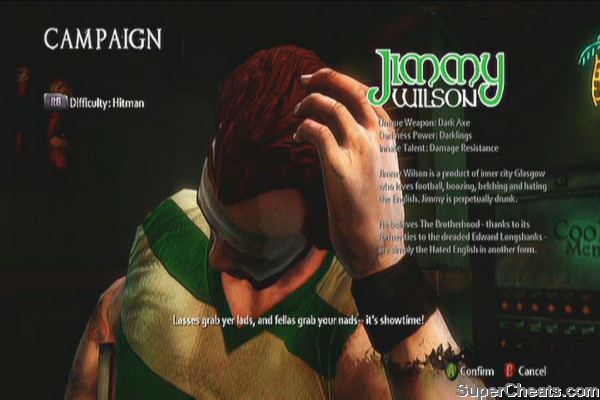
Jimmy Wilson
Unique Weapon: Dark Axe
Darkness Power: Darklings
Innate Talent: Damage Resistance
Jimmy's special weapon is the Dark Axe which can be thrown and recovered instantly. His axe can also pass through multiple enemies. Though it doesn't kill enemies in one throw, it deals additional damage if the same enemy is hit while it is on its way back to Jimmy's hand.
His power enables him to call darklings which seeks out enemies and detonate at them. Further upgrades will enable him to summon more darklings and give their detonation additional effects. Jimmy's innate ability will also help him resist most attacks but that doesn't mean that he's invincible.
 |
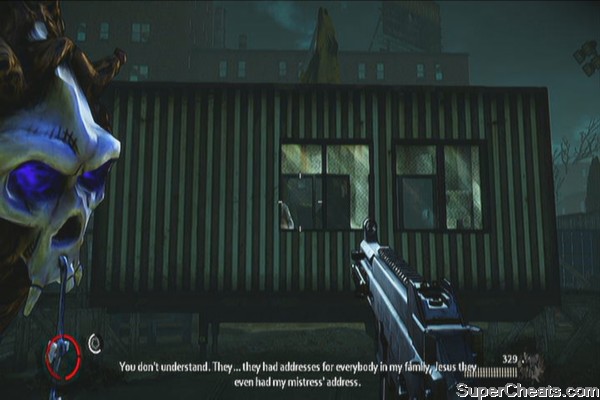
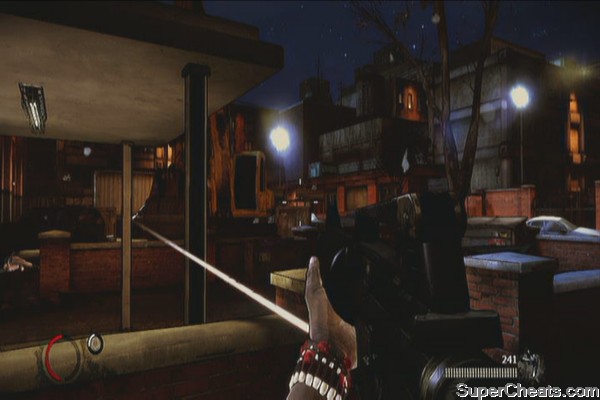
Here's Johnny
There's a talent shrine nearby but you won't be able to purchase anything for now. To recover health, you must destroy the hearts of enemies. You still need to stay away from direct lights. Executing enemies works the same way; they yield more essence but you won't be able to gather hearts.
Continue forth and clear the area. Take out the generator by checking the small room just across the lights. (Or just simply trace the cable from the lights) Move from cover to cover as it will be suicide to just carelessly jump into the fray. After clearing the area continue forth and turn right when you get to a crane. You'll find a generator powering the lights ahead; destroy it. There are a couple of ammo cache and Kalashnikovs there as well.
 |
 |
Move up and destroy the electronic lock to reach the next area. You have to clear this area of enemies as well. The generator is hidden among the rubble just ahead of you so it may be a good idea to destroy it quickly. Wipe out the enemies then head to the gate. Destroy the electronic lock as well.
 |
Once you reached the next area, take the ramp to your right to find the generator. Destroy it.
 |
 |
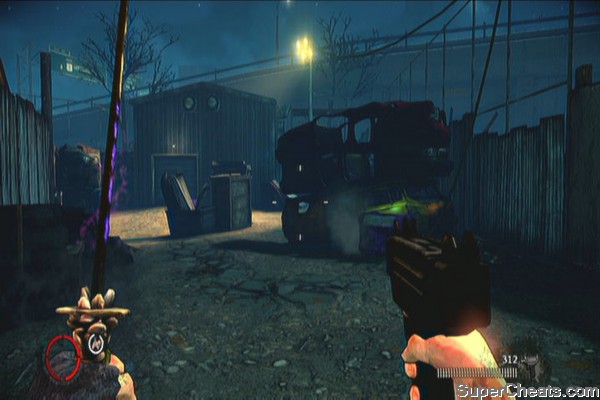
Clear out the area and before heading to the garage, take out the generator near the fences behind the car crushing machine so you can waltz in to the objective point without problems. Break the lock to open the garage where Johnny is held. This time, more enemies will arrive. You have to survive their attack. Just remember to move from cover to cover and avoid rushing towards a lot of them (obviously). You can fire a short burst from your firearm then sprint to deliver the executing blow to make your job easier. Once they're all dealt with, cut Johnny free to complete the mission.
 |
Stop the Press
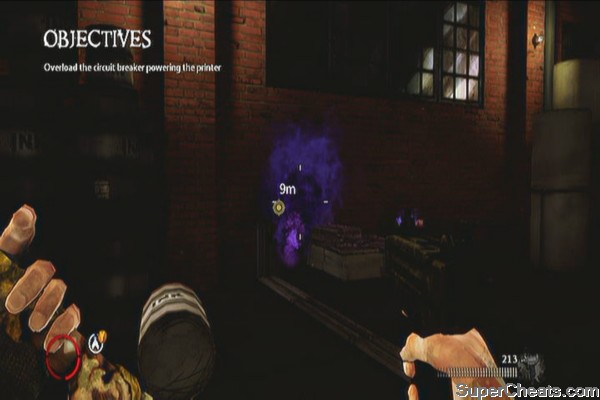
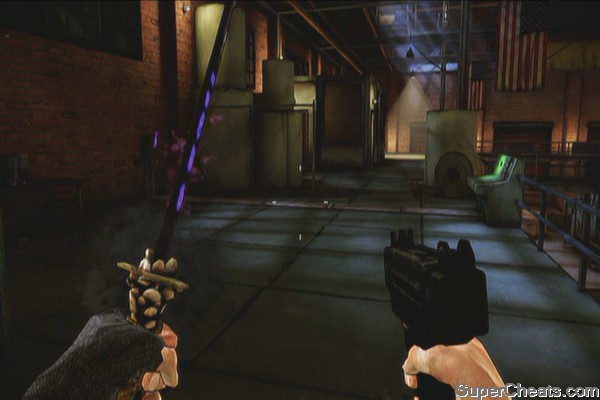
Use the talent shrine since you have saved up a few essences from the last mission. Continue forth and take out the couple of enemies then use the stairs until you find an elevator. Destroy the panel and ride the elevator down. Just follow the straightforward path until you reach a large warehouse. Carefully clear all enemies then overload the circuit breaker. Just press Back to locate it. After overloading it, activate the power panel to reroute the power.
 |
More enemies will arrive. Some will appear from the catwalks overhead so it may be a good idea to use the nearby room as cover as you take them all out. Using your rifles should allow you to land more accurate shots. Take out all enemies then find the second circuit breaker and do the same thing.
 |
The machine in the lower floor will break down, revealing an artifact. Pick it up and survive another wave of enemies that will come pouring in. Kill them all to complete the mission.
Dead-End Job
Use the talent shrine to get some new abilities. If you're playing alone, it will be helpful to concentrate on getting your character's specialty skills first. When ready, carefully approach the enemies and take them out. Make sure to take out the lights before moving forth.
 |
Go left to the open lot and continue clearing up Luigi's men. Once done, go through the open container van to reach the next street. Follow the path ahead and continue destroying the lights along the way. More enemies will appear as soon as you reach the checkpoint. After clearing the enemies, continue ahead until you reach another open lot.
 |
You may destroy the generator if you like, then head to the playground. More enemies will appear; just continue taking them all out as you make your way to the rear gate. Meet up with Dolfo and take the package.
 |
Backtrack to the trailer where you saw a panicking guy earlier and kill all enemies to update your objective. Next, plant the bomb on the trailer's door, quickly step aside and watch it explode. Finish Luigi and pick up the artifact. You'll have to survive yet another wave of demonic enemies to complete the mission.
 |
 |
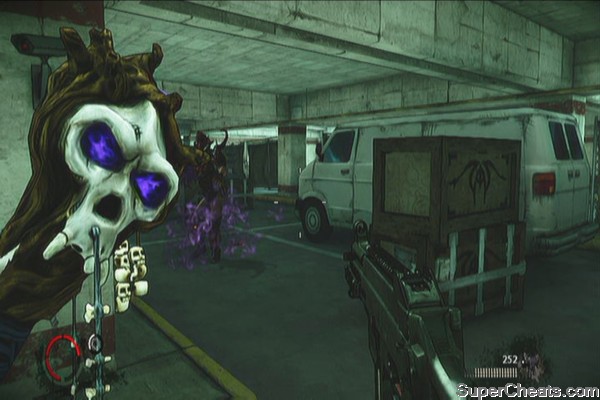
No Brothers of Mine
Start by destroying the lights and using the talent shrine nearby. Head inside and start clearing the warehouse. Take out the ceiling lamps as you move forth. After clearing the warehouse, go upstairs first and check the room with the conveyor. A relic should be there.
 |
Moon Rock
When you're ready, head to the elevator and enter it to reach the roof. Clear the enemies there then make your way to street level. As soon as you reach the checkpoint, more enemies will appear. Take cover and take out the guards on the watchtowers.
 |
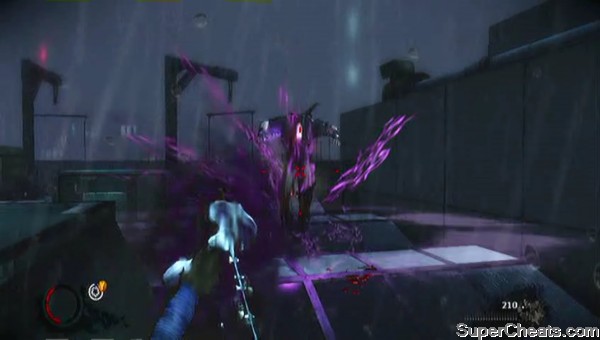
After clearing the area, approach Cedro and fight him. Avoid the lights and keep firing at him until his armor wears off. Once his armor is removed, you can now use your Black Hole to stagger him as long as the hole is active while unloading all your bullets. Keep doing this until he goes down.
The Coward
Hostile Takeover
Continue to the parking lot and confront the enemies there. There are spots here where you can't destroy the lights on the ceilings so just concentrate in finding the generators for lights in the ground level. As you continue forth, heavily armored enemies will appear. Just keep shooting at them to remove their armors and make them vulnerable for executions.
 |
Continue forth. If you encounter vehicles with blinding lights, you have no choice but to run towards them and avoid too much light exposure. Continue to the lower parking lot and approach the exit to find Graves. More of his specialized troops will attack you. Take cover and use your firearms to whittle them down. Once done, enter the opened door and kill the two enemies who will appear from a nearby elevator. Ride the next one.
Once the elevator door opens, a flashlight-wielding enemy will beam you with light. Shoot him immediately to avoid too much exposure.
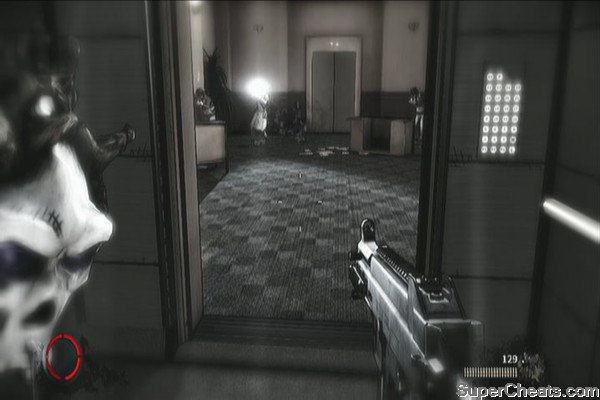 |
Follow the hallway and clear the path. As you reach the lobby, a shield enemy will appear as well. Keep shooting at him to weaken the armor of the shield. Don't hesitate to run back and use the corners for cover.
 |
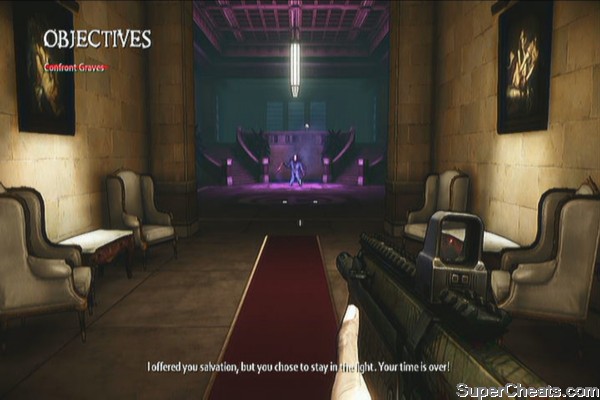
Keep moving until you reach the newsroom. After Graves finishes his speech, check out the cubicle to the right, nearest to the large screen to find a relic.
Mummified Cat
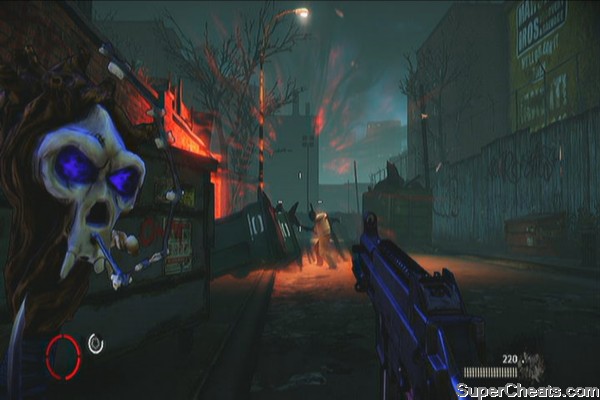
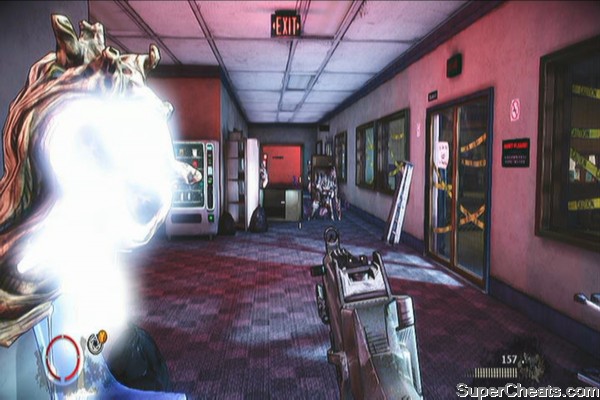
Continue ahead and clear out the next room. Take out the lights as well. Be careful since there will be aggressive teleporting, melee and shield-wielding enemies. Shotguns will be effective in stopping them in their tracks. Once cleared, take the stairs and shoot the door open to reach the roof.
There will enemies waiting there as well so take cover and take them all out. Take the stairs to the left and jump to the other side of the roof. You also need to clear it of hostiles.
 |
Start off by shooting at the helicopter's headlight. For the first wave, you have to move from cover to cover as enemies will also appear from the rear. Rifles are pretty accurate in landing some much needed headshots from a distance. Later on, the gate on the right will open so you can storm in and kill the pesky enemies from the high ground. There are scattered ammo caches as well so make sure to use both your main firearm and SMG/pistols. After taking out all of the first wave, a few more heavily armored specialized troops will appear. Take them out and avoid rushing towards them. Their assault rifles will tear you a new one. Continue doing this until the mission is complete.
 |
A Real Rain Has Come
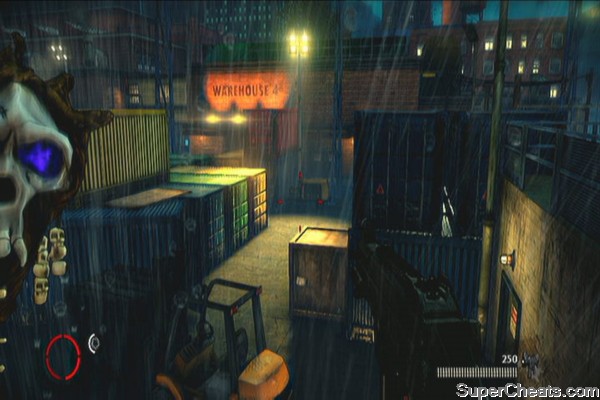
Pick up your desired weapons and loot the ammo caches. Purchase some talents as well before heading out. Head to the docks and destroy the generators first. The area here is tight so you may have to use melee attack often as you move along.
 |
Continue clearing the enemies until your objective is updated. Head to the container yard and fight the annoying siblings. For the first part of the mission, you just need take cover and shoot them as they move alternately between the adjacent roofs. They'll move out. Pursue them and move from cover to cover while shooting at them. Don't let yourself get caught in the open. The best places to hide are the open container vans where you can simply move back and forth to take cover. You can also simply camp there and wait for them to appear since their movement patterns are just the same anyway.
Trolling, at its best
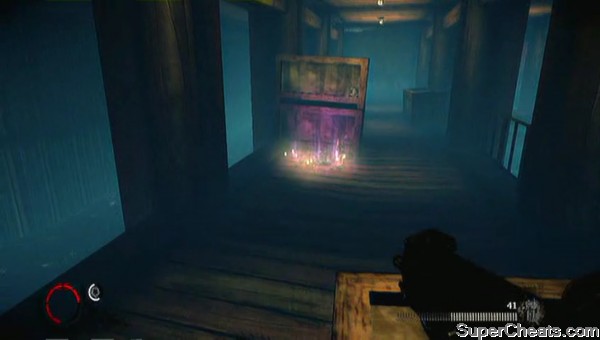
Keep dealing damage to them while minimizing the damage you receive. Your objective will soon be updated and you'll be instructed to follow them to the boathouse. Before taking the stairs, you can go downstairs first and check the wooden walkway underneath. A relic should be lying there.
 Two-Headed Dragon |
Continue upstairs to fight the two bosses. They are still quick and annoying. They'll start armored so you don't have any choice but to keep shooting at them to take out their armors. Once done, concentrate on one target at a time. If ever the other boss teleports near you, land a few hits on him/her to force him/her to teleport again. Also, make use of the covers. Don't be carelessly aggressive. Keep doing this until both of them goes down.
Justice, served
After the enemies are taken care off, break open the marked shipping crates and pick up the manifest when you find it to complete the mission.
 |
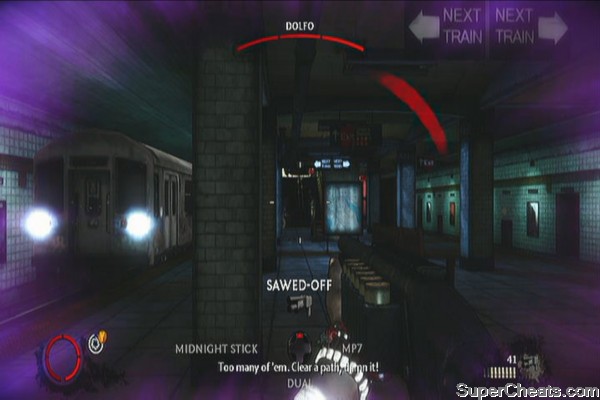
Forced Entry
Clear all the enemies in the train platform them meetup with Dolfo. He'll be fighting alongside you so you have to take out enemies quickly and efficiently to escort him safely out of the subway.
 |
Continue fighting your through various enemies until you finally reach the exit. Continue escorting Dolfo to the bank entrance.
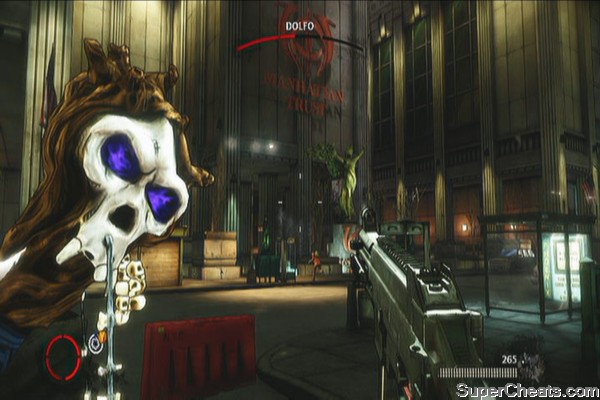 |
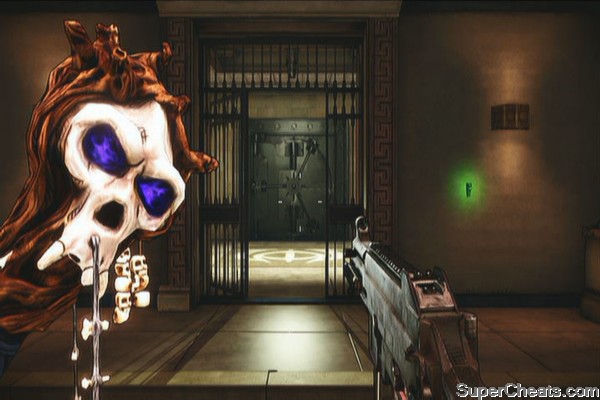
Once you both reach the bank entrance, protect him as he sets up the bomb. Kill all approaching enemies, then quickly get out of the way once Dolfo starts running and you hear some beeping. The mission is completed as soon as the entrance is blown up.
Sins of the Brothers
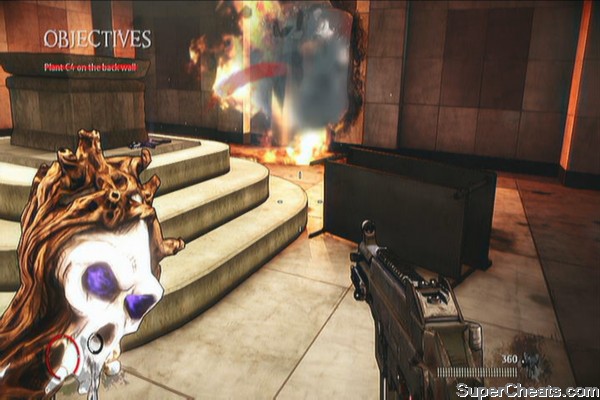
Continue killing enemies until you reach the vault. Go to the control panel to the right and unlock the door. More enemies are waiting inside. Kill all of them until Vinnie tells you to find the VIP elevator. Plant the C4 on the wall and stand back before it blows.
 |
 |
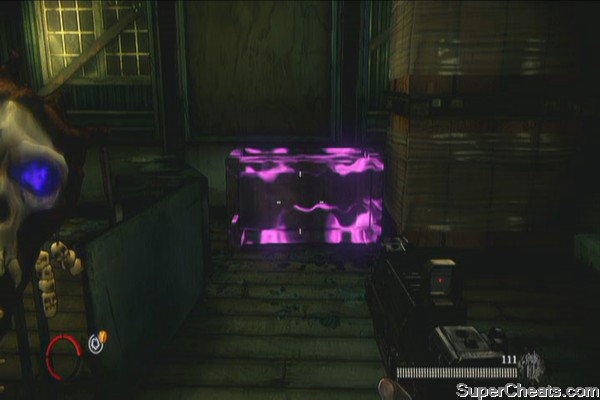
After blowing the wall, you should find a relic on the left side, beside the fallen painting.
 |
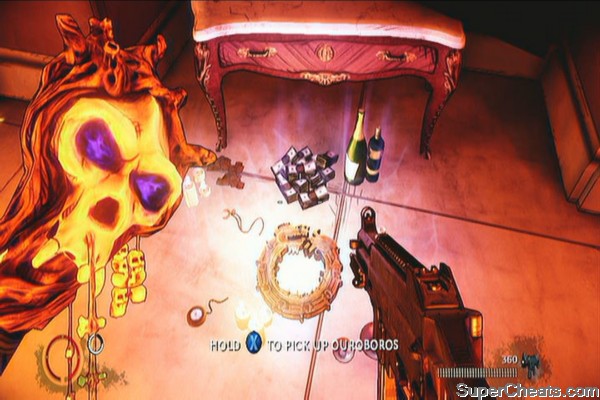 Ouroboros |
After getting the relic, pick some ammo caches until your ammo is full then take the elevator up. Once there, start clearing the last of Graves' men then continue upstairs to find him. After a short dialogue, you'll have to face the final boss of this series of campaign.
 |
 |
Killing the hellbeast
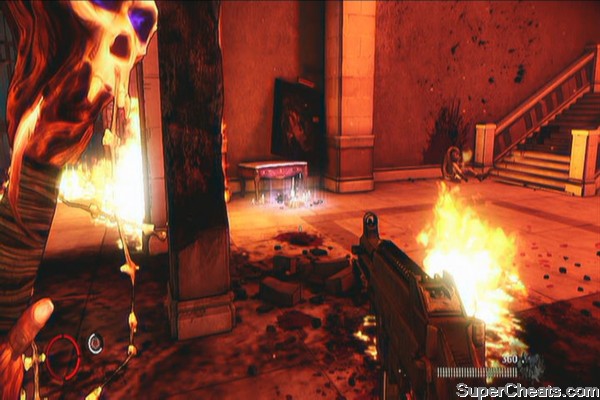
Use the pillars for cover. Keep shooting at its eyes to weaken it then while its open, shoot the glowing part on its chest to deal more damage. It will summon various enemies as well so just take that time to kill them and recover your health. Just protect yourself from the hellbeast's damaging flames and continue shooting bullets at it until it dies.
Hit List
This guide will cover the offline hit list missions (since I don't have XBL). The other Hit List missions are also replayable Vendetta campaign missions so its up to you if you want to finish them or not. Almost all Hit List missions will just require you to kill enemies then survive their attacks. That said, I won't be writing individual walkthroughs for them.
No comments yet. Tell us what you think to be the first.