Brighstone Cove Tseldora (1)
Thank you for printing this page from www.SuperCheats.com.
Remember to come back to check for updates to this guide and much more content for Dark Souls II
Follow this guide to hear about updates
Last Updated:
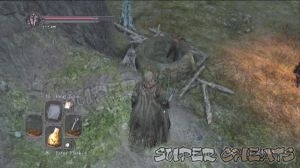
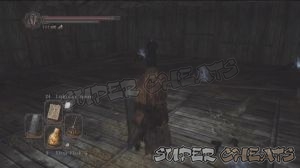
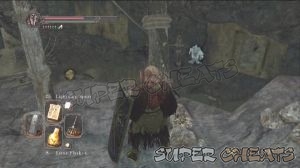
Upon reaching the fountain from Doors of Pharros, you'll find several urns. Destroy the ones to the left to find a corpse containing a Radiant Lifegem. Start by heading to the left. There's enemies hiding inside the tents so don't let your guard down. After getting rid of the enemies from the nearby tent, take out the enemy surrounded by lootable corpses. Get Soul of a Nameless Soldier x3, and a Large Soul of a Proud Knight from them.
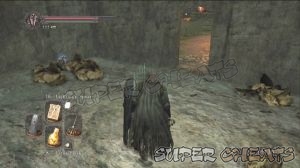
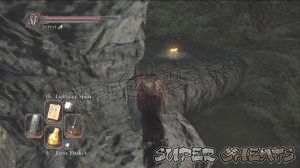
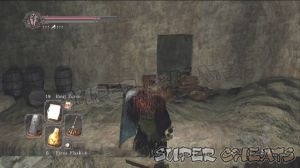
From there, destroy the wooden scaffolding to make the corpse on the top fall down. Loot x15 Lacerating Arrows from it. Take out the enemy watching over from the scaffolding then get rid of the undead boars. The bonfire is located inside the tent beside the pile of burning corpses. Get a Titanite Shard from the corpse by the well.
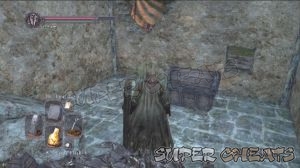
Destroy the well cover and follow the elevated trail. You have to jump inside the well. Don't worry since it's not a long way down. Once inside, pick up the Holy Water Urn x3 from the corpse below. Follow the tunnel and climb the ladder to get inside the destroyed house with a chest. Loot the chest to get Human Effigy x5.
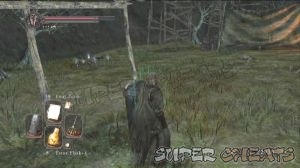
Climb out of the house and follow the trail going downhill. Be careful of the enemies up the ledge; they will drop the boulders. It will be a good idea to provoke them to release the boulder then quickly step out of the way. Loot the body near the cliff to get a Soul of a Nameless Soldier. Climb the ladder and take out the enemy and make the boulder roll down. Loot the corpse in the corner to get a Soul of a Brave Warrior.

Climb down the ladder and lure the group of enemies ahead. You can kite them safely or just deal with them one by one. Continue forth and you'll find three more enemies by the door. Loot the corpse by the edge of the cliff to get a Large Titanite Shard. After defeating the enemies, go through the tunnel.

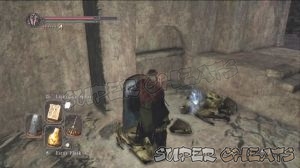
Continue to the next room. There are spiders hiding in the holes; they won't attack you on sight but if you have the means to damage them pre-emptively, do so. This will prompt them to respond to your attack and chase after you. Fall back to the tunnel where you came from while kiting them with ranged attacks. When you're clear, go back to the previous room and open the chest. The red orb was supposed to be the trigger for the spiders to attack so if you've taken care of them, just ignore it. Loot the Heavy Bolt x20 from the chest. The door ahead leads to a misty doorway and a boss fight.

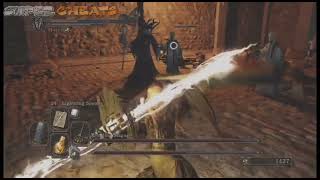
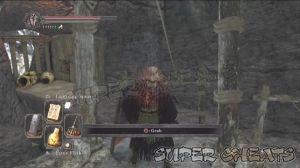
(Mini-) Boss: Prowling Magus, Congregation
This isn't a really hard battle, especially if you're a melee fighter that can use AoE attacks. The main magus, the two priests and the hollows can be easily taken out with powerful melees. Just be careful of the crawling undead as they might be hard to hit. Take out the priests first since they can use beam attacks. You can use the benches to fall back give yourself distance from the enemies in case you need to heal. Overall, this shouldn't be a hard battle.
Leave the chapel and find a ladder on an alcove to the side, leading to the chapel's rooftop. Here you'll find an NPC named Cromwell the Pardoner. Talk to him to get a Ring of Resistance. You can also buy various miracles from him, resistance-boosting rings and the White Priest armor set. Loot the corpses around him to get Fading Soul x3, Cleric's Small Shield, Bonfire Ascetic, and Skeptic's Spice.
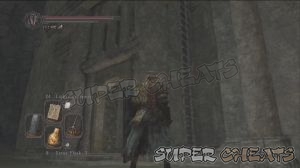
Enter the tunnel next. There's a bonfire to the immediate left so light that up first then go downstairs. Loot the corpse under the stairs to get a Soul of a Proud Knight then exit the door. In the next room, destroy the jars to get a Wilted Dusk Herb x2.
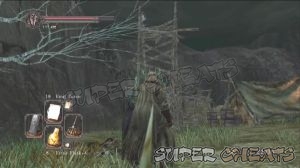
Continue outside and take out the spider if you have a ranged weapon. If you want to get more items, you can jump to the ledge to the left. There are several annoying mages that cast homing projectiles so find a cover to protect yourself as evading may not be enough. Some items are also in one-way-reach areas, meaning you have to use a Homeward Bone or Homeward miracle if you want to get back up.
Zipline using the first rope then zipline using the second. Take out the mage in that ledge since it can follow you inside. Just be careful since these pesky mages can cast a rapid-fire spell up close, dealing massive damage. Once done, enter the doorway and find a couple of mages inside. Lure the nearest one and take it out before dealing with the other. There's also a spider on the ceiling; use a ranged weapon to kill it.

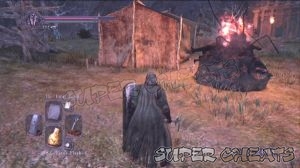
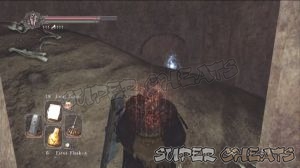
Loot the Lightning Urn x4 from the corpse along the way. Go down the ladder and you'll find another bonfire. There's a spider that will drop down to the left so kill it then light up the bonfire.

Lower Brightstone Cove Bonfire
Open the door and head to the right. Loot the corpse to get a Petrified Dragon Bone. Be careful since multiple spiders will appear from the hill if you get too near. You can fall back to the Lower Brighstone Cove bonfire so you can concentrate taking out the spiders without worrying about the mages' annoying projectiles.

If you saved Ornifex in the Shaded Woods, you'll find her in her workshop. The door is located near the sinkhole. There's a basilisk hiding under the sand. Kill it and enter the door nearby. Like Straid, she can craft unique weapons from boss souls. She also functions as a blacksmith. After dealing with her, destroy the jars and the shelves to get a Pharros Lockstone and Flame Butterfly.

Go around the sinkhole to find a door. Open it and kill the mage inside and the spider. Destroy the cabinet to reveal a hidden room; kill the spider inside as well then loot the chest to get a Crescent Axe and Soul Vortex. Exit through the hole on the wall and loot the Titanite Chunk from the skeleton in the next room. Open the door to reach the next area. Now you can travel back to the chapel bonfire to find the other treasures.
Anything missing from this guide?
ASK A QUESTION for Dark Souls II
Comments for Brighstone Cove Tseldora (1)
Add a comment
Please log in above or sign up for free to post commentsTable of ContentsClose
Guide Updates
Get notified of updates to this guide
Many of our guides get updated with additional information. To get an email when this guide is updated click below.
 Join us on Discord
Click to close
There is illusionary wall near the boss....leads to estus flask shard