Brighstone Cove Tseldora (2)
Thank you for printing this page from www.SuperCheats.com.
Remember to come back to check for updates to this guide and much more content for Dark Souls II
Follow this guide to hear about updates
Last Updated:
Spiders and Treasures
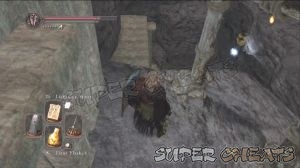
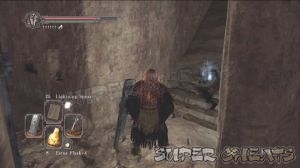
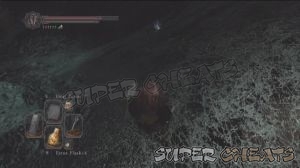
From the jump off location after the chapel bonfire, there's a lootable corpse inside the house to your left. To access it, roll/jump to the ledge and quickly yet carefully drop to the doorway below. Timing is essential since the mage projectiles can knock you back a bit, sometimes may even lead to your fall to the sinkhole below. Loot the corpse to get a Large Titanite Shard. Since you can't jump off from here, you have to use a Homeward Bone or miracle to get out safely.

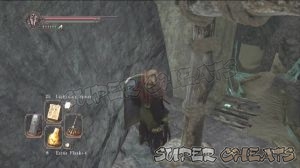
From the chapel bonfire again, jump over the ledge again but this time, jump on a rock outcropping beside the house. Loot the corpse there to get Titanite Chunk and Twinkling Titanite. From there, you can safely drop in front of Ornifex's workshop.

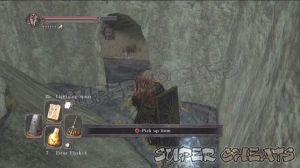
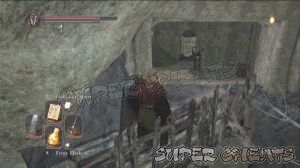
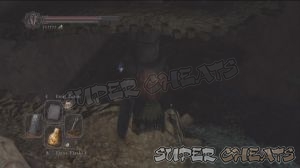
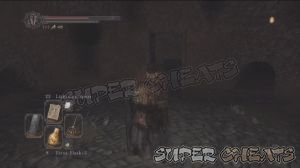
Travel back to the chapel bonfire then head outside again. Kill the spider again then slide down the first rope and go to the right. Drop down the metal ledge and kill the mage below. Be prepared to evade or take damage. Loot the corpse from the edge of the ledge to get a Large Titanite Shard then drop down in the middle of the ledge to land on the doorway below. Loot the Estus Flask Shard from the skeleton inside then go down the ground level.
Unlocking the Gate to the Palace
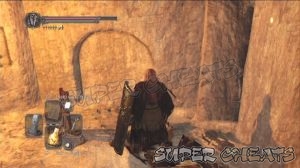
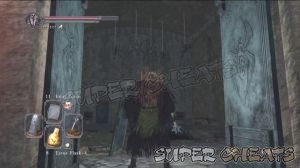
Travel back to the chapel bonfire then head outside again. Slide down the rope and enter the house to the left. The small room has a hole where a spider will emerge. Behind that are two urns. Destroy them to loot Charcoal Pine Resin x3. Destroy the bookshelves nearby to reveal a hidden path. Open the door and loot the corpse to the right to get a Torch.
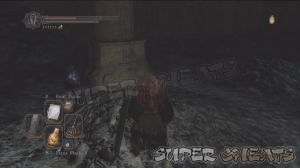
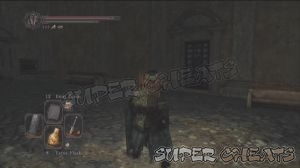
Open the next door and kill the spider-human hybrid and loot the corpse at the edge to get a Titanite Chunk. Carefully fall down to the ledge below and head to the right to find another house. There are three hybrids inside so be careful. The mage outside can also fire from the window so be careful not to get in its line of sight. Destroy the cabinets to find a switch. Pull it to open the gate outside.


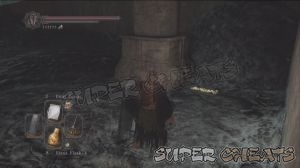
Drop down to the house in the corner and enter it. Kill the two spiders and continue upstairs. You'll eventually reach a balcony with a corpse. Loot a Large Titanite Shard from it. This is the same area that leads to the palace. There are two basilisks on the right side so be careful not to get ambushed. Right outside the gate is an invader. Make sure to clear the area before you engage it so you can have a wide, safe area to fight.

Follow the walkway leading to another building past the gate. There are a couple of those spider-human enemies so kill them before opening the door. After getting rid of them, open the door. Before proceeding, take out the hanging spiders on the ceiling if you have a ranged weapon so they won't drop on you.
Check the corpse behind the bench to get a Soul of a Hero and Gold Pine Resin x4. There are also two switches you can pull here; the one to the right will reveal a corpse containing Homeward Bone x3. Pull the switch to the left and kill the spider-human undead here and climb the ladder.

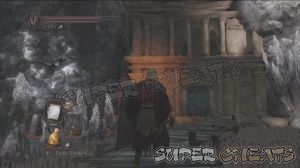
You'll be in a large room with giant spider webs. You can walk on these but you won't be able to run fast. Drop down from the ledge and walk down the web connected to your current floor. Follow it to reach the lower floor across you. Loot the corpse behind the support pillar to get a Torch. There's a spider above that corpse so be careful. You'll find a group of urns here; destroy them so you can loot a corpse containing a Pharros' Lockstone.

From there, follow the nearby web and drop down below. There will be three spiders that will ambush you. Kill them then loot the Radiant Lifegem from the corpse. From there, find the connecting web that will allow you to access the corpse behind another support pillar in the other ledge. Loot it to get a Twilight Herb. There are more spiders in the ground floor so be careful not to get surrounded.
There's another corpse behind a support pillar in the lowest ground so loot it to get Corrosive Urn x5. If you're human, you can summon Ashen Knight Boyd to help you in battle. The summon sign is found behind the support pillar across the corpse with the Corrosive Urn. There's another corpse under the web in the middle of the room. Loot it to get a Simpleton's Spice. Head to the misty door when you're ready.
Boss: Duke's Dear Freja
At the start of the battle, deal with the multiple spiders since they can still deal a great amount of damage to you, even with full health. AoE (area of effect) attacks works well against them since they can be easily killed. You can only damage the boss by attacking any of its two heads. The heads can alternately fire a straight but sweeping beam, corrosive acid balls or spider web balls that will restrict your movement. Fortunately, only one head can be active at a time. When you see it moving its head upward, anticipate that it will start firing its beam. Run towards it and attack the other head while its doing this attack. The boss also has a jump attack and will attempt to pin you down under its weight; you see it jump, evade at the last instant before it lands to make sure you evade safely. Be careful of the basic attacks using its limbs as well.
The acid projectiles are very easy to evade as well as the spider web balls. The latter doesn't deal that much damage but will prevent you from moving efficiently. During the battle, the boss will summon 3-4 more spiders to harrass you; deal with them as soon as you can. Ranged characters just need to keep circling; the boss isn't that fast to cloes the distance. Melee characters need to exploit the chance when the boss uses its beam attack; it's vulnerable for a few seconds, allowing you to land heavy, powerful strikes on its dormant head.

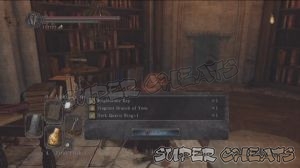
After defeating the boss, kill the remaining spiders and get the Great Soul near the edge of the arena. Follow the tunnel leading to the library and kill the undead facing the table. Loot the Brightstone Key, Fragrant Branch of Yore and Dark Quartz Ring +1 from it. There's a primal bonfire in the other room; however, you need to deal with the enemy first.
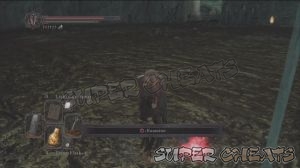
This is Vengarl's body. Vengarl is the decapitated head that you can talk to and buy items in the foggy forest area of the Shaded Woods. Defeat it to get Vengarl's Armor Set. This enemy is powerful and hits hard with bleeding effect but you can just keep circling around it and attack it from behind to deal heavy damage. Use the primal bonfire to return to Majula afterward.

Brightstone Key
You can use this key to unlock the door inside the building above the boss‘ lair. Take note that several spiders will attack you after opening the second door so deal with them first before opening the chest. Get a Black Knight Ultra Greatsword, Great Fireball and Fire Seed from the chest.
Anything missing from this guide?
ASK A QUESTION for Dark Souls II
Comments for Brighstone Cove Tseldora (2)
Add a comment
Please log in above or sign up for free to post commentsNo comments yet. Tell us what you think to be the first.
Table of ContentsClose
Guide Updates
Get notified of updates to this guide
Many of our guides get updated with additional information. To get an email when this guide is updated click below.
 Join us on Discord
Click to close