Pirate Playground
As the game proceeds in this wonderfully themed tiny world, you are initially guided by the game’s narrator. The narrator starts to brief you on your ship’s current condition, as well as guide you as you wander this new world (the narrator introduces you with just about any new thing you see in the game). Apparently, it wont spoon-feed you with just about anything you have to do exactly in the game. The first clue you’ll be given are the gold bricks (as you see them indicated on a callout box on top of your ship). Later on, you’ll figure out as you explore the tiny world, that they are actually the 3 Gold colored bricks scattered into 3 different NPC Quests. Each brick is assigned to an individual in the pirate world, seemingly willing to trade their gold bricks upon helping them with their individual dilemmas.
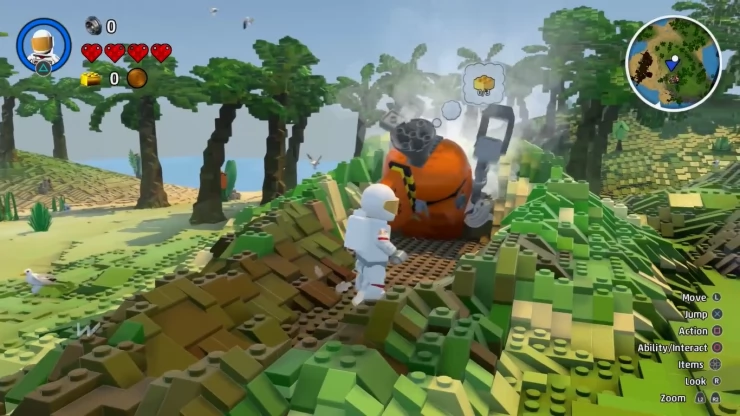
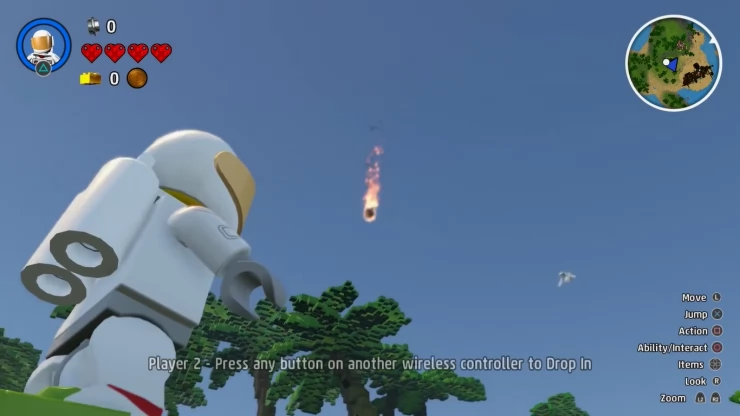
There is no actual sequence to which NPC character or quest you’ll have to fulfill first. In the game, you just have to fulfill everything that is asked of you in order to progress. But before you actually get to wander around, you’ll be (forced) shown a meteorite falling from the sky – which the narrator will then suggest you to check (the crash site). It is relatively easy to find even from afar as a streak of light penetrates from sky to the ground. Take note that this streak of light gradually faints as you get near its actual epicenter.
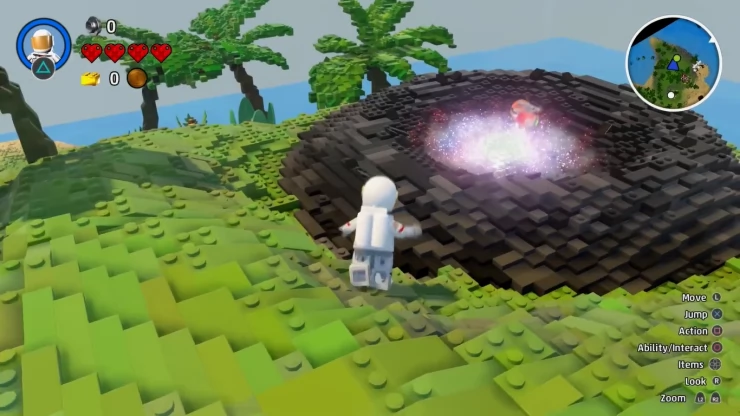
When you get to its location, you’ll find your first tool of the trade -- the Discovery tool. A short introductory video will be played as you pick the given tool – showcasing its features and handing out examples on how to use and what typical situation it becomes ideal to use it. In order to make use of it though, first you’ll have to assign a slot for it in your quick select tool toggle menu.
Quick tip:
The gold bricks that are required in this stage are indicated on the mini-map on the upper right portion of the screen. Your character is the small blue triangle icon. Note that the tip of the triangle shows where you are currently heading. Important stuff like the Discovery tool for instance are also indicated as dots on the mini-map. Several icons will pop up too later on in the game which indicates stuff with great importance in their respective locations such as NPCs for quest, traders, treasure chests, and many more.
Discovery Tool:
Use the powerful discovery tool to scan and collect new models, outfit, Creatures and Vehicles. Once they are in your collection, you use the discovery tool to summon them into your world, place them precisely where you want them, or fire them into the sky with wild abandon! Getting to grips with the discovery tool is the first step on your journey to become a master-builder.
To bring out your discovery tool (or any tool on your quick select tool toggle menu for that matter), you’ll have to press the triangle button and pick on the tool you wish to use. In this instance, pick your first tool, the discovery tool. Use the right jog stick to aim the tool (on objects within your proximity/field of vision), and when it is aimed at something it could actually copy, press triangle to automatically point the tool on the item so it would scan it. Take note that plausible control options while holding specific tools are shown on the lower right side part of the screen.
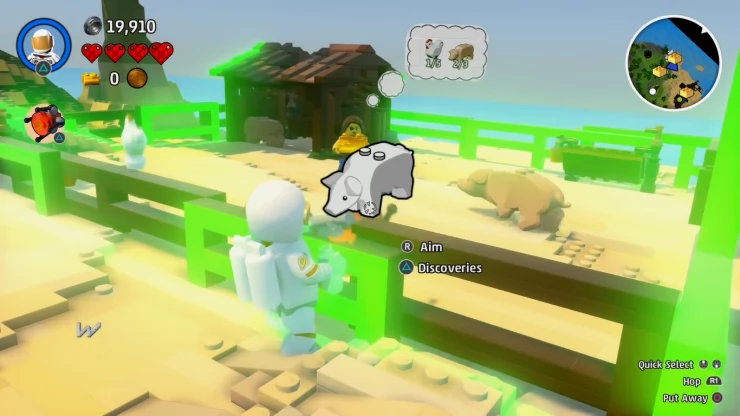
As you scan items, you’d be introduced with their categories. There are objects, Vehicles, and Creatures. One good thing about the discovery tool, once you have a scan of an item, you could infinitely summon copies of it. Just press the triangle button again (while already holding the discovery tool) to open up your discovered list of items. Pick the item you wish to summon, and press the x button (as indicated on the screen) to “place” the item where you are aimed.
This would greatly help you with one of the Quests in this world. A small farm in this world houses an NPC requiring you to collect and provide her farm 2 pigs and 5 chicken. You’ll have a hint that the NPC requires you to have the discovery tool because it is actually the icon shown on her callout box.
Just scan a copy (of course with the discovery tool) from the free roaming animals outside the fence and then summon a number of them as required while you are inside the fence. As soon as you meet her demands, she’ll hand you her gold brick.
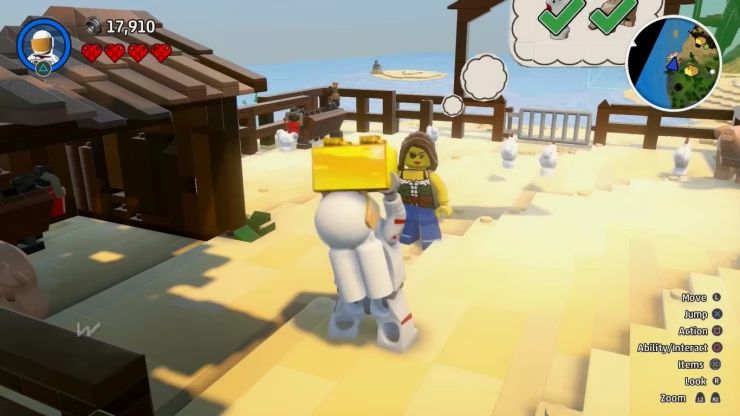
Quick Tip: While you’re onto the quest too, try opening treasure chests, discover stuff with the discovery tool (to collect them in your library as you may need them in the future with other Quests), as well as smash stuff and trees as they all provide coins that you’ll eventually need later on in the game.
Now that you've earned your first gold brick, head out for the second one. You may pick any of the two NPC pirates with their own requests. On our game, we proceeded with the pirate requesting for the “Clock Tower”. You don’t need get flustered with the vague instructions you see in this guide, as you'd find out yourself, for during these earlier parts of the game (where the worlds you get to initially visit are rather small), getting lost in is rather impossible. Rest assured, you can easily spot everything and everyone there is to find in this world. Nonetheless, the gold bricks and other stuff with great importance are also marked and indicated in the mini-map for your reference.
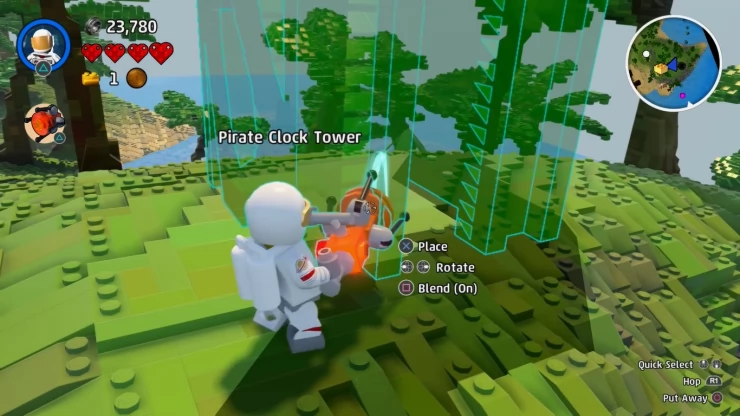
There is a chest placed at the back of the pirate requesting for the Clock Tower. Break through the stuff on the way to the chest and open it for some Blueprints of sort. Holding triangle while you are in front of a chest like this one will open it for you. You’ll earn a blueprint for the clock tower and is categorized in the “Brick Builds”. Pick on the blueprint of the clock tower just like when you are selecting discovered items in Discovery Tool menu (make sure you are in the Brick Builds tab). When aiming to place the item, a mock-up green colored vector sprite will show you the structure's pertaining “built” look, size, and location. You have the option to rotate the item as well before actually placing it. Now simply build the structure, and as you finish up on the task, the pirate will hand over the second gold brick.
Now, head on towards the last gold brick location (as indicated on the map). The other pirate is in the big pirate ship sitting on the island. As you speak with him, he’ll give you a hint of wanting a pirate throne of his own. Apparently, the throne is not anywhere inside ship, but as we figured out for ourselves while looking for it, the ship contains a lot of chests and coins as well as items to be scanned for your personal use later on – so take your time to shop around.
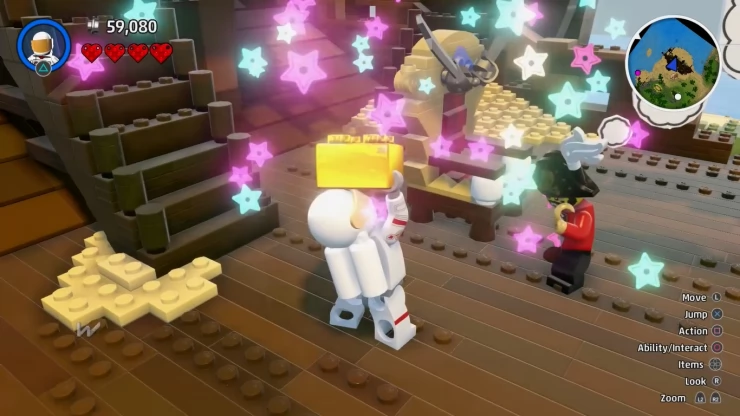
To find the throne, you’ll have to go towards the light-green dot as indicated on your mini-map on the far end of the island. Aim at the throne, discover it with the discovery tool, copy every item near it as you wish, and head back to the pirate in the ship. When you get there, just summon the throne from your discovery list, and place it next to him. Alas! You have completed the 3 bricks needed to fix you rocket ship. Not only that, you are now officially level 2, a “Discoverer Builder” (achievement).
Now head back to your rocket ship and then press the circle to “interact” and repair the ship. Once it is repaired, you can simply jump right back in and then continue your journey towards becoming a master-builder. Afterwards, you’ll be shown an exploration map and be guided towards your next destination.
Anything missing from this guide?
ASK A QUESTION for LEGO Worlds
 Join us on Discord
