- Get to Safe House #2
Left 4 Dead 2 Walkthrough and Guide
Hard Rain - Get to Safe House #2
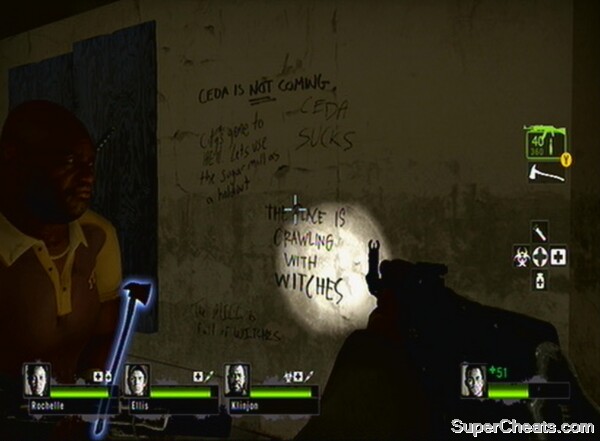
While in this safe-house you may want to read the graffiti on the walls. It will give you an idea of what is waiting for you at the Sugar Mill. Remember to leave medkits for the return trip.
 |
Once you are suitably intimidated, head out of the safe-house down the steps. Note the 'Stay Out! Witches!' sign strung up to the Sugar Mill. This section has to be taken very slowly indeed, as there can be around ten Witches in the Sugar Mill vicinity – many in the same location but on different wandering routes (it's during the day, so they are all moving around).
By the time you enter the first great hall you will probably be able to hear the Witches' noise. It is very dark in here but you should not risk shining a torch on a Witch if you can help it. Head outside via the side door (I would not recommend looking in the many rooms in here if you want to avoid any nasty surprises). You may find a Witch (or two) on patrol around here, so proceed with caution. As you move underneath the building and into the next area the glare from the sun will obscure your vision – make sure you don't step on a Witch!
Treat the Witches with extreme care!
TIP: When a Witch stands up and looks at the aggressor it is not necessarily going to attack. The Witch will only attack if you come into very close contact, shoot it, or set it on fire. Even if it stands up and growls you can move away and it should continue as before. If you hear it scream from a distance it is usually because of a loud noise.
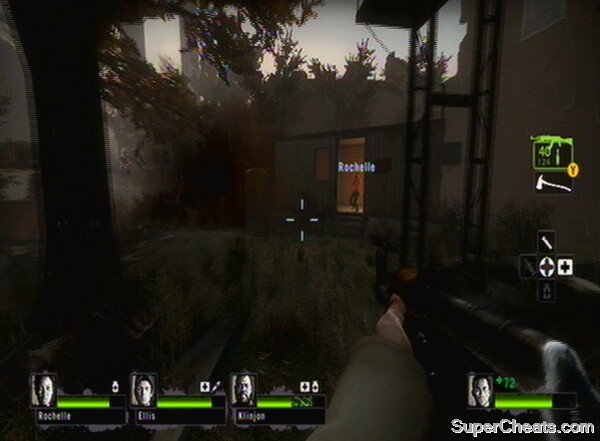
Once at the porta-cabin, take a breather and re-supply.
 |
Move through the rubble ahead and up the conveyor belt into the large building full of mechanical equipment. Look out for Witches on the upper gangways in here, and remember to keep torches off.
TIP: Defibrillator units are vital on this level as Witches have the potential to wipe out your team (especially on Expert where they kill [as in you cannot be helped up] in one swipe)
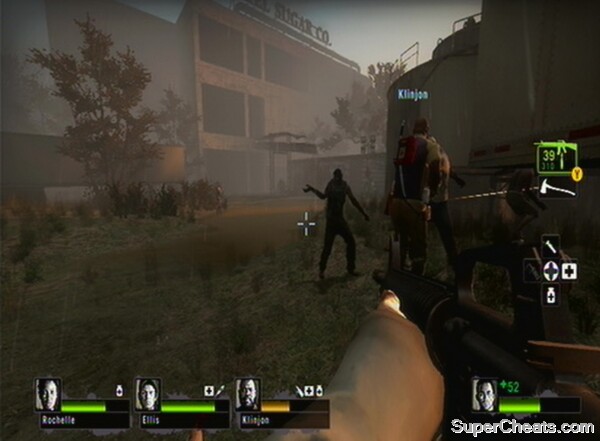
Move out of the confines of the building and the Sugar Mill proper should come into view. If you thought there were a lot of Witches so far, you haven't seen anything yet. The area leading up to the mill is one of a couple of places where you might see two Witches sharing the same turf.
 |
Use the porta-cabin as a resupply and rest point, then head inside the dark mill.
TIP: Witches will only attack one person – the one who originally startled them (unless someone sets them on fire, in which case that person is also targeted). Rather than risk incurring its wrath on your entire party, on Expert difficulty it is a good idea to allow the witch to run off after it kills the startler – this is also apt punishment for ruining a potentially great team maneouvre!
Work your way up each floor of the mill until you get to the top. This is the location of the level's only set-piece. If you've got this far without startling any witches then you've done very well indeed, so there is little need to offer any more advice on the subject. However, should you find yourself with a Witch on the top floor, you may want to take it out before you alert the horde by starting the set-piece. Monitor its patrol route and see how close it comes to the lift, but remember, Smokers and Jockeys have a horrible habit of dragging you into a Witch's path.
Similarly, if you are knocked off the top floor during the fight, remember that the other floors may have Witches on as you rush back up. Begin the set-piece but stay with your backs to the lift. Keep an eye on it because as soon as it arrives you can get inside and shut the gate by pushing the button. You are then out of harms way (for about 20 seconds until you reach the witch-infested field below...!)
Get into the elevator
You are likely to encounter at least one Witch almost directly under where the lift lands. They should not patrol up to the door, however, so wait for them to disappear into the field (use the small shack for cover) and then head in yourself (preferably away from the Witches).
The problem here is that you obviously cannot see any Witches more than about 5 metres in front. If you are playing on Realism mode, you also can't see your team! You can walk on the pipe going through the middle of the field to help give you a height advantage in terms of spotting Witches, but there will also be hordes and Special Infected to pull you off and into a Witch's path should you take that route. A better idea is to stick to one of the sides of the field. This way you are partially covered in one direction, but the hordes and in particular Jockeys will still cause big problems.
The game still forces you into the middle using the farm machinery, but at least you are not going to get Witches on all sides. Make your way out of the field and into the gas station safe-house.
No comments yet. Tell us what you think to be the first.