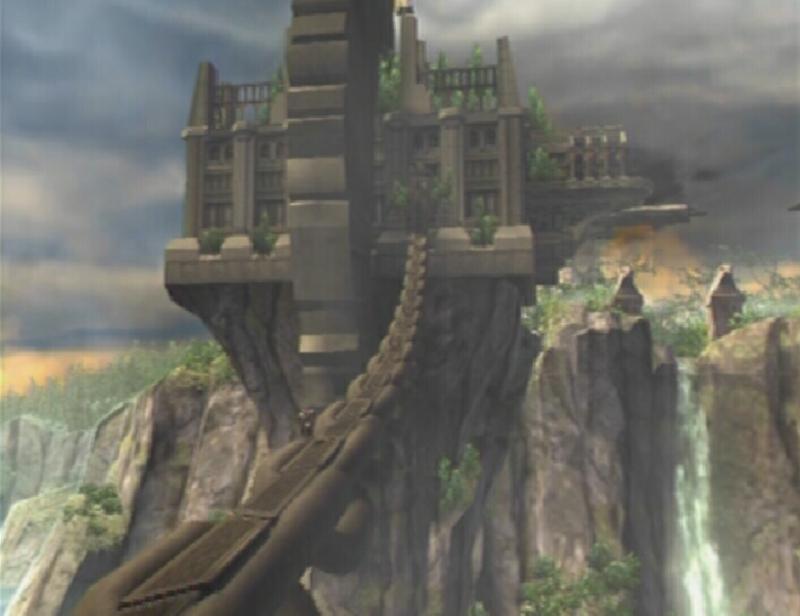
The Steeds of Time
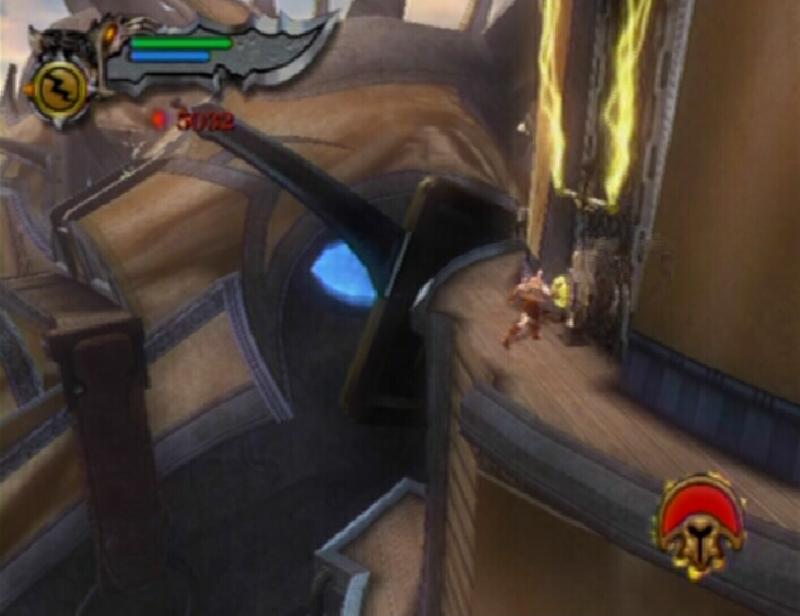
At the end of the chain, move to the end of the wooden walkway and start scaling the wall on the left. Once you have reached the top, restore your health bar by opening the Green Orb chest if needed (there is also a Blue Orb chest on the opposite end of this curved wall). Walk to the other end of the wall and pull the lever found there. Return to the opposite end and slide down the rope that has been lowered.
To the Steeds of Time
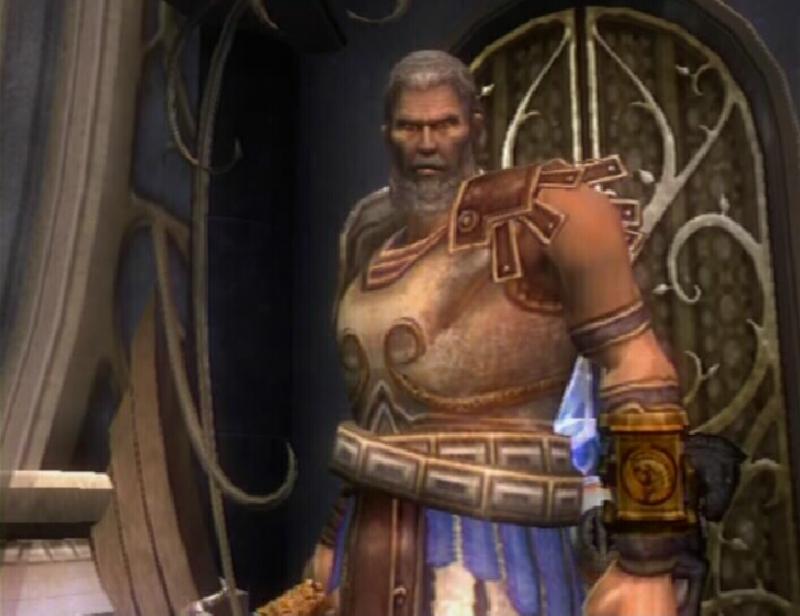
BOSS BATTLE: Theseus
Theseus is a formidable opponent with a variety of attacks at his disposable. He wields an enchanted double-bladed spear. You're going to want to use quickly executed attacks against him, since he tends to block a lot of melee attacks, leaving you open for a strike of his own. You can block his strikes too, but if you are using heavy attacks, you may not have enough time to initiate the block. If the Rage of the Titans meter is full, then by all means activate it right now. Use Typhon's Bane to knock off a bit of Theseus' health from a safe distance.
Once Theseus has taken a certain amount of damage, he will leap up above the door and begin firing projectiles at you. To avoid these projectiles, simply move the Right Analog Stick left and right before they reach you. The projectiles are fired in quick succession, so as soon as you have dodged one, push the Right Analog Stick in the opposite direction to dodge the next that comes shortly after. The only way to damage Theseus while he is above the door is by using Typhon's Bane. If you have magic, put it all towards firing at Theseus. If your magic meter is empty, don't fret, Theseus eventually summons a couple of Minotaur that release Blue Orbs upon death.
Theseus can also summon ice spikes that shoot up from the ground. They are quite easy to avoid, just keep an eye out for the emergence points that are visible on the ground and roll out of the way if one appears underneath you. Theseus' attacks can also damage the Minotaur. Things can get a little hectic since you are both trying to kill the Minotaur, and also trying to avoid Theseus' ice projectiles and ice spikes. The only way you can regain health during this battle is by performing a fatality on a Minotaur, so never miss the opportunity.
When you have regained a bit of magic, empty it using Typhon's Bane on the perched Theseus. The Minotaur spawn continuously until this battle is over, so all you must do is kill the Minotaur to regain magic, and unload into Theseus with Typhon's Bane. Repeat this cycle until Theseus loses his balance and falls. While he is hanging from the wall, stand behind him and press the Circle button to yank him down. Once Kratos has positioned Theseus' head between the two doors, tap the Circle button to finish him off. You receive the Horsekeeper's Key for killing Theseus.
Theseus
Fallen Theseus
GORGON EYE (8/37): After the battle, move to the right side of the platform you battled Theseus on, and climb down the wall. The Gorgon Eye is inside of the unmarked chest on the right.
Gorgon Eye 8
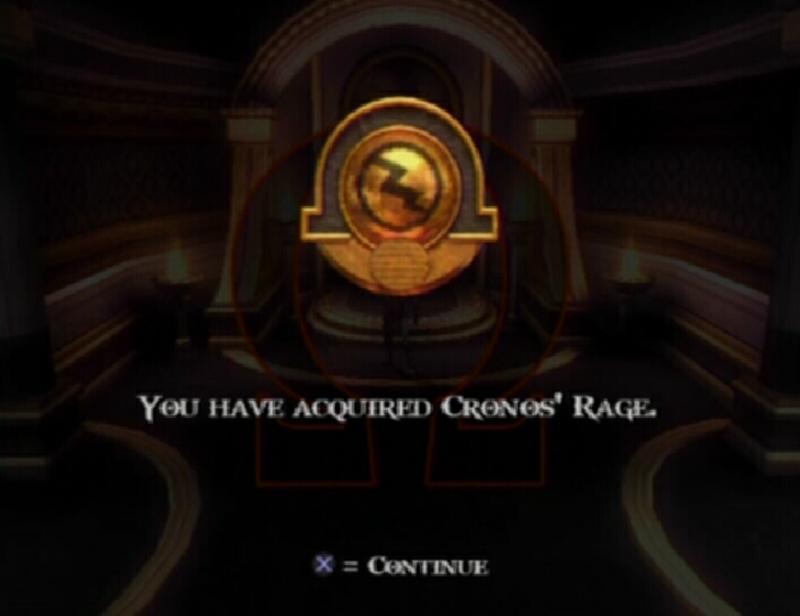
Beyond the door, move to the middle of this room and follow the path on the right. Climb up the ladder, and if you wish, you can open the Red Orb chest that is visible at the end of the walkway in the distance. Climb up the steps and make your way to the central platform. On the platform, take hold of the rope and ride it down to the platform across. Use the Horsekeeper's Key to open the double-door. Approach the torch up ahead and use the key to summon the Titan Cronos. You are given the �Cronos' Rage� magic. With this power you can create a ball of energy that can stun and damage most enemies for a short period of time.
Cronos' Rage
Some Undead Legionnaires spawn, giving you an opportunity to test out your newly acquired power. For the time being, your magic meter is unlimited so use Cronos' Rage until the room has been cleared of Undead. When the room is clear, proceed through the open doorway on the left side of the room. Take the stairs up to find a save altar and Red Orb chest on the central platform.
PHOENIX FEATHER (5/30): From the save altar, drop down from the central platform and run to the end of the wooden walkway along the right side of the central platform. The unmarked chest containing the Phoenix Feather is at the walkway's end.
Phoenix Feather 5
Follow the wooden walkway along the left side of the central platform. Walk across the track to a small platform containing four coloured switches.
GORGON EYE (9/37): From the platform, turn left, walk across the strap and scale the climbable wall. Walk towards the green totem, then turn right and drop down the series of ledges across from the totem. The unmarked chest containing the Gorgon Eye is at the bottom of these ledges.
Gorgon Eye 9
On the central platform, approach the red switch and grab hold of it. Rotate the Left Analog Stick as shown in the bottom left corner of the screen. Your viewpoint will soon change to the red totem. Once you have regained control of Kratos, immediately cross the strap on the right and scale the climbable wall up to the red totem. Approach the totem and use the Horsekeeper's Key.
Switches
Return to the central platform and this time activate the green switch. When the switch has been activated, immediately cross the strap on the left and scale the wall. Use the Horsekeeper's Key on the green totem and return to the central platform. Activate the yellow switch and quickly scale the wall on the left again. Run to the end of the walkway, past what used to be a green totem, and jump into the air towards the flying creature carrying a grapple point. Get yourself up to the yellow totem and use the Horsekeeper's Key.
Totem
Swing across the grapple point and make your way back to the central platform. Finally, activate the blue switch. Cross the strap on the right and scale the wall. Run to the end of the walkway, past what used to be the red totem, jump towards the grapple point and swing over to the blue totem. Approach the blue totem and use the Horsekeeper's Key. With that, return to the central platform and throw the giant latch. On the raised platform, move the Left Analog Stick as shown onscreen. If you make a mistake, the sequence must be restarted.
Platform
Return to Lahkesis
Run to the end of the walk. Record your progress using the save altar if you wish. Move past the altar and drop down to the platform below. You must kill a group of Undead Legionnaire and Minotaur before you can proceed. Once they have been dealt with, drop down the wall on the right end of the platform and make your way to the Temple of Lahkesis.
Steeds of Time
This guide is copyright 2007 SuperCheats.com, no part of it may be reproduced without permission.