God of War II - The Hall of Atropos Walkthrough
Skip to Sections...
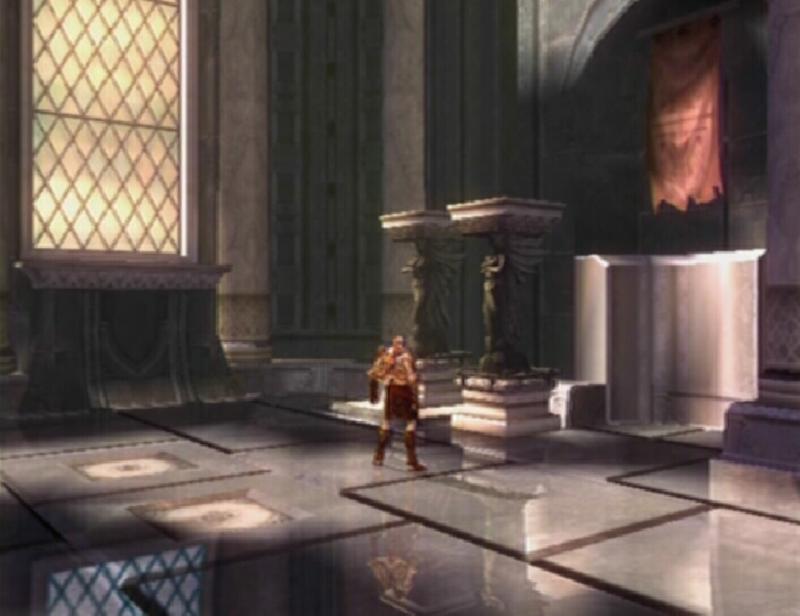
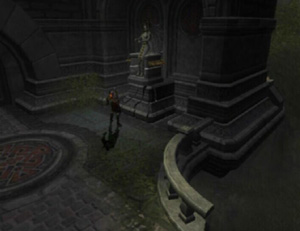
Courtyard of Atropos
The Edge of Creation
Courtyard of Atropos 2
The Edge of Creation 2
Crossing of the Lowlands
The Great Chasm
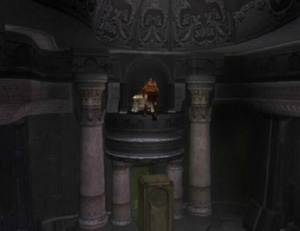
Courtyard of Atropos
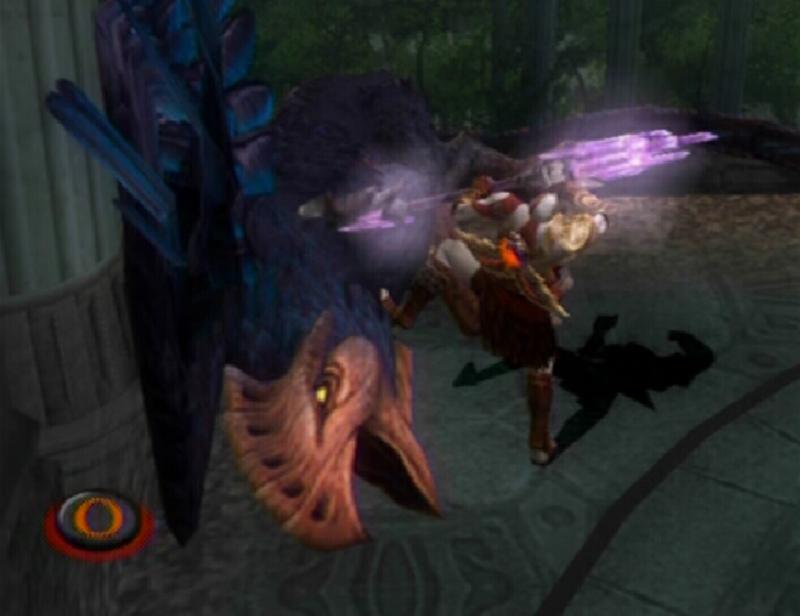
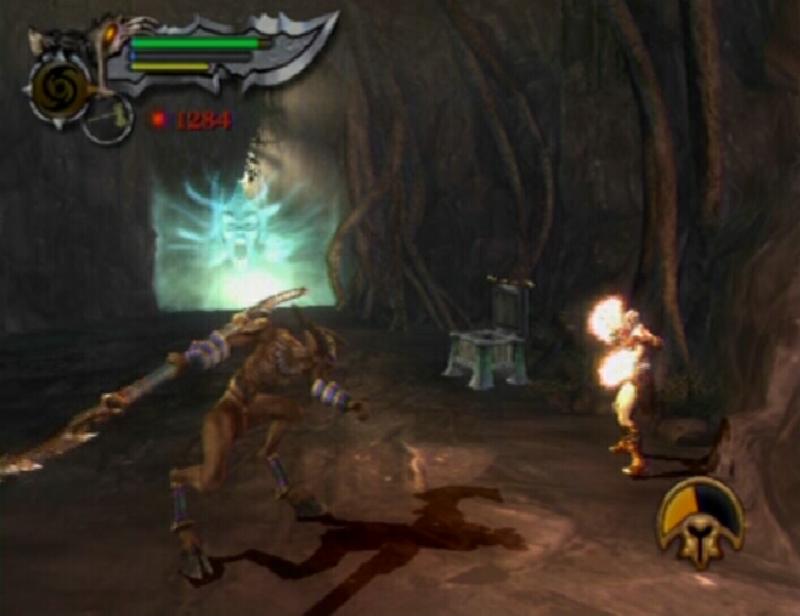
The three Wraiths here can be deadly. Your best bet would be to use either Typhon's Bane or Cronos' Rage to damage them since they will block most of your melee attacks. If your magic meter is empty, the Barbarian Hammer has the edge over Athena's Blades in this situation. Use heavy attacks (Triangle), as Wraiths don't seem able to block those attacks as often. When you have killed the Wraiths, continue through the door beyond the save altar. Open the Green and Blue Orb chests in this room to restore your health and magic meters. Move on into the adjacent room to trigger a battle.
A group of Minotaur and some Magicians spawn. Remove the Magicians first. They can teleport around the room but you can easily kill one by locking him into a series of grabs. Grab the Magician and eventually Kratos will perform the fatality. Use the Head of Euryale to kill the Minotaur. Target one of the Minotaur and cast the gaze upon him until he turns to stone, then switch to the Barbarian Hammer and shatter him. Once the room is clear, the barriers are removed, allowing you to continue.
When the handle in this room is turned clockwise, the platform to the left of it is raised, but quickly falls back into place when the handle is released. There is a statue on either side of the handle. Drag the one closest to the lift, up onto the lift, and the one furthest from the lift next to the lift. With the two statues in place, grab hold of the handle and turn it clockwise until the lift reaches the top. Next, release the handle. Quickly move over to the statue on the ground next to the raised lift and push it as far as you can towards the lift. Doing this prevents the lift from reaching the bottom. Climb up onto the first statue, then onto the second and finally up onto the platform above.

Statues
|
Statue Position
|
Follow this corridor to a gate. Climb up the ladder on the left. Once outside, keep an eye on your right for a set of stairs leading downwards. A couple of Satyrs appear. These guys are a lot like the Wraiths in that they are very agile and will block many of your attacks. Magic is the key here, so either Cronos' Rage or Typhon's Bane will suffice. If you must use weapons, there doesn't seem to be much of a difference between Athena's Blades and the Barbarian Hammer when facing a Satyr. They're both blocked just as much.
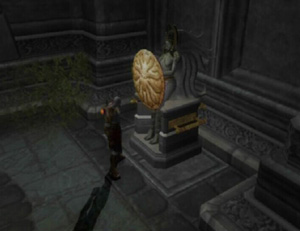
GORGON EYE (23/37): Pull the block covering the doorway into the room. When you can't pull it any further, jump up onto the block and then onto the platform above the doorway. The Gorgon Eye is inside of the chest. (If you have found eighteen Gorgon Eyes, these directions will lead you to a Red Orb chest. When opened, this chest will release a large amount of Red Orbs.)
Gorgon Eye 23
|
Push the block covering the doorway down to the area below. Drag the block over to the ladder on the bridge column. Jump up onto the block and then onto the bridge. Once on the bridge, turn left and cross over to the other end.
PHOENIX FEATHER (15/30): At the other end of the bridge, turn left and jump over the bushes. The Phoenix Feather is in the chest here.
Phoenix Feather 15
|
Head down the walkway on the right and enter the room at its end. A Juggernaught and a few Legionnaires attack. To kill the Juggernaught, perform heavy attacks (Triangle) with the Barbarian Hammer and finish him off with a fatality when the Circle appears over his head. When the enemies have been dealt with, climb up onto the platform at the far end of the room and continue though the opening in the wall.
The Edge of Creation
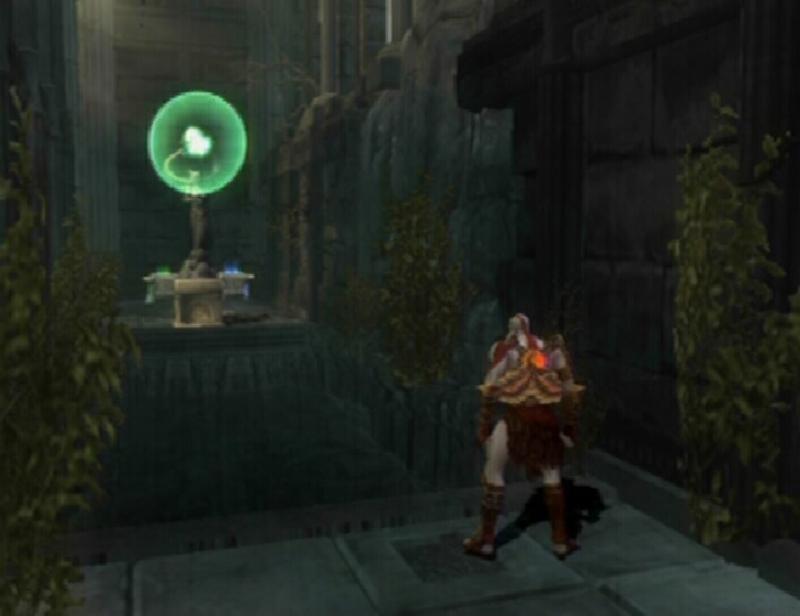
Use the save altar to record your progress before you continue. Move to the end of the walkway and use the grapple points to reach the roof across the gap. Stand on the mound of dirt to extend some roots over to the central platform. Stepping off of this mound retracts the roots. While standing on the dirt mound, activate the Amulet of the Fates and cross the roots to reach the central platform.
Branch Bridge
|
PHOENIX FEATHER (16/30): Drop down to the platform below the two trees. The Phoenix Feather is inside of the chest. Now you must return to the starting platform. To do this, stand on the dirt mound near the two trees and wait until the branches extending from the starting point is completely locked into the side of the central platform. Step off of the dirt mound and run across the branches back to the starting point, you have more than enough time.

Phoenix Feather 16
|
Once on the central platform, turn left and cross the branch bridge across to another platform. By the time the Amulet's effect wears off, you should be about halfway across the second branch bridge. If you need more time, there is another Fates Statue on the platform at the end of the bridge. When you have made it across, kill the enemies that spawn. Next, stand on the dirt mound here to extend a branch bridge over to the central platform and one from the central platform to the building rooftop on the left. While standing on the dirt mound, activate the Amulet of the Fates and cross the branch bridge over to the central platform and then cross the branch bridge leading to the roof.
Stand on the dirt mound here to extend a branch bridge out to the central platform and another from the central platform to the building on the left. While on the dirt mound, use the Amulet of the Fates and cross the two bridges. Use the Green and Blue Orb chests to restore your health and magic meters if need be. Proceed through the large door when you're ready.
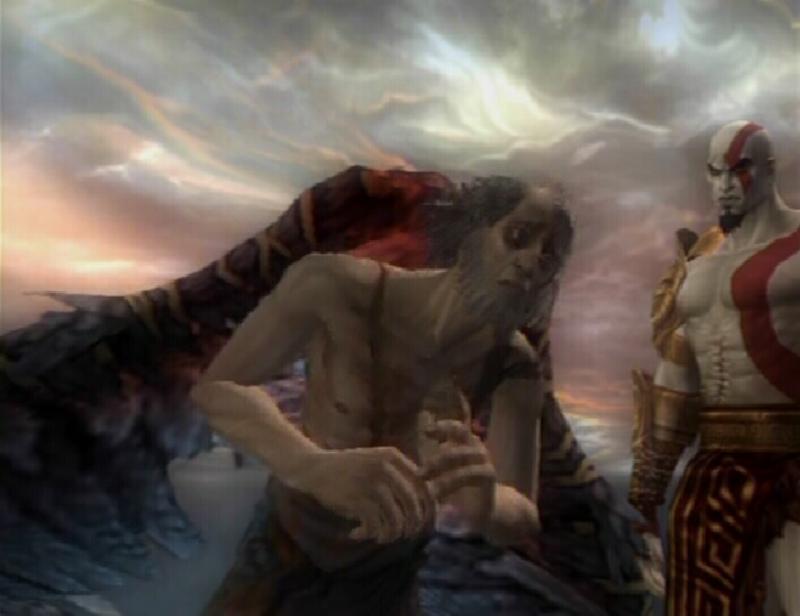
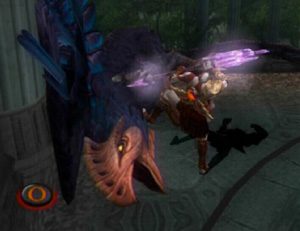
BOSS BATTLE: Perseus
Unfortunately for Perseus, he chose perhaps one of the worst locations to show off his invisibility� ability. He spends the duration of the battle in the pool, thus constantly revealing his location due to his footsteps in the water. So invisibility, not a big deal.
Perseus
|
[]
Perseus' attacks while he's invisible are more annoying than they are damaging. His primary attack is running towards Kratos while swinging his sword. To avoid this, either block the attack or roll out of the way. Perseus can teleport around the pool, giving him a slight advantage that is only enhanced by his invisibility. Look carefully at the water for any footsteps or Perseus' outline. Use either Athena's Blades or the Barbarian Hammer to stun Perseus. When he is stunned, his helmet falls to the ground. You have to press the Circle button quickly to destroy the helmet as Perseus will only remain stunned for a short while.
With the helmet destroyed, Perseus is no longer invisible and cannot teleport. In this state, he is quite agile and adept at blocking attacks. Most of his attacks can be blocked and a few of them can even be deflected back at him. He also uses his slingshot so prepare to deflect the projectile when he switches to that weapon. Perseus can also use his shield to blind you. When this happens, quickly move the Left Analog Stick back and forth to pull Kratos out of it. Immediately prepare to deflect the projectile that Perseus then slings at you. Continue attacking Perseus until the Circle button appears above his head. Approach him and press the Circle button. Kratos takes his sword from him and breaks it.
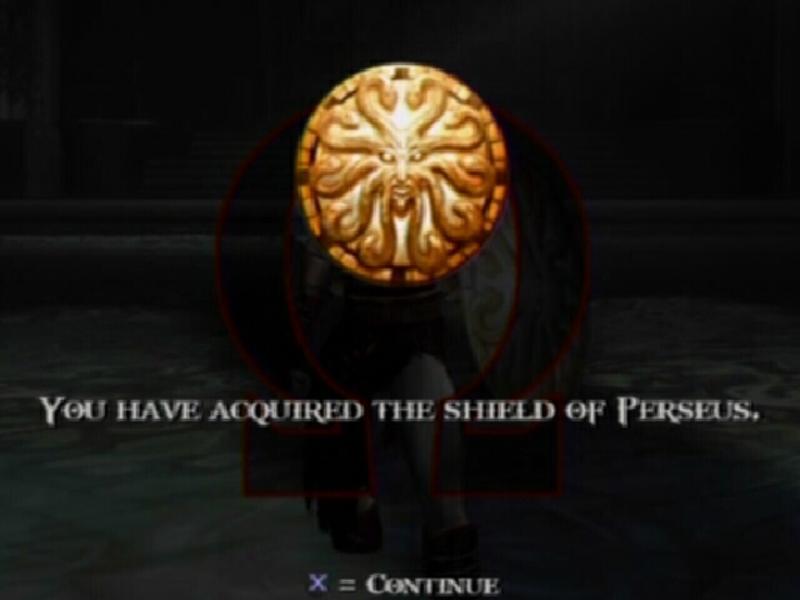
Now Perseus will use his slingshot almost exclusively. He will still blind you with his shield, so don't let your guard down. When Perseus is close to death, he will move to the far wall. Attack him here until the Circle appears over his head. Press the Circle button to start the takedown. Press the buttons that appear on screen and move the Left Analog Stick back and forth while Kratos holds Perseus under the water. Once Kratos has performed the fatality, he receives the Shield of Perseus.

The Shield of Perseus
|
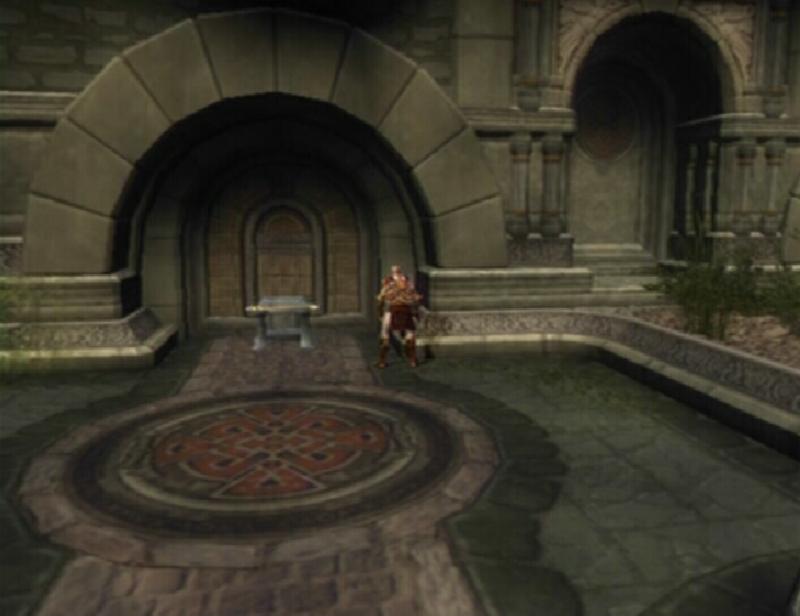
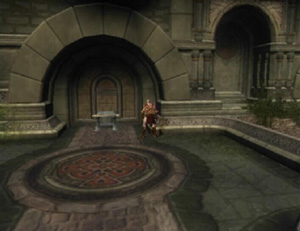
Courtyard of Atropos 2
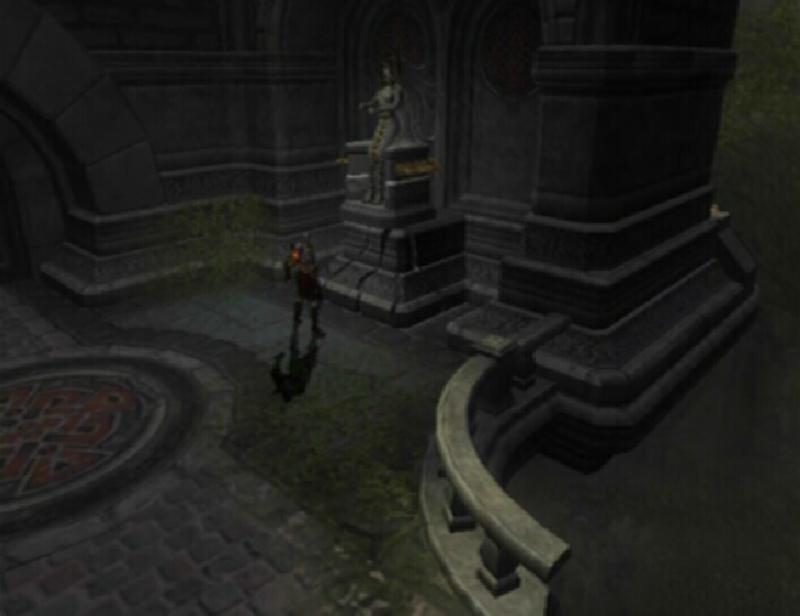
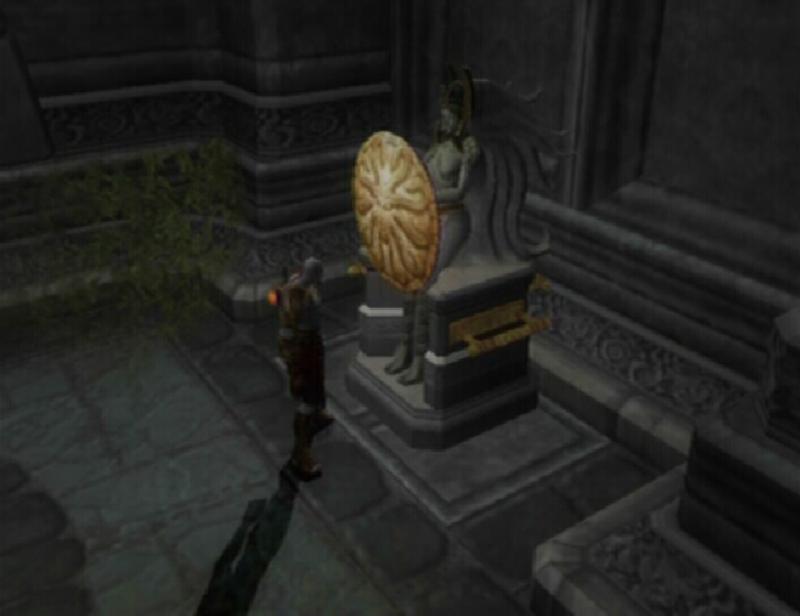
Go through the gap in the wall and slide down the chain to the courtyard below. Get onto the block and climb up the ladder to reach the bridge. On the bridge, head right. At the door, jump over the bushes on the right. Approach the statue in this area and attack its base to shatter it. Press R1 to outfit the statue with the Shield of Perseus. Drag the statue over to the broken bridge ledge and kick it down to the area below.
Shieldless Statue
|
Statue with Shield
|
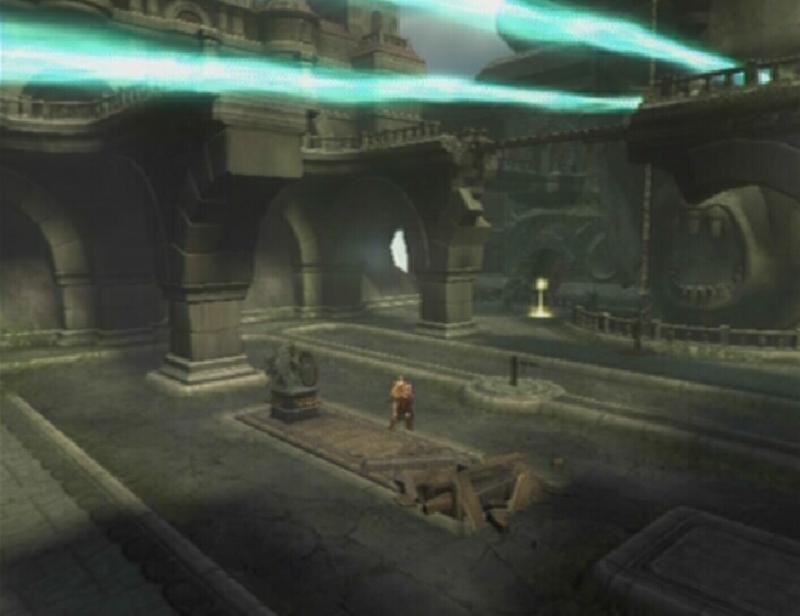
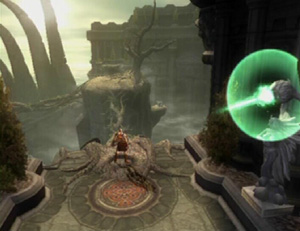
Drop down and drag the statue into the small indent in the lowered platform across from the handle. With the statue in place, grab hold of the handle and turn it clockwise until the platform is completely raised. Next, quickly climb up the ladder to reach the bridge and use Golden Fleece to deflect the statue head's second eye beam to remove the large barrier.

Platform
|
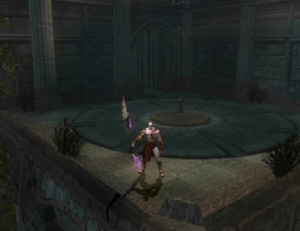
The Edge of Creation 2
Head up the stairs and turn right when you reach the large statue. Use Typhon's Bane to kill the Undead Archers across the gap and then use the grapple point to swing across the pool of water. Continue down the trail and swim through the pool of water when you come to it. Use the Green Orb and Blue Orb chests to restore your health and magic meters if need be. Run past the stairs next to the two chests and turn right at the gate. Don't worry about those chests; we'll be getting to them soon. Scale the climbable wall and pull the lever at the top to open the gate below. Drop down and walk through the gate.
If the dead beast looks familiar, that's because it is. Remember the Dark Rider you killed on your way to the Garden of Lahkesis? That's his Griffin� and his spear, too. Approach the dead Griffin and press the R1 button. Tap the Circle button to pull the Spear of Destiny from the beast. A group of Sentries appears. Kill them off with your new weapon. Now that you have three weapons, you can switch secondary weapons by pressing the Start button to enter the start menu and then pressing Circle to cycle between them. It's a good idea to stick to upgrading Athena's Blades and the Barbarian Hammer, as the Spear of Destiny isn't the best.
Dead Griffin
|
Spear of Destiny
|
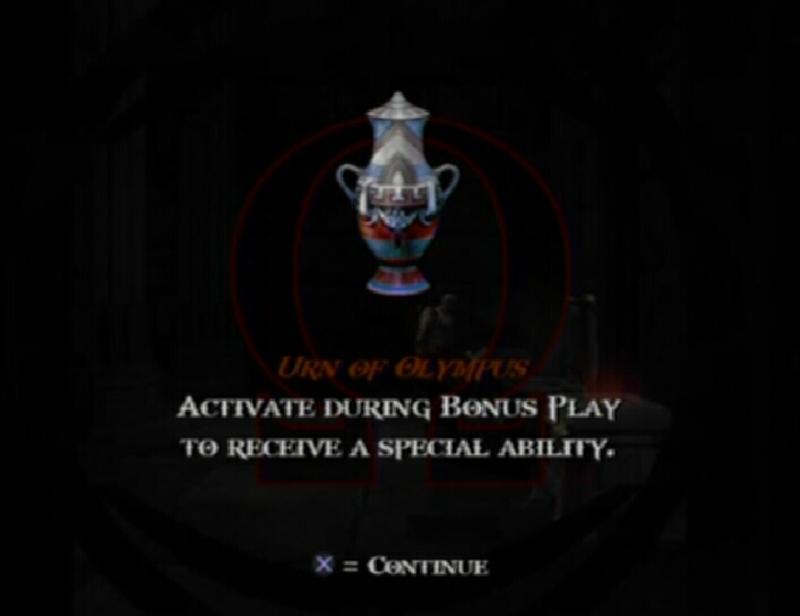
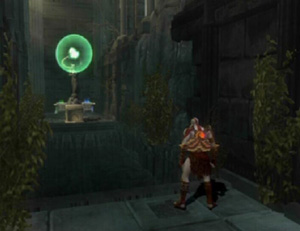
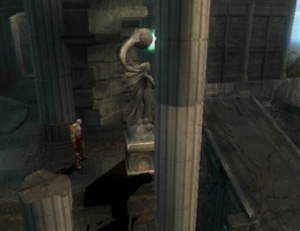
URN OF OLYMPUS: Drag the Fates Statue in the bottom right corner of this area onto the disc surrounding the handle. Grab hold of the handle and rotate the disc until the Fates Statue is facing the doorway. Next, drag the Fates Statue through the doorway then kick it down the ramp and drag it over to the pool of water.
Fates Statue
|
Swim over to the opposite side of the pool. Turn around and walk as far back as you can (the Fates Statue is not on the screen). Turn to where the Fates Statue is and activate the Amulet of the Fates. Use the grapple point to swing across the pool of water and then turn left around the corner. With the Amulet activated, you are free to move across to the chest without bringing the gate down. Jump through the gate to the three chests. The middle chest contains the Urn of Olympus.

Gate
|
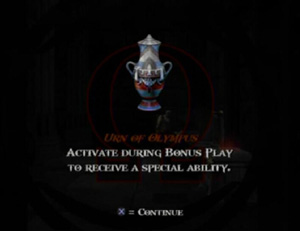
Urn of Olympus
|
PHOENIX FEATHER (17/30): Read the instructions above to reach this chest. It's in the unmarked chest on the far left.
GORGON EYE (24/37): Read the Urn of Olympus directions to reach this chest. The Gorgon Eye is in the chest on the far right. (If you have found eighteen Gorgon Eyes, these directions will lead you to a Red Orb chest. When opened, this chest will release a large amount of Red Orbs.)

Chests
|
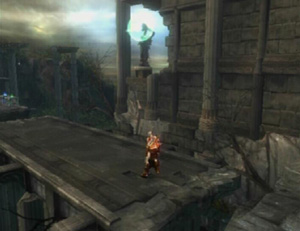
Drag the Fates Statue onto the disc around the handle. With the statue in place, grab hold of the handle and turn it until the Fates Statue can face outwards on the ledge where it was originally placed (refer to picture below). Push the Fates Statue to the end of the ledge. Head back through the doorway, down the stairs and past the gate. Hop over the slanted platform and stand in the middle of it to level it out. Activate the Amulet of the Fates and run across the now unmoving platform.
Fates Statue Position
|
Slanted Platform
|
Crossing of the Lowlands
Use the save altar to record your progress. Move towards the first grapple point, leap into the air and press R1 to attach to it. Now you must use the grapple points in this area to reach the next location.
Proceed down the tunnel. You are halted as a couple of Sirens attack. This variation of Siren is tougher than the one you previously faced. They deal quite a bit of damage with each hit. There are two of them, so you'll have to be extra careful. With Typhon's Bane and a full magic meter you can kill off one of the Sirens from a safe distance. When the Circle appears over the Siren's head, approach her and press the Circle button. If she has been weakened enough, Kratos can perform the fatality. If she still needs to be weakened, Kratos just slams her into the ground. Be sure to kill the Siren with a fatality as you receive a number of Blue Orbs this way, likely enough to allow you to kill off the second Siren in the same fashion.
When you have killed the first two, a couple of Minotaur and another Siren appear. Kill them to remove the barrier blocking your path. Beyond the barrier, if you are really in need of health, quickly run to the Green/Blue Orb chest and open it while its green. A Satyr appears. Weaken him as much as you can because a couple of Juggernaughts will soon join the fight. The Satyr is very fast and blocks quite often. You can block all of his attacks too, however, and a few of them can be deflected. When the Juggernaughts appear, quickly kill them off with heavy attacks (Triangle) using the Barbarian Hammer. Afterwards, you'll have to fight another Satyr before the barrier is removed.

Satyr
|
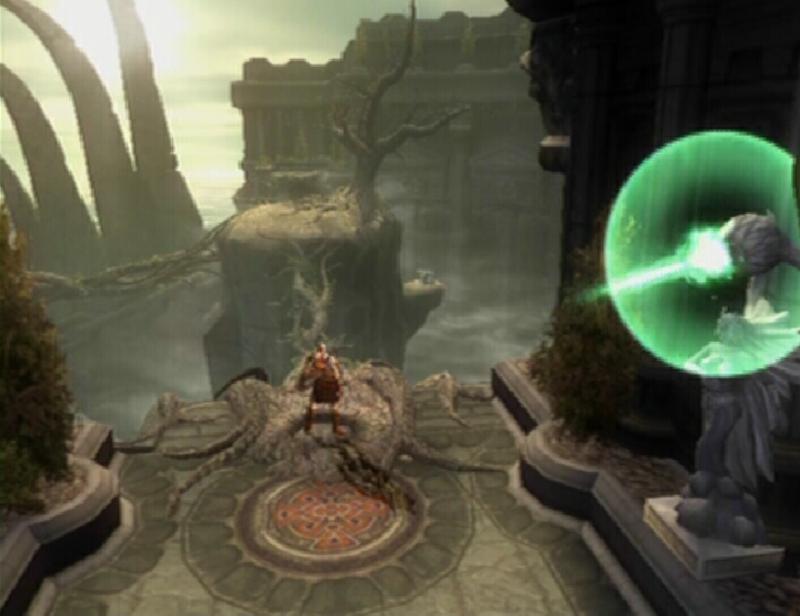
The Great Chasm
Use the Green and Blue Orb chests to restore your health and magic meters. Climb up the steps on the left. Save your progress using the save altar and then start across the platforms.
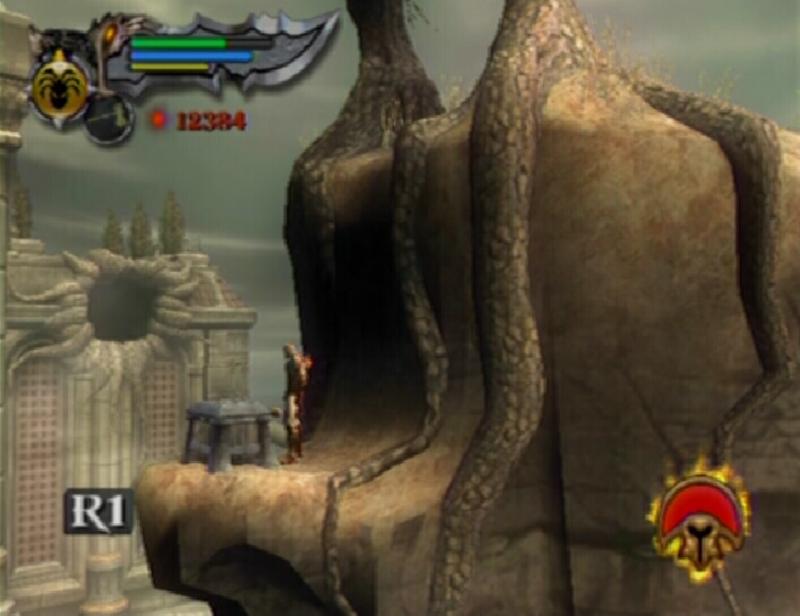
BOSS BATTLE: Icarus
When Icarus jumps on Kratos' back, move the Left Analog Stick in the direction shown onscreen. If you move the Left Analog Stick correctly, after the fall from the platform you will start with the advantage. This is a short battle and basically what you must do is just survive while beating the tar out of Icarus. Use the Square and Circle buttons to punch Icarus while above him. While Icarus tries to get above you, move the Left Analog Stick back and forth. Occasionally, while falling, a full rotation of the Left Analog Stick is needed to avoid being planted into the mountainside by Icarus.

Icarus
|
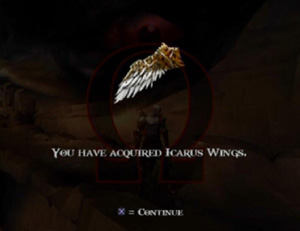
Eventually, Kratos will grab hold of the wings and begin to pull. Rapidly press the Circle button to tear the wings from Icarus' back. After the short cutscene, Kratos receives the Icarus Wings. These wings can be used to glide a short distance.
Icarus Wings
|

Atlas
|
This guide is copyright 2007 SuperCheats.com, no part of it may be reproduced without permission.