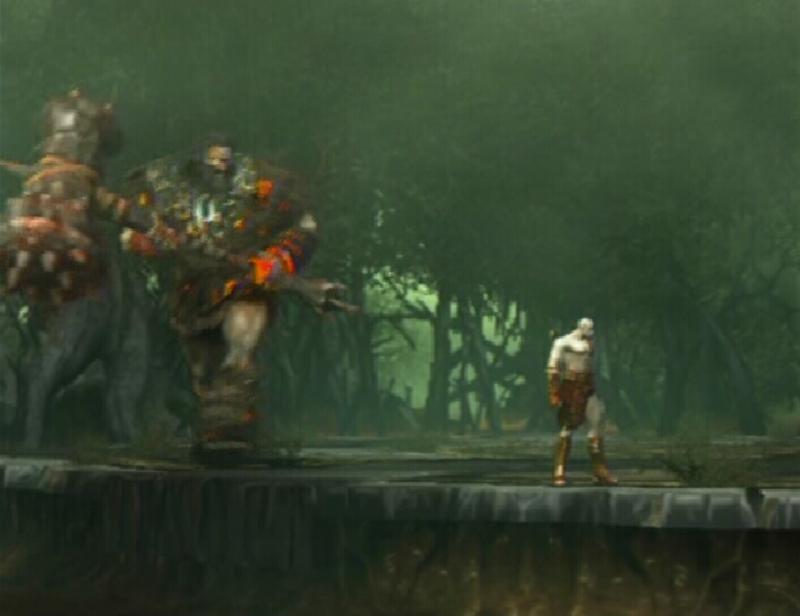
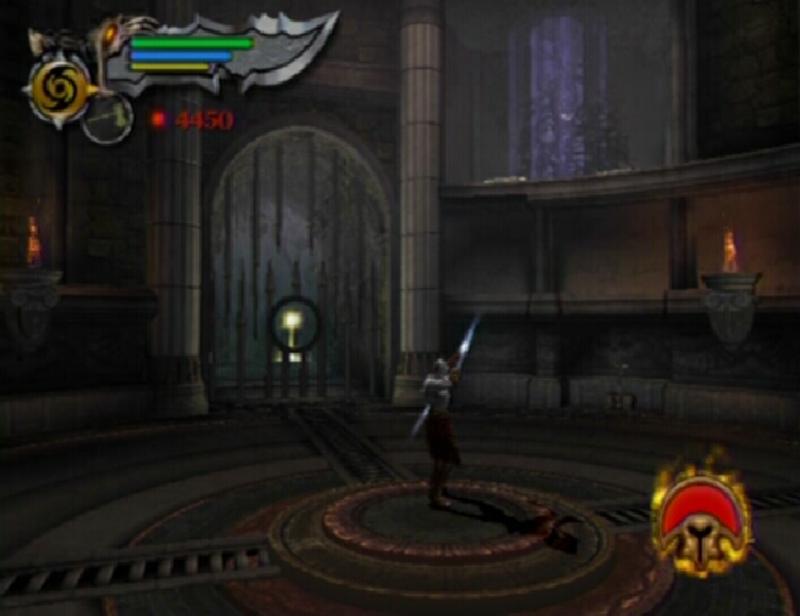
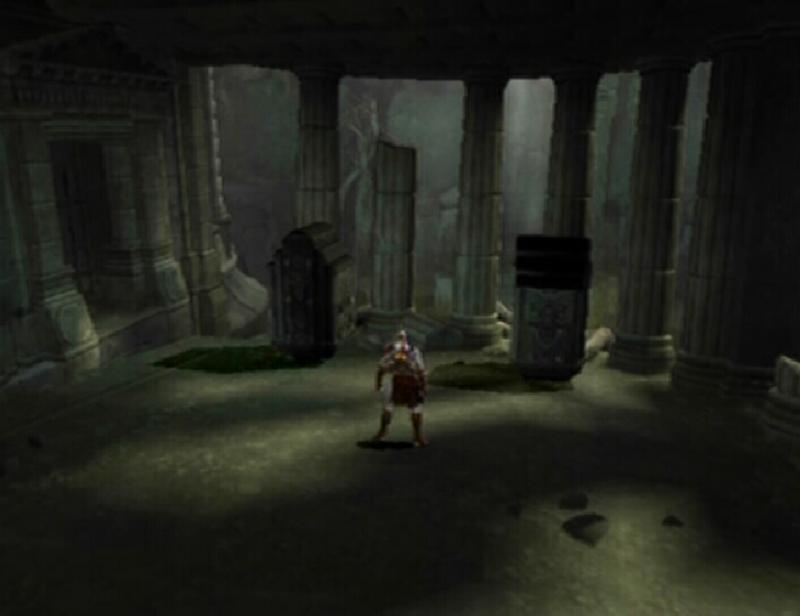
Barbarian King
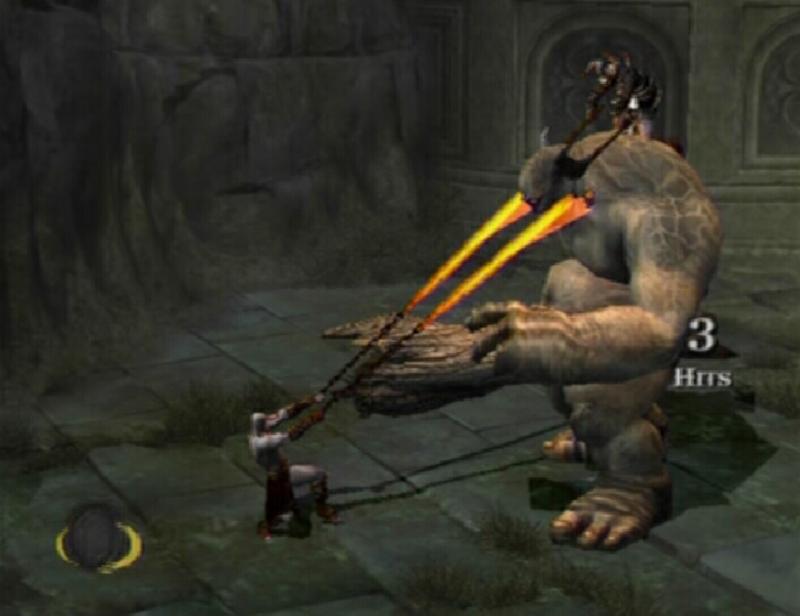
BOSS BATTLE: Barbarian King
After stepping foot in the Bog of the Forgotten, the Barbarian King attacks Kratos. Kratos springs into action, latching onto the Barbarian's Undead steed. What follows is a short button pressing sequence while Kratos works to avoid the obstacles along the way. Quickly press the buttons that appear on the screen until you reach the fighting ground. After the short reintroduction, you regain control over Kratos.
Barbarian King
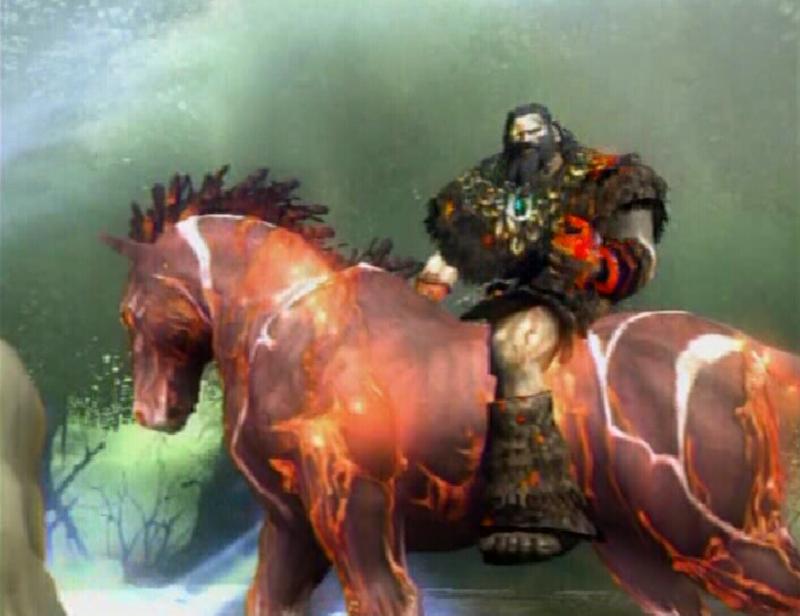
The Barbarian King starts the battle off riding his horse, and your first task is to force him to dismount. While on his horse, the Barbarian King's primary attack is charging towards you and attempting to hit you with that giant hammer of his. He also has a bow which is easy enough to avoid, just roll out of the way or block them. If your Rage of the Titans meter is full, do not use it now. Your best bet would be to empty your magic meter by using Typhon's Bane to damage the Barbarian King. Once you have depleted the magic meter, use Athena's Blades to finish the job. Stand on the edge of the platform you are fighting and when he comes charging towards you, roll out of the way then start slashing the horse.
When you have dealt enough damage, a circle appears over the Barbarian King's head. Approach the horse and press the Circle button, Kratos automatically knocks the Barbarian King to the ground then proceeds to slay the horse. The horse releases a number of Green and Blue Orbs upon its death.
The Barbarian King will quickly summon a group of Undead. These guys can be quite annoying. While they don't have any ranged attacks, they do attempt to get close to you, and if they manage this they can grab you, leaving you vulnerable. However the Undead can be killed with a single grab. Press the Circle button when one gets close to you and Kratos will quickly kill them, releasing some Blue Orbs. The amount of magic restored per undead is minimal, but once you have killed enough, it allows you to use some magic such as Cronos' Rage against the Barbarian King.
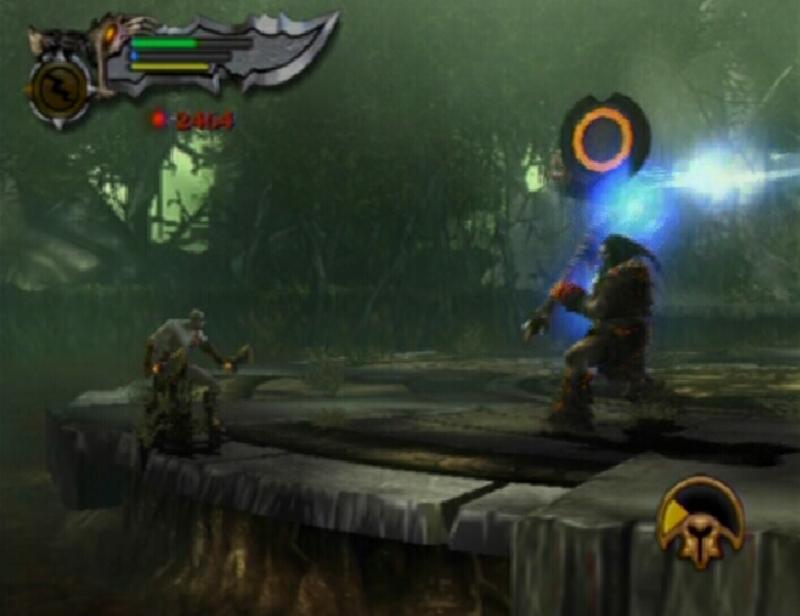
On foot, the Barbarian King's attacks are what you would expect. He mostly tries to smack you with his hammer, but occasionally he will slam his hammer down, causing a small ripple. You can block his hammer swings, but when he slams his hammer down, either roll out of the way or jump to avoid taking damage. He may also move underneath the ground and slide to a different location. You can follow him to the next location by simply following the black trail. If the Rage meter is full, use it now to knock off a fair bit of his health.
Once you have dealt enough damage, the Barbarian Kings grows largely in size. His attacks become very hard to dodge and are unblockable. It's easy for him to keep up with you due to his size, so your best bet would be to use magic such as Cronos' Rage or Typhon's Bane. When your magic meter is depleted, start slashing him and then quickly roll out of the way. You only have enough time to get a couple of slashes in before the Barbarian King attacks. Eventually, the Barbarian King will shrink back down to normal size.
Giant Barbarian King
The Barbarian King attacks differently here. All of his hammer attacks can be blocked normally, and there is one attack that you must roll out of the way to avoid. During this attack, the Barbarian King gathers the spirits drifting around and shoots them at you. This can be quite damaging if you are hit directly so get ready to roll when you observe him gathering the spirits.
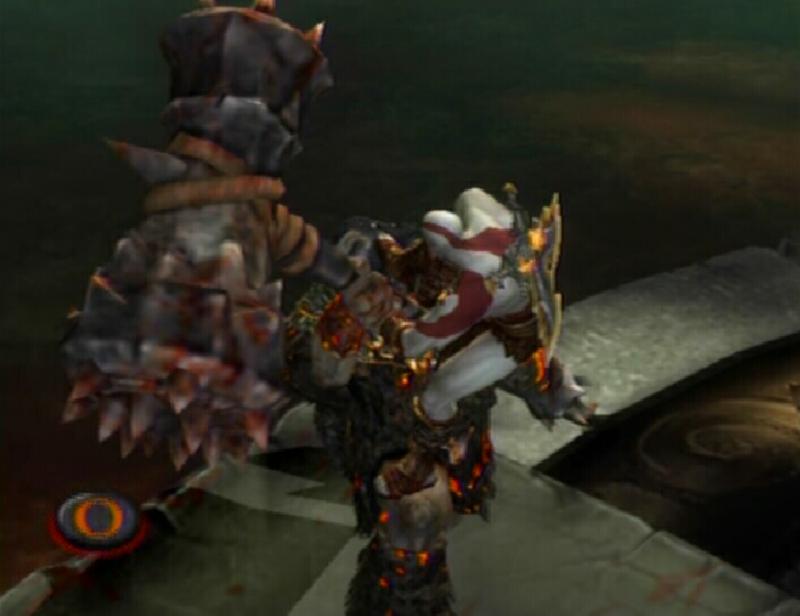
Eventually, once he has sustained enough damage, a Circle will appear above his head. Approach him and press the Circle button to begin the takedown. You must quickly start tapping the Circle button here; even a second of hesitation will ruin the takedown. Once Kratos has wrestled the hammer out of the Barbarian's hands, press the buttons that appear onscreen in a timely matter to finish the job.
Wounded Barbarian King
Takedown
Kratos receives the Barbarian Hammer after the battle. A group of Undead quickly appear and start crowding around, offering a perfect opportunity to test out the new weapon. The Barbarian Hammer controls much the same way that Athena's Blades do, with the Square button performing quick attacks while the Triangle button performs more damaging but slower attacks. As you gain Red Orbs, like Athena's Blades, the Barbarian Hammer can be further upgraded via the start menu.
Barbarian Hammer
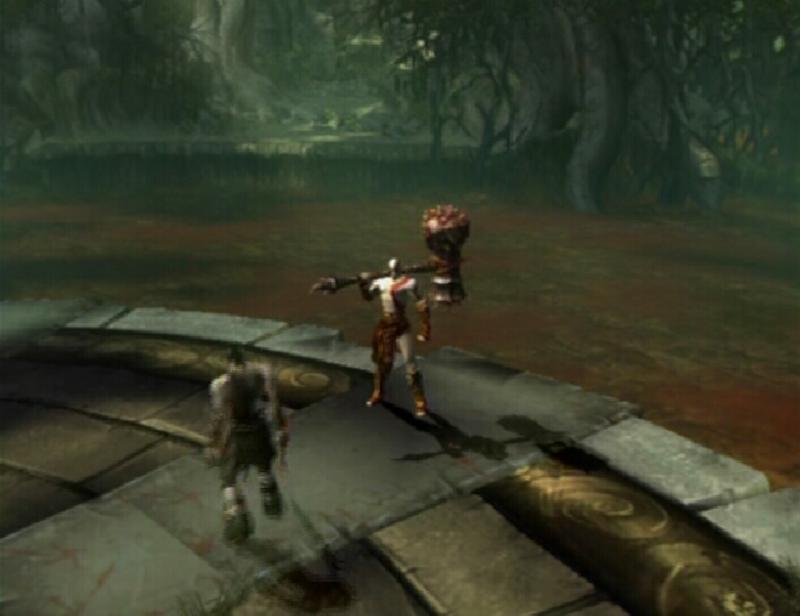
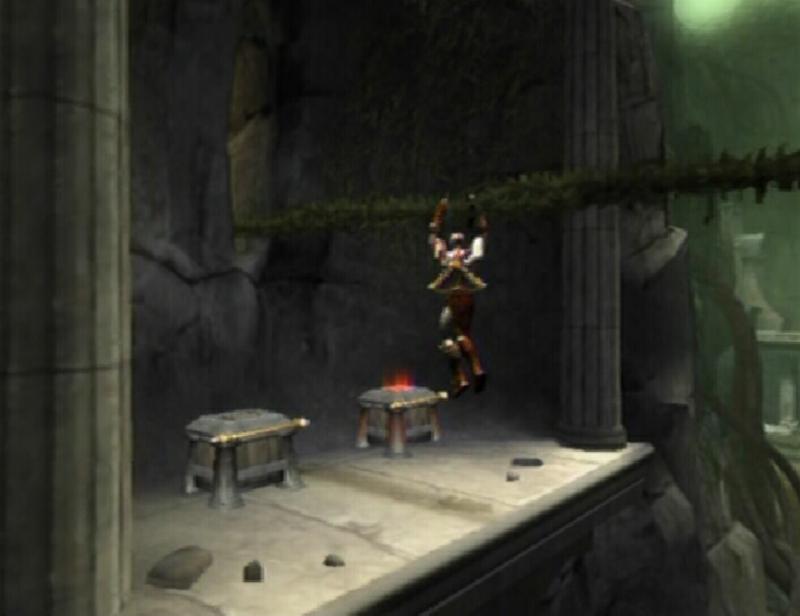
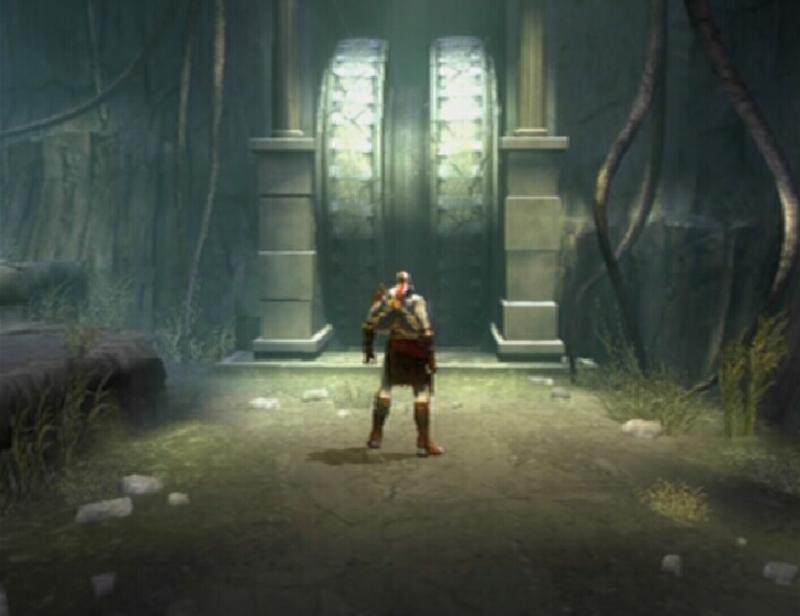
Jump towards the grapple point and swing over to the trail across from the pit. Follow the trail until you come to the Temple of Euryale.
The Temple
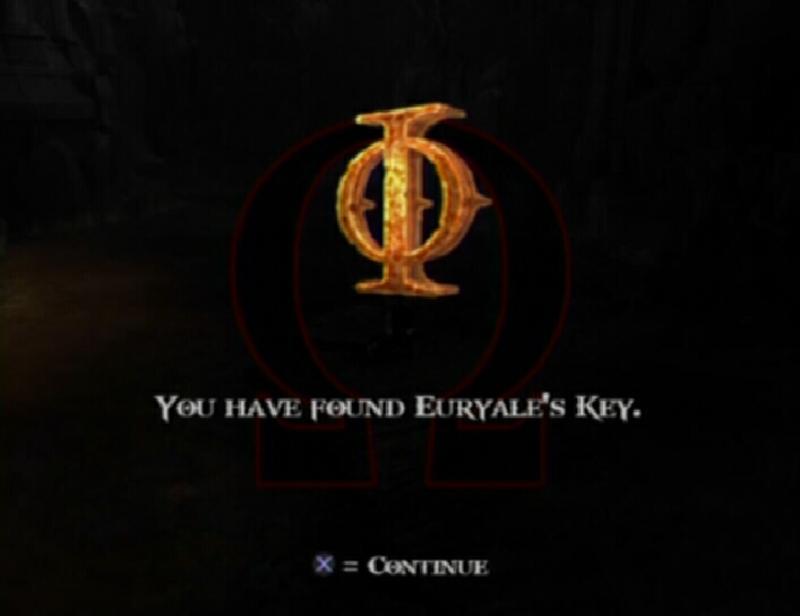
There is a save point and Green Orb chest along the right side of the temple. You can't enter the temple just yet, so instead continue along the right side of the temple. You will soon reach a bog and witness a warrior being dragged away by a pair of Minotaur. Approach the mangled body near the bog and search it to find �Euryale's Key.� Once you have the key, a group of Beast Lords attack. These guys are fast and can block most attacks. Since they are fast, your best bet would be to use Athena's Blades and Cronos' Rage against them.
Euryale's Key
Return to the temple. You'll have to face a group of Skeletons here, but they are easily dealt with. Attack them until the Circle appears over their head and then press the Circle button to finish them off. Move along the left side of the temple and use Euryale's Key to open the gate.
GORGON EYE (14/37): Step through the gate and turn right to find an unmarked chest. The Gorgon Eye is inside of this chest.
Gorgon Eye 14
Ruins of the Forgotten
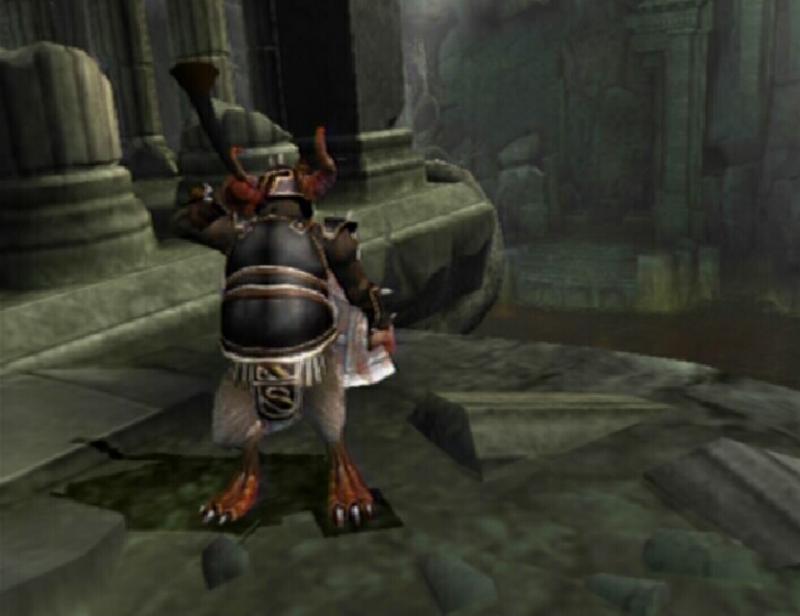
A Beast Lord appears when you enter the area and summons a Cyclops with his horn. The Beast Lord then proceeds to climb onto the Cyclops. First things first, dismount the Beast Lord rider, then approach the Cyclops and press the Circle button to start the takedown. Rotate the Left Analog Stick in the manner shown onscreen until the rider is thrown off. Kill the rider to prevent him from boarding the Cyclops afterwards. You can simply continuously grab the Beast Lord until Kratos performs the fatality.
Beast Lord
Beast Lord Takedown
Now for the Cyclops. The big brute uses entirely physical attacks and he also moves quite fast. A few of his attacks can be blocked, but it would be best to simply roll out of the way. His ground slam attack definitely cannot be blocked, so when you see him raise his fist up into the air, quickly roll or jump out of the way. The normal punches and kicks can be blocked, but may also stun Kratos momentarily, allowing the Cyclops to strike with the ground slam. There is a Green/Blue Orb chest in this area that you may be able to open if you really need to, but only attempt to open this chest while the Cyclops is roaring. When you have dealt enough damage, a Circle appears over the Cyclops' head. Approach the Cyclops and press the Circle button to start the takedown. Press the buttons as they appear on screen to kill the Cyclops and tear out his eye.
Once the first Cyclops has been dealt with, two more Beast Lords enter the area. Immediately run over to the Beast Lord nearest you and lock him in a series of grabs until Kratos performs the fatality. Hopefully, if you are quick enough, you can avoid having to face two Cyclops at once. Kill the rider (or riders) first and kill off the Cyclops as you did the first one. Each time you kill a Cyclops with a takedown, you receive a Cyclops Eye.
Once you have acquired twenty Cyclops Eyes, you will earn a bonus costume. Don't worry about collecting Cyclops Eyes during your current playthrough. There is a much easier way to get these by using the �Challenge of the Titans� mode that is unlocked once you have completed the game.
After the battle, make your way to the tilting platform on the right side of this area. Grab hold of the object and drag it away from the gate. Open the gate and start down the path.
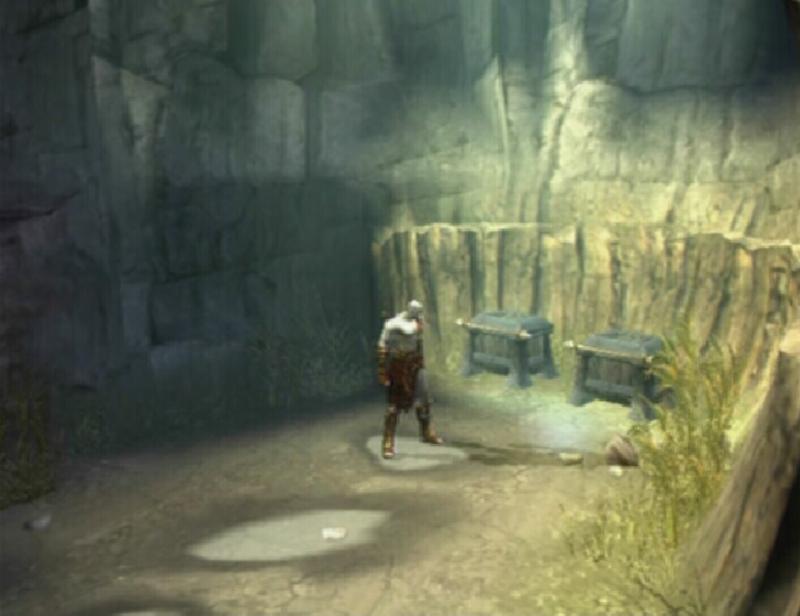
PHOENIX FEATHER (9/30): While moving down the path, keep an eye on the right for a large block in the corner. Get on top of this block, then double jump up into the air and press the Triangle button to dislodge an unmarked chest from the hanging block up above. The Phoenix Feather is in this chest.
Block
Phoenix Feather 9
You will reach an area with a large stalactite hanging down from the ceiling. If you continue down the hallway here, you will reach Blue and Red Orb chests. Enter the room with the stalactite. A couple of Wraiths appear as you approach. Remain on the top ledge and kill the Fire Birds first; they eventually stop respawning. With a full magic bar and Typhon's Bane, you should be able to kill at least one of the Wraiths down below. A good combo to use against Wraiths is �Plume of Prometheus� (Square, Square, Triangle) with Athena's Blades. With this move, you can sometimes lock them into a combo that they cannot escape from. With all of the enemies dead, slash the rock to break the stalactite.
A grapple point is revealed. Get back up onto the ledge and swing across the pit. Swing across the next couple of grapple points to cross swampy water.
GORGON EYE (15/37): Once back outside, climb up the ladder on the right side of the initial area. Move across the vine over to a platform that holds a Red Orb chest and an unmarked chest. The Gorgon Eye is inside of the unmarked chest.
Gorgon Eye 15
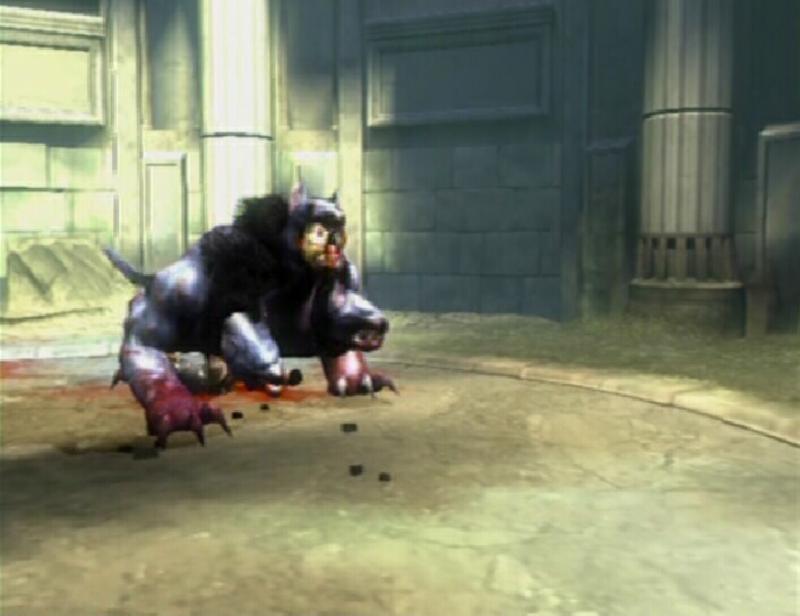
Kill the Sentries and hop across the tree trunks to the other side. There are three Fiends standing on the walkway up ahead. Run under the walkway, out of reach from the Fiends' fireballs, and attack the left and right pillars. The Fiend above drops down when you destroy a pillar. Lock them in a series of grabs until Kratos performs the fatality. When you have killed the two Fiends, approach the large pillar in the middle and grab hold of it. Alternate between the L1 and R1 button to shake the pillar, causing the Fiend above to jump off of it. Two more Fiends spawn once this happens. If you stand near the swampy water and grab a Fiend while their back is to the water, Kratos can kill them by simply tossing them in.
Jump up onto the broken pillar's base and then up onto the ledge across from it. Once you are up, turn right to find a Green Orb chest in the crevice. There is also a Red Orb chest in the crevice on the left. Follow the trail to a large, circular room.
GORGON EYE (16/37): Stand on the button in the middle of this room and look up to the right of the gate to see a small alcove with two chests in it. With Typhon's Bane equipped, hold R2 to aim at the vines and shoot them until they are removed. Doing so reveals a grapple point. Use the grapple point to pull yourself up to the alcove. The Gorgon Eye is in the unmarked chest on the left.
Grapple Point
Gorgon Eye 16
Pull the lever that is to the right of the closed gate, doing so lowers both of the gates on either side of the room. The alcove on the right side of the room contains a body, leave it alone for now and instead make your way to the alcove on the left side of the room. This alcove contains a switch. Attack the wall to create an opening, revealing a water stream. Step into the alcove on the other side of the room, the one with the body, and destroy the wall there, too. A couple of Fiends appear. Simply kill them with multiple grabs. Pick up the body and place it in the water. Run across to the other alcove and wait for the body to appear in the water stream on that side.
Water Stream
Switch
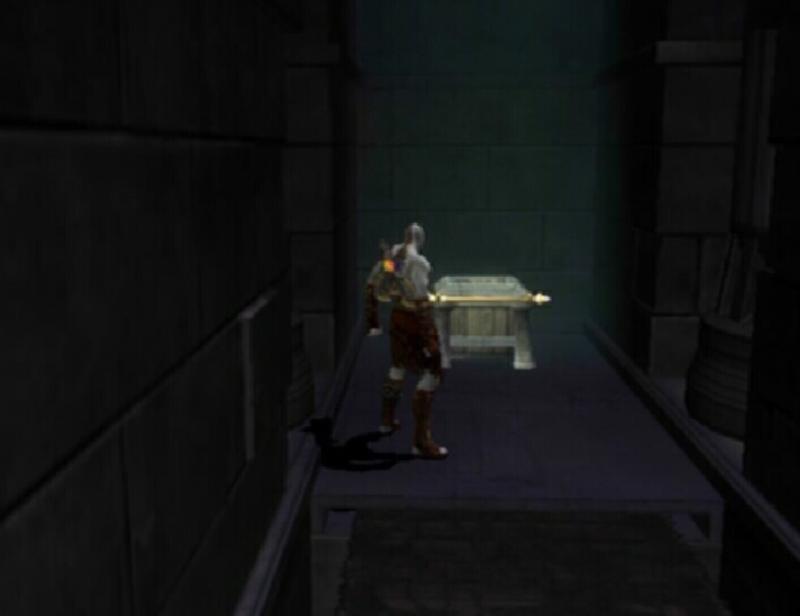
Pluck the body out of the water and place it on the switch. Now, stand on the switch in the middle of the room. Both of the gates blocking your progression are now open, and with this setup, you have enough time to make it through both gates before they close. Run off of the button and move past the first gate. Save your progress using the altar if you wish.
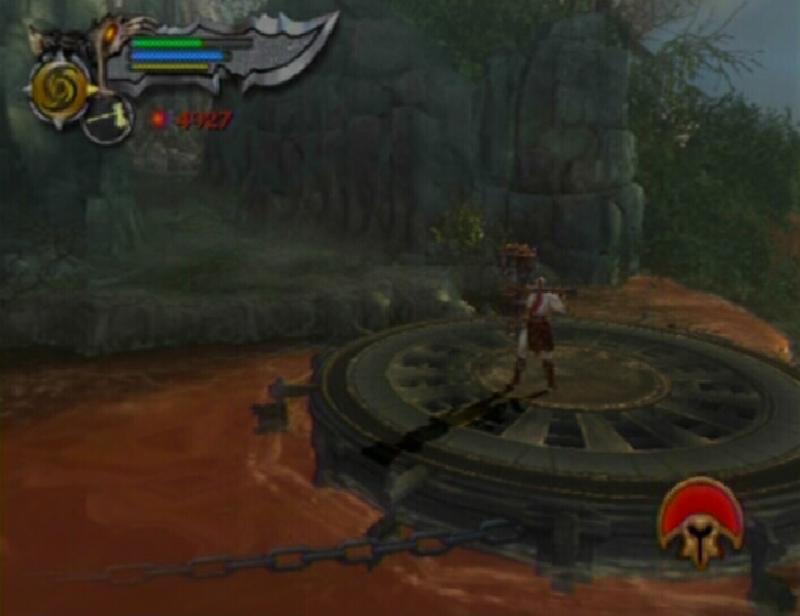
River of the Forgotten
Approach the edge of the cliff and leap onto the disc platform. Use the handle to spin the disc over to the disc in the distance. All the while Sentries spawn and attempt to interrupt the turning. While you are not on the handle, the disc slowly spins back to its original position so you must kill off the enemies quickly so you can get back to moving the disc. If you have upgraded Athena's Blades to at least level three, a good move to use to quickly take out the Sentries is �Cyclone of Chaos� (L1 + Square). You can also use �Crushing Defeat� (L1 + Square) with the Barbarian Hammer. If the final charged strike of Crushing Defeat hits a Sentry, it will punt him into the swampy water.
Ignore the Sentries for as long as you can while turning the disc. Once they hit you, then start attacking them. When you are close enough to the second disc, hop over to it. Moving this one is a bit more difficult as the Sentries seem to spawn at a greater rate. Continue turning the handle as long as the Sentries allow. If you can get them close to each other, the final blow from Crushing Defeat will send both of them flying off of the disc platform. Jump over to the third disc when you are able and then finally to the other side.
Disc Platform
Use the Green/Blue Orb chest to restore one of your meters (health takes priority, of course), and then approach the giant rock in the distance.
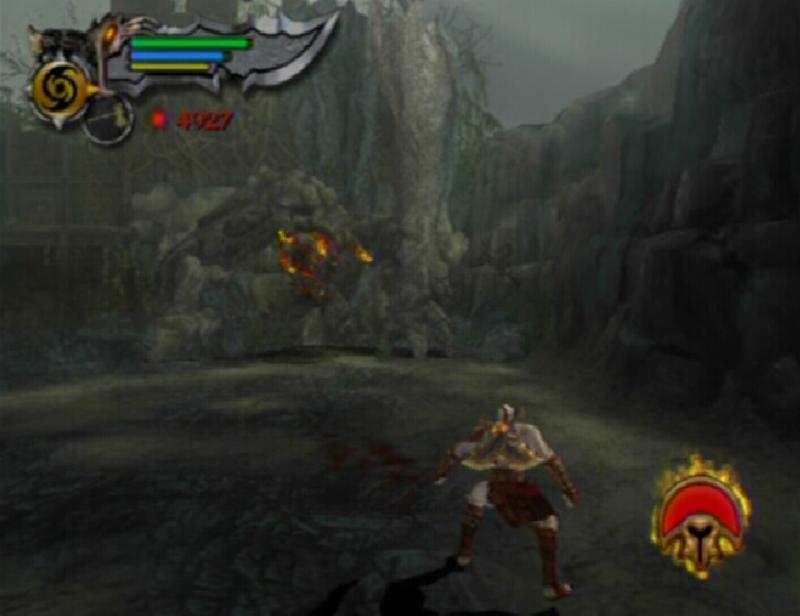
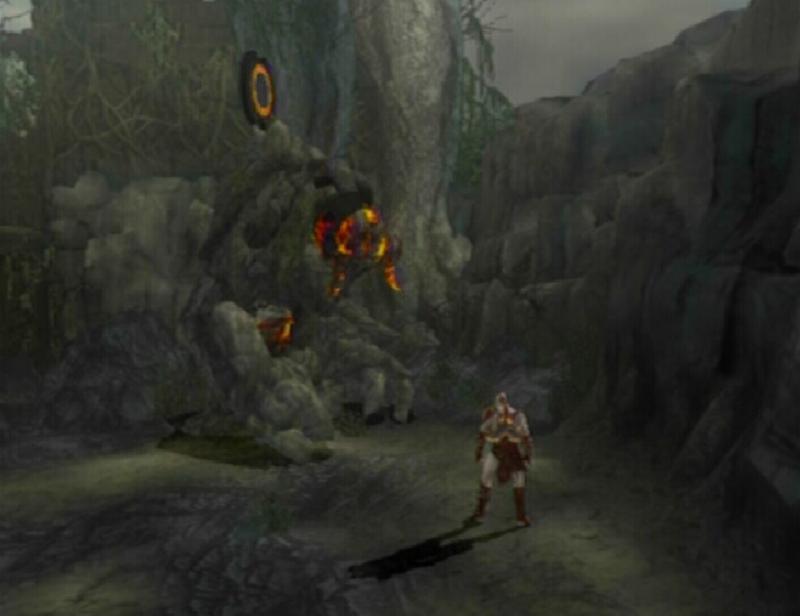
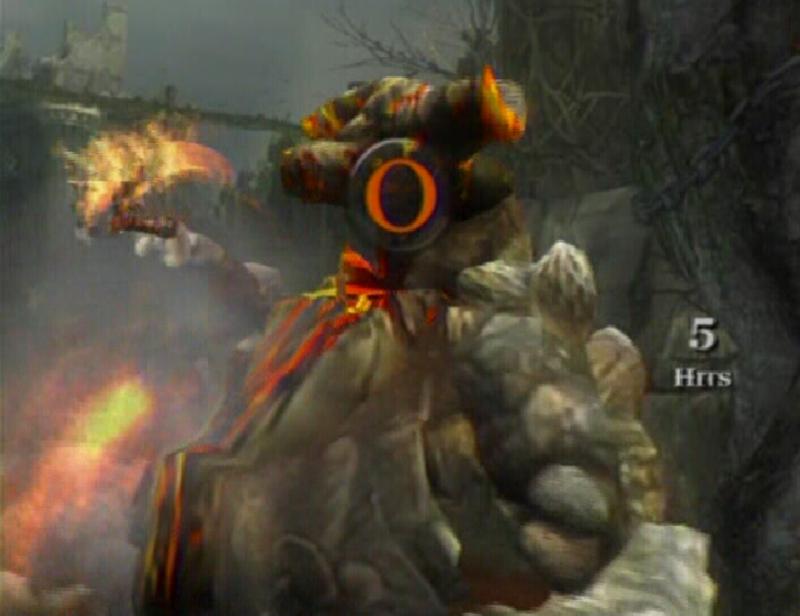
BOSS BATTLE: Rock Minotaur
All of the Rock Minotaur's attacks are quite damaging, so you must be especially careful. If you get too close to the Rock Minotaur it will likely start to pound the ground so quickly roll out of the way to avoid this attack. When you are at a distance, the Minotaur may launch a boulder at you. You can block this boulder, but you must block it just before it is about to connect with Kratos. It would be best to simply roll out of the way, however, because even if you do manage to successfully block the boulder, Kratos is still sent flying backwards.
One move you're really going to want to avoid is the Rock Minotaur's double lariat. If you are caught in this, you can take quite a bit of damage. To avoid this, simply roll backwards. The Rock Minotaur gives you plenty of warning when he is going to start the double lariat; when it twists around and places its left arm next to its right, get out of the way!
Rock Minotaur
Athena's Blades are the best choice here. They allow you to execute attacks quickly enough while still permitting you to roll out of the way to avoid the Minotaur's retaliation afterwards. You can also use Typhon's Bane to knock a bit of its health off. If the Rage of the Titans meter is full, this would be a great time to use it. With Rage of the Titans activated, the Rock Minotaur can be killed very quickly. By the time the meter is empty, the Minotaur should be close to death. Once the Minotaur is wounded, approach it and press the Circle button to start the takedown. Press the buttons as they appear on screen to finish off the Rock Minotaur.
Wounded Minotaur
Minotaur Takedown
After the battle, stand near the rotted tree and press the R1 button to pull it down, creating a bridge to the ledge. Climb the wall over to the platform and cross the rope vine to the other side. Move towards the giant spinning wheel. Lift up the door on the wall next to the wheel to reveal a Fates Statue. Press the L1 and R1 buttons at the same time to slow time down, allowing you to safely run over the now stationary wheel.
Walk across the log connected to the conveyor belt and then hop onto the other conveyor belt right next to the masher. You must make it to the end of this conveyor belt as the green beams of energy shooting out from the walls will turn you to stone, leading to eventual death by the masher. To make things worse, there are Sentries on the conveyor belt as well. Whatever you do, don't grab them, just keep walking up the conveyor belt until the green beams cease for a moment. At this point run through that set of beams. Once you reach the wooden gate at the end of the conveyor belt, continuously attack it until it breaks. Run and jump off of the conveyor belt and use the grapple point to swing to the platform across the way.
Smash the middle statue to reveal an opening blocked by a stone object. Push the object out of the way, then hop down into the area below. As you can see, you've been here before. Drag the stone block over to the far end of the tilting building. Move the identical stone block that was initially there to the same location. After doing this, run up the now slanted building and grab hold of its edge. Tap the Circle button to lift the building and tilt it into the swampy water.
Stone Blocks
Lifting the Building
Jump down onto the building's roof and jump over to the platform across from it. Start climbing across the wall, destroying the dead tree in the way, then move over the gap and slide down the wall onto the ledge. Follow the path and you will soon come to a large gear. Hop up onto the ledges on the left and speak to the injured soldier at the bottom. After the short chat, pick up the solider and start carrying him down the path to the right of the blocked doorway. You'll have to put him down to fight the Gorgon along the way. Once she has been dealt with, pick the soldier back up and move on. When you come to a conveyor belt, place the soldier on it as his body jams the gears.
Conveyor Belt
PHOENIX FEATHER (10/30): Move past the conveyor belt. Two unmarked chests sit at the end of the path. The Phoenix Feather is in the unmarked chest on the right.
Phoenix Feather 10
GORGON EYE (17/37): Once the gears have stopped, return to the large gear that you saw at the beginning of this area. Smash the stationary gear to reveal an unmarked chest. The Gorgon Eye is inside of this chest.
Gear
Gorgon Eye 17
Once the conveyor belt has stopped moving, destroy the two gears and step into the next area. Use the Green/Blue Orb chest to restore one of your meters and then open the gate to the left.
BOSS BATTLE: Cerberus
Jason has been devoured by the giant, black three-headed beast known as Cerberus. The arm wearing the Golden Fleece dangles from the middle head's jaws. This Cerberus is tougher than the variant that you first fought. Its attack pattern is quite similar with some new attacks thrown in. Its flamethrower attack is probably the most damaging in its arsenal; the Cerberus indicates that it will use this attack when it lifts its heads up. Quickly roll out of the way to avoid taking damage. This Cerberus may also shoot fireballs when you are far away. The Fireballs can be blocked, or you can simply roll out of the way. As for physical attacks, if you are far it may charge you; if you are close it may either scratch or headbutt.
Cerberus
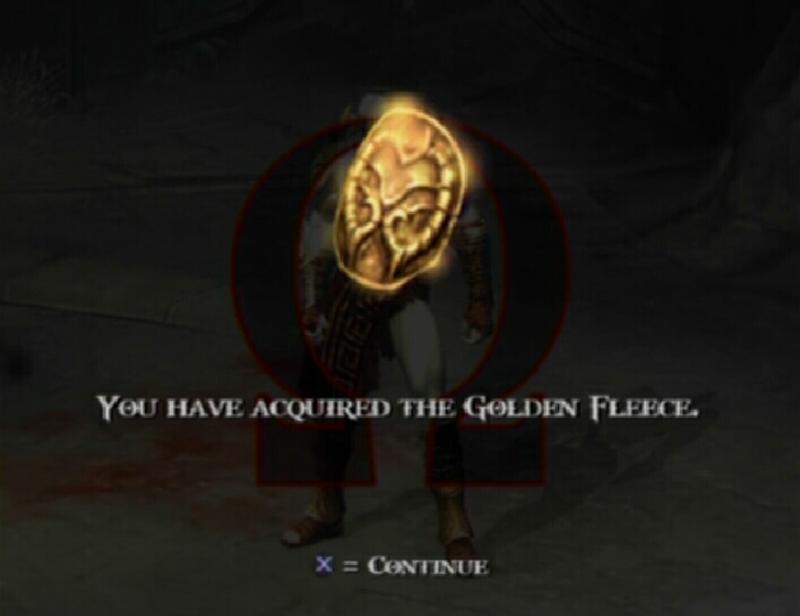
Athena's Blades is the weapon of choice here. You may also want to use Typhon's Bane to weaken the beast a bit from a safe distance. With Athena's Blades, use normal attacks (Square), doing so allows you to get a few strikes in and then quickly roll out of the way to avoid Cerberus' retaliation. Cerberus can take quite a beating so you'll have to be very consistent with avoiding its attacks. You must last through this battle with only one health bar. Of course, if the Rage of the Titans meter is full, now is the perfect time to use it. Once you have dealt enough damage, a Circle will appear over the Cerberus. Approach the beast and press the Circle button. Kratos reaches down its throat and pulls out the Golden Fleece, finishing the Cerberus off at the same time.
Golden Fleece
After the fight, throw the lever on the right side of the arena to activate the fireball spitting door. Stand behind the scorch mark on the ground made by the flames. As soon as a fireball is about to hit you, tap the L1 button. If done correctly, Kratos will deflect the fireball and launch it back at the door, destroying it and creating an exit. Two Gorgons appear. You can easily defeat them now by using the Golden Fleece to deflect their gaze back at them, petrifying them instead.
Move back across the scalable wall and drop down onto the toppled building's roof. Jump over to the patch of land with the corpse that held Euryale's Key and make your way back to the Temple of Euryale.
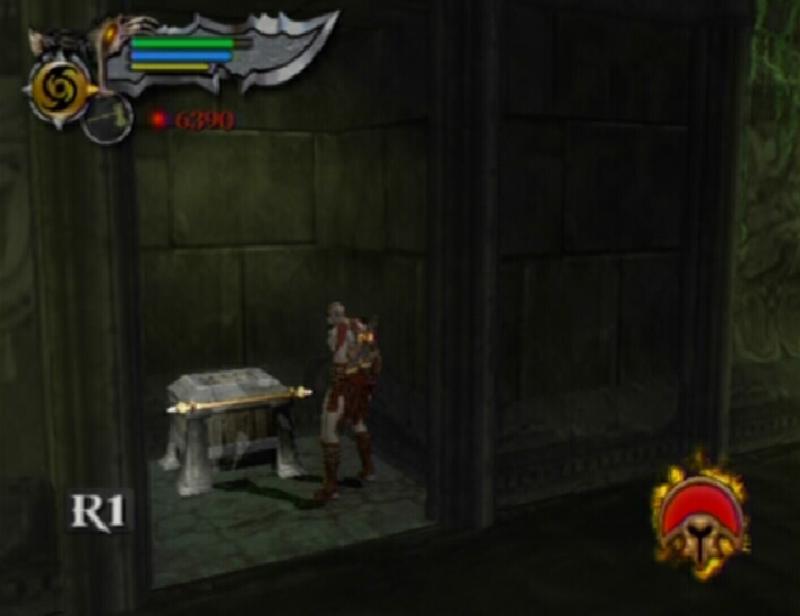
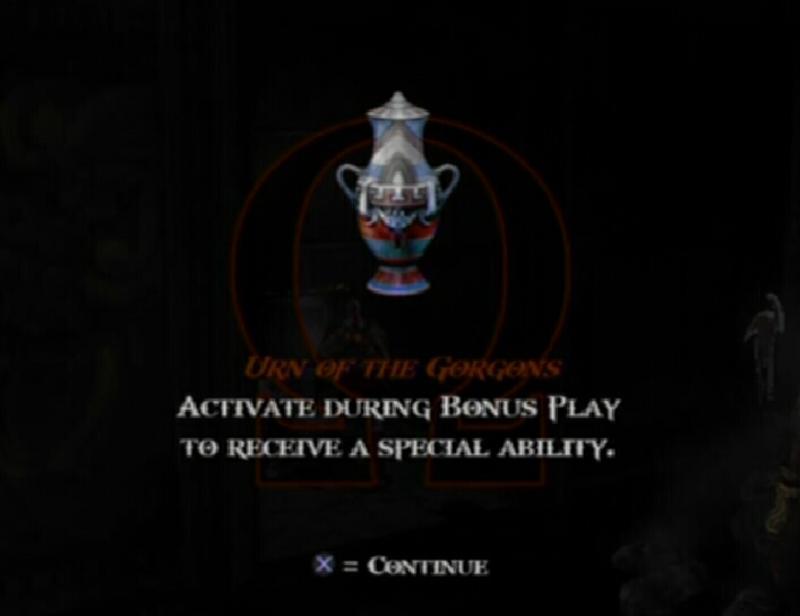
URN OF THE GORGONS: This can be found back in the area with the Gorgon beam conveyor belt. To return there, walk along the left side of the temple of Euryale to reach the Ruins of the Forgotten. Move towards the gate on the right side of the Ruins where the building used to be and hop over it. Open the gate and start down the familiar hallway. You've travelled this path before and there is little resistance along the way so it shouldn't take you very long at all to reach the conveyor belt.
Once you have reached the conveyor belt, use Golden Fleece to deflect the middle Gorgon beam. Stand near the beam and press L1, then quickly press the button that appears on the screen. If you miss, you will be turned to stone and the Sentries on the conveyor belt will likely break you. The wall is broken and an unmarked chest containing the Urn of the Gorgons is revealed if done correctly.
Unmarked Chest
Urn of the Gorgons
PHOENIX FEATHER (11/30): In the area with the conveyor belt and Gorgon beams. Use Golden Fleece on the first beam along the belt. The unmarked chest that is revealed contains the Phoenix Feather.
Phoenix Feather 11
GORGON EYE (18/37): In the area with the conveyor belt and Gorgon beams, use Golden Fleece on the last beam along the belt. The unmarked chest that is revealed contains the Gorgon Eye.
Gorgon Eye 18
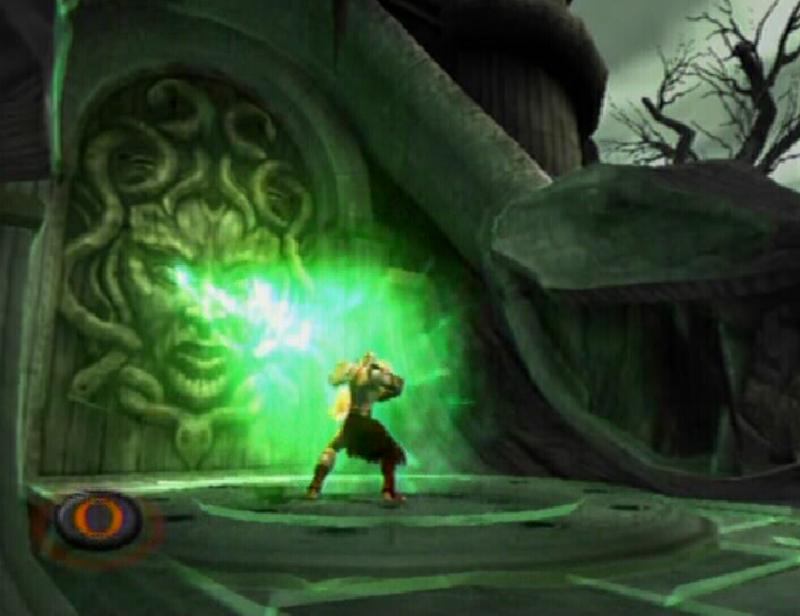
When ready, use Golden Fleece on one of the Gorgon beams shooting out from the temple door. Tap the Circle button to reflect the beam back at the door and then hit the door to make it shatter.
Templedoor
This guide is copyright 2007 SuperCheats.com, no part of it may be reproduced without permission.