The Door in the Wall
Prototype Walkthrough and Guide
Prototype Guide - Walkthrough
The Door in the Wall
Before this mission can begin, you must purchase the Tendril Barrage Devastator, which can be found under the Area Effect section of the Combat category in the Upgrades menu. If you haven't purchased Airdash Boost, Airdash Double, Airdash Double Boost, and all of the Jump and Sprint upgrades in the Movement category, consider doing so now; you'll need to do a lot of moving around in the missions to come.
When you've acquired at least the Tendril Barrage Devastator, stand in the yellow marker outside of Dana's Safe House and press the Y/Triangle button to get started.
Mission Objective: Rescue Dana
A Leader Hunter—a larger, more powerful version of the standard Hunter—has Dana, and is carrying her through the city. The Distance meter in the top-right corner of the screen indicates how much further you can fall from the Hunter before it escapes. You must not let the meter drain completely, otherwise the mission is failed. Use Glide and Airdash Double to keep up. To use Airdash Double effectively, wait until Alex has flown as far as the first boost will take him, then enter Glide, release, and immediately press RT/R2 again to perform the second dash. If you find yourself keeping pace with the Hunter, scale to the top of a building if one is nearby and Glide from there to cover more ground.
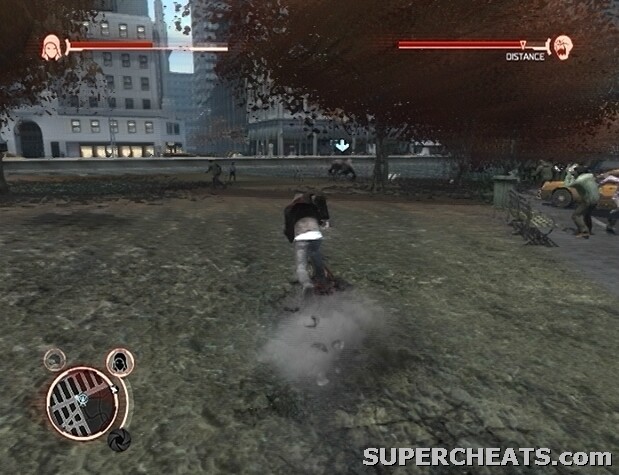 Keep pace with the Leader Hunter! |
The Leader Hunter will eventually lead you to an Infected zone, which is crawling with other Hunters. Do not engage any of the enemies here, and instead focus on following the marked Hunter. If you're on street level and the Leader Hunter starts swinging at you, dodge its attacks and Sprint up a building until it starts moving again.
Once through the Infected zone, you'll come to an area where you are ambushed by four or five marked Hunters. You must defeat each marked target before the Leader Hunter will continue on its path. Now is the time to test out the Blade and Armor Power. Note that while the Armor Power is equipped, Alex's movement is limited, and he thus cannot Glide or Diveroll. For this reason, the Armor Power is best used when stuck in a corner and faced with one or more large enemies. Four or five basic attacks with the Blade Power equipped are enough to bring down one of the marked Hunters here.
When the marked Hunters have been dealt with, immediately unequip the Armor Power and continue trailing after the Leader. The Leader will soon lead you to a construction site, which marks the end of this mission.
No comments yet. Tell us what you think to be the first.