Save Horizon
Mass Effect 2 Walkthrough and Guide
Save Horizon
The Illusive Man informs you that another human colony, Horizon, has just gone silent. As well as duty-bound to intervene to protect the humans on the planet, it is a perfect opportunity to catch the Collectors in the act. Unfortunately, Shepard has someone with history on Horizon. If you have a Mass Effect 1 game save, it is the character you saved at the end of the game. If you don't, the character is Ashley Williams if you are a male Shepard, or Kaiden Alenko if you are female. Shepard will pay a visit to Mordin to see whether he has developed a resistance to the Collectors' attacks.
 Mordin has been hard at work. |
Horizon
You will be greeted to a cut-scene showing your previous ally under attack by the Collectors. It is unclear whether any humans could get to safety or not, but regardless, you must discover as much as possible about the Collectors and stop them from ravaging all of Horizon. You will also be introduced to the Harbinger, a supremely powerful Collector who assumes control of its drones on the planet and increases their potency. Watch out for this in battle.
Team Selection: Biotics are always vital, but there are some melee-only enemies on this mission too, so taking a hard-hitting combat character with you isn't a bad idea. Overload is vital against the Harbinger and other Collectors.
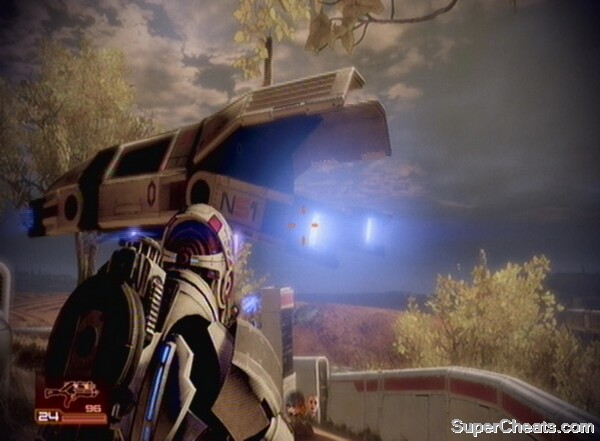 Wave goodbye to your ticket out of here. |
Investigate Horizon
From the start, move up the slope until the area opens up. Get into cover when you see the Collectors swarming down ahead. Here you will see a few Collector Guardians. They have Barriers, so deal with these first and then use your preferred anti-flesh weapon to finish the job. There will also be Collector Drones, unshielded and relatively easy fodder, and Collector Assassins. These pack a serious punch with their laser weapons, and you should avoid getting hit by it twice in quick succession. They also have barriers.
With the Collectors down, pick up the Power Cells in the centre of the area, and hack the datapad on the picnic table up ahead. Continue on and you will lose contact with the Normandy. Just before you drop down into the urban area, try to pick off any Collectors you can see in the distance. Take the plunge when ready and clear the lower area. More Collectors will float into the battle. Prioritise the Assassins as you are introduced to Husks. These featured at the start of Mass Effect 1, and are not really a threat as they lumber slowly towards you. If you become surrounded by too many of them they can defeat you, but as long as you remember your melee attack button (B on Xbox 360) you should be fine.
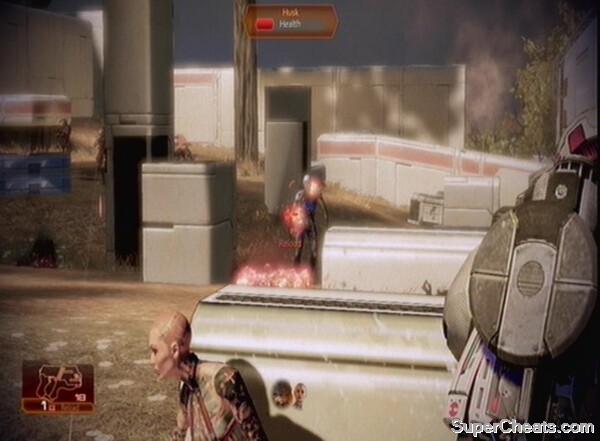 Keep an eye on the Husks, but they should rarely pose a serious threat. |
Move inside the building to the right to access a Datapad and move out of the other end. You can also scan a Dead Collector at the far end of this lower section for a Heavy Skin Weave Upgrade. When ready, move through the archway, examining the Dead Husk on the path ahead.
The Collectors are taking the colonists alive, but why?
Proceed through until you come to another colony area. Pick off the Collectors on the balcony of the building ahead. This will attract others to your position, so get into cover. Some will also be sniping you from the room up high. Search the building on the left for a Med Kit and the one on the right for a Safe. Move past the furthest building and up onto the white area filled with explosive canisters. Continue ahead and up the stairs, taking note of the colonists in stasis on your way.
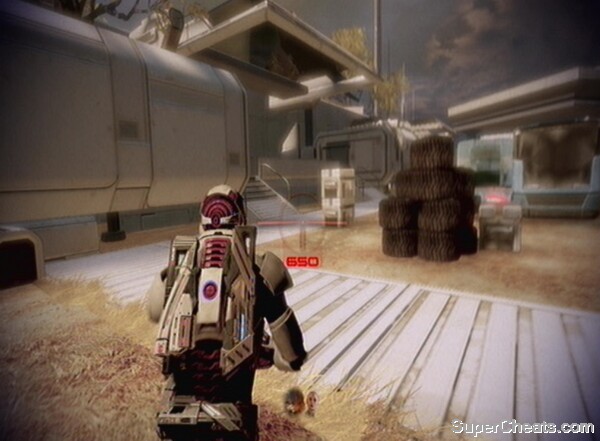
In the building at the top of the stairs you can hack a computer. After you've done this, head back down the stairs and back onto the earth past the pair of frozen colonists. Be sure to take the Particle Beam from the Collector just in front of you – this weapon is vital for future progression.
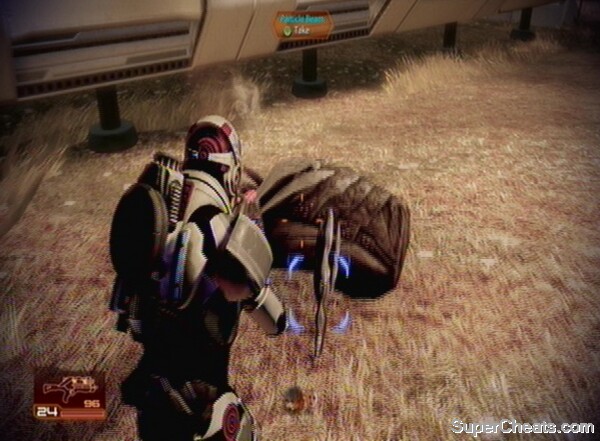 Make sure you pick up this Particle Beam. |
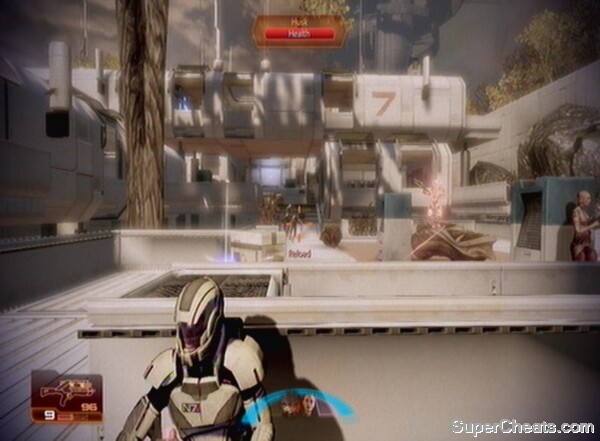
With the Particle Beam in your inventory, go into the building on the left and move into the area ahead. A cut-scene will play showing the Collector General taking control of a Collector once again. Get into cover in the doorway and pick off your targets. You will need to remove the Harbinger's Barrier, before his Armour is exposed. Once a Harbinger's Barrier is down you need to take it out quickly, because it can recharge. Investigate the building on the right of this area once you have cleared out the Collectors to find a Computer to access.
In the corner of this battle-zone you can also find a tiny colony room with some Power Cells inside. Head for the large structures in the other corner and hack the bay door beneath them. Inside this room you will find the first survivor of Haven colony. He's a mechanic, and is just concerned with his own safety. He informs you about some defence towers that your former ally had installed. We can use them against the Collectors. First we need to calibrate the targeting systems. Finish up the conversation with any questions you want to ask, then make use of the Med Kit, take the Refined Platinum and hack the Wall Safe in this room. You can also use the Weapons Locker to switch up your weapons if you wish.
Get to the Defence Tower
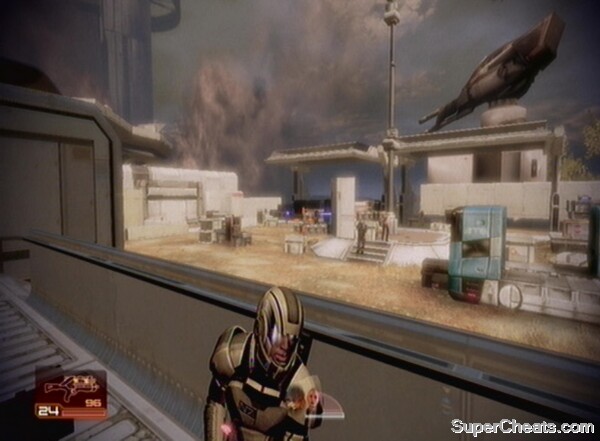
Advance out of the room into an open area. Ahead is a very dense colony section. Pick off the Collectors amongst the buildings from behind cover.
 Pass through the main colony area. |
Watch out for Husks, Harbingers, Collector Guardians and Assassins. You will also be introduced to Scions for the first time. These are heavily armoured Collectors with high-powered attacks. Luckily they have no shields, but still take a heck of a lot to bring down.
Neither of the buildings in the middle are noteworthy (except for some Power Cells outside the back of the one on the left), so head to the rear of this area once you've dealt with the Collectors. You will find a Dead Collector to scan for a Biotic Damage Upgrade on your way. Ignore the bypassable door for now, climbing the stairs to the overpass above. In here is a Computer to access. Back downstairs you can now bypass that door.
You are now in the area with the Defence Tower (the big spike in the middle).
The cover in this section is poor to say the least. Not only is the area covered in explosives, but the Husks can easily outflank you and your team. The Scions that drop in at the start of this battle can rip your to shreds if you are not clever defensively. As soon as you enter the area, sprint to the left and up onto the raised walkway between the two buildings. This provides the best cover in the area (though this tactic is not without its flaws). Ignore any gunfire until you get there and are in position (and ensure your team is up with you too). You may have to blast a Husk that has taken up residence in this area.
 Make haste to the cover spot ahead. |
Use the Collector Particle Beam to zap any Husks from behind cover, and then focus your attention on the Scions. The Particle Beam will drain their extensive armour rapidly, but you will still have to duck into cover every so often. Once the wave is over, pick up an additional Med Kit if you haven't done already from the box at your cover-spot. Don't be fooled into leaving cover, the next wave will come to you.
Husks will rush your position. Your Particle Beam will make light work of them, otherwise use Biotics to fling them around the arena. Once the Husks stop coming, move into the middle of the area to investigate the tower. Don't interact with it yet, collect as much ammo as possible that has been dropped by the Collectors – you're going to need it.
When ready, hack the Computer at the tower. Shepard re-establishes contact with the Normandy, where EDI informs you that it will take time to get the defences back online and up to full power. You'll have to hold out until then, so rush back to your cover position from before. To make matters worse, EDI's meddling will attract even more Collectors due to the increased power output.
 Get back to your position! |
Hold Your Position
The Collectors will come in from the far corner and you should have plenty of time to get back to the cover spot with your squad. Use the Particle Beam to thin the Collectors out and finish off the rest with long-range weaponry and incendiary rounds. After the first wave you need to be on your guard as Husks will spawn in our cover area. Deal with them quickly and get back behind the wall. Collector Assassins will now be in the area and you must focus on them. A Harbinger will also have been deployed, so work on getting the Barriers of these targets nullified.
Watch out for the Harbinger's weird missile as this will dislodge you from cover, even if you are completely out of the way. A cut-scene will follow after this second wave.
Defeat the Praetorian
A new enemy and an intimidating boss is introduced here.
 The Praetorian |
You will also have been warped out of your position in cover (though your team should still be there). The Praetorian is clumsy and slow, but deals a heck of a punch. Rather than going back to your previous position, it is important to stay on the move against this thing.
You can use any weapon on the Praetorian, and as you move around the arena you should pick up ammo from the dead Collectors to replenish your weapons. There is a problem, however. Once you get the Praetorian's barrier down, you must deal as much damage as possible because before long it will have a new one back up again. After every devastating shot at you it has a period required to recover where you can deal a lot of damage on it. When it turns blue it slams the ground and replenishes its barrier.
When you hear it firing at you run behind cover (don't lock to it, just get out of the Praetorian's line of sight) and then dart back out to get some hits on its armour or barrier while it's resting. Once its armour is at zero, it will disintegrate and the Defence Turrets can open fire.
Kill the Praetorian.
The cut-scene shows the Collectors' vessel leaving with its tail between its legs, chased off by the newly-activated defences.
Your familiar friend will then make an appearance in a cut-scene, at which point you will have to try to justify your role working for Cerberus. After that, you'll find yourself back on the Normandy. The Illusive Man will have a talk with you, congratulating you for your work. It will be revealed that he started the rumour that led to the Alliance (and the Collectors) going to Horizon, but at least you were able to stop them and gather more intel. You will be told to sort your team out and recruit some more people from the Illusive Man's dossiers.
You only need to recruit two of the three, but it's always nice to have extra options, so we'll cover all of them.
The Normandy
Two of the recruits are on Illium, a planet with all the trimmings of Omega, so it makes sense to head there first. As mentioned above, if you want to blast through as quickly as possible, just go to Illium and get these two recruits.
Eat my ass