- Garrus: Eye for an Eye
Mass Effect 2 Walkthrough and Guide
Garrus: Eye for an Eye
The Citadel:
Garrus' loyalty mission is on the Citadel, a place that reappears from the first game, but which we have not yet visited in the course of this guide. As such, you can look at the Citadel section towards the end of this guide for more info, or carry on (there's not much you need to know for this loyalty quest).
First, ensure you have spoken to Garrus about his problem on the Normandy. If he doesn't appear to be very talkative, try completing other loyalty missions first. He will tell you about one of his old missions, where his team was betrayed, costing the lives of all his men. We need to locate Fade, a shifty-individual who knows where Garrus' old enemy is.
Once you arrive at the Citadel, head for Level 26 and the entrance to the Shipping Warehouses.
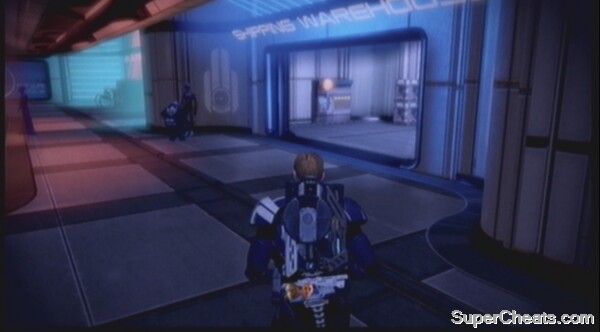 Enter the Shipping Warehouses |
Meet Fade:
Go through the door and down the stairs to meet a Volus, claiming to be Fade, and his goons. In the conversation which follows, you may end up fighting the Volus' Krogans, or you can use a Renegade interrupt to take them out before they get a chance to fight. They may be so afraid of your reputation that they will just stand down and leave you alone, however. Without his Krogan, the Volus reveals that he is not in fact Fade, and tells you where you can find the real thing (whose real name is Harkin, confusingly).
Apprehend Harkin:
Harkin can be found in the Warehouse District, a previously inaccessible destination of the transit system. He is a character that also appeared in the first game, when Shepard was first trying to locate Garrus. You can head to the Warehouse District now. Upon arrival, Harkin will be waiting, but leaves some Blue Suns Mercenaries behind to deal with you while he flees.
Deal with the first wave of mercenaries and head through the pair of doors. Directly ahead in the next room is a Med Kit and some Trash to search (next to the door you come in through). You will have some LOKI Mechs to fight as you move forward.
 Enter the Shipping Warehouses |
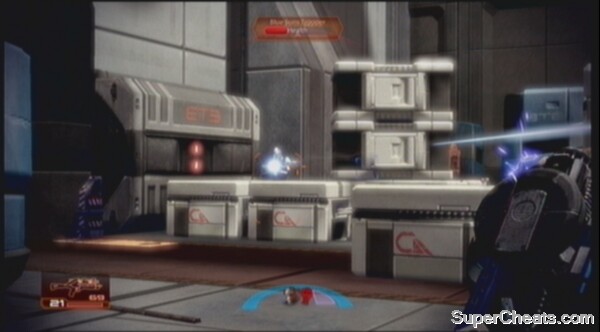
Push through the Blue Suns Troopers, using the explosive canisters to make your life easier wherever possible. You will find a Wall Safe around the row of crates once the enemies have died down. Move through the bay doors into another area. Bypass the Circuit Boards in the machinery near the coach at the entrance before moving around the corner to the left. Use the ramp to give yourself a height advantage, and pick of any enemies that you can see. Some Loki Mechs will come from a red-area to the right hand side. Continue forward and more LOKI Mechs will drop down from cranes above. Eliminate them and the Blue Suns Troopers that follow, before scavenging the Circuit Boards to the right of this area. Once you reach the end of this room you will find Refined Iridium, Power Cells (vital for the battle ahead), a Laptop to hack and a Med Kit.
With all this collected, you can then activate the Bridge Controls to open up a route ahead. Take out the initial wave of Blue Suns Mercs and you will come up against their commander, replete with shields and armour. This is a tricky section as the Commander's men will all attack together, and in addition to a heavy mech! Use attacks that deal damage to a large area, such as Jack's Shockwave, or upgraded versions of Pull and Push to best cope with the situation. Use Overload on the Commander and his mech to get their shields down, before switching to heavy weaponry to finish the fight.
Tackle the Commander and his mech.
At the end of the area there is a Med Kit to restock your supplies, before rounding the corner and entering the door to the next section. In the next room be sure to pick up some more Power Cells, access the Wall Safe, and collect the Forged IDs from the desk, to access a side-quest on the Citadel for later. When you're ready, access the Window Console, before heading through the door. Hack the Terminal in the next room, and continue outside.
Be sure to pick up the Forged IDs!
Engage the LOKI Mechs that attack initially. Soon a Blue Suns Commander will join the fight. Use Overload and heavy attacks to take down his defences before letting rip with a biotic attack. With him out of the way, climb to the right of the level and you will find a Datapad on the far side. Hack this for credits. Note that to 'climb' you need to press yourself up against the wall, as if using it as cover, and then push over the top while pressing to leave cover – as if you were vaulting an obstacle.
Once you have investigated this initial area, you should move to the right hand side of the area, on the raised section, but without dropping down into the next. Two YMIR Mechs will attack when you press up against the crates at the edge of this level. Even all your heavy weaponry is unlikely to be enough to deal with one, so use Overload and any other relevant attacks to chip away at their defences. Sniper rifles are very effective for this, especially if you have unlocked a quick-firing version.
If you thought one mech was hard...
With the mechanical menaces dealt with, move up the ramp towards Harkin's position. He'll send some LOKI Mechs down the lifts towards you, but these should be easily dispatched. Vault your way up to Harkin, and allow Garrus to deal with him. You can intervene to allow Harkin leniency, or join in the torture to gain Renegade Points. Eventually, Harkin will agree to set up a meeting with Garrus' old acquaintance, Sidonis.
You are sent straight there, and have a difficult choice to make. You can either allow Garrus to kill Sidonis, or warn him of the plan. You must then talk Garrus out of his anger, as it becomes clear that Sidonis is haunted by what happened. So, you can block the shot and keep Sidonis alive, or allow Garrus to have his wish – the Renegade and Paragon options should be obvious, but Garrus will be grateful either way, as this loyalty mission is completed.
No comments yet. Tell us what you think to be the first.