Defensive Strategies
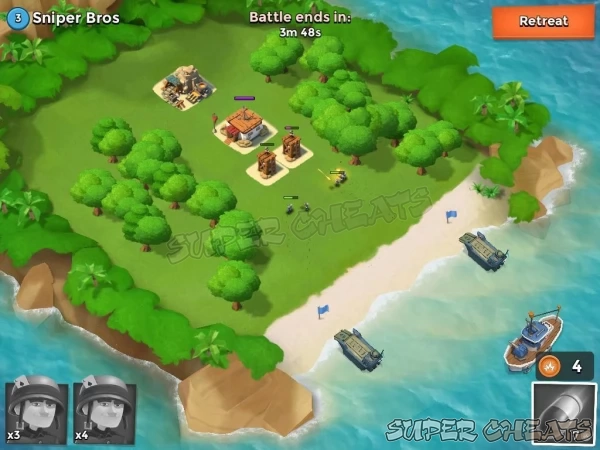
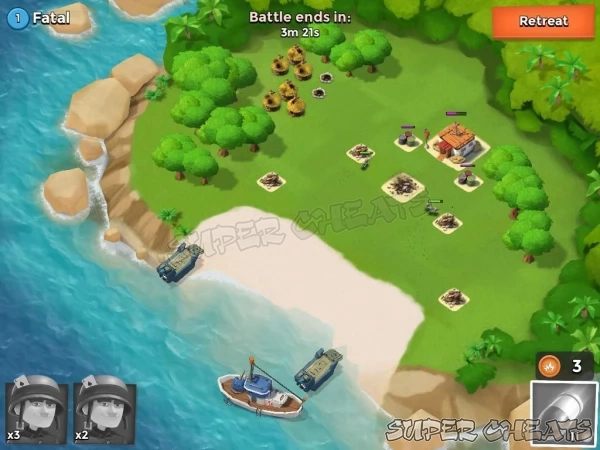
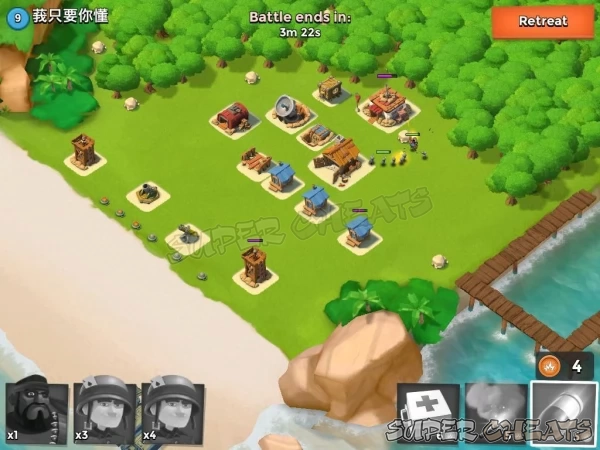
You need a good defensive strategy to ensure that your base isn't being constantly pillaged by enemy troops. Where you place your buildings, which you choose to level up, and how many of each you decide to build all have a bearing on how successful your defense is likely to be. This section of the guide will advise you on where to place key structures, such as your Headquarters, Defensive Buildings like Cannons and Sniper Towers, and Economic Buildings that you don't want the enemy getting their hands on!
Defensive Buildings
Strengths and Weaknesses
In this section we'll look at the strengths and weaknesses of each defensive Building. In the list below, we start with arguably the weakest building, the Machine Gun, and finish on the strongest, the Boom Cannon.
Machine Gun: The Machine Gun is strong against Warriors and Infantry, and to a lesser extent Zookas - especially when they are grouped together allowing its inaccurate fire to land hits. Zookas can be protected by the enemy leading with Heavies.
Flamethrower: Like the Machine Gun, the Flamethrower is strong against Infantry and Warriors. It can quickly overpower large groups of weak units with poor range.

Mortar: Also strong against Infantry and Warriors. Generally the lower-level structures are strong against lower-level units. Once you have upgraded them, Mortars can do serious damage to Tanks and Heavies too - if a large group of units is together then the Mortar comes into its own due to the splash damage factor.
Sniper Tower: Surprisingly, the first Building you get in the game does well against a large number of units, including Tanks. It also fares well against Heavies and Warriors. Make sure your Sniper Towers are spread out so that they cannot all be taken out by a single Shock Bomb.
Cannon: The Cannon's specialty is dealing with Tanks, as its attacks do double damage.They also do well against Heavies and Warriors. They are one of the most powerful troops available early in the game, so are worth protecting with other structures to ensure you can defend against high-level enemies.
Rocket Launcher: The Rocket Launcher is good against Warriors and Infantry, and later, once you have leveled up sufficiently Tanks and Heavies. Place them a good distance apart so that they can cover each other - if they are too close together then their blind spots are shared.
Boom Cannons: These receive the same benefit against Tanks as regular Cannons, so they have double attack when firing on those units. They can also do well against Heavies and Warriors. Try putting them in a triangle, once three have been unlocked, as that is arguably the most effective position for them.
Layout
The key for planning your layout is to make sure that all of your defenses are far enough apart. If they are too close, then the enemy can damage many of your structures at once with a single Artillery bombardment from their Gunboats.
Think about the strengths and weaknesses of the buildings as mentioned above. Make sure if a Building has a weakness, a counterpart with a strength in that area is close by to assist when necessary. Generally you want all your buildings as close together as possible without being susceptible to splash damage.
You also have a decision to make on whether to include your economic structures next to your HQ - some players choose to have their HQ with all their Defensive Buildings around it and effectively allow the enemy just to attack their other structures first. Most lower-level players will go straight for the HQ - and it means you haven't wasted any of your defenses on the less-important Economic Buildings. If your Vault is high level enough then even if the enemy destroys much of your economic buildings, the impact to you won't be too great.
Finally, make sure that you level up your Defensive Buildings as much as possible. Some of the early defensive structures really come into their own at the higher levels, and you shouldn't just build the most recent thing you can. Remember too that you can move buildings once you have placed them. Watch the replays of what people have done to get past your defenses, then move things round to plug the holes. The key to a good defense is being adaptable.

HQ Position
The last piece to the puzzle is where to put your HQ. This is down to personal choice, but certainly you should not leave it where it starts by default. Arguably the best position is next to the docks as the enemy cannot attack from that side, nor can they flank you to the east. The issue you have with this is that they can potentially travel to the west and north, coming down on you from above - but this is something you can easily guard against with well-placed defenses.
If you want a more balanced base, however, as the side-Heavy one tends to leave things being clustered together, then put it in the middle, but towards the rear of your base, so that you have enough space for your Defensive Buildings to be able to fire on the enemy for extended periods even if they are trying to flank you. Remember that the enemy can place their Landing Craft at any point on the beach, so don't ignore the sides.
Use the natural environment around your base to your advantage - don't forget that trees and less-important buildings can be useful for channeling enemies where you want them to go. Every time the enemy attacks one of your Economic Buildings attention is going away from your defensive weaponry, and it gives you more time to damage them. Each time the enemy has to order their troops to attack key targets, they waste Energy with flares - so use this to your advantage and place diversionary structures to lure their troops. Even after the enemy have placed a Flare, once their units have destroyed the target, they will go to attack the next nearest structure. Just make sure that your HQ is well defended in case the enemy order their army to attack that straightaway.

Anything missing from this guide?
ASK A QUESTION for Boom Beach
Comments for Defensive Strategies
Add a comment
Please log in above or sign up for free to post comments- Getting Started
- Resources & Currencies
- Buildings
- Units
- Gunboat Weaponry
- Statues & Powerstones
- Tactics, Strategies and Cheats
 Join us on Discord

I hate how I can just keep being attacked over and over again. The vault just don't save enough.
Dude, just improve the layout, or stop attacking for a while, so you lose VP points. This way you will be matched against lower levels. At level 32, my vault kept 63%. Priorities man :D
Most vulnerable place to put your hq is middle of the map
Why did this writer mention the vault and sacrificing your economic buildings? And how newbs go for the HQ. You don't get anything unless you defeat the HQ so sacrificing you economic buildings doesn't matter at all.
Destroy a building gives the attacker 3 energy points and also damages the HQ
The trees on your base will funnel enemy troops, if a flare has not been tossed into trees.
Level 38 and I get level 46 to beat
Best strategy at hq level 17
Hello , Please y
o
u give Defensive Strategies HQ level 6
Why is everyone asking for diamonds? Do you think this is charity?
fake
Correction to this guide: trees do not funnel enemies. Troops can walk throughout trees.
I like that a lot
What my strategy about mines is putting all the minesw way in the front a lninig the sand of the beach
One thing don't put all your defences in the front of your base and the HQ at the back, flareing units to the back will be so
easy
Cannons, Boom cannons and sniper towers are what you need to keep upgraded. Most of the time you will be under attack from heavys, zookas and tanks. For every 2 levels you spend on offence upgrade your defence every other time. Keep your flamthrowers on your HQ to keep warriors at bay. Flamethrowes have no range and are best kept next to your HQ as a final defence against warriors and heavys. Hide your mines behind statues and snipertowers, your attacker won't know what hit him!! Mines & boom mines are not a waste of time to upgrade and well placed mines will destory alot of zookas and warriors that work there way into your base.