10: One Shall Stand
Transformers: War for Cybertron Walkthrough and Guide
by vhayste
Chapter 10: One Shall Stand
The Threat Emerges
Objective: Inspect the crash site
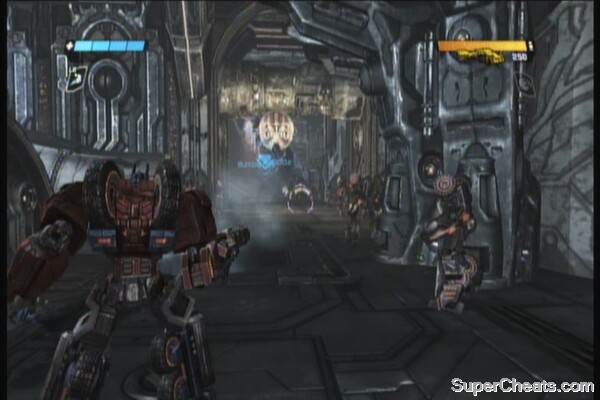
DECEPTICON symbol: From the starting point, go through the first archway then turn around to find this chapter's first symbol.
 |
 |
Before heading out, approach Ratchet and he'll open a supply dock for you containing an Overshield, some energon grenades (healing aura) and an Energon repair ray.
 |
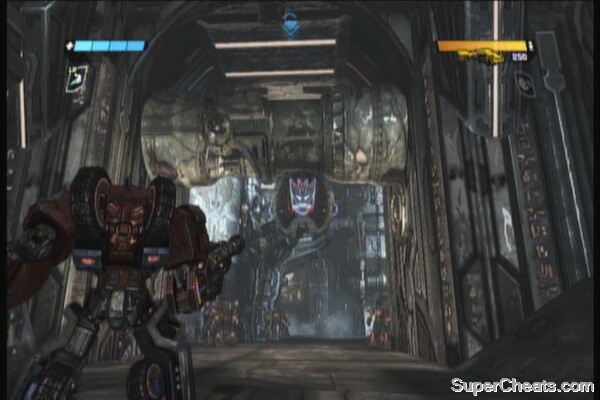
DECEPTICON symbol: As soon as you cleared the debris, look to your right to find an energon shard canister. Stand beside it and look to the upper left to find the hidden symbol.
 |
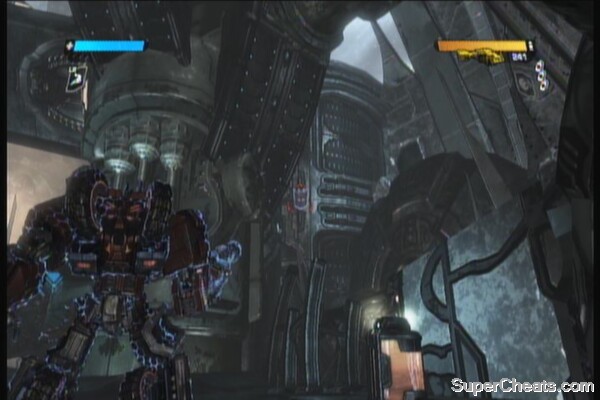 |
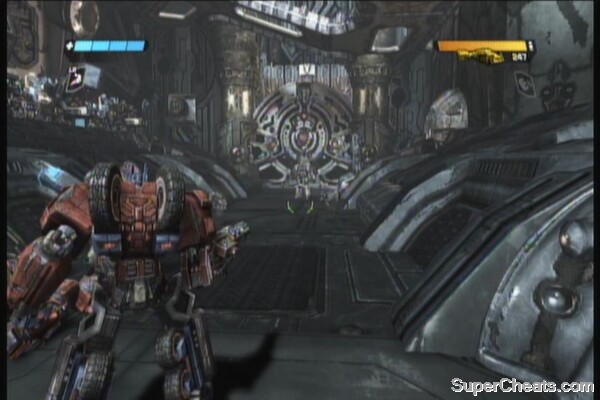
Continue along the path until Trypticon opens the floor and you crash down.
DECEPTICON symbol: As soon as you land, look behind and look for an opening. Go there and you'll find the symbol to the left.
 |
 |
DECEPTICON symbol: Dash towards the pillar in the middle. You'll find the symbol behind it.
 |
 |
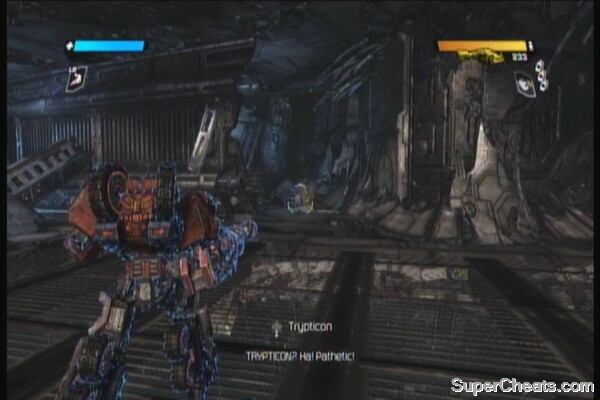
Objective: Find a way to overload the shoulder cannons
Stay behind the central pillar since this is the best cover you have at the moment. You can't do anything yet to hurt him so just stay put. When the mission marker appears, drive as fast as you can there and activate the console. Take note of the now moving conveyors carrying canisters. Shoot those canisters so that they'll explode near the shoulders of the boss and overload them. Repeat the process for the right shoulder.
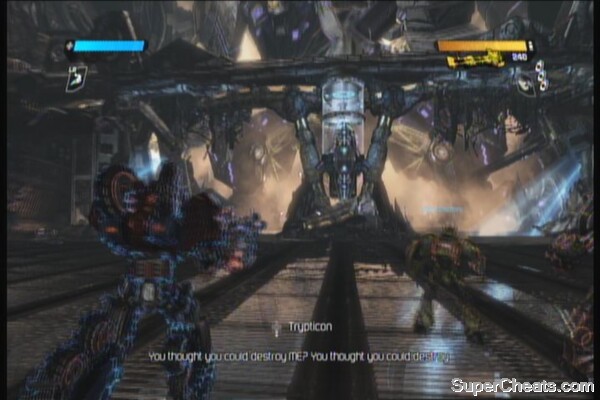
Objective: Damage Trypticon's chest coils
If you need ammo, there is one behind you. Grab the overshield that will be revealed after Trypticon smashes the bridge up front. In this phase, you need to evade its barrage of missiles and projectiles to overheat its weapon systems and reveal its chest coils to cooldown – shoot the red coils; its his weakness. The boss will also slam its tail. Just stay on the side/direction its facing to avoid getting smashed. Destroy the two chest coils to end this phase.
The Battle Continues
Objective: Destroy Tripticon's power source
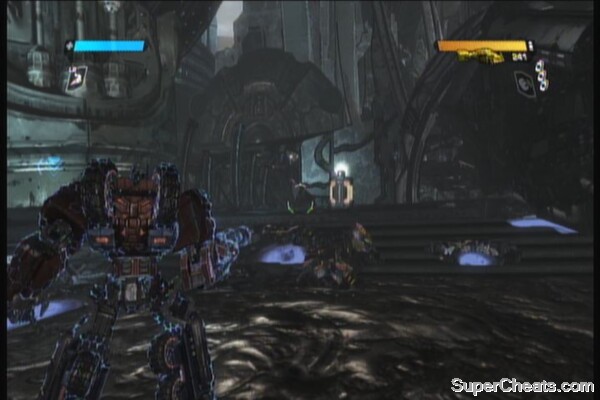
DECEPTICON symbol: After Trypticon destroys the area, turn to the left and look for the mini-gun (Scrapmaker). Look through the hole behind it to find the last symbol.
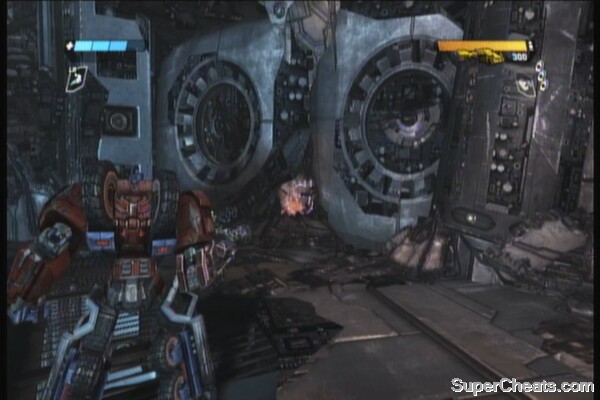 |
Trypticon's attacks got more damaging and annoying. Start off by grabbing to the Scrapmaker mini-gun to the left, where you'll find the last symbol. There is also ammo replenishment at the base of both ramps so take note of those. Your targets this time are the dorsal power cores of the boss. There are three in all and taking them all out will end the battle.
As for the attacks, Trypticon will still unleash a barrage of deadly projectiles which you can barely evade by transforming into vehicle mode and dashing around the place. It will also create dark energon crystals on the ground which it detonates later on, damaging anybody around it. Detonating the crystals also releases spiders that you must kill first. These buggers drop shards needed to activate your skill.
After destroying the last power core, Trypticon will start sprouting its death throes. Stand in the middle of the platform so you'll get smashed (while he's saying “You'll suffer for this... autobots!”) and unlock the “First we Crack the Shell” achievement.
No comments yet. Tell us what you think to be the first.