7: Kaon Prisonbreak
Transformers: War for Cybertron Walkthrough and Guide
by vhayste
Chapter 7: Kaon Prisonbreak
Objective: Infiltrate the Kaon Prison
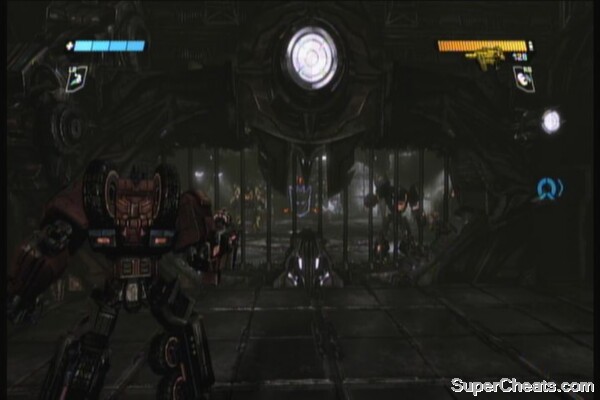
Prison Entrance
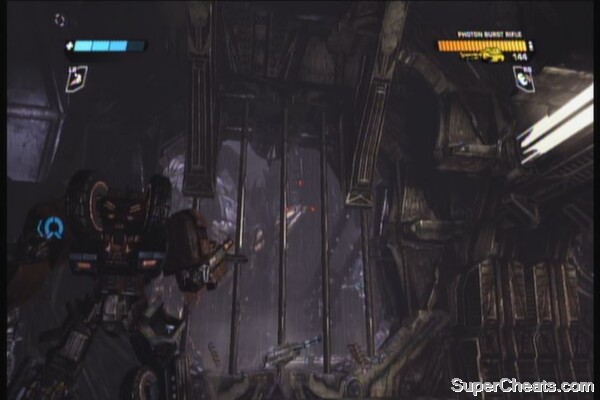
Watch as you get escorted by the decepticon guards and taken to the firing squad. After getting released with Air Raid's help, jump down the service tunnels. You don't have any guns but you still have your melee weapon. There will spiderbots in this tunnel. Just whack them away with your weapon. Note: Killing 100 of these spider bots will unlock an achievement. Jump down again and kill two decepticons. Unlock the door, kill the two enemies inside and pick up the photon burst rifle. (Laserbeak-1) Before heading out, look through the window to the right. Look for a small bird drone perched on top of the spike. It is called Laserbeak and taking out three of these spy drones will give you the “Beak Breaker” achievement.
 |
 |
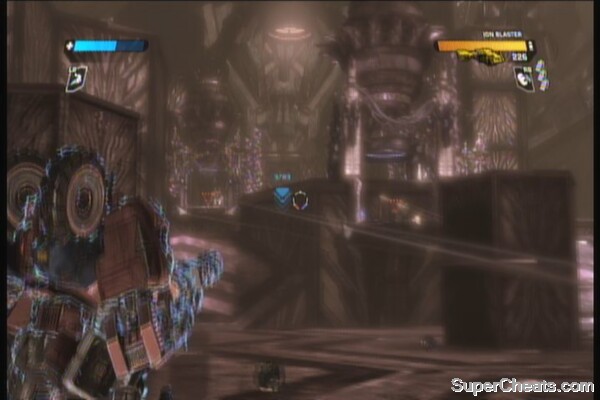
Courtyard
Head out and take out some enemies. Follow the path and take out the snipers waiting after the bend.
DECEPTICON symbol: after the bend, look to the left. The symbol should be on top of the wires.
 |
Take out more snipers along the way and head to the mission marker. Activate the console there and more decepticon reinforcements will start to pour in. Snipe them using your rifle then go through the gate. A large crawler machine will attack you next; get rid of the four external turrets first, then the missile soldiers will emerge from the inside. Take them out as well then activate the console to use the crawler as transport.
 |
Megatron's Ambush
Exit the transport and initiate a scene with faux-Megatron. The first wave of enemies he'll throw at you will be the agile vehicle mode enemies. Next are the spiders which you should whack to pieces. Finally, he'll a final wave consisting of ground vehicles and jets. Grab the energon cubes as needed and take them out.
 |
To the Dungeons
Objective: Escape your jail cell
Interact with the wall to smash it open. Grab the assault rifle and some ammo.
DECEPTICON symbol: Follow the corridor straight ahead then look right to find the symbol inside the cell.
 |
Regroup with your team mates and grab the EMP shotgun. Go through the door and get rid of the enemies and sentries in the other side.
Objective: Locate Air Raid
You'll fight three waves of enemy reinforcements here. The first wave will consist of missile soldiers, then some foot soldiers with a brute and finally a brute with a heavy gunner. If you're using Optimus, you should be able to use your buff/boost skill in every wave, with is invaluable in this tight battle. There will be supplies inside the hallways where the enemies emerged so make sure to grab them.
 |
After getting rid of the enemies, smash the next door open to reach the grinders. There is an overshield and energon repair ray on the other side which you can reach by just jumping quickly across the stream. The current shouldn't be that strong to carry you to the grinder unless you stay there long enough.
 |
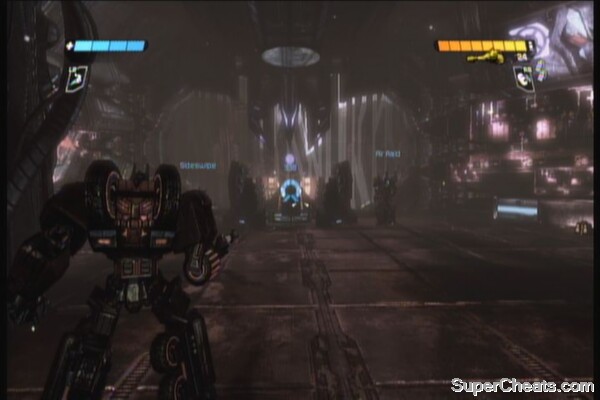
Air Raid's Rescue
Continue up the ramp, then open the door to find Air Raid. Decepticon counterparts of Cloakers will appear herel; just blast them off. Head through the door to reach the console; fight off some spiders and cloakers along the way. Grab the supplies you need then proceed to the next door. Do the same thing; fight through the same enemies and activate the console to free Air Raid.
Prison Command Room
Objective: Rescue the other prisoners
Ride the lift that Air Raid will activate then open the door in the upper level. There will be a large enemy force waiting in the other room so prepare for a battle. There will also be a brute that will appear afterward; avoid getting trapped in the middle since the area is narrow and small. Activate the console to open all prisoner cells and exit the room.
 |
Objective: Escort the prisoners to safety
Head out and fight your way through multiple enemies. There are supplies along the way so make sure you grab them as you go. There is also an overshield behind the hallway in the large room.
 |
There will a couple of brutes that will stand your way before reaching the last door. Take them out then regroup with your allies.
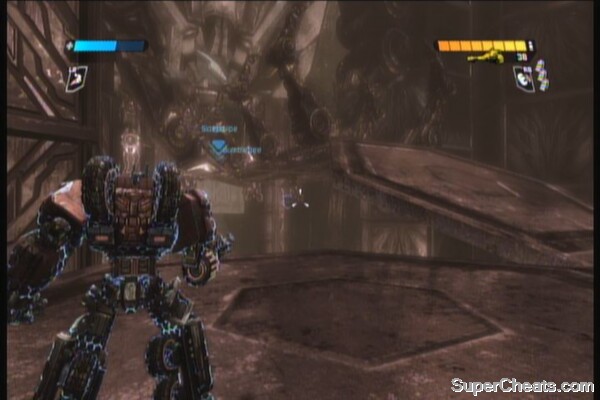
Hangar
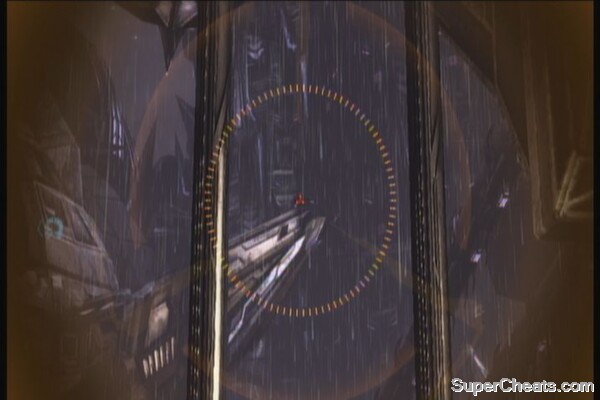
On this room, you'll need to fight seekers or enemy flyers. Just get rid of them. Before heading through the next door, turn around and look to the top right as shown in the screenshot. You'll find the bird drone (Laserbeak-2) perched beside the ceiling support.
 |
 |
Note: Even if you shoot this bird and didn't destroy it, as long as the achievement progress bar to your lower right screen appears, it will count to towards getting the achievement.
DECEPTICON symbol: Look out from the two large windows and look to the left. You should find the symbol there.
 |
Descent into Madness
Head to through the hallways, grab the Missile Launcher then ride the wall crawler to the lower levels.
Objective: Locate Zeta Prime
Use the turrets to take out enemy crawlers and flyers. Just keep blasting them away until you reach the lower level. Don't forget to grab a turret gun and detach it for some extra firepower.
 |
The Final Approach
The next room has a missile soldier that can destroy the floor so you can just towards his platform and deal with him there. There will be ammo caches here and a weapon cache. There is also an Overshield on the floor to the right of that platform should you want to the get it.
 |
Head to the next room, kill both missile soldiers.
DECEPTICON symbol: Past the pair of missile soldiers, look to the open area to your right. You should find the symbol there.
 |
Continue through the room and make your way to the mission marker. Go up the ramp and a wall crawler will fall down in front, disembarking more enemy soldiers. (Laserbeak-3) Go past the crawler and you should find a platform right in front of you. On top is the last laserbeak that you can shoot and get the achievement.
 |
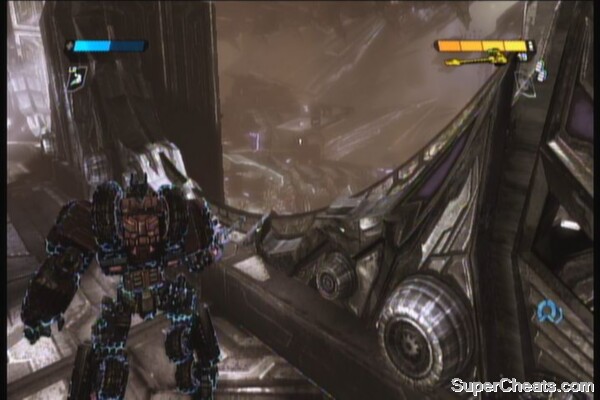
Continue forth and cross the bridge. There will be another missile platform here; go past it and grab the Overshield behind the platform; if you want to kill the missile soldier on top and grab the weapon/ ammo chests, you can use the smaller platform beside it and use it as leverage.
Continue following the mission markers and you'll finally reach a heavily defended position up the ramps. Fight your way through and you'll reach the last bridge in this area.
 |
DECEPTICON symbol: It is found under the last bridge with claw-like features. You can view it before crossing the bridge itself.
 |
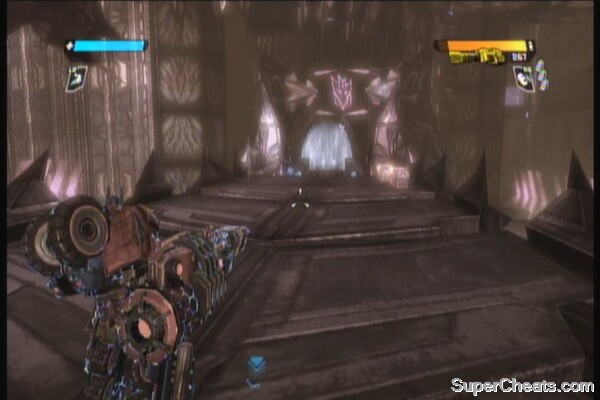
Cross the bridge and before activating the console, grab all the supplies you can. There is a boss battle right after this door.
Zeta Prime's Rescue
Objective: Defeat Soundwave
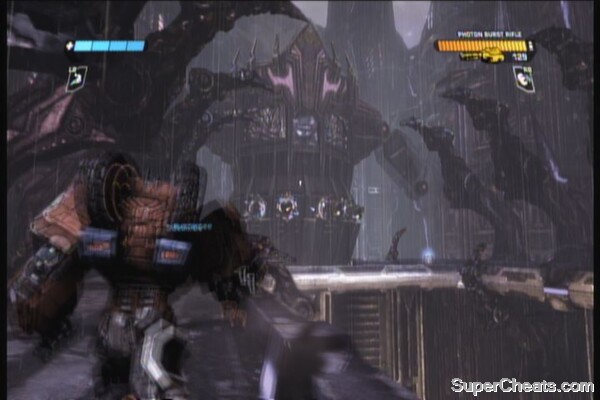
This battle isn't that hard if you know the tricks. The ammo pickup in the middle of the room respawns after a few seconds so take note of it. At the start of the battle, Soundwave will stay behind his impenetrable shield. Destroy the two sentries beside him and the other two to the right. These sentries drop energon shards and occasionally, energon cubes. This battle is divided into three phases. Read on.
Soundwave will not fight you directly; instead, he'll send out his minions to fight for him. The first one is called Frenzy. This guy is agile and can jump and lob projectiles at you. If you have stun grenades, they're really effective in stopping this bugger on his tracks before hitting him hard. Soundwave will use a repair ray to heal his minions. If you manage to bring Frenzy's HP down to zero, Soundwave will leave his barrier and will repair his minions back to his feet. This is the time that you should unload everything to damage Soundwave.
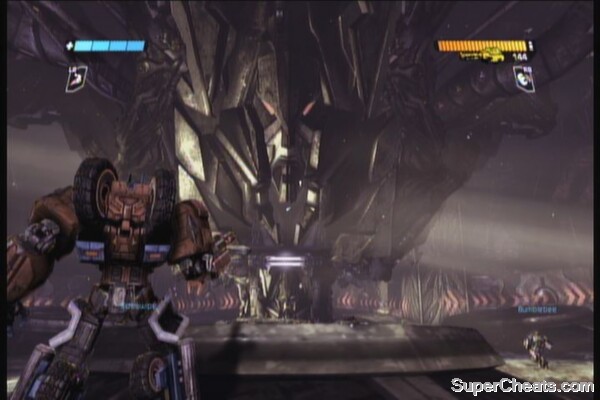
He'll call off Frenzy and release yet another minion of his, called Rumble. You must destroy the turrets again before he will send Rumble off. You can apply the same strategy as dealing with him. As much as possible to try avoid melee damage from this pipsqueak since it does considerable damage. Try to use the platform in the middle of the room as platform. Deal enough damage and Soundwave will come out to heal him. Continue attacking until he retracts him and sends his final minion.
Soundwave's last minion is the bird, Laserbeak. It is the same spy bird that we kept hunting in three different locations. Its main attacks is the devastating, rapid-fire laser attack and the typical bombing runs done by jets. The best thing to do to shoot down this bird is to stay put behind a cover and wait for it to change its LoS (line of sight) to your ally then shoot it. Repeat the process until Laserbeak goes down and finally Soundwave.
how do u get those machine guns 0n multiplayer