Knothole Island's Huge Heat
Fable II Walkthrough and Guide
Fable 2: Knothole Island Downloadable Content Guide
Knothole Island's Huge Heat
To activate this quest you need to leave Knothole Island. As soon as you set foot back on the mainland, the next quest will pop up and you will be able to fast-travel back to Knothole and accept the task from the chief. Return to the location of your choosing and then fast travel back to Knothole. Head back up from the docks, though take the first path on the right briefly to find a chest. Continue on into the village and into the end-terrace chief's house once again.
He will explain that now the people of Knothole have too little water! They are experiencing a drought and desperately need you to find the Sun Key and enter the Sun Shrine to get the Storm Totem and solve their problem. Phew.
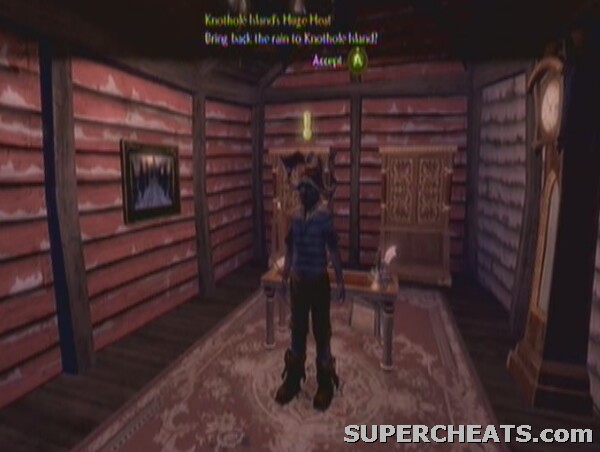 Accept the chief's quest, again. |
Locating the Sun Key
Head out of the chief's office and turn left, following the wooden walkway along until the steps lead you down onto the sand. Head straight on up the hill. Jump down into the canyon using A once you reach the drop, then head left along the bottom. Take the path off to the right into the grassy-wooded area. Take out the Hobbes that will bother you along the way. Bear right into the grass and trees and hug the cliffside. Move along it and you will find Knothole Island Vol. V as well as a dig spot nearby.
Locating Volume V in the wilderness
Rejoin the path and follow it along a little way, possibly past some more Hobbes, until you come to a ruin. Lead your dog to the golden circle and unearth the Sun Key by digging when prompted.
 Unearth the key. |
Locating the Sun Shrine
With the key in hand, continue on the path to the dead end with the graveyard below. Jump down and head amongst the graves. Head past the small mausoleum to find Knothole Island Vol. VIII behind the farthest grave from the village. Get back down into the dry-lake in the village and take the river-bed out in the direction of the Ice Shrine we were in last time. You will come to the now-familiar tower, which is actually the location of the Sun Shrine. Put the key in the door and hold A to activate.
Locating Volume VIII in the graveyard
Locating the Storm Totem
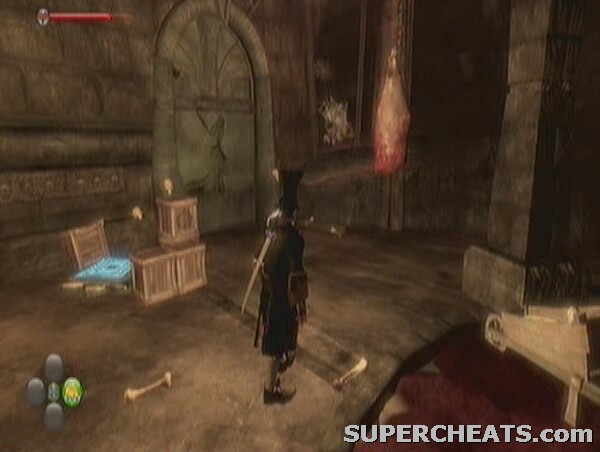
Descend the spiral staircase once inside. Open the chest on the left once you get to the hallway, then proceed into the main room. You should see a flit switch straight ahead, and a chest nearby on the right. Open the chest first, and then shoot the orb with a ranged skill attack. It will fly around the room a few times before stopping. Melee attack it once it lands near the door on the right (from where we came in). It will fly some more and then open the left hand door. Go through and activate the expression statue, which needs you to perform the Chicken expression. Use RB to select it under the Rude expressions, then hold it down and release it in the green zone on the slider.
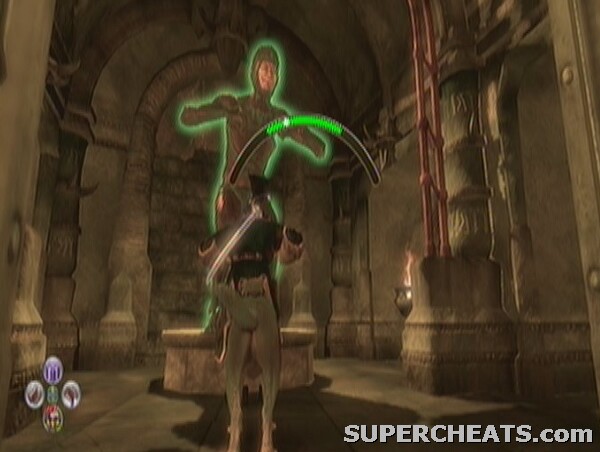 Perform the Chicken expression to get the reward from the statue. |
It will then release an orb which, once you shoot it with Y, will land in front of the door we came in at. Melee attack it to send it to open the left hand door. Another expression statue is in there, needing you to perform the Laugh expression in the Fun category. Hit it in the green zone once again and another orb will be released. This time, perform a magic attack once it lands with B. It will move back to where the other expression statue is. Shoot it, and it will open the final door.
Head through it and down the steps, then through the corridor, stopping to open the chest on the right before the floor turns sandy further on. Climb up the massive hill once you are in the large room and fight off the plague of beetles.
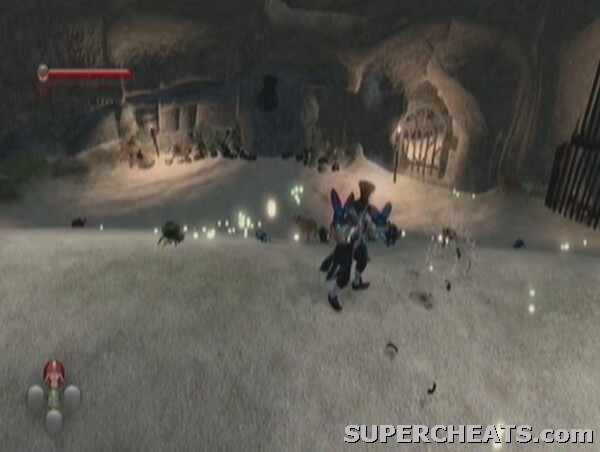 Vanquish the bugs. |
Once they have all been defeated the door across the hill will open. Head through the corridors with the stream running through, opening the treasure chest on the right just before the large room. Edge slowly into this larger room as spikes will smash up through the water right by your feet, activating the orb in the centre of the area. It will fly over your head and back the way you came, into a corner of the corridor. Shoot it and it will re-enter the spike room. Head back to that room and shoot the orb across the far side to send it flying nearer you, then hit it again with a ranged attack to deactivate the spikes.
Head across the water and onto the sand, then up the wooden slope at the back of the cave. Shoot the orb/flit switch that is over the other side of the room once you are up on the wooden deck. Use a magic attack when it flies over you and rests on the slope. Now walk up the left hand fork of the decking and use a melee attack on it. Notice the chest behind the orb if you want to open it. The orb will now have opened the door on the right hand fork of the deck, directly opposite the chest. Go through it and down the corridors to fight an army of Hobbes in the large room at the other end. There are a lot of them, but as they are only Hobbes it shouldn’t cause too many problems.
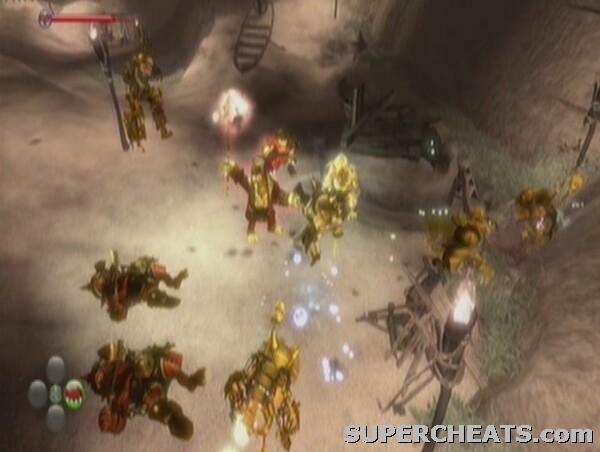 Defeat the Hobbes. |
Locating Volume 3 in the Sun Shrine
Having defeated them, head up the slope on the left with the tall wooden fence. In the Hobbe camp within there is a chest by the cave which holds the Knothole Knight Shirt. Next to it is a switch which should be activated with A. Head back down the slope and through the door that just opened, past the small shack at the end of the area.
The next room contains a few Hobbes which must be taken out. Once the area is clear, smash the crates near the entrance to expose a switch on the ground. Stand on it to open the door on the other side of the room. Just next to the crates is a destructible wall, shown by the large crack in it. Break it down with an attack and collect Knothole Island Vol. III inside.
 The switch and destructible wall nearby. |
Proceed through the recently-opened door and along the rocky-cliff path and open the chest in the middle of the sandy track on the right before the steps down. Walk down the steps and through the door at the end into the watery room. Dive in, collecting the loot from the dive-spot in the far right corner before climbing out and moving on. Open the chest along the corridor on the right, then head on up the stairs.
You must be careful in this room as it's full of flames that turn on and off in a certain pattern. The first, which fires down over the switch in front of the door, deactivates for a good period of time – plenty long enough for you to stand on it and unlock the gate to the left. Get off the switch as soon as it opens and head in to pull the lever inside, opening a gate further down the corridor. Your presence will send an orb/flit switch flying out and into the alcove opposite. Shoot it and it will go down the corridor, beyond the flames. Wait for the gap in the flames and then run down, waiting at the last one if you don't have time to get through in one sprint, towards the end of the corridor.
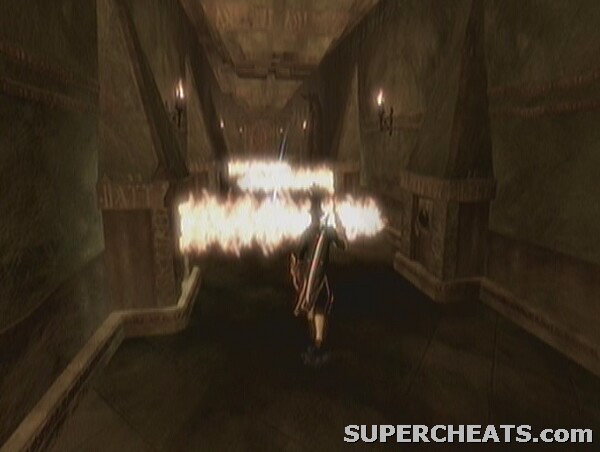 The dangerous flame-filled corridor. |
Near the end you will see that the door is shut, so head into the open gate on the right. Pull the lever to turn off all the flames, leaving you free to stand on the switch at the end and open the door. Crack open the chest on the left, just before heading through, to get the Knothole Knight Gauntlets. Move into the final room and fight the two waves of Hollow Men that appear on the scene. With them destroyed, the Storm Totem will appear in the centre of the room. Collect it to be warped back outside the dungeon.
Return to the Chief
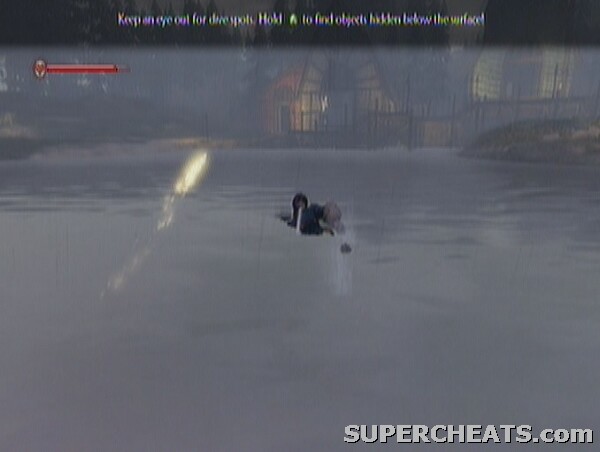
Back outside you will be greeted by a rain-storm: a welcome site for the inhabitants of the island. Take the only route available, along the path and under the tall pair of columns that form an arch. Shortly, following the first right hand bend in the track after the arch, you will see a large piece of ruinous rubble at the left hand edge of the track. Behind this is Knothole Island Vol. IX. Continue along the path and dive into the lake, filled with water following our activation of the Storm Totem (it clearly rained very hard very quickly! Use the dive spot to the immediate right, and then swim to the beach far away to the left. Climb the steps and meet the chief again.
 Swim across the lake to the chief's house |
Locating Volume IX in the wilderness
Once again, he is hardly gracious in his praise of you. Still, you get 750 renown points and the Sun Key as a trophy. Here is a list of the Knothole Island Volumes that you should have collected by this stage:
Big Freeze Volumes
Knothole Island Vol. I
Knothole Island Vol. II
Knothole Island Vol. VI
Knothole Island Vol. VII
Huge Heat Volumes
Knothole Island Vol. III
Knothole Island Vol. V
Knothole Island Vol. VIII
Knothole Island Vol. IX
Fable 2 SuperCheats
Yay! I did it! All by myself, no help at all. Just kidding. Trying to sound like the chief.
I dont have the laugh expresson? So how am i ment to do this?
sorry but murgo is another DLC it might of just glitch out or something
Have you gone back to Bowerstone and talked to Murgo yet? I believe this is necessary before the quest is considered completed.
i completed the knothole islands big freeze but it is still in my quests list, still saying theyre freezing to death but its obviously a heat wave. i fast traveled out and then back again to the island with no chieftain in sight and no way to access huge heat. any suggestions?