Counterstrike - C4
Lost Planet 2 Walkthrough and Guide
Counterstrike
Chapter 4
Mission 1
Start down the corridor and take out the four soldiers hiding behind cover further up. An enemy Cakti VS will drop down from above at the other end of the corridor. Use your Hand Grenades to destroy it. When you're out of Hand Grenades, look for Disc Grenades in the corner across from the elevator.
Climb the ladder out of the corridor once the Cakti has been dealt with.
Objective: Track the Experimental Weapon
Activate the Data Post behind the sandbags at the top of the ladder and then gun down the Rocket Launcher-wielding soldier in the tower to the north. When the soldier is down, make your way north to the vacant Nida VS parked by the water. Open the T-ENG chest by the stairs before getting in the VS, then hop in the Nida VS and swap one of its Gatling Guns for the VS Shotgun that was in the chest. With that, turn back to face the enemy Triseed VS.
The Triseed is a powerful VS that can transform into three different forms. Fortunately, you can make short work of it if you're piloting the Nida VS and have a VS Shotgun attached to it. Just get behind the Triseed while the pilot is preoccupied with one of your allies and hit in the back. Keep firing at the Triseed to keep it staggering and it'll go down in no time.
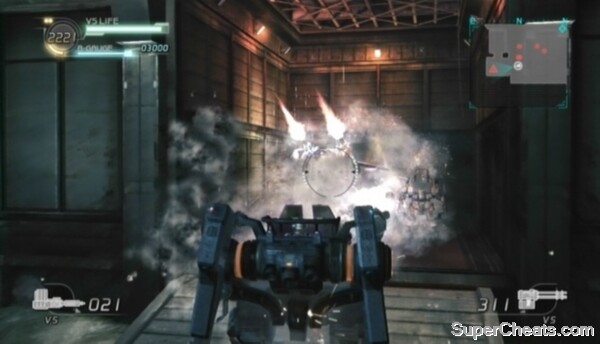 Use the VS Shotgun to quickly take down the enemy Triseed. |
Shred the remaining enemy soldiers with your Gatling Gun once the Triseed is down. When the area is clear, look for another VS Shotgun and Gatling Gun through the doorway next to the two parked Bleed VSs in the southeast corner of the area. Add the Gatling Gun and VS Shotgun ammo to your Nida VS and repair the VS if necessary before dropping into the water at the north end of the area.
Underwater, activate the Data Post in front of the gate to lower it. The Nida VS has a special function that allows the pilot to activate Data Posts while still in the VS. To activate a Data Post while in a Nida VS (or a Bleed/Baylid VS), click and hold the Left Stick and tap the B/Circle button like you normally would until the Data Post is online. You can activate a Data Post more quickly while in a VS, but there is one downside: you won't gain any T-ENG this way.
Beyond the first gate, you will encounter several different types of underwater akrid. All of these creatures are particularly dangerous to VSs, so be careful. The Jellons and Jellites (the large and small jellyfish-like akrid) are easy to kill, but there are a lot of them and they explode on impact. The akrid to watch out for here is the squid-like akrid that spins and then propel itself like a missile. These akrid deal heavy damage to VSs, so jump or dash to the side to avoid one if it's coming toward you. Blast the orange tips of these akrid's tentacles with your VS Shotgun and then shoot their weak spot when it sags out from under them.
When the way is clear, pick up the Gatling Gun across from the Data Post and then activate the Data Post to lower the gate. Blast the gelatinous akrid beyond the gate with your VS Shotgun and then step through.
Objective: Exterminate the Akrid!
Akrid Exterminated -- Kill the two Dabulas to earn this GJ award.
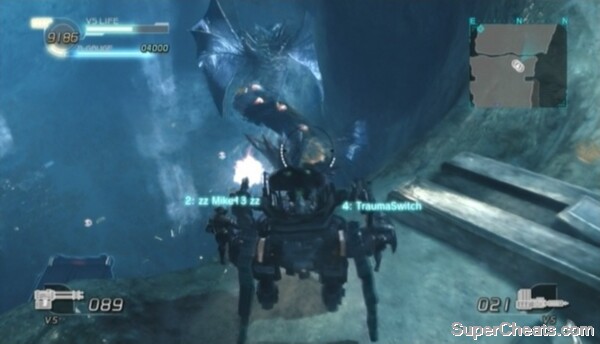 Shoot the T-ENG deposits on the Dabula's back. |
Don't drop down just yet once you're through the gate, as two Dabulas will appear. These can trash your VS in record time, so dash to the side (click the Left Stick, push it to the left or right and press A/X) if one is coming toward you. Target the T-ENG deposits on the Dabulas' backs to damage them.
Fire at the Dabulas with your Gatling Gun from afar and with your VS Shotgun when they are close to make short work of them. Keep your distance during the Dabula's death animation, as its flailing can wreck your VS.
When both Dabulas are dead, grab the VS Shotgun on the right before dropping down to the area below. The T-ENG locker here contains a vacant Triseed. Equip your T-ENG Supplier and fire about 800 T-ENG at the T-ENG locker to open it. Before hopping in the Triseed, remove the Gatling Gun and VS Shotguns attached to your Nida VS and place them on the ground. Then, get in the Triseed, swap one of its Gatling Guns for the VS Shotgun and add the swapped Gatling Gun ammo to the Gatling Gun still attached to it.
The Triseed VS can change between three forms: default, a flying form that uses the VS weapons already attached to it (by pressing the X/Square button) and a second flying form that has an infinite number of torpedoes (by pressing the A/X button to jump and then again to transform). Stick to the Triseed's default form for now.
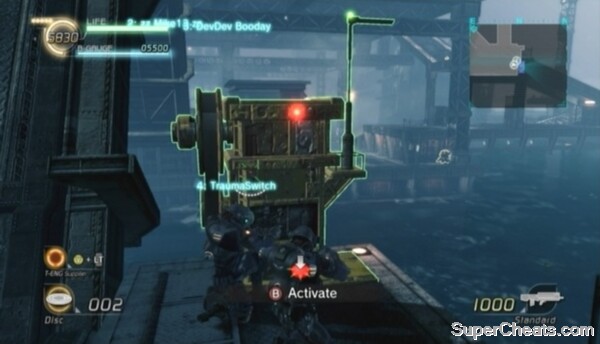
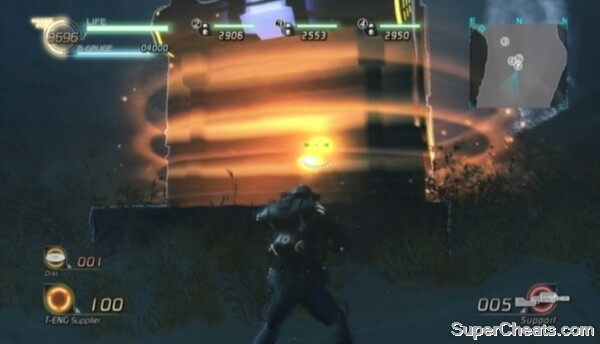 Use your T-ENG Supplier to open the VS locker on the seafloor. |
Activate the Data Post by the third gate to open it and then return to the Triseed.
Objective: Fight Off Enemy VSs!
All VSs Destroyed -- Destroy all of the enemy VSs (two Granseeds and two Triseeds) beyond the third underwater gate to earn this award.
Through the third gate are two enemy Granseed VSs and two enemy Triseeds. Step through the gate far enough to trigger this objective (make sure 'Fight Off Enemy VSs!' appears at the top of the screen) and then fallback to Data Post 4 and let the VSs come to you. You can destroy the two Granseeds easily enough with your VS Shotgun. Then it's just about closing in on each Triseed separately and continuously hitting them with your Shotgun to keep them staggering.
Once all four enemy VSs have been destroyed, proceed to the final gate and activate the Data Post in front of it to trigger the area complete countdown.
Mission 2
Objective: Get Across to the Facility
Climb up the ramp and blast the enemy soldiers on the platform. Look for a Rocket Launcher behind the metal crates at the back of the platform and then head down the ramp at the north end. Move up to the Data Post on the bridge to the east and look for another Rocket Launcher, some Machine Gun ammo and Disc Grenades between two pillars nearby.
Activate the Data Post 2 on the bridge, then locate Data Posts 1 and 3 at the northwest end of the platform and bring those online as well. With that, head back to Data Post 2 and blast the enemy soldiers on the other side of the bridge with your Rocket Launcher. There's a Bleed VS armed with a Laser Lance parked by Data Post 2. It's best to leave it where it is, as it is easier to destroy the two enemy VSs in the next area with a Rocket Launcher.
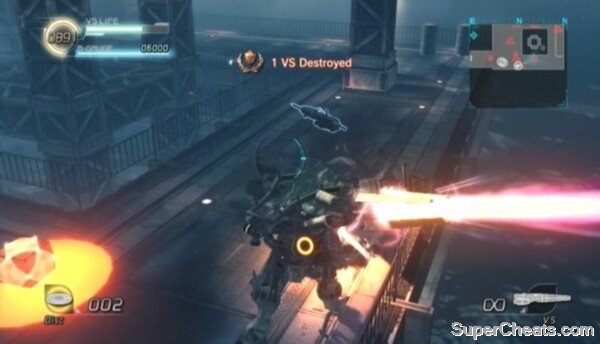 Destroy the enemy VSs across the bridge. |
Objective: Fight Off Enemy VSs!
All VSs Destroyed -- Destroy the three enemy VSs (two Bleeds, one Granseed) across the bridge Data Post 2 sits on to earn this award.
Take out the two enemy Bleed VSs and the Granseed with your Rocket Launcher before moving deeper into the area. Once the enemy VSs are down, get in the parked Nida VS on the north side of the platform.
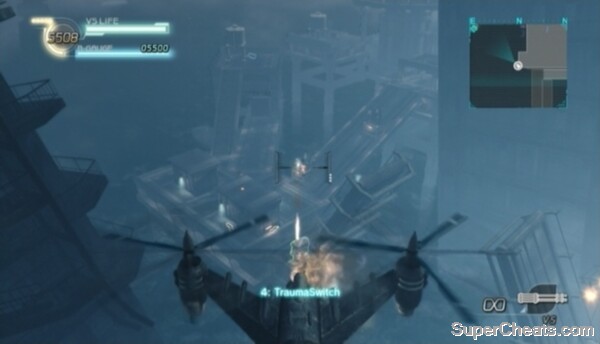
Objective: Get to the Other Side!
Reached the Other Side -- Fly the Osprey or Fastrey to the rig's left block to earn this GJ award.
You must procure the Osprey VS that's on top of the elevated platform at the center of this platform and fly it to the rig's left block. The Osprey is parked on top of the elevated platform in the middle of the platform you are on. It's also surrounded by Sentry Turrets and enemy soldiers, so make sure you have Nida VS before climbing up the ramp.
There are two sensors tied to the Sentry Turrets surrounding the Osprey: one on the northern walkway and the other on the southern walkway. Destroy both of these sensors before approaching the Osprey at the west end of the platform.
 Fly an Osprey to the left block. |
The Osprey has room for a pilot and one gunner. Get in the Osprey and wait for another player or an AI teammate to get in before activating it. While piloting the Osprey, use the RB/R1 button to ascend and the LB/L1 button to descend.
Fly west to the left block and fire down at the turret emplacements on the ramp there. Fly to the side to dodge incoming rockets. Shred the sniper on the shed at the east end of the platform and the sniper on the tower to the north before landing the Osprey. When the area is clear, land the Osprey, get out and activate the bridge controls at the east end of the platform to lower the bridge for your teammates to cross.
Objective: Shoot Down the Ospreys!
All Ospreys Destroyed -- Destroy the enemy Ospreys that appear when the bridge is lowered to earn this GJ award.
Get back in the Osprey after lowering the bridge and start firing at the enemy soldiers that appear. Several enemy Ospreys will soon fly in. Shoot down the Ospreys and then land by the facility entrance at the north end of the block. Activate the two locks and cross the red line to end the chapter.
 Lower the bridge for your teammates to cross. |
No comments yet. Tell us what you think to be the first.