Proving Grounds
Bioshock Walkthrough and Guide
Proving Grounds
You are being guided by a Little Sister. Try your best to protect her, though if she does die, a new one can be called to guide you. There is no penalty for failing to protect the Little Sister, but just try your best to keep them alive regardless. The Splicers that are encountered along the way will attack the Little Sister guide mercilessly; try your best to take them out before they can even reach her, since you will mostly encounter Thuggish and Spider Splicers. Watch for attackers from behind, too. The Machine Gun's Antipersonnel Auto Rounds work very well, as do Crossbow Bolts. Try to save your Grenade Launcher ammo though, it will be needed later.
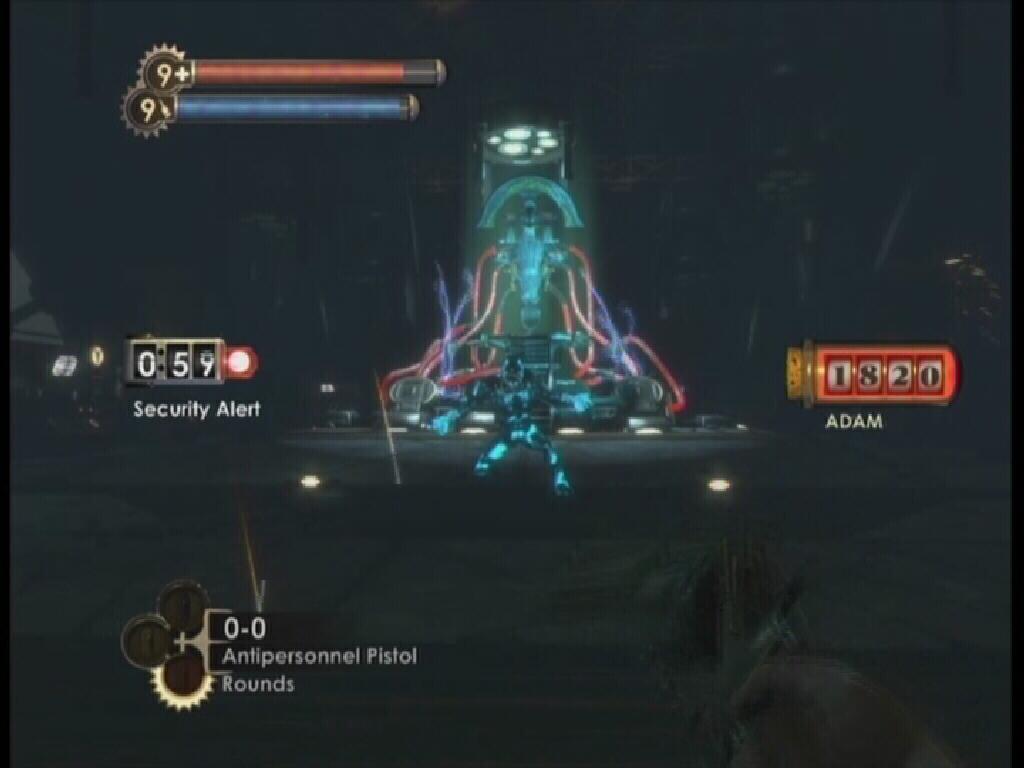
The Little Sister will eventually stop by Test Subject 1 to extract some ADAM. Since you're wearing this Big Daddy suit, Security Cameras and Turrets will not bother you. The Turrets still attack the Little Sister, though, so be quick about throwing an Electro Bolt at them and hacking. The gathering of ADAM will inevitably attract a group of Splicers, this is where Proximity Mines would be of use. Be sure to hack the Flamethrower Turret near Test Subject 2, it's great for fending off the Splicers coming from that direction. Test Subject 3 is the last stop. Be sure to use absolutely everything available in this room to your advantage; the Turret, the Security Camera, the oil spill near the door.
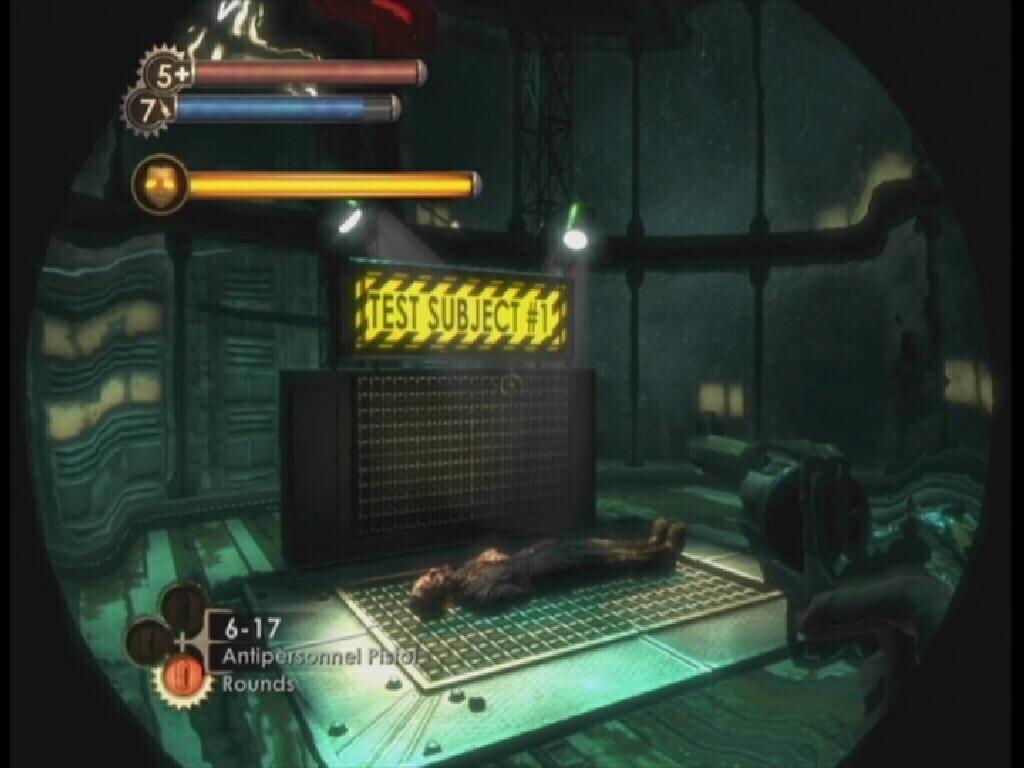
Test Subject 1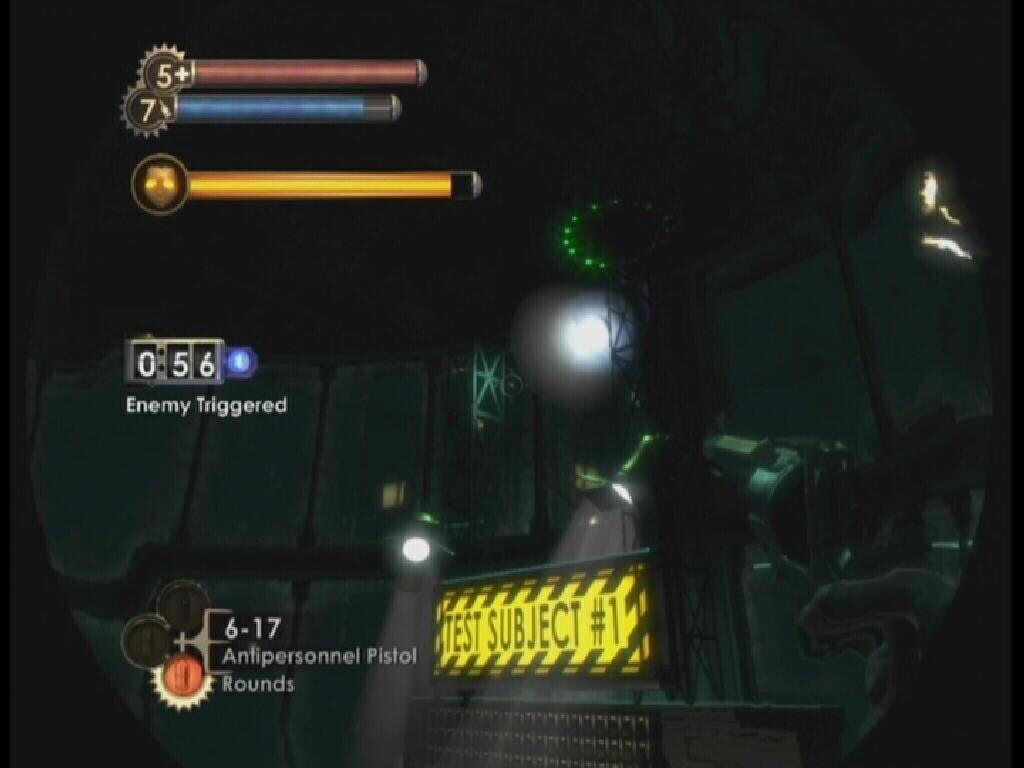
Security Camera
Shortly after Test Subject 3, you are attacked by an Elite Bouncer. The Bouncer breaks through the wall and lands conveniently on an oil spill. Use this to your advantage. Once you have dealt with the Bouncer, follow the Little Sister to the final room before the final battle. The room is littered with ammunition for various weapons. There are Circus of Values and Ammo Bandito machines, as well as a Gatherer's Garden U-Invent station and Gene Bank.
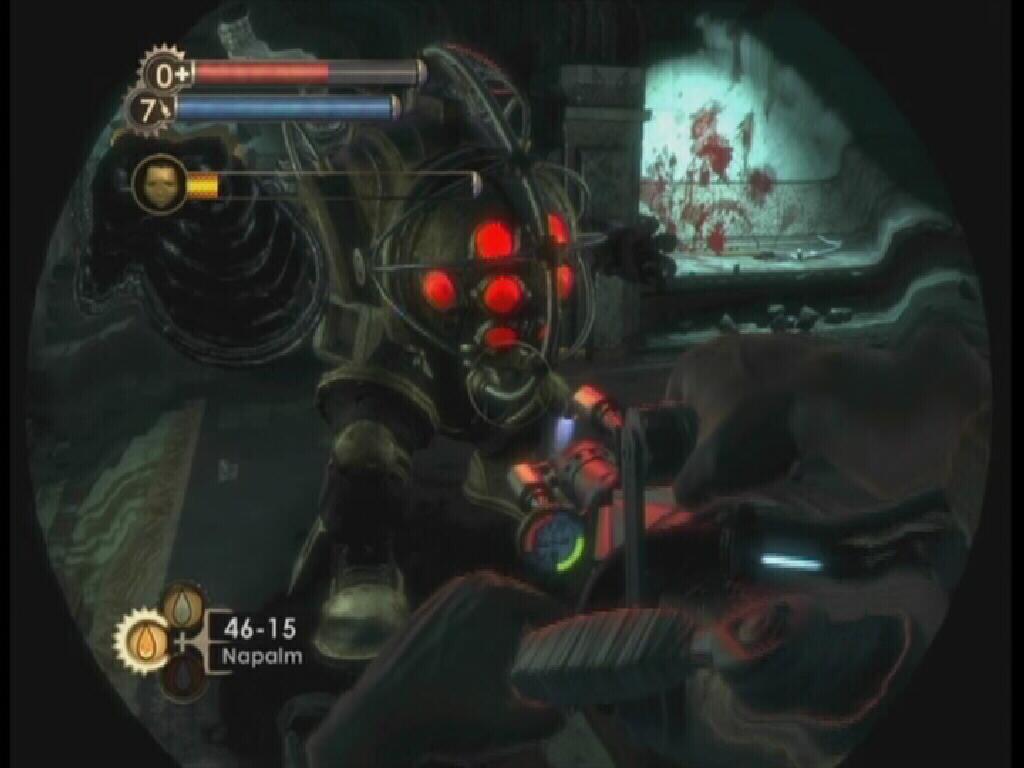
Elite Bouncer
Before you proceed, stock up on First Aid Kits, ammunition (create as much as you can using the U-Invent station). Use the Gene Bank and set your tonics to something actually beneficial to a boss fight. So, to name a few: Medical Expert 3, (1 and 2 as well, if you wish), Static Discharge (1 and 2), and Armored Shell (1 and 2). Just suggestions, and for the record, I'm not entirely certain if each and every tonic's effects stack. Once you are ready, take the needle from the Little Sister, enter the elevator and take it up to meet Frank Fontaine.

Gene Bank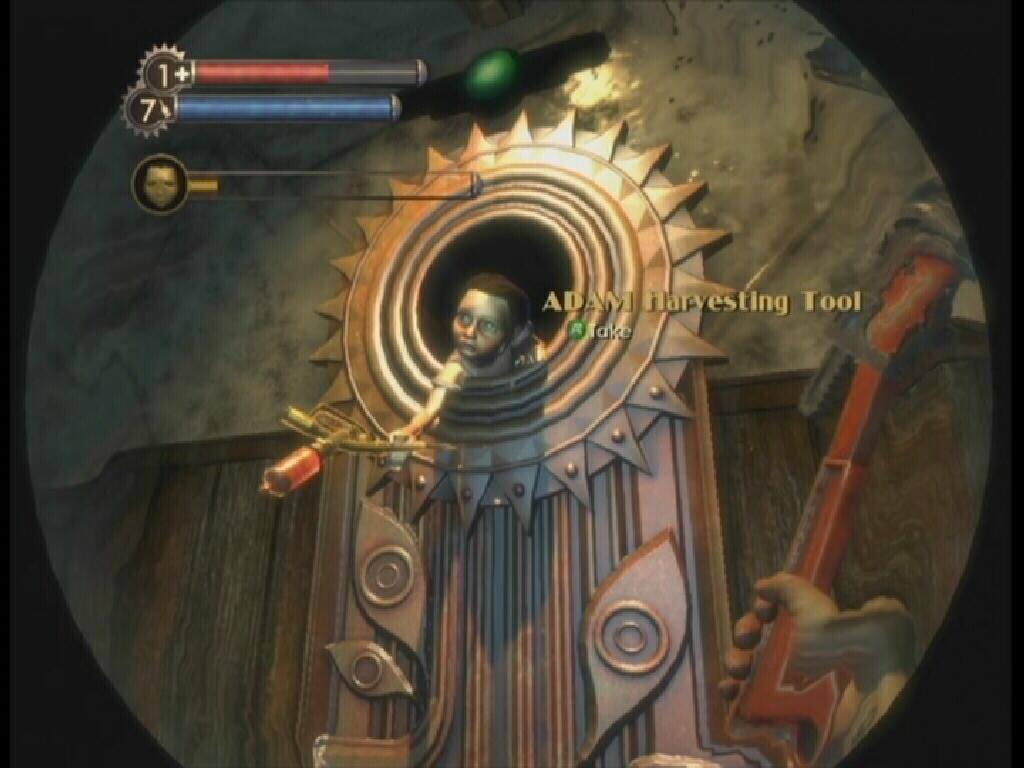
Needle
Frank Fontaine
This is it, the final battle! There's no turning back now.
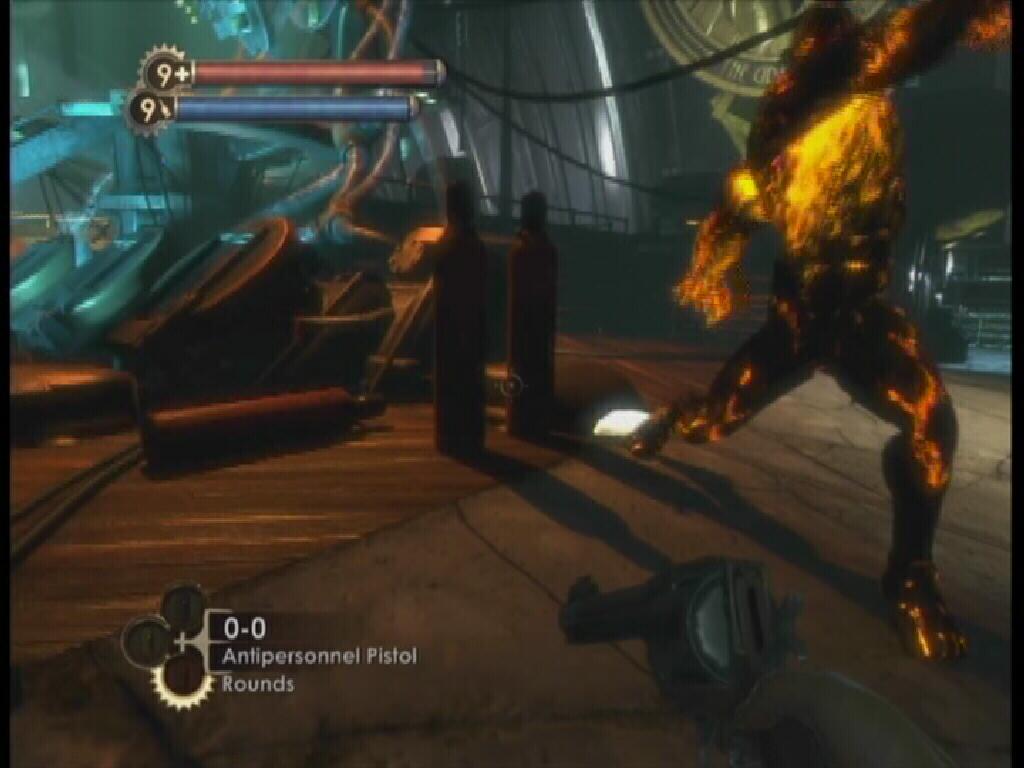
Run up to Fontaine and drain some ADAM from him. This really, really pisses him off. Fontaine has three different forms, his first form being fire. All of his forms use ranged attacks at great length, so keeping your distance is crucial. It is fairly easy to dodge most of the attacks that Fontaine throws at you, if you are a good distance away from him. Fontaine also charges at you, closing the gap between the two of you. When he does this, simply back away from him to re-establish the distance. Occasionally, Security Bots and Splicers will enter the room and attack you, though they are the least of your worries.
Second Form
Fontaine can take quite a beating. The Crossbow seems to be the most effective, since you can still keep your distance from him and deal a fair amount of damage. Using Telekinesis to throw the red gas tanks at him seems to hurt, too. Fontaine's second form is ice. Incendiary Bolts seem to work well here. His final form is lighting, if you have any Frag Grenades, just simply hit him with them while he isn't charging towards you. About eight Frag Grenades should be enough to drain Fontaine's health bar completely.
Tanks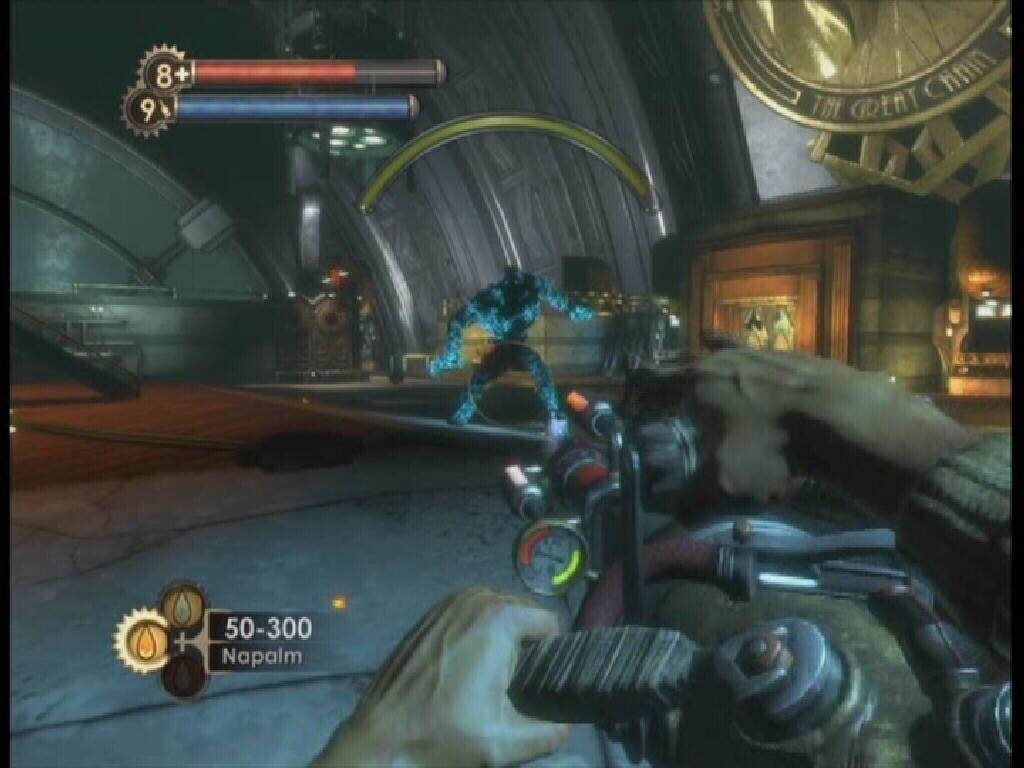
Third Form
All in all, not much to say about Fontaine. Essentially, you need to drain his health bar three times, while facing off against his different forms which feature nearly identical move sets. For a final boss, Fontaine isn't terribly difficult to defeat (based on the Medium difficulty level, of course).
fontain is not hard at all i beat him on hard and it was no big challenge
Great guide! Helped me a lot. Thanks
Wait,so after you beat Fontaine,the game is done? I bought the 2nd one the other day and im really eager to play! :D