Assassins Creed - Memory Block 2 Walkthrough
Skip to Sections...
Intermission
Masyaf Traitor Investigation
To Damascus
Entering Damascus
Damascus Investigations
Damascus Assassination
Intermission
Enter Desmond�s room, which is across from the Animus table. Enter the washroom and stand near the table. When the prompt appears, press any button in order to listen to the conversation taking place between Dr. Vidic and Lucy.
Achievement Tip - Conversationalist: When Dr. Vidic and Lucy are finished talking, the Doctor tells you to go and get some rest. However, if you are a fan of the Xbox 360�s achievement system, you�ll want to wait around a bit longer. To unlock the 'Conversationalist' achievement, you must go through every dialog with Dr. Vidic�s assistant, Lucy. You can only speak to Lucy between certain memory blocks while Dr. Vidic is not in the room. This is your first opportunity to speak with Lucy. Speak with her until she says 'Can�t talk, gotta work.' If even one bit of dialog with Lucy is missed, you�ll have to play through the game again if you wish to unlock this achievement.
When you�re ready, enter Desmond�s room and press any button near the bed when the prompt appears. The next morning, approach the Animus and press any button to lie down on it. Select 'Continue' and away we go.

Animus
|
Masyaf Traitor Investigation
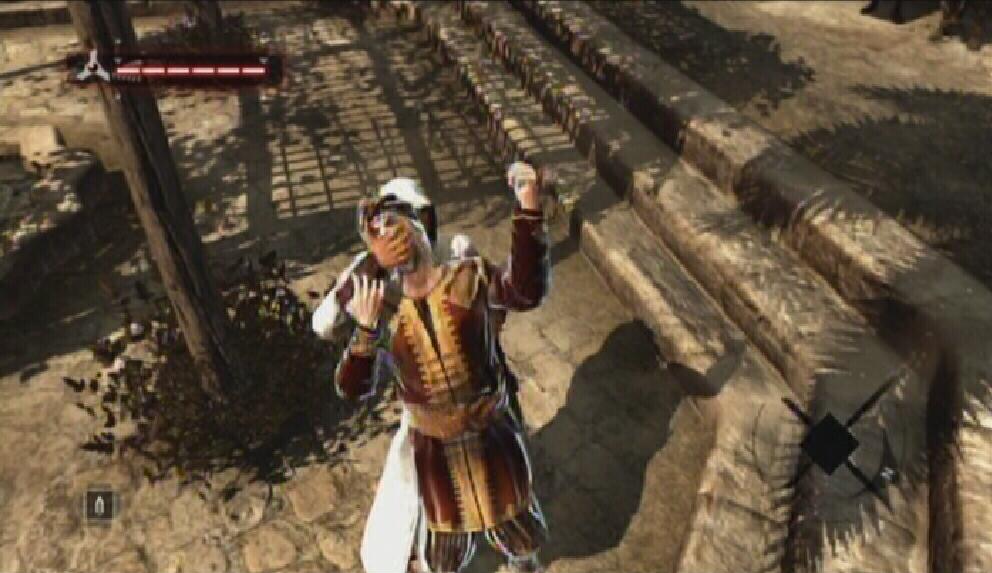
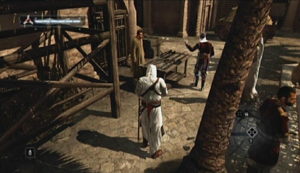
After a stern talking to from Al Mualim, you are demoted to apprentice assassin, losing all current weapons and abilities. If you want these back, you�ll have to earn them. Leave the fortress and follow the arrow marker on the GPS to an assistant. He explains that the traitor was last seen in the market. The investigation starts there.
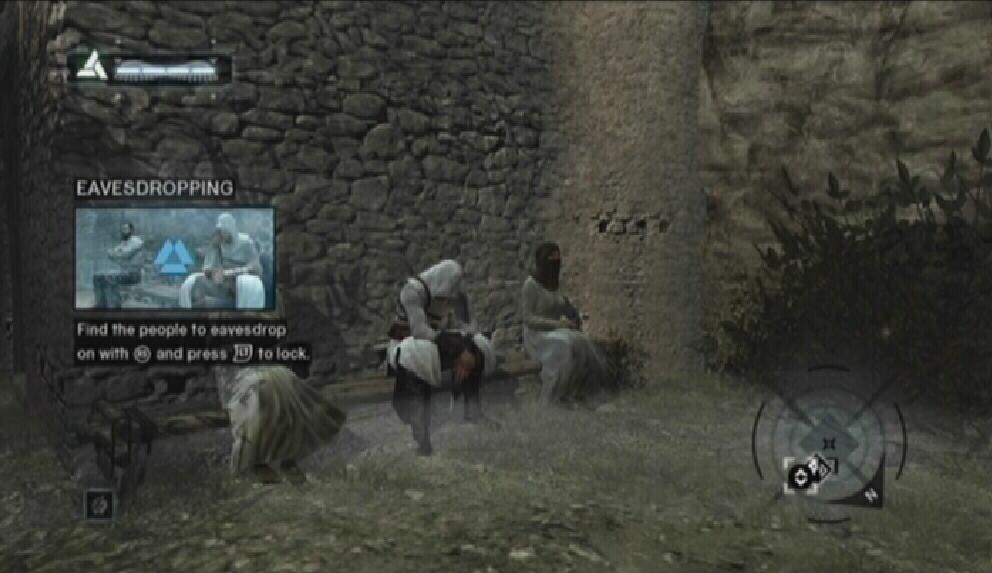
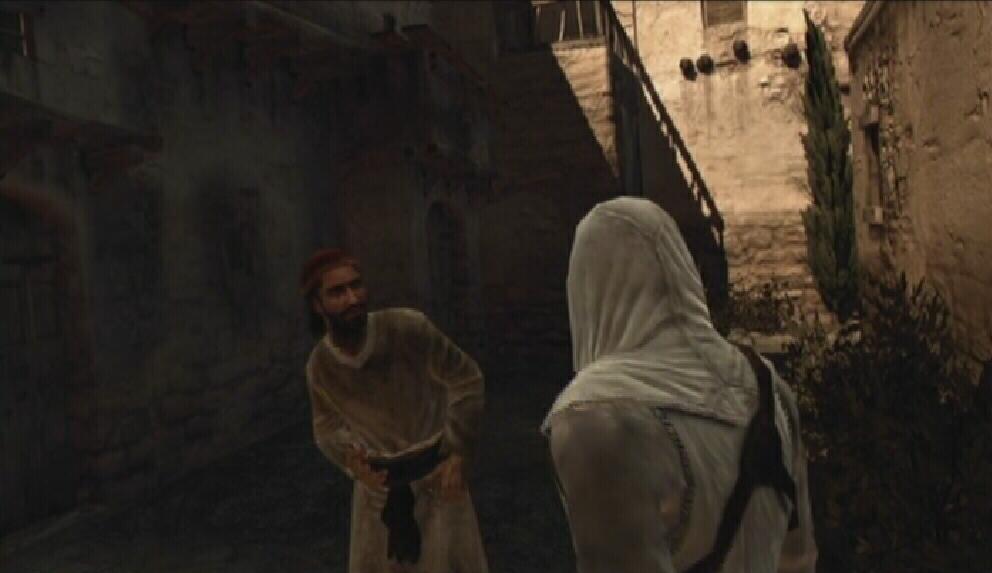
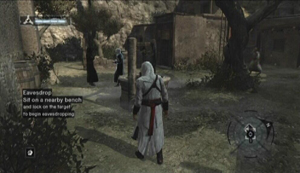
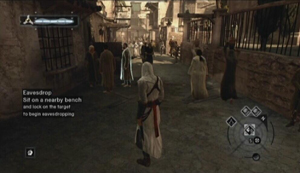
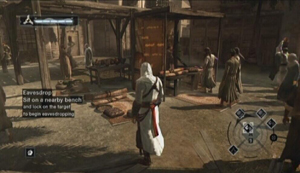
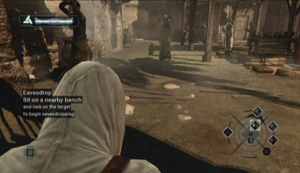
Memory Strand 1 - Eavesdropping: Follow the marker on the GPS to reach two men. To eavesdrop, you must first locate a nearby bench and sit on it. (There happens to be a bench west of where these men are conversing.) Once there, lock onto the target and press the Head button to listen in on the conversation. By listening to the two men, you learn that a basket weaver handed the traitor a letter. Your next task is to track down this basket weaver.
Target
|

Bench
|
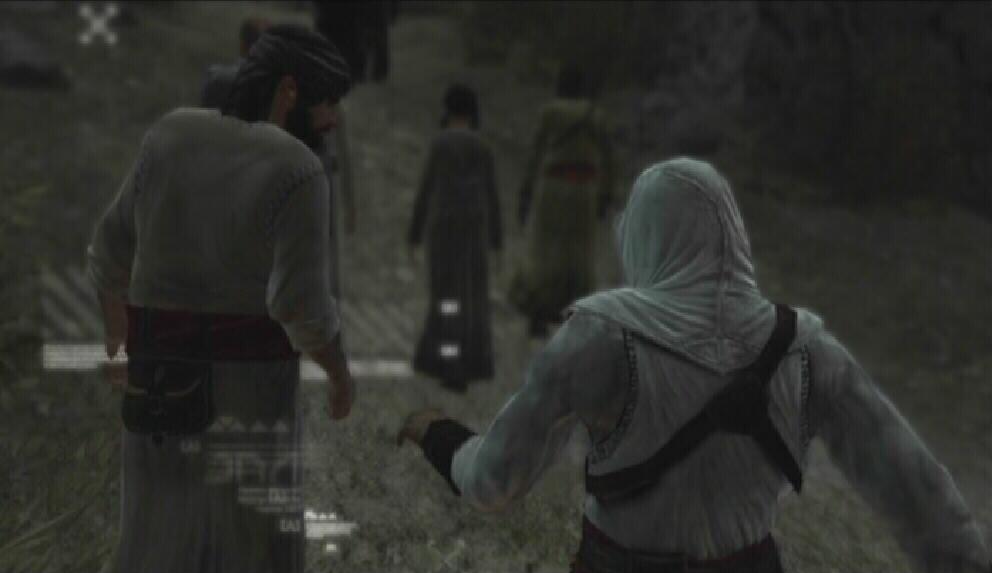
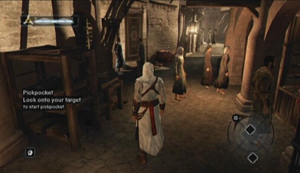
Memory Strand 2 - Pickpocket: Use the Pickpocket marker on the GPS to locate the basket weaver. Stand a good distance away from the basket weaver and lock onto him. After the brief cutscene, start following the man while in Low Profile. To pickpocket a person, you must get close enough to them and then hold the Empty Hand button until the information is extracted. If you are caught by the letter carrier, the investigation is a failure and you will have to wait for the objective to Reinitialize. Keep an eye on the man�s head while you follow behind him. Do not attempt to pickpocket him while his head is turned. The letter explains that the traitor can likely be found at the center of the village.
Target
|

Pickpocket
|
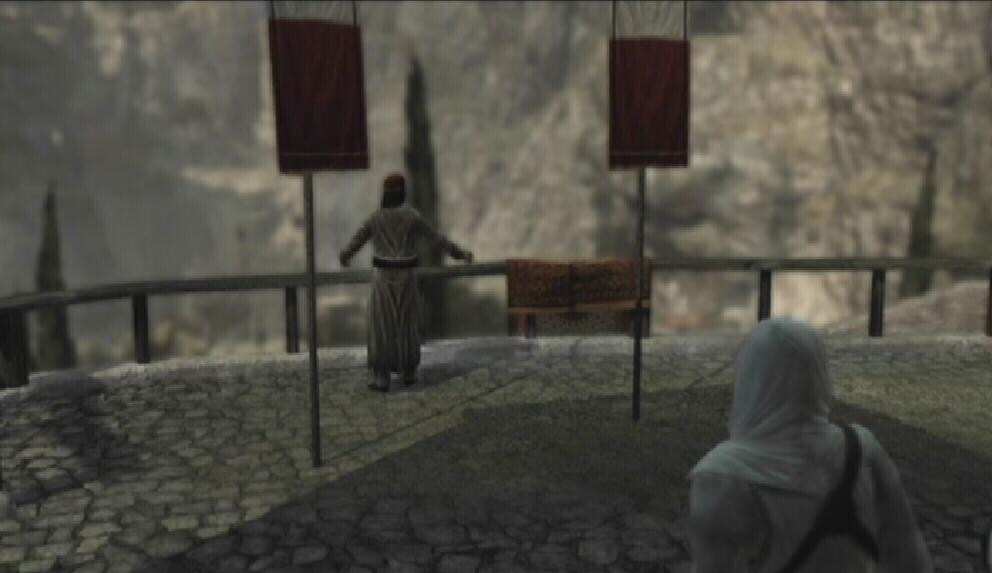
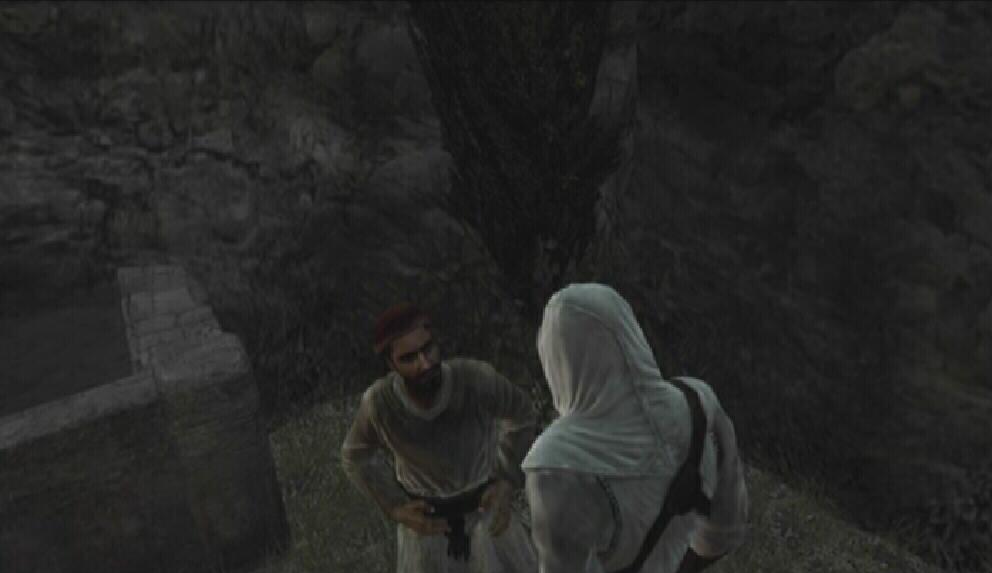
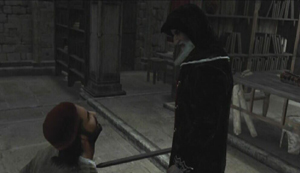
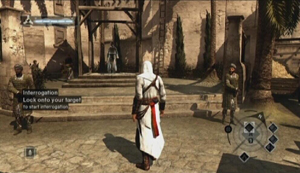
Memory Strand 3 - Interrogation: Locate the target using the GPS. Lock onto him and wait for his speech to finish. Interrogation objectives require you to follow someone to an empty location and then punch them until they disclose some information about your target. In this instance, follow the target, keeping your distance, until he reaches an empty area nearby. Start punching him but be careful because he will punch back, so be ready to block his swings. Guards will not intervene during a fistfight, but any nearby thugs may join in and make things more difficult for you.

Target
|

Interrogation
|
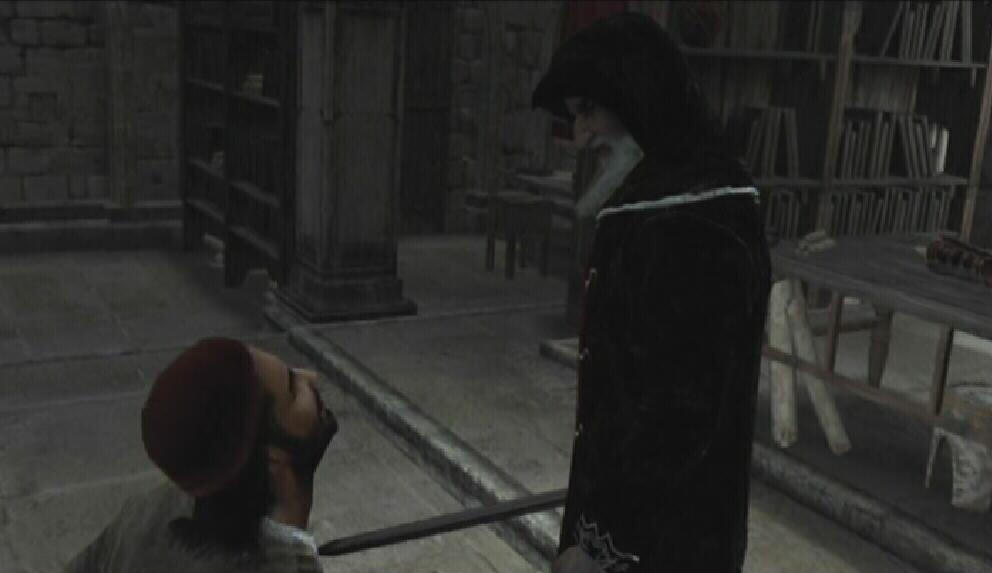
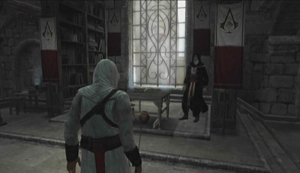
Memory Strand 4 - Knowledge: Once you have roughed Masun up enough, Altair brings him to Al Mualim for judgment. He is dealt with swiftly. You reach Rank 1 and are given back your Long Sword and Hidden Blade for turning Masun in.
Masun
|
Al Mualim
|
To Damascus
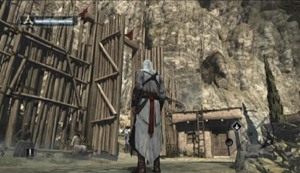
The first on Al Mualim�s hitlist is one Tamir who operates in the city of Damascus, due east of Masyaf. You can practice the basics of combat by exiting the fortress from its front door. You are stopped by a man and put into the ring to spar with one of Masyaf�s guards. This is a good time to master blocking and striking, though you can only face one guard at a time. Before you proceed, explore Masyaf if you wish. There are twenty Assassin Flags to be found. Finding them all unlocks an achievement.
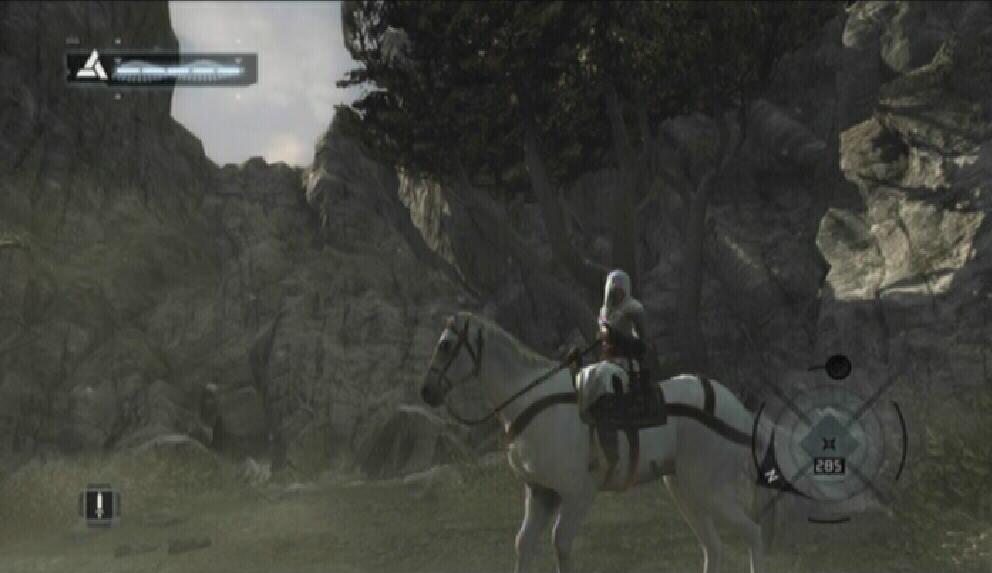
When you are ready to depart, follow the marker on the GPS until you reach the large wooden gate. Step through the gate and turn left. Mount one of the horses here and start galloping towards the Kingdom. The Kingdom is the large stretch of land between the four major cities. There�s not much to be found in the Kingdom, though for those playing the Xbox 360 version, there are 100 Kingdom flags scattered throughout the land that unlock an achievement once all of them are found.
Gate
|

Horse
|
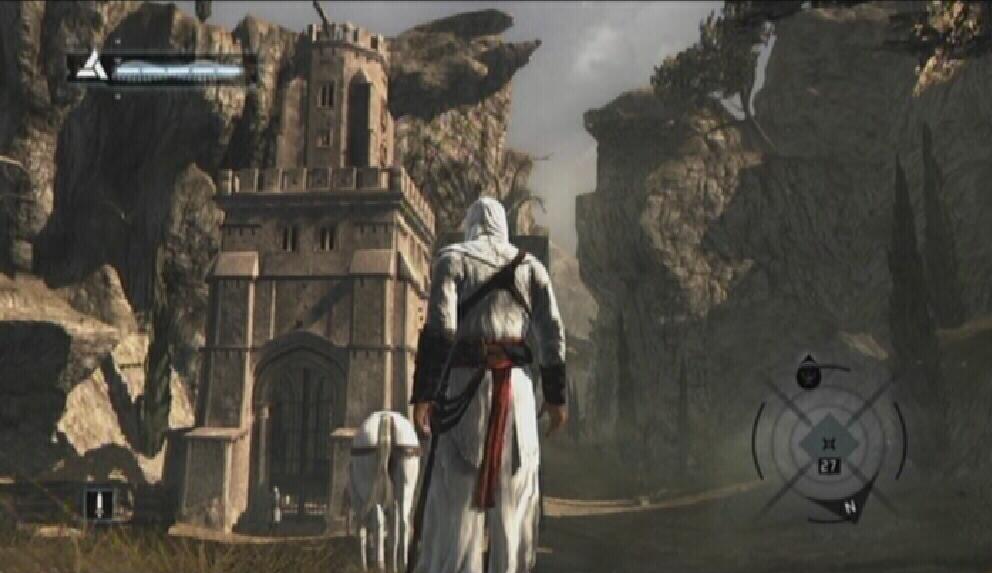
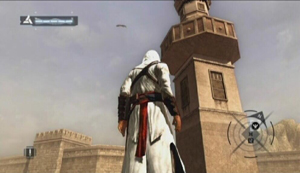
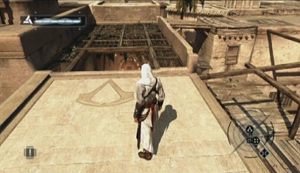
The GPS points you to a large tower. Move towards the tower and dismount when you reach it. This particular tower is one of the many View Points found throughout the world. Scaling one of these View Points allows you to scan the area below to update the map with hide spots and objective markers. When you reach the tower�s peak, stand on the ledge and press the Head button to scan the area. Afterwards you can perform a Leap of Faith to get back down. Every single View Point has a haystack below its ledge, so you will never have to climb back down.

Tower
|
View Point
|
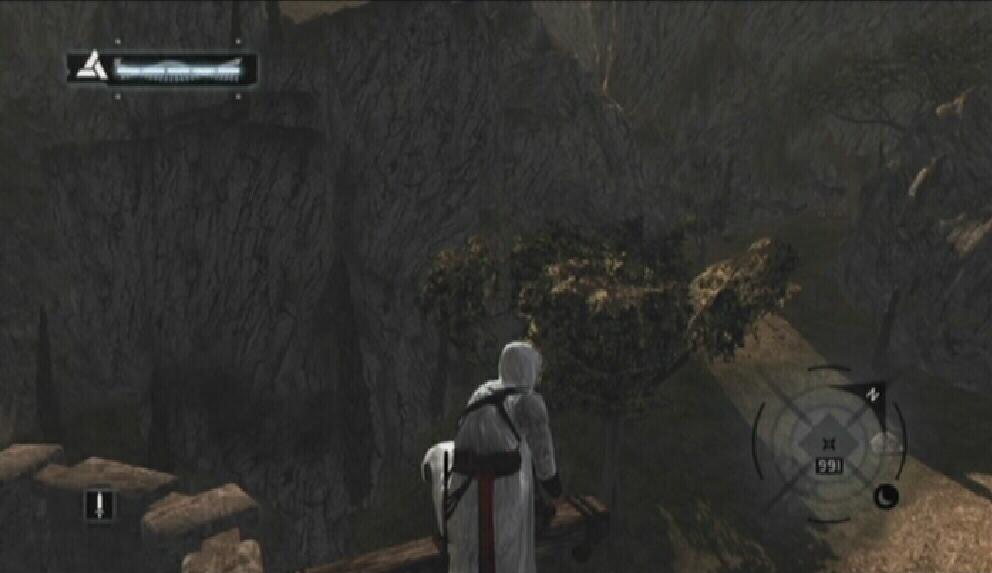
After using that View Point, each and every tower in the Kingdom is revealed on the map. Each one is marked by an Eagle icon. Xbox 360 players, scaling and using Eagle Vision on every View Point nets you an achievement, so scale all that you come to. When you�re ready, mount your horse and start toward the city of Damascus. You�ll have to use the GPS and the map together, since the GPS simply points directly to the city while there is no direct route to Damascus. There are several View Points along the way, hop off of your horse and scale them if you wish.

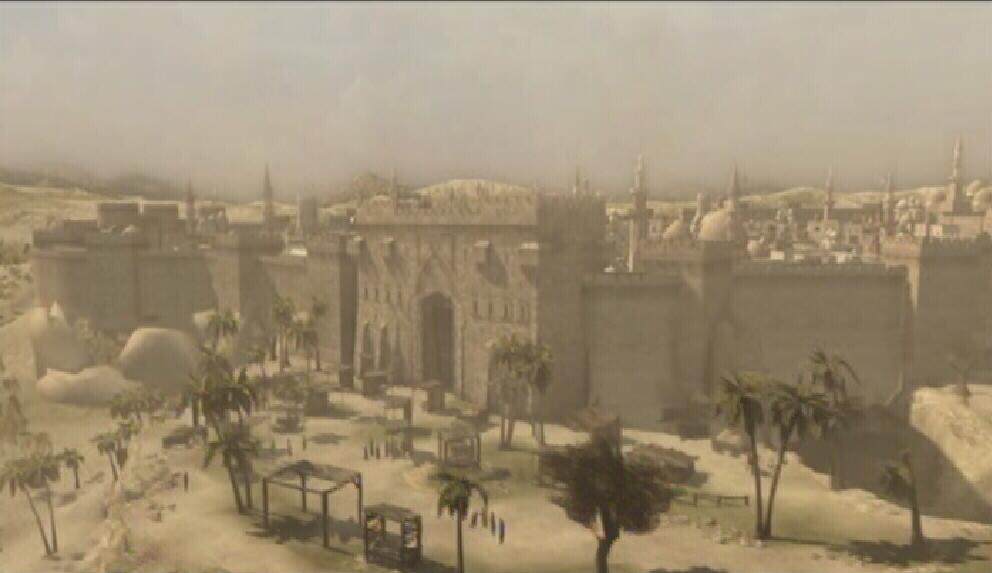
Damascus
|
Entering Damascus
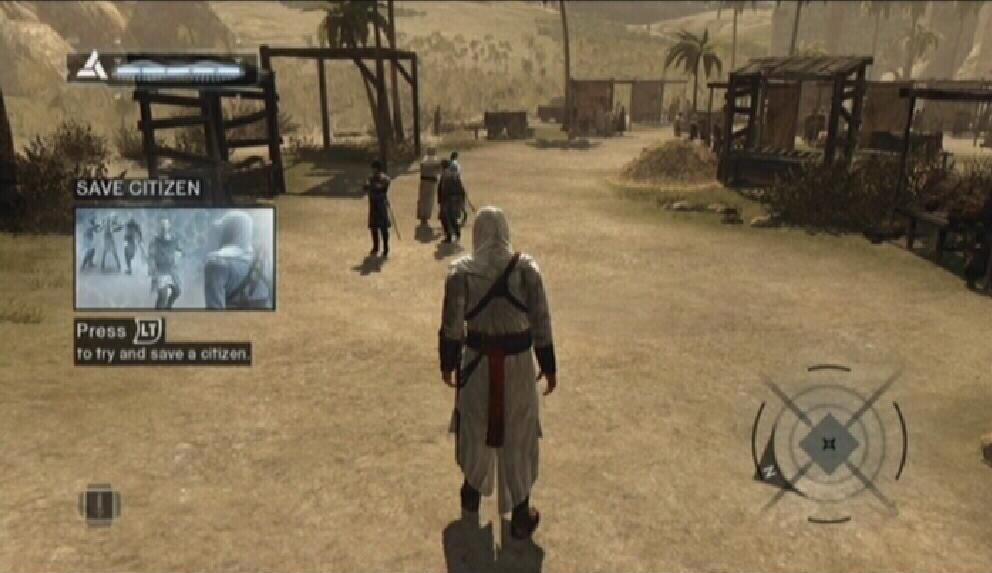
When you reach Damascus, head down the sloping trail and approach the city entrance. You come to a Scholar being harassed by some city guards. Dismount the horse and start towards the group. Lock onto the citizen and start attacking the guards. Once the guards have been killed, lock onto the citizen once more to complete the objective. The citizen thanks you and a group of Scholars appear.
Scholars can be used to escape from guards and they can also bypass most guard barriers. Stand near the group of Scholars and press the Legs button to join them in their march. Their path leads into Damascus, allowing you to get by the guards underneath the archway. Wait until you are past the guards and hit the Legs button again to step away from the Scholars.

Save Citizen
|

Scholars
|
You can start the investigation once you are inside the city. However there are several other tasks that can be done aside from the main assassination. There are twelve citizens in the Poor District of Damascus that need rescuing. Rescuing a citizen from the city guards has several benefits. If you save a scholar, a group of Scholars will appear nearby. This group appears on the GPS and map, providing a moving hiding spot that can be used while trying to escape from the city guards.
Saving other peasants yields a group of friendly Vigilantes who will hold back guards that are pursuing you. Establishing Vigilantes in the streets is especially helpful during your escape after a successful assassination. Each person rescued contributes to the lengthening of the Sync bar. Start by using your Hidden Blade to take out a couple of guards, then finish off the rest in combat. Saving all of the citizens in a city will also unlock an achievement on the Xbox 360 version.
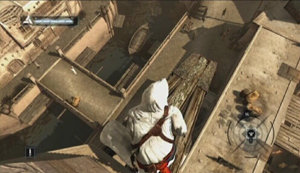
There are also nine different View Points that can be scaled in this part of Damascus. Scaling every single View Point is the very first thing you should do upon entering a new city district. Doing so will reveal locations where the investigations take place, where there are citizens that need rescuing, and hiding spots. Each view point scaled also contributes to the lengthening of the Sync bar.
Before you can access the Assassination memory, you must first complete at least two of the six investigations in the Poor District of Damascus. It is recommended that you scale all of the View Points and save all of the citizens before you worry about assassinating the target, but doing so is not necessary.
Regardless of what you want to do, start by scaling the one and only View Point marked on your map. Now is a good time to familiarize yourself with the map and GPS. Call up the map (Back on the Xbox 360 version, select on the PS3 version), place the cursor over the View Point icon and set the marker there (refer to the Control bar at the bottom of the map). Exit out of the map once that has been done. Notice the marker on the GPS and how the GPS now shows its relative distance.
Follow the marker to the first View Point, climb it, and use Eagle Vision to scan the area below. The map is updated with Pickpocket investigation, the locations of some citizens that need rescuing, and the remainder of the View Points. Perform a Leap of Faith from the ledge afterwards.
View Point
|
Ledge
|
Damascus Investigations
Memory Strand 1 - Pickpocket North: Scale the View Point west from the 'P' in 'Poor District' on the map to reveal the location of this investigation. Find the two men speaking in an alleyway. Place yourself a good distance south of their location and lock onto the letter carrier to begin. Blend while the man comes down the alley. As soon as he passes you, turn around and start following close behind him. Use the Empty Hand button to remove a letter. You learn that Tamir is preparing a large number of weapons.
Target
|

Pickpocket
|
Memory Strand 2 - Eavesdropping Southeast: Scale the View Point just above the 'to Kingdom' on the map to reveal the location of this investigation. Three men converse near some boxes. Sit down on the bench across from them, lock onto one of them and press the Head button to listen in on their conversation. You learn that Tamir has called a meeting with the merchant�s of his souk.
Target
|
Bench
|
Memory Strand 3 - Interrogation West: Scale the View Point just north of the Assassins� Bureau to reveal the location of this one. Use the marker on the GPS to locate a man who knows a little too much about your target. Stand below the steps leading up to his platform and lock onto him. After his speech, follow him into the dark alley nearby and start punching him. He eventually reveals that Tamir is currently preoccupied with the overseeing of weapon production.
Target
|

Interrogation
|
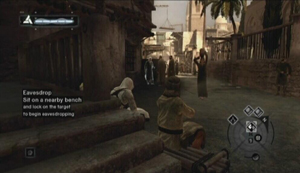
Memory Strand 4 - Eavesdropping South: Scale the View Point due east of the Assassins� Bureau to reveal the location. Two men are talking underneath a shelter in the marketplace. Take a seat on the bench south of their location. Lock onto one of them and press the Head button to listen in on their conversation. You learn that there are beams that can be used to enter the souk�s courtyard.
Target
|
Bench
|
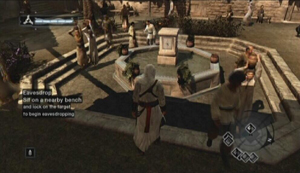
Memory Strand 5 - Eavesdropping West: Scale the View Point just north of the Assassins� Bureau to reveal the location of this one. There are two men conversing near a fountain. Sit on the bench south of their location, lock onto them and press the Head button to listen in on their conversation. The aid that the man speaks of is the Vigilantes. Rescue citizens to befriend them.
Target
|

Bench
|
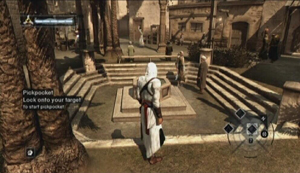
Memory Strand 6 - Pickpocket Northeast: Scale the View Point south of the 'P' in 'Poor District' to reveal the location of this one. Look for the two men in the center square. Stand a good distance away and lock onto the letter carrier to start. Wait until the man starts to move and then begin following him. When you are close enough, hold the Empty Hand button while the man is not looking to obtain a map of Tamir�s souk.
Target
|
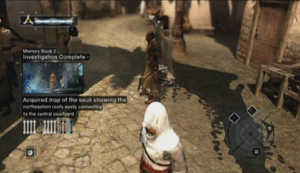
Pickpocket
|
Damascus Assassination
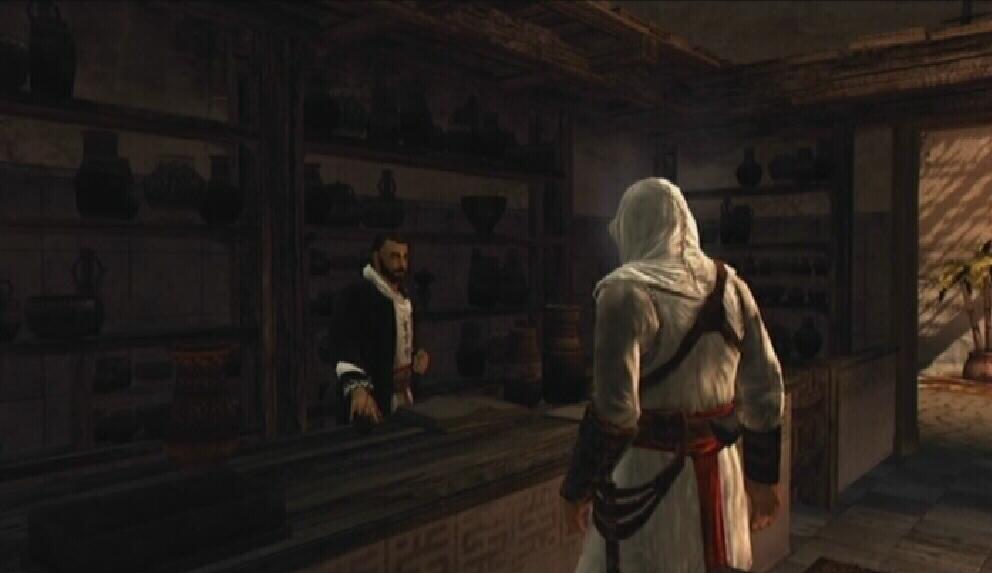
Memory Strand 7 - Knowledge: When you have completed at least two different investigations in the Poor District of Damascus, make your way to the Assassins� Bureau in the city. The Bureau is marked on your map. The entrance is on the roof, so you�ll need to scale the side of the building and then drop down through the gap in the mesh. Head through the doorway to speak with the bureau leader. Once Altair explains what has been learned, take the feather that is placed on the counter.
Bureau Entrance
|
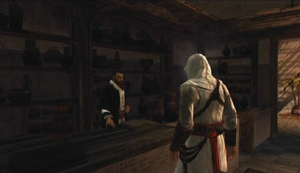
Bureau Leader
|
Memory Strand 8 - Assassination: The location of Tamir�s souk has been placed on the map and its distance is displayed on the GPS. Follow the marker to reach Tamir�s market. Stand in the central square. Stand by as Tamir denounces one of his merchants and then proceeds to stab him repeatedly. You are automatically under high suspicion, so immediately hold the Legs button to Blend. Be especially careful not to cause a pot carrier to drop the pot they are carrying because doing so alerts Tamir and causes him to attack you. Ignore the beggars in the area too, just move around them. Have your Hidden Blade (top weapon) out while moving towards Tamir.
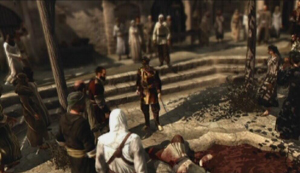
Tamir
|
Blend
|
When Tamir has his back to you, use your Hidden Blade while in Low Profile to assassinate him. A good time to get him is while he is in the process of belittling one of the merchants at their stands. Alternatively, if Tamir is walking towards you, stand on the spot while Blending. As he passes you, turn around and use your Hidden Blade in Low Profile to drive it into his back.

Assassination
|
Killing Tamir sets off a city-wide alert. All of the guards in the vicinity turn to you. No amount of blending will get you out of this mess. You have to return to the Assassins� Bureau, but the door to the Bureau will remain closed unless you are Anonymous. You�ve got some options here. You can Free-Run through the streets until you exit the guards� line of sight and then find a hide spot (sit on a bench between two people, Blend with a group of Scholars, or jump into a haystack) to escape the guards.
You could try climbing one of the walls in Tamir�s souk and losing them there. However the guards will throw rocks at you while you climb the wall, so if you wish to take this route you�ll have to act fast. When on the rooftops, find a roof garden to hide in once you�ve broken the line of sight.
Roof Garden
|
When you have averted the guards, remain on your best behavior. You may be rid of them for now but the city is still on high-alert. One wrong move and you�ll have the guards after you again. Travel along the rooftops to be safe. If you are on ground level, do not Free-Run and be sure to always blend when passing by guards. Having a good number of Vigilantes on your side will definitely aid you in your escape.
Once you have reached the Bureau, step through the doorway to inform the leader of Tamir�s assassination.
This guide is copyright 2007 SuperCheats.com, no part of it may be reproduced without permission.