Mission 1 : Sierra 117
Mission 1 : Sierra 117
Walk It Off
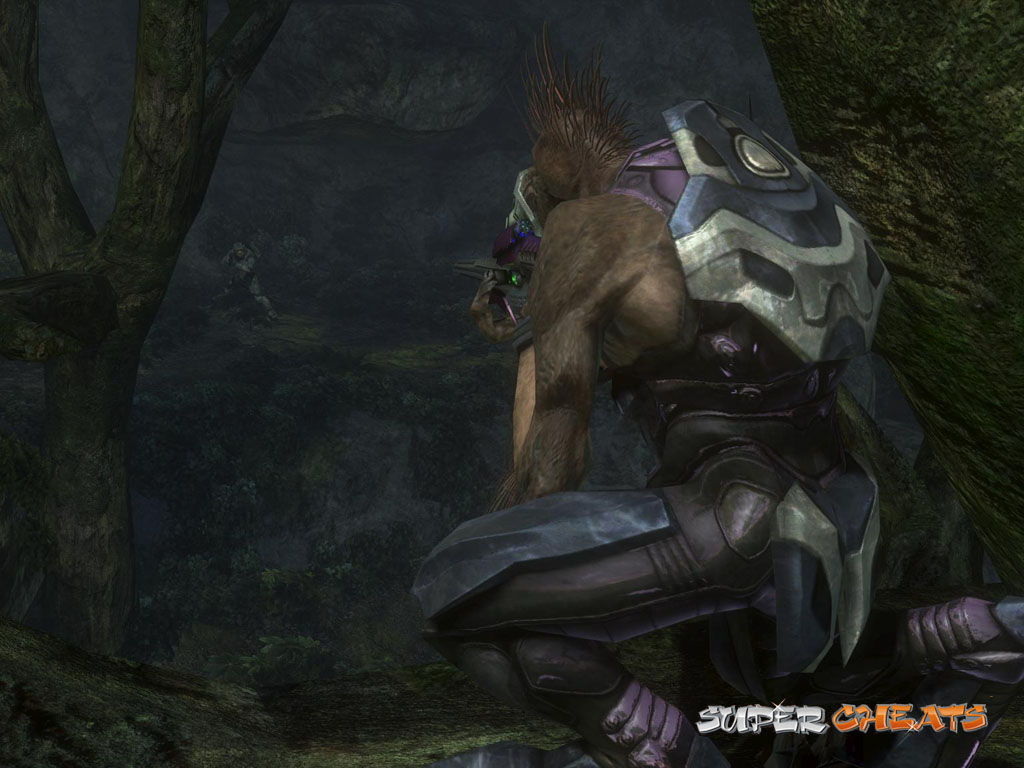
Once you gain control of Master Chief, begin following the troop of marines through the jungle. Eventually, you’ll see a waterfall in the distance. As soon as you step out of the canyon, turn right, press the A button and push forward on the left thumbstick to jump over the tree trunk. Your first enemy encounter consists of a Brute and a few Grunts. As long as you are not spotted, the Brute stands atop the tree trunk along the stream. Initially, this Brute has his back to you. Jump up onto the tree trunk, get behind the Brute and press the B button to perform a melee attack. A couple of these should kill him. Grunts can easily be taken out with any weapon, even a simple melee attack. With the marines by your side, the Grunts will likely be taken out before you can get many shots in. With the enemies dead, continue following the marines over the stream. A Phantom appears. It remains only to drop off some grunts and a Brute. Brutes aren’t as easily dealt with, though with allies in your presence one lone Brute won’t stand much of a chance.
 Behind Brute |
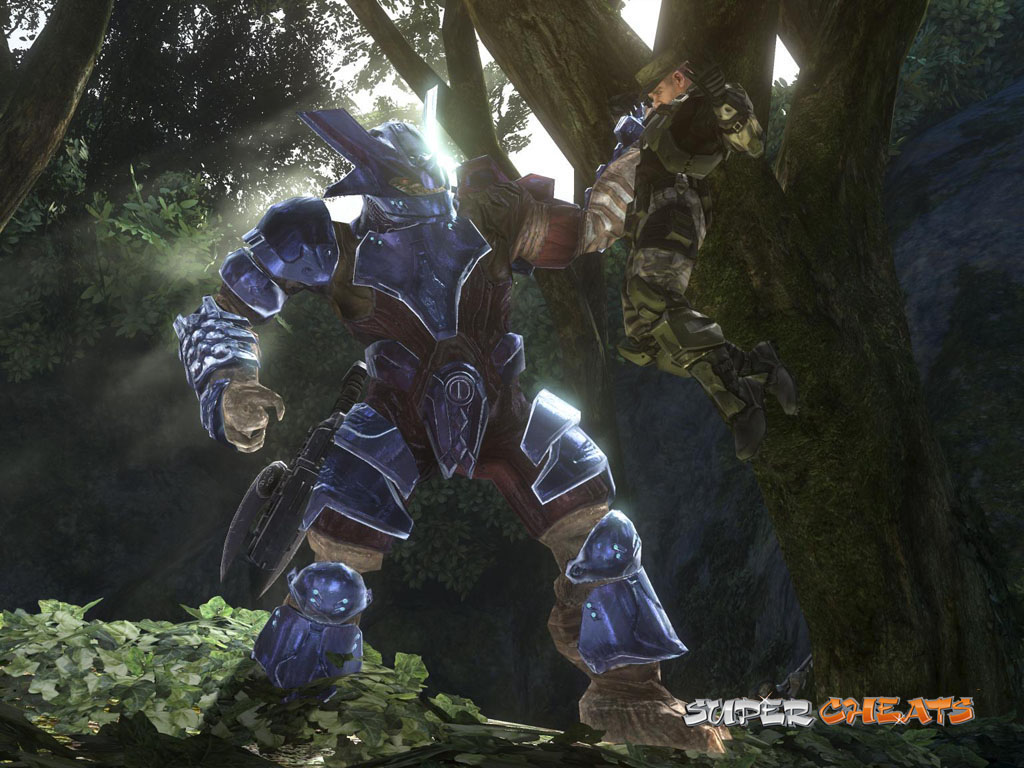 Brute and Marine |
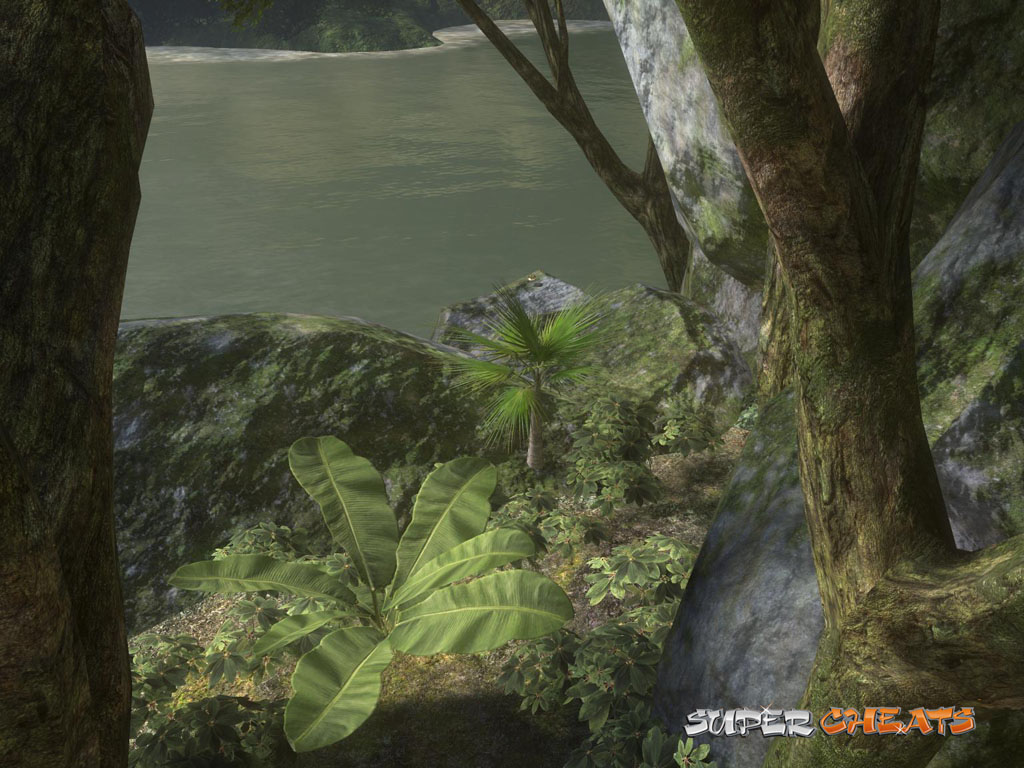
SILVER SKULL: After killing the enemies dropped by the Phantom, hop down and move through the trees towards the water in the distance to your right. The ‘Blind’ skull is on a overlooking the water.
 Silver Skull |
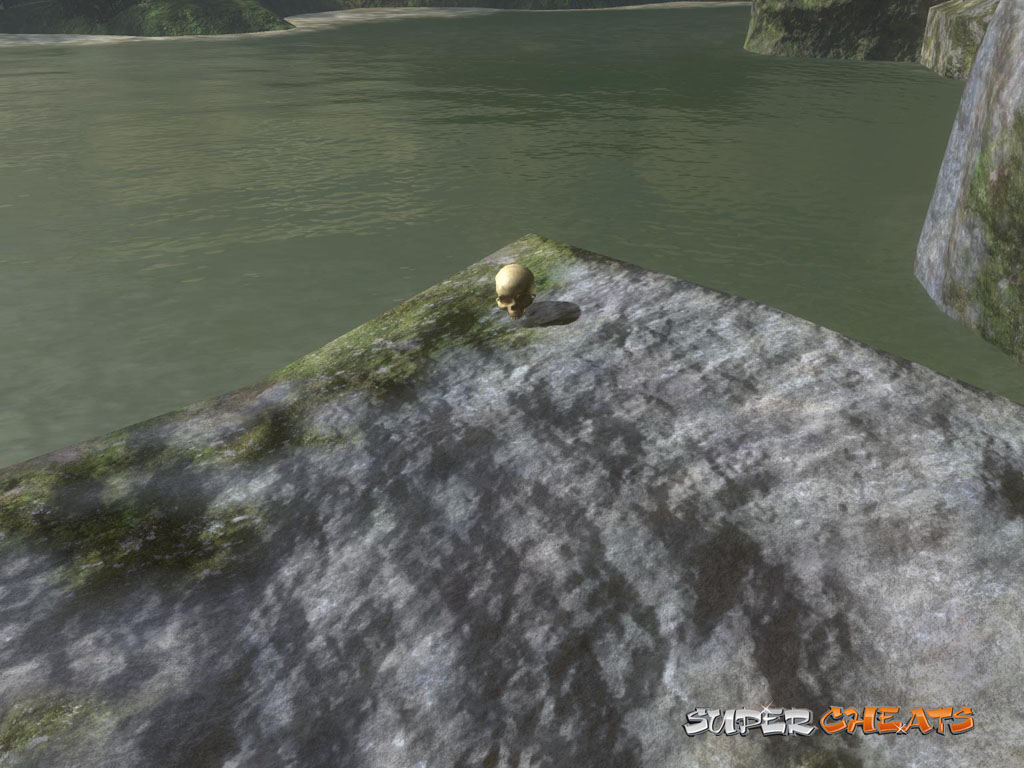 Blind |
Once the Brute is dead, pick up the Brute Spiker that he was wielding. Don’t bother with the Grunts’ weapons. Over the next hill, you’ll face more Grunts and another Brute. After the battle, move towards to the red flare at the end of this area. From there, follow your allies until you reach a spot with sleeping Grunts down below. Jump to the area below and press and hold down on the Left Thumbstick to crouch. Make your way to each sleeping Grunt and press the B button to perform a melee attack. Cross over the lake and hop up onto the hill. Grunts, Brutes and Jackals line the path. Some Jackals carry shields to protect themselves. Shooting these shields enough will destroy them, but you can simply aim for the Jackal’s exposed area (on the right side of the shield.) and kill them this way.
Continue down to the end of this trail. At the bottom of the slope, some Grunts and a Brute drop down from above. Be ready for that, avoid being caught in the middle of them. Take the ramp at the end of this area up to higher ground, then cross the rock bridge to the other side. You must face another group of Grunts and a Brute, after that follow the red flares to a drop down spot. After the short interruption, continue through the canyon path.
Charlie Foxtrot
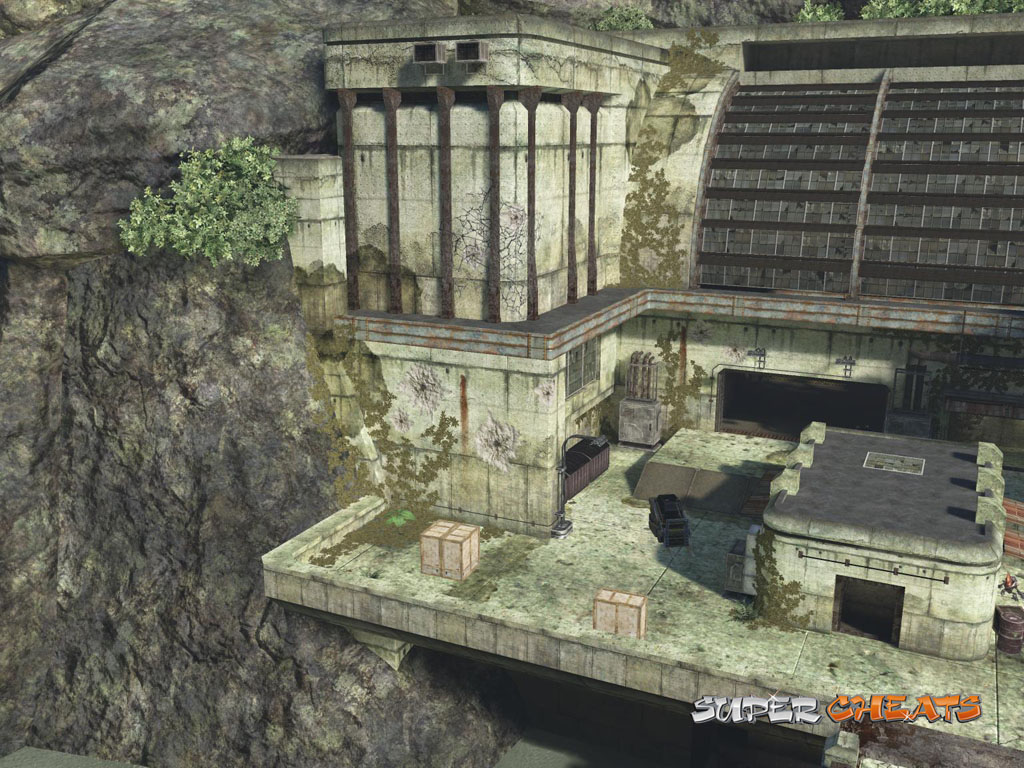
At the end of the canyon, you find yourself on a hill overlooking a small lakeside encampment. You should come across a fallen ally here, he was equipped with a Battle Rifle. You can switch your current weapon for your fallen ally’s Battle Rifle by pressing and holding the RB button when the prompt appears in the top left corner of the screen. You can aim with the Battle Rifle by pressing down on the Left Thumbstick. Concentrate on the Brutes down below first, then pick off any Grunts you can see. When the coast seems to be clear, hop down and start moving towards the large structure in the distance. You’ll face more Grunts and a couple of Brutes, with the Battle Rifle you can quickly take them out from a safe distance. Again, concentrate on the Brutes first, because once all Brutes in the area have been dealt with, the Grunts accompanying them will flee, allowing you to pick them off with little resistance.
The large pillars around this building can be helpful cover from the Brutes, in particular the ones using the Brute Shot. A Phantom will drop off some hostile units on the other side of the walkway here. A well-thrown grenade can take out all of the Grunts, they tend to cluster. Remain behind cover, there are Brute Shot using Brutes among them. Once this area is clear, follow your allies down a sloping trail. Move slowly, there is a Carbine-wielding Jackal positioned on a tree branch to your left. Your allies should take this Jackal out fairly quickly for you.
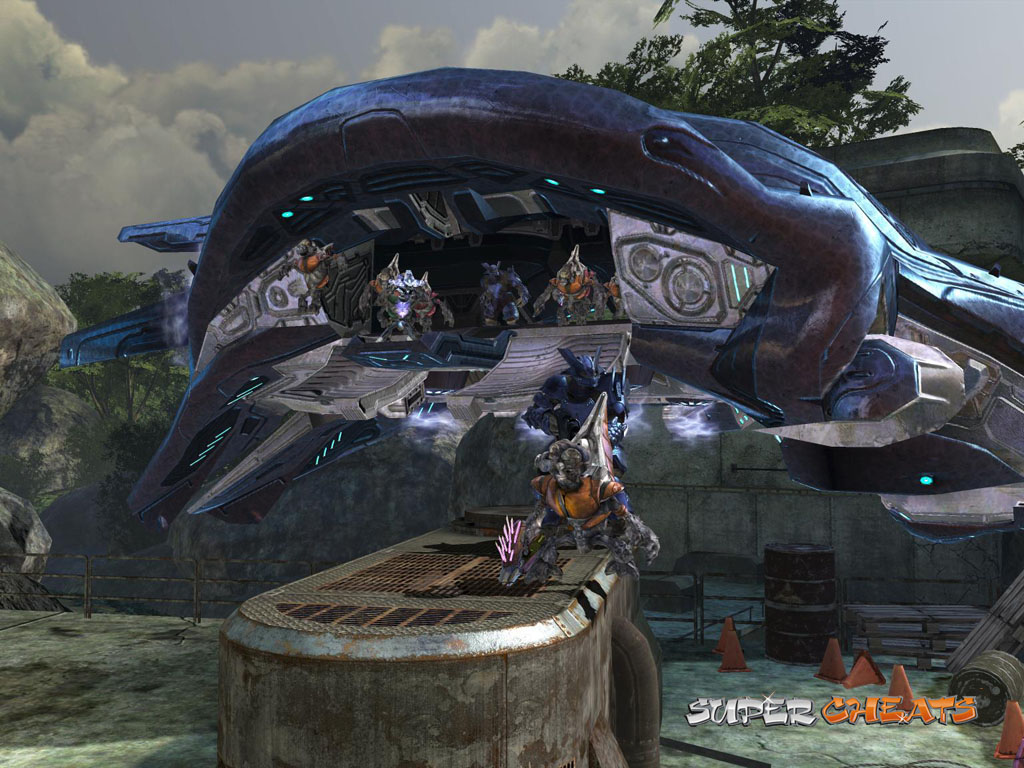 Loaded Phantom |
Several more Jackals are positioned along the hillside. If you don’t, your allies should kill these guys quickly as you move along. At the end of the trail, drop down into the area below. Beyond the bridge, on the high rock between the two trees, there is another Jackal sniper. Use your Battle Rifle or Carbine to take him out. Another Jackal sits on a high branch on the tree to the right of the stationary Phantom at the end of the way. A gunner sits on the turret emplacement on the Phantom, a well-thrown grenade can silence him. A bunch of Grunts and a Brute have been dropped off. If you’ve got more grenades with you, take aim and throw one into the group.
 Jackal Sniper |
The downed Pelican can be found on the mountain side to the right of the Phantom drop off location. Walk down to the wreckage area, pick up the Frag Grenades, Battle Rifle and the Sniper Rifle nearby. Save the Sniper Rifle ammo for now, remain a safe distance away and use the Battle Rifle to take out the enemies across the bridge. Be sure to kill the Jackal sniper on the rock in the far distance. When the path is clear, follow your allies across the bridge and through the cave. You’ll soon find yourself standing before a large, Covenant controlled dam.
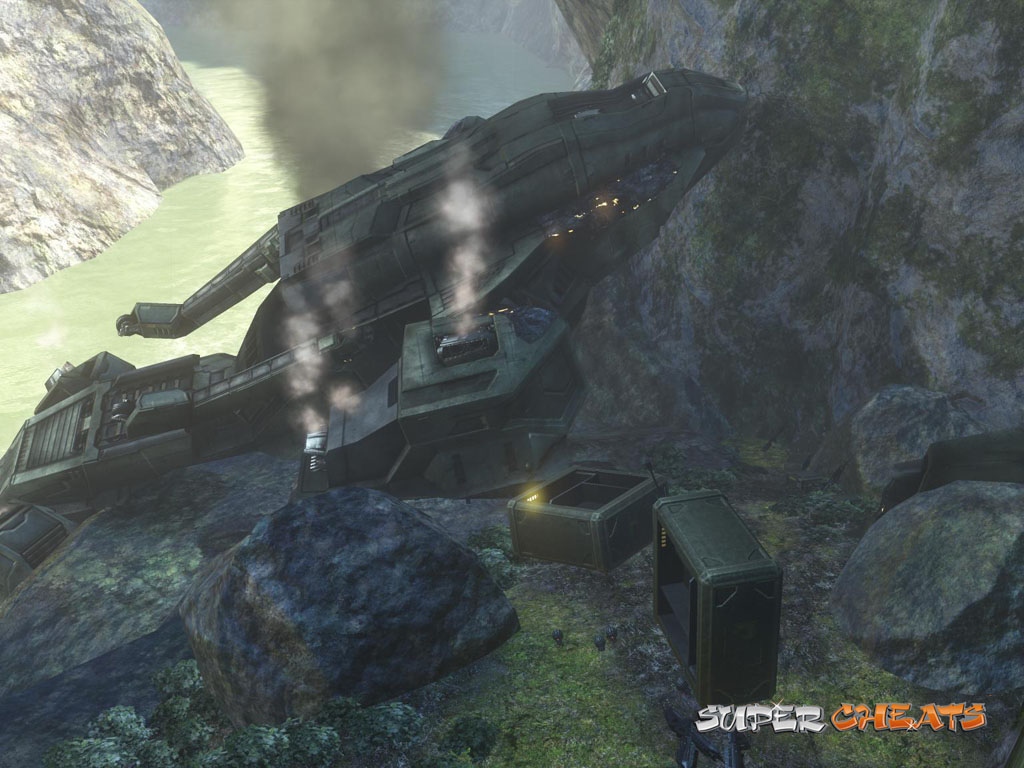 Pelican Ammo |
 Dam Sniping |
Quid Quo Pro
Remain on the hill and use the Sniper Rifle to pick off as many enemies down below as you can. Start with the Carbine-wielding Jackal atop the ruined building directly below your current location. There’s another Jackal that needs to be silenced, he’s positioned above the window behind the tree at the end of the walkway. You can even take out the nasty hammer-wielding Brute on the bridge to your right. When all visible enemies have been killed, hop down to the walkway below. If need be, take cover within the ruined building.
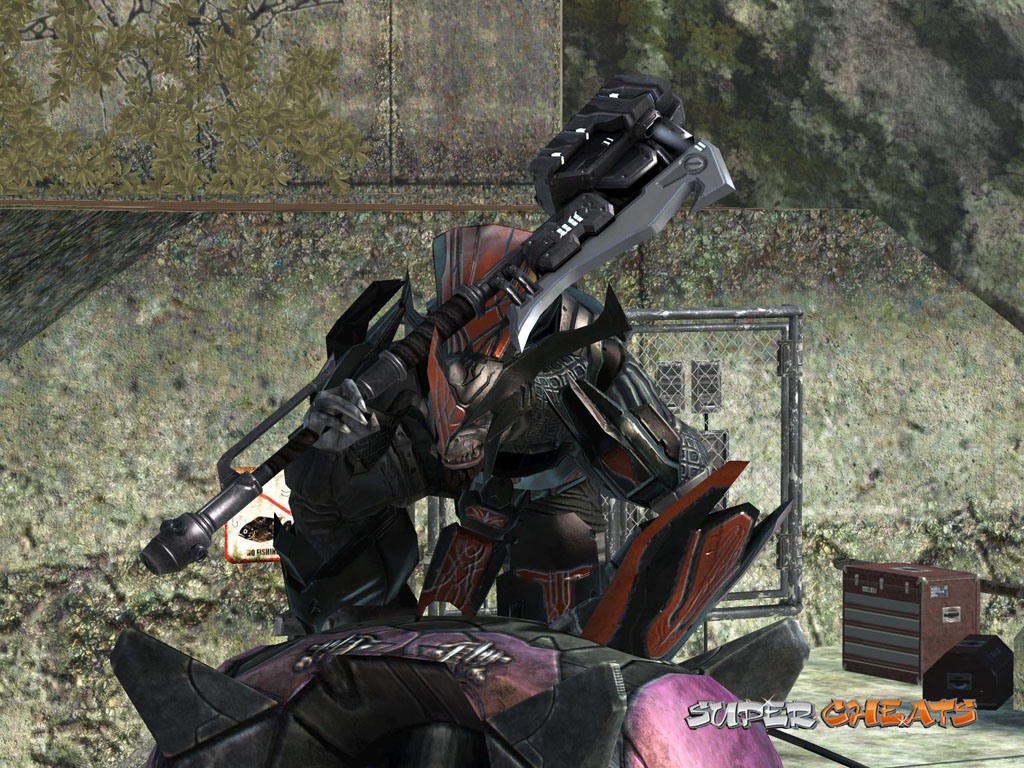 Brute Chieftan |
When the coast is clear, leave the building and move down the walkway. Head up the stairs at the end of the upper walkway. You must get to the other side of this bridge, unfortunately it’s cluttered with enemies. Hopefully you managed to pick off some of the tougher ones from afar using the Sniper Rifle. Jackals have likely taken position on the platform to the right, take these guys out first as they can be a nuisance. Watch your back, too, just in case any enemies were missed in the initial area.
GOLD SKULL: At the end of this bridge, jump up onto the railing and then up onto the building ledge. Walk to the very end of this ledge. Turn right and look on the ground in the crevice to find the 'Iron' Gold Skull. Hold the RB button to pick up the skull and hold on to it until you receive the achievement.
 Gold Skull |
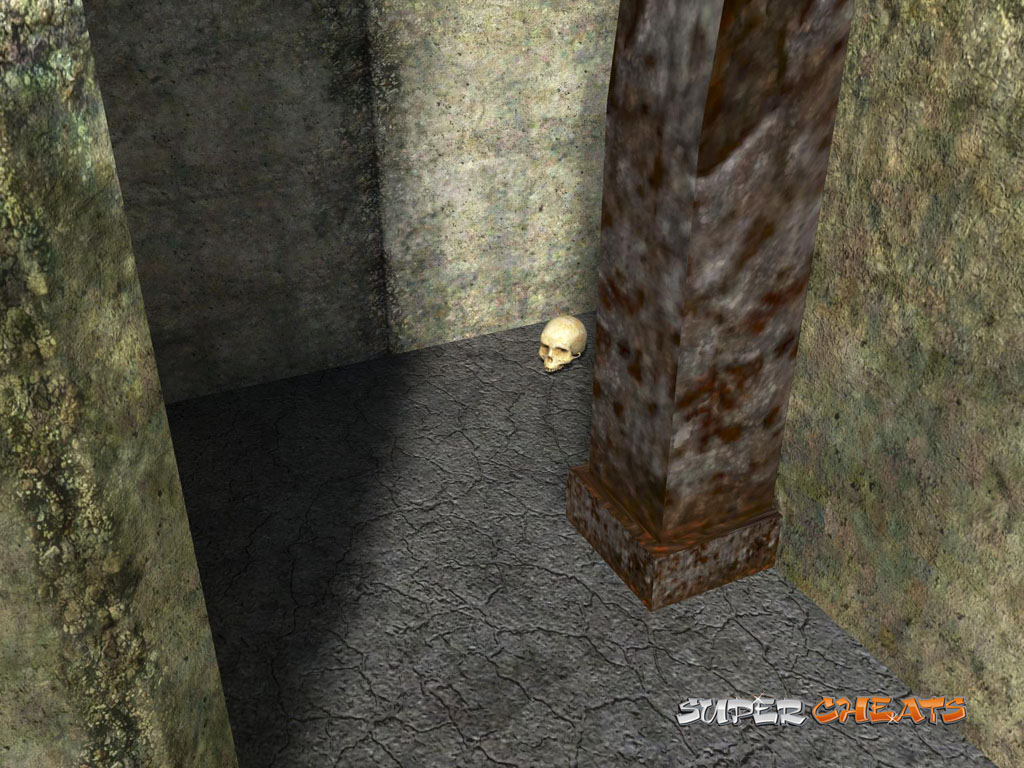 Iron |
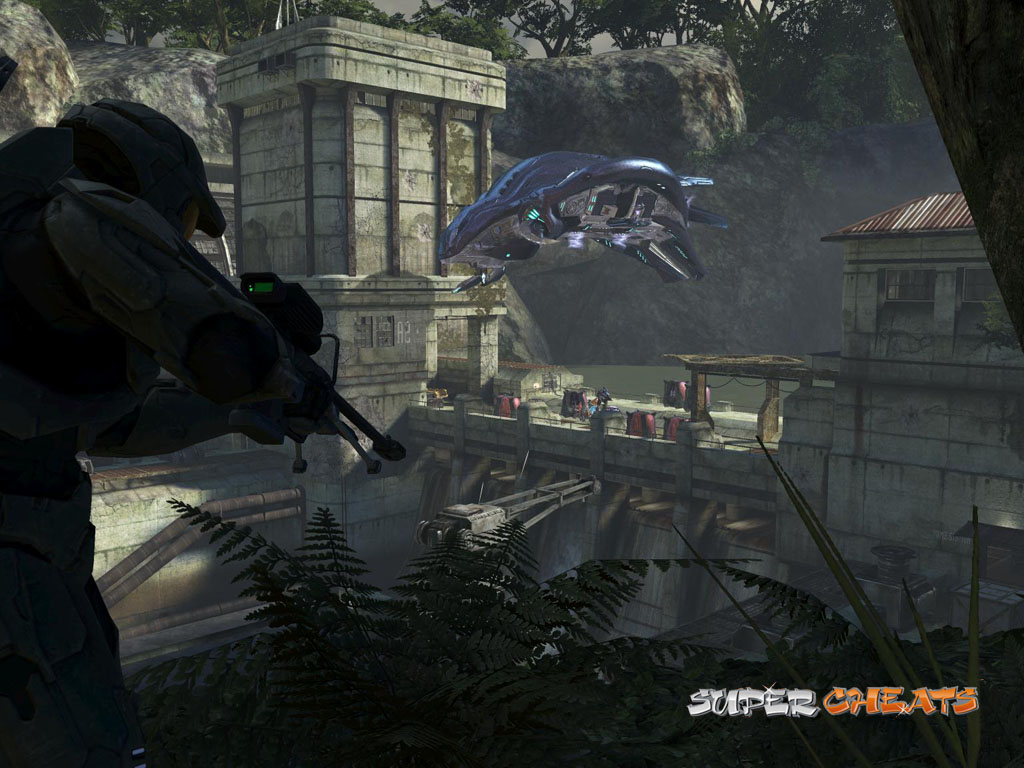
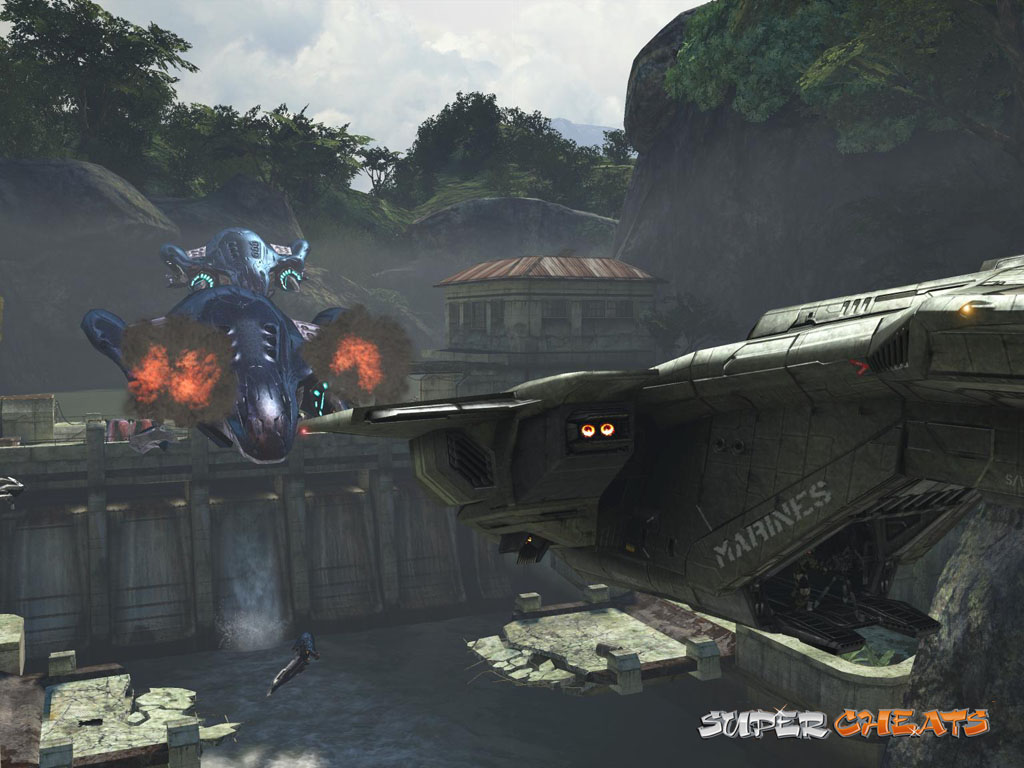
When the bridge is clear, go to its end and head down the stairs. Johnson and some other USNC marines are being held in the building across from the bottom of these stairs. Head inside, approach the plasma shield and press RB to deactivate the shield, thereby effectively freeing Johnson and the marines. Outside, a Phantom appears overhead. Take cover, USNC will eventually destroy it. When the Covenant threat has been dealt with, follow your allies back to the bridge and board the Pelican to complete the level.
 Phantom Versus Pelican |
More Halo 3 on SuperCheats.com
No comments yet. Tell us what you think to be the first.