08 - Trenton District
Condemned 2: Bloodshot Walkthrough and Guide
Condemned 2
Mission 08: Trenton District
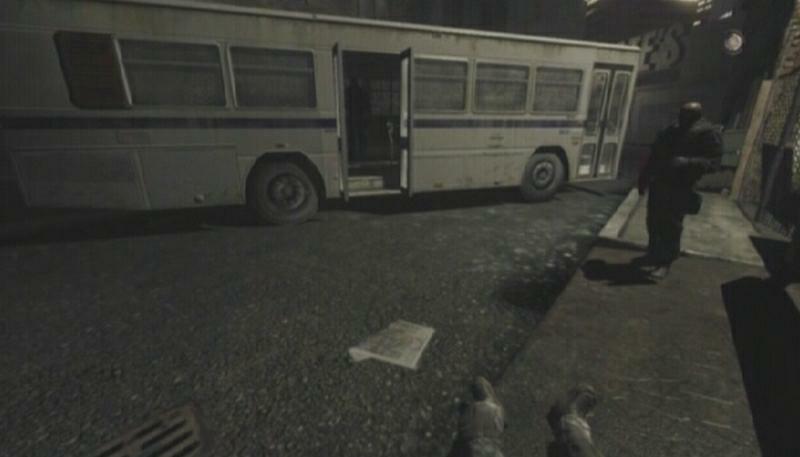
At the start of the mission, creep up on the guard nearest to the fence—slowly enough that you yourself cannot hear Ethan's footsteps—and grab hold of him when you're close enough. If done correctly, the guard chatting with Le Rue will be none the wiser, allowing you to sneak up and incapacitate him in the same fashion. There's one last guard to deal with in the bus, so quietly step onto the bus and take him out. If you kill the guards you'll fail this mission's Optional Objective, so incapacitating them is the way to go. With the guards out of the way, open the cage at the back of the bus and step in for a little chat with the serial killer known as SKX.
 Guards |
 SKX |
Unfortunately the commotion outside of the bus allows SKX to escape, so you're going to have to chase after him. Be ready to press the Player Response button when the prompt appears. Pick up Le Rue's Assault Rifle before heading up the stairs and into a bowling alley.
Bowling Alley
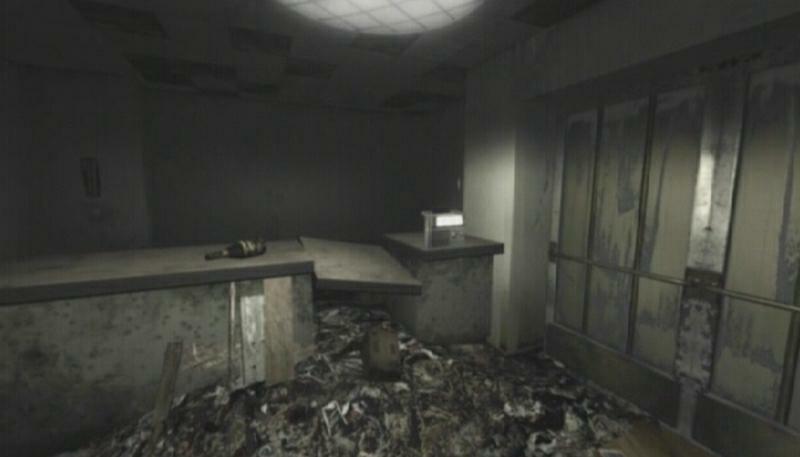
There are a couple of gun-toting thugs in the initial area, so tread carefully. Take them out, as well the other thugs in the area, and holster the .22 for later use. When the coast is clear, make your way to the doorway at the end of the right-most lane and enter the room there. You'll get a call from Rosa; be ready to press the Player Response button when the prompt appears. There's nothing of interest here, so start towards the opposite end of the room. A thug will pop out from behind the arcade machines near the end, so be prepared. An Emitter (1/3) is attached to the wall behind the collapsed shelves in the room just before the second alley.
 Emitter |
The next area is packed with thugs, so down the Liquor battle that's on the counter if you've still a gun with ammo and start picking them off. There's a Lever Rifle in the storage locker outside of the bathrooms if you need a weapon. Once the thugs have been dealt with, approach the right-most lane and examine the scorecard nearby.
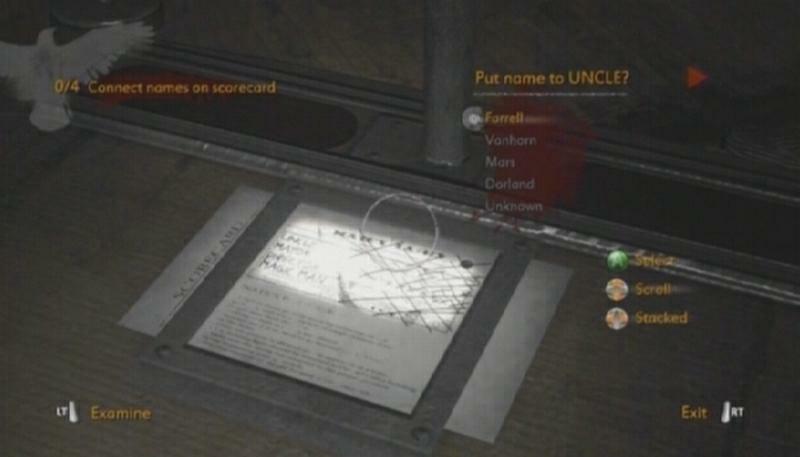
Forensics -- Examine the scorecard on the projector. Your task is to connect each of the four names with one of the five choices in the menu. For UNCLE select “Vanhorn,” for MAYOR select “Mars,” for DIRECTOR select “Farrell” and for MAGICMAN select “Unknown.” Submit these answers to earn a Perfect rating.
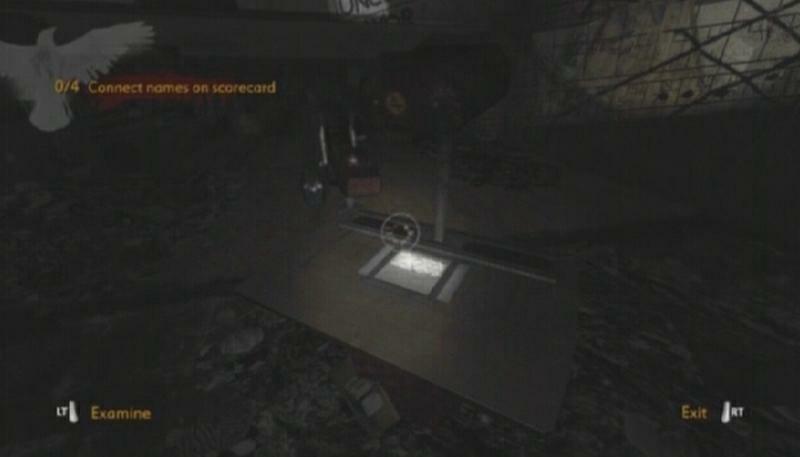 Scorecard |
 Names |
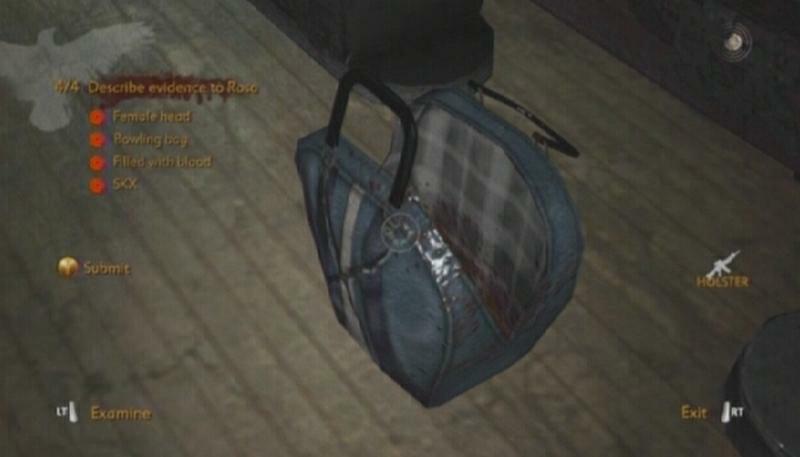
Afterwards, examine the severed head on the ball rack near the scorecard. Zoom in on the head and select “Female head,” then zoom in on the bag below it and choose “Bowling bag.” For the contents, select “Filled with blood” and for the owner of the bag select “SKX.” Submit these choices to Rosa for a Perfect rating. Lastly, snap a clear picture of the head on the ball rack.
 Bowling Bag |
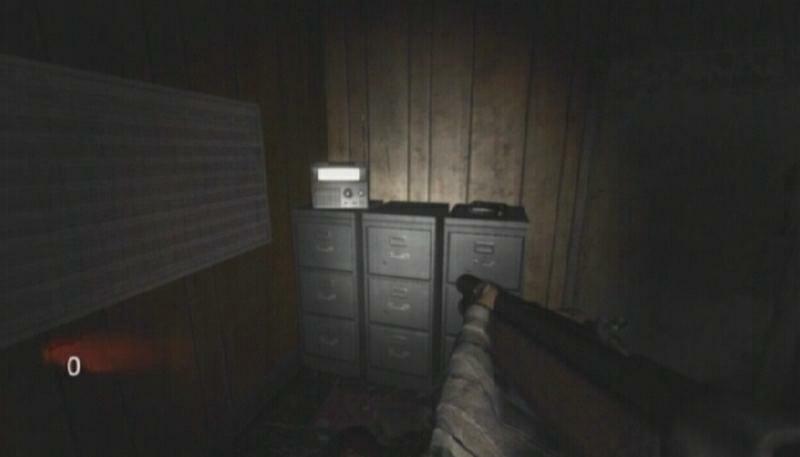
Move down to the end of the right-most lane and climb through to the back room. Walk past each of the lanes to reach a small corridor. Turn into the first room that you come to on your left to spot a radio sitting on a file cabinet. Activate Antenna (1/3) and then step back into the corridor. Continue past the second set of lanes and move through the opening in the wall.
 Antenna |
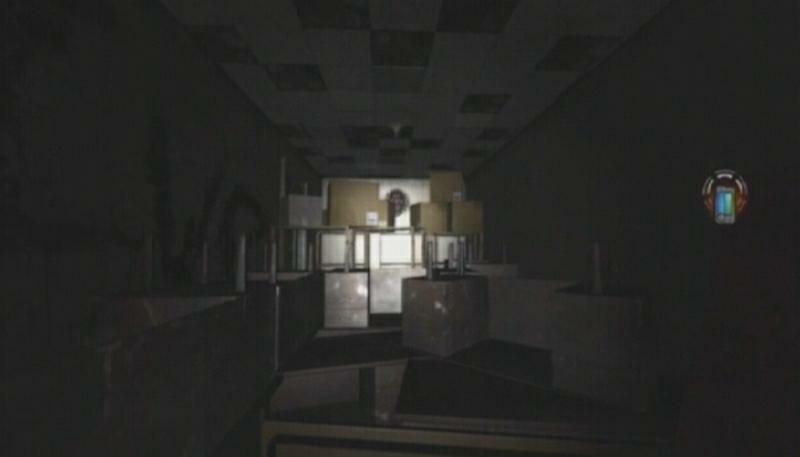
Abandoned School
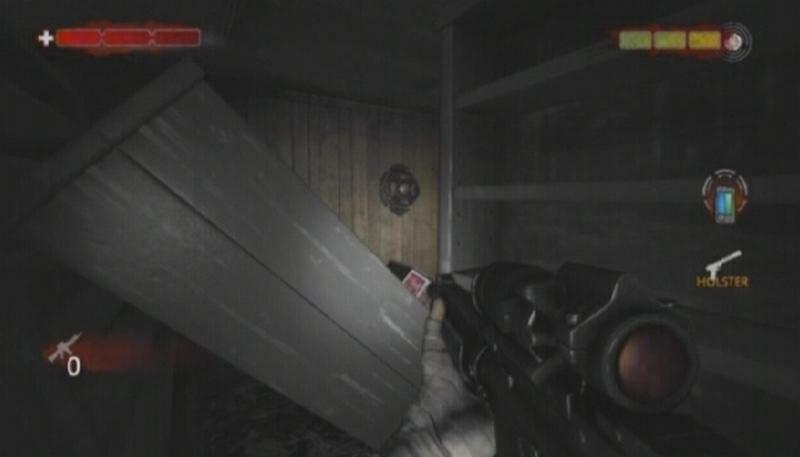
Emitter (2/3): This emitter is attached to the wall behind the chairs and desks in the first part of the school you come to. There's a pile of bricks on the ground that can be thrown to destroy it. You may have to knock a couple of the boxes out of the way before you can reach it, but luckily the pile provides an endless supply of bricks.
 Emitter |
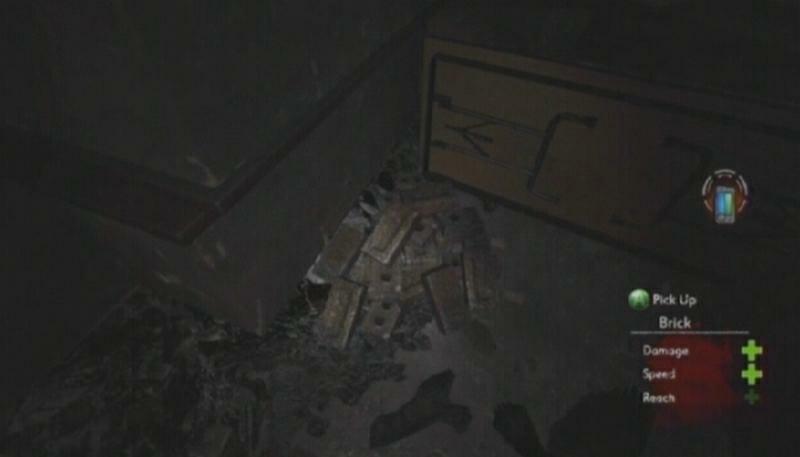 Bricks |
Antenna (2/3): Move to the other end of the locker room and head through the doorway there. Look to your right upon entering this area to spot the radio on a steel drum.
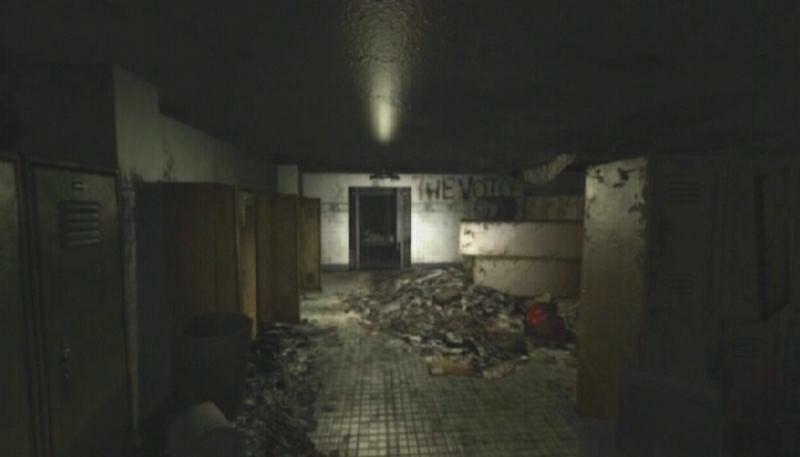 Locker Room |
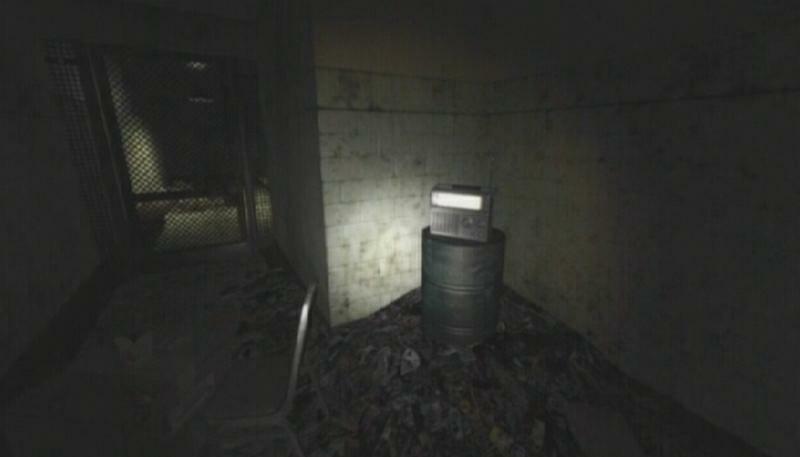 Antenna |
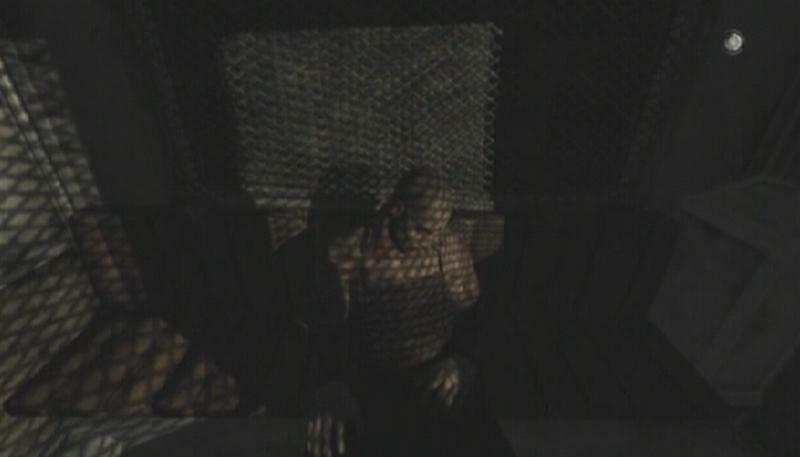
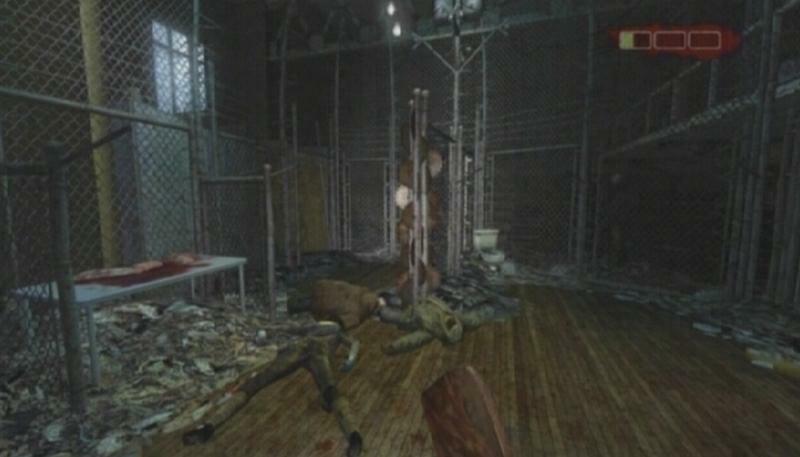
In the locker room, approach the stack of lockers at the far end of the room and climb through the opening in the ceiling above them. Make your way to the other end of the attic until you reach a square opening. Press the Player Response button when the prompt appears, then drop down into the torture room. There are three torture devices to photograph in this room to complete the Optional Objective; you'll need to locate each one, enter Forensics mode when the “Study Evidence” icon appears and snap a clear picture of each device. The first device is next to the dog cage, the second is a man trapped in a cage around the corner, and the third is the man being electrocuted near the room exit.
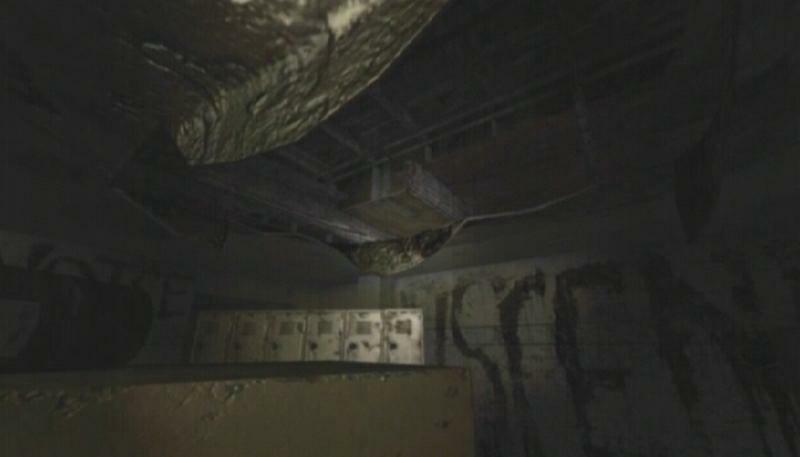 Opening |
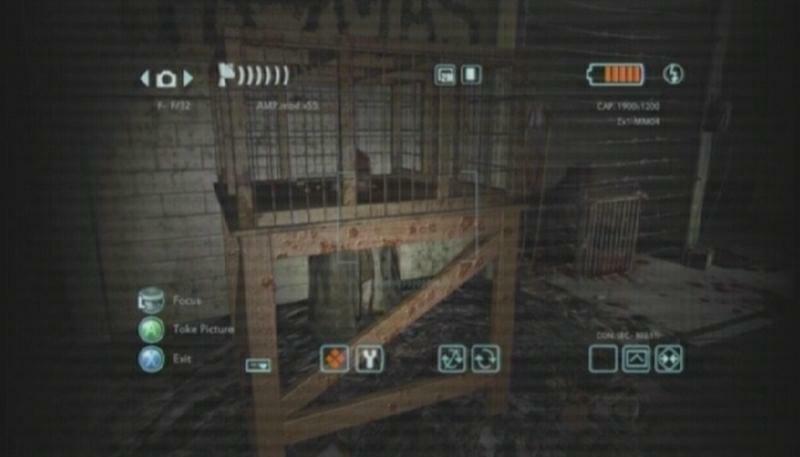 Torture Device |
When you're finished taking pictures, use the door at the end of the torture area to enter a hallway. Be careful as you move through here because you'll be attacked by a rabid dog.
Antenna (3/3): Before leaving this hallway, move to the very end of it to find a radio sitting on the edge of a counter. Be sure to get this one before going through the hole in the wall because the game will auto-save at that point, and you won't be able to access this hall again without restarting the mission.
 Antenna |
Search for an opening in the wall (about midway down the hall) and move through it. There isn't much here, but you'll find an Emitter (3/3) behind one of the waste bins in the back room. To reach the doorway that's blocked by junk, locate the wooden ramp outside of the back room where the emitter was found and walk along the path of boards. Drop down behind the junk and proceed through the doorway. Move down this corridor and keep an eye on your right for a wooden door. Go through the wooden door when you come to it and press the Player Response button when the prompt appears. In this area, locate the freezer door and step inside.
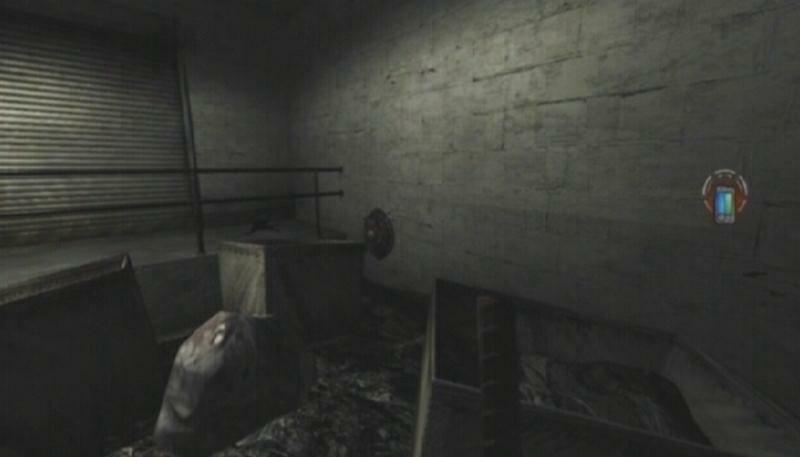 Emitter |  Ramp |
You'll come across Farrell in the freezer. Examine him and select “He's still alive” to earn a Perfect rating. When Farrell is finished speaking, pick up the Cleaver next to the corpse in the corner of the room and cut the straps that bind Farrell. Your job now is to escort Farrell to safety. Kill off all of the hostiles in the kitchen and adjacent corridor. Lead Farrell the stairs at the end of the corridor and head through the door there to reach the school gymnasium.
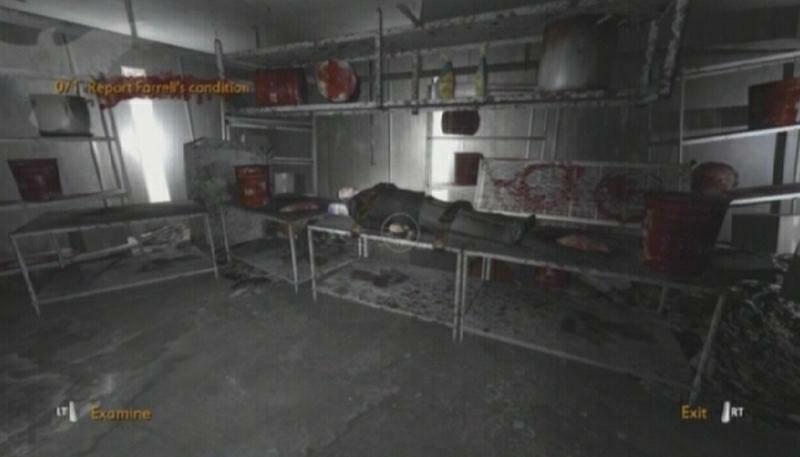 Farrell |
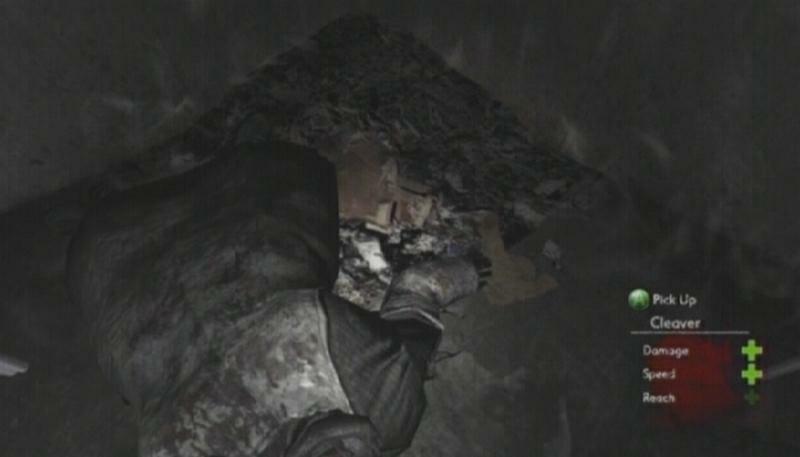 Cleaver |
To end this mission you'll have to partake in a brawl with the homeless in the gym. A number of them will enter the arena, making for a relatively lengthy fight. Try your best to parry their attacks and hit them with combos—such as Bum Rush (Sprint Attack Attack then Combo Attack) and Flying Fist (Right Attack Right Attack Left Attack then Combo Attack)—to take them out quickly. The mission ends when the fight is over.
 Arena |
No comments yet. Tell us what you think to be the first.