06 - City Museum
Condemned 2: Bloodshot Walkthrough and Guide
Condemned 2 Guide
Mission 06: City Museum
When the police officer reveals the blood-covered wheelbarrow, whip out your UV Light and examine the tire marks behind it. Select “Tire trail to door” from the list of options to earn a Perfect rating. Be ready for a Player Response prompt afterwards. Approach the officer to be helped over the wall and into an adjacent room. There's another Player Response prompt here, so be ready. This mission's Optional Objective is to not kill any of the security guards in the museum. This is easier said than done because they will attack relentlessly if you're spotted. A general tip is to have the thugs in the museum kill any pursuing guards for you, but avoiding them all together is ideal.
You should have gained an upgrade for Ethan's boots at the end of the previous mission which allows for an easier time sneaking. This upgrade will come in handy here, though its effectiveness is dependent on the rating you received at the end of that mission. To sneak, gently push the control stick in the direction that you wish to move. Essentially, if you can hear Ethan's footsteps, so can your enemies. You'll be reduced to a slow pace, but you won't alert any guard who is not looking directly at you while sneaking. All in all, refraining from killing the guards is a good idea, since it contributes to the score you'll receive at the end of the mission and will even net you an achievement on the Xbox 360 version.
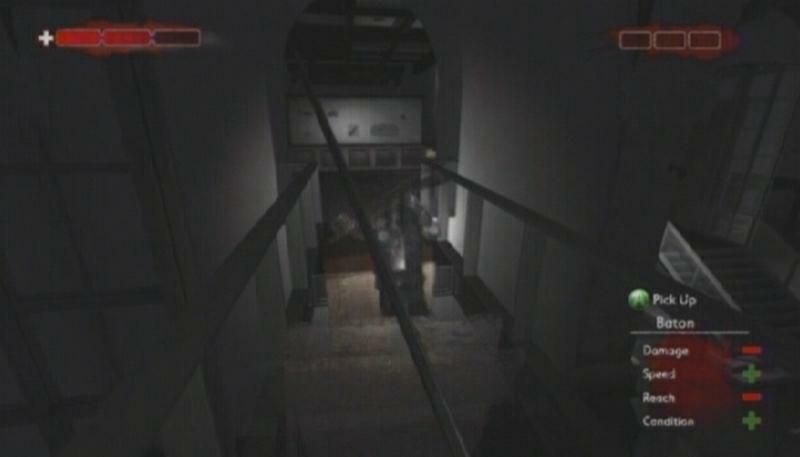
Exit this room through the open doorway and step into the hall on the right. Head through the first door to your right and make your way to the other end of the office. Hit the Player Response button when the prompt appears, then proceed through the door at the end of the room and pass through the double door at the end of the hall. There's nothing interesting here, so move to the other end of the room and step through the door there. There is a group of guards sitting at the table in the middle of this large area, so creep to the doorway across the way and head through.
 Guards |
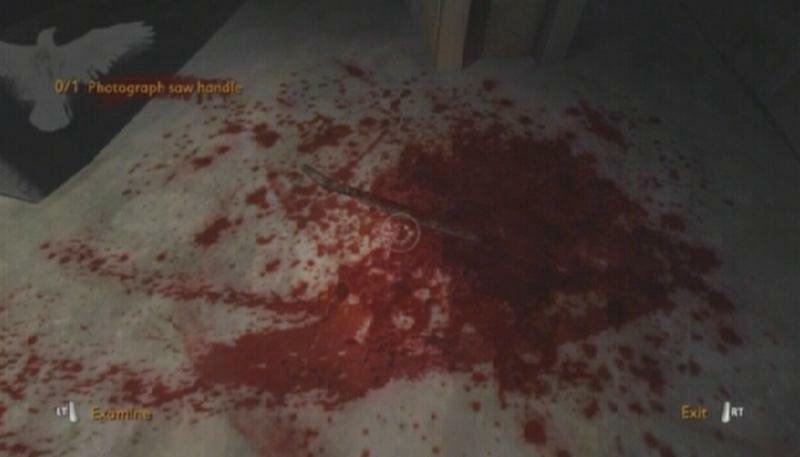
Forensics -- When you reach the blood pool, Ethan will bring up the Field Kit to communicate with Rosa. Initially you will have to ask a couple of questions; the questions you choose to ask will affect the Forensics score you receive at the end of this mission. First, ask “Did you find any fingerprints on the paper?” and for the second choose “Do you think Vanhorn nursed his nephew back to health?” to earn a Perfect rating. Afterwards, take a clear picture of the saw in the pool of blood and then one of its handle. For the final question, ask “What about the saw? You said it looked medieval?” for a Perfect rating.
There is another forensics event which can be accessed by climbing up the nearby set of stairs. You have to identify the camera that would have captured SKX while he committed the act. It's camera 1501.
 Evidence | 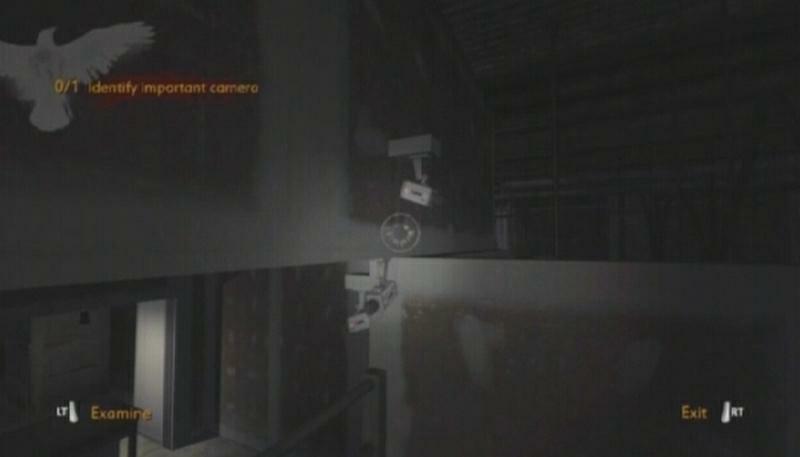 Camera |
Security Offices
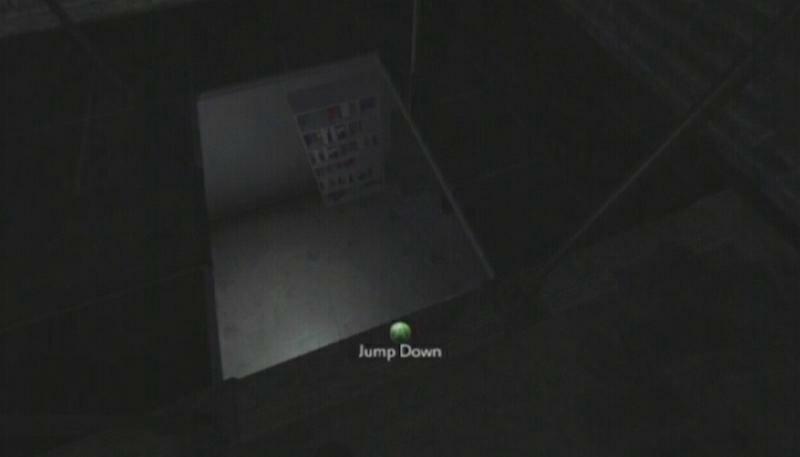
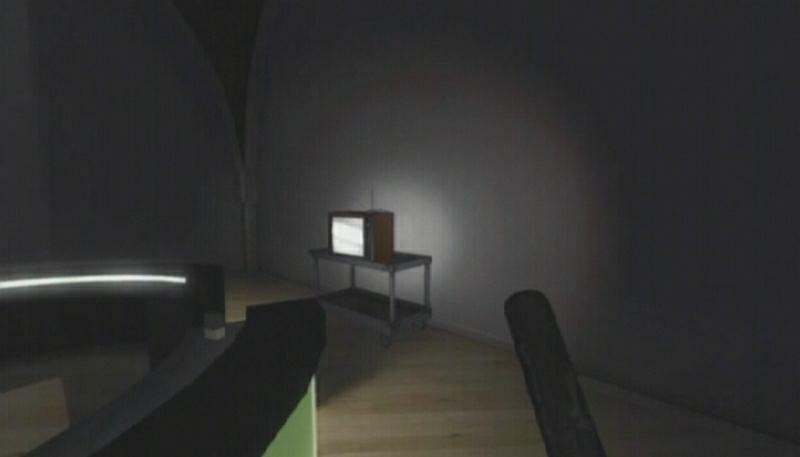
Once you're ready to proceed, climb over the wall at the top of the steps. Walk to the very end of the wood paneling and then jump down through the hole and into the room below. There is a TV in this room, so activate Antenna (1/2) and then creep out the door. There are a couple of security guards in the offices down this hall, so you'll have to move slowly to avoid being detected. Upon entering the hall, turn right; the surveillance room is through the door straight across from you. Slowly make your way to the surveillance room door and slip in.
 Office |
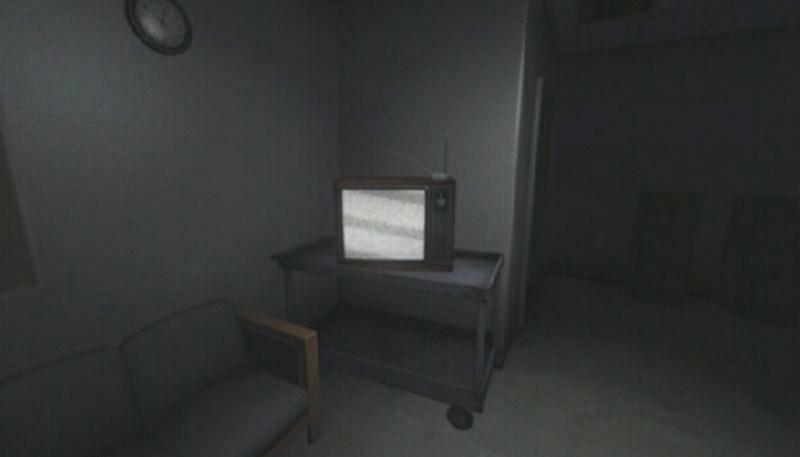 Antenna |
All you must do once inside is identify the backup drive that would contain the footage of SKX. This is a simple task if you correctly identified the camera previously. It is backup drive 1501, the second drive from the bottom in the stack of drives on the table. Examine the drive and submit your choice to view the gruesome footage.
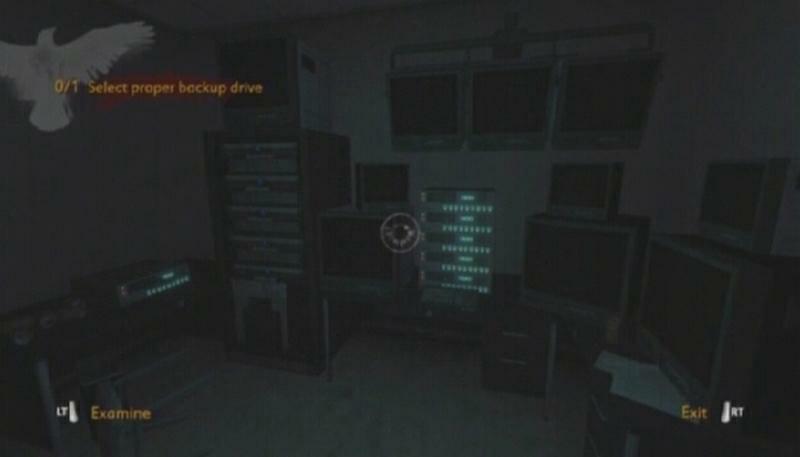 Surveillance Room |
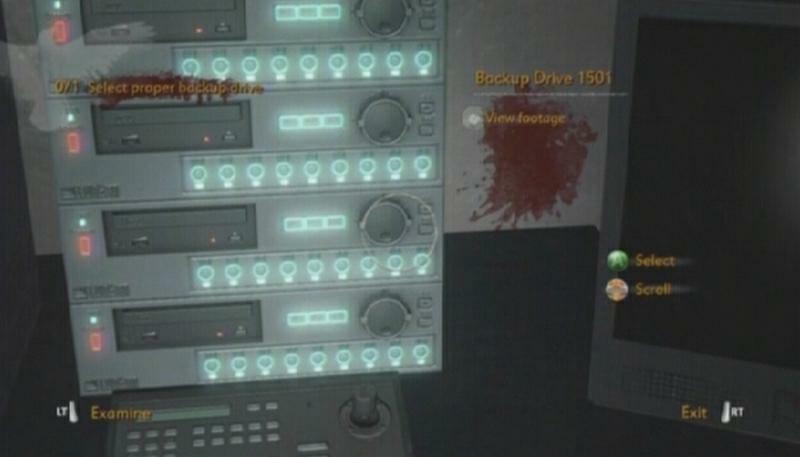 Backup Drive |
After leaving the surveillance room, slowly walk towards the open doorway straight ahead (you may be able to see a security guard seated at a table there) and turn right when you reach it. When you reach the split, turn left and head through the door there. Move through this room to enter the main area of the exhibit.
Medieval Wing
You'll run into some thugs upon stepping foot in the Medieval Wing. If you happened to attract the guards' attention, you can lead them to these thugs to have them killed if you're going for the optional objective as well. A couple of the thugs will flee, but one will remain to attack you. Take him out, then approach the stairs at the other end of the floor. Take a look at the “Medieval Wing” sign next to the stairs. Examine the sign and select “Medieval Tools 13A” to have that location marked on your GPS. Head up the stairs when you're ready to move on.
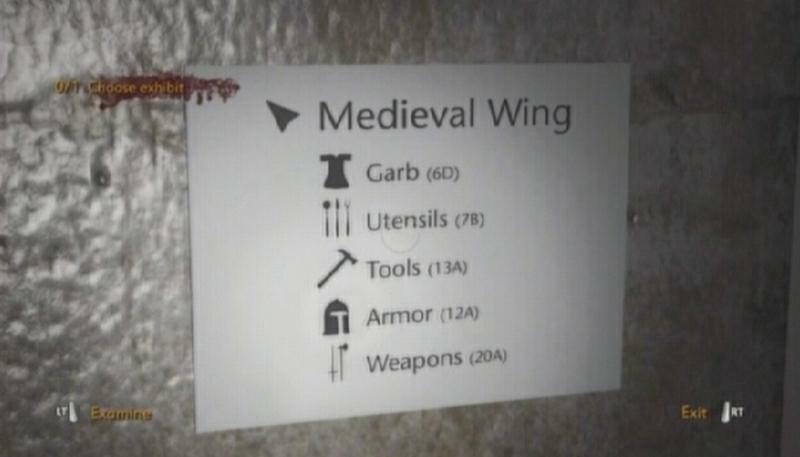 Sign |
There are a couple of security guards in this next area; they'll be difficult to avoid, especially if you want to activate the TV behind the circular desk. Stand in wait until the guard walks away—likely to be killed by the nearby thugs—before moving in to activate Antenna (2/2). Afterwards, make your way to the other end of the room. Stop on the way and smash one of the display cases that contain knight's armor and a sword, or approach the weapon rack at the far end. The sword and battleaxe are powerful melee weapons, so be sure to pick one up before proceeding.
 Antenna |
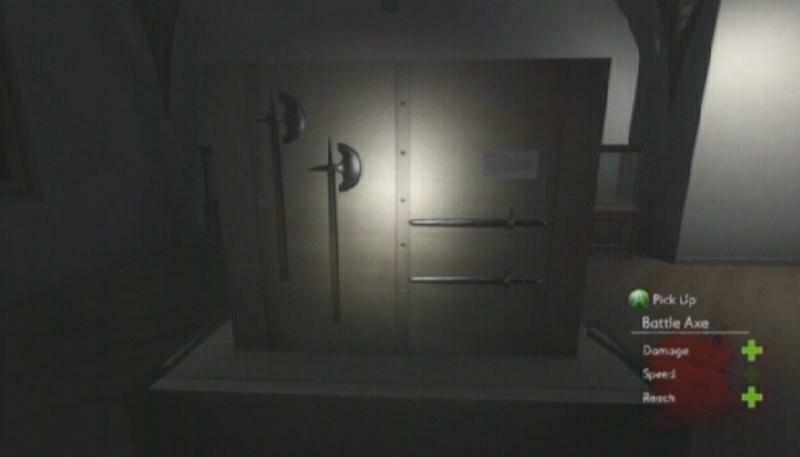 Weapons |
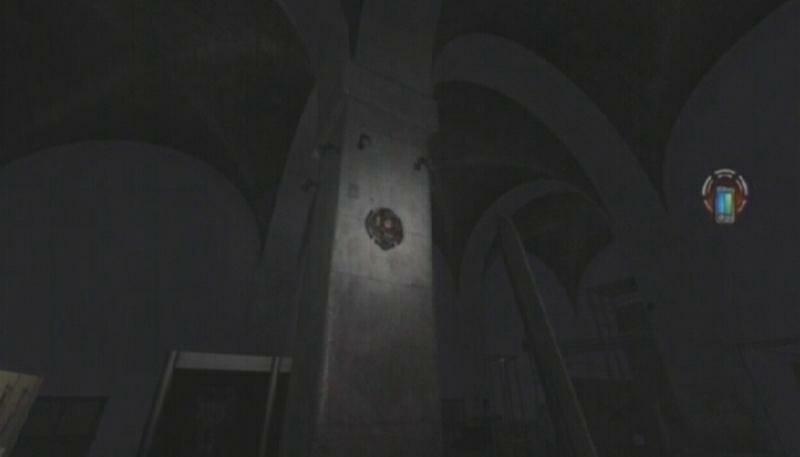
Emitter (1/3): When you reach the bridge, look to the archway leg to your left to spot the emitter. You'll have to toss something at it to destroy it, so throw your current weapon in an attempt to hit it. If you miss, return to the weapon rack, take up another weapon and try again. Once you do hit it, be sure to get another weapon into your hands before continuing.
 Emitter |
You'll encounter a battle garb-wearing, war hammer-wielding enemy at the end of the bridge, so do not cross too quickly. Hopefully you've got a medieval weapon of your own, but if not turn back now and pick one up. When you reach the arched doorway at the end of the bridge, back away when you spot the enemy and let him come to you. He'll attack with a relentless fervor; try your best to parry one of his attacks, then use your stun gun to incapacitate him and slash away. When the warrior thug has fallen, cross the bridge and move through the next section of the exhibit. Walk across the wooden boards and drop down into the area below.
This area contains a number of sword/axe carrying thugs and a couple of security guards. Unfortunately the guards can't tell friend from foe and will attack you regardless of your intentions, so it is best to sprint away until they are cut down by the enemies in the area. Emitter (2/3) is attached to the middle pillar closest to the wooden boards you hopped down from, so find and destroy it once the vicinity is clear of hostiles.
 Emitter |
Afterwards you should eventually receive a message from Rosa, telling you that someone has requested that you take pictures of three strange artifacts in the museum. If you don't hear from Rosa, though, just follow the instructions in the paragraph below to trigger the objective.
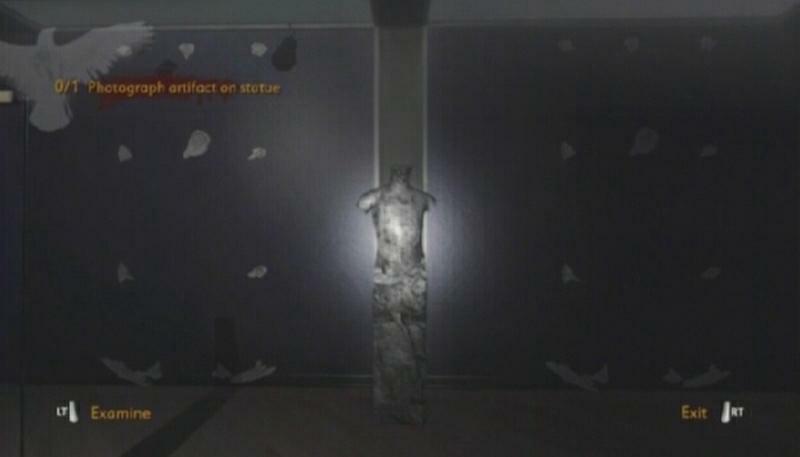
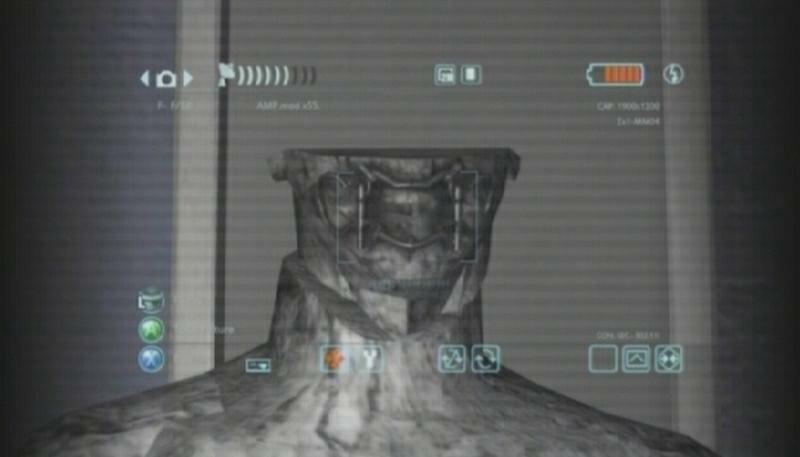
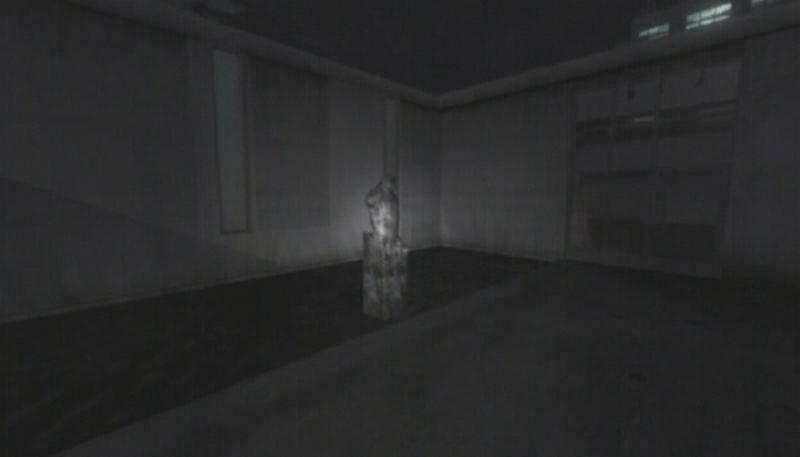
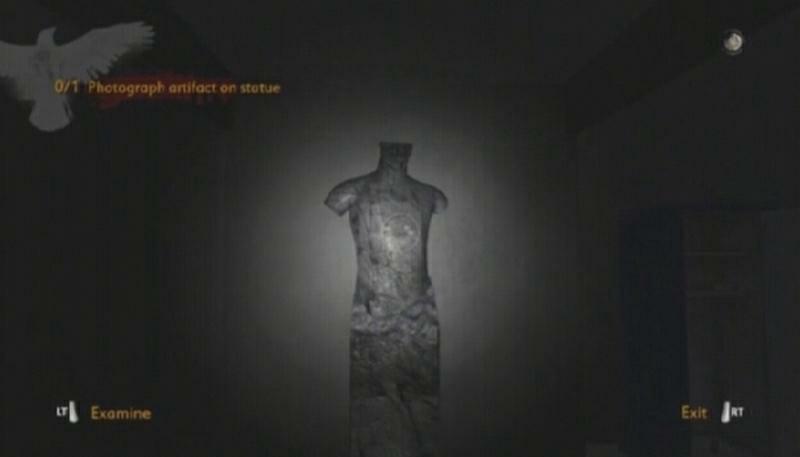
This is another Optional Objective, and thus does not need to be completed, but doing so will affect the rating you receive at the end of this mission. So if you want to earn the Gold level upgrade at the end of this mission, do it. There are only three statues, the locations of which are marked on your GPS. The first statue can be found in the Black Band/Maximillian I exhibit area, which can be reached by heading through one of the two doorways across from the bottom of the stairs you just scaled. The statue is between the two exhibits; snap a clear picture of the artifact on its face and then head back up the stairs and make your way to the end of the corridor.
 Statue |
 Artifact |
When you're ready to move on, search the area for a set of stairs and climb up. There is a guard and warrior thug in this room. Let the thug kill off the guard, then move in, hit the enemy with your stun gun and start attacking.
Emitter (3/3): Once you're outside, turn right and scan the brick wall behind the lower wall to spot the emitter. There is a pile of bricks by the base of the lower wall, so pick one up, take aim (aim just a bit above the emitter) and launch it towards the wall. This pile provides an unlimited number of bricks, so you can attempt to hit the emitter as many times as necessary.
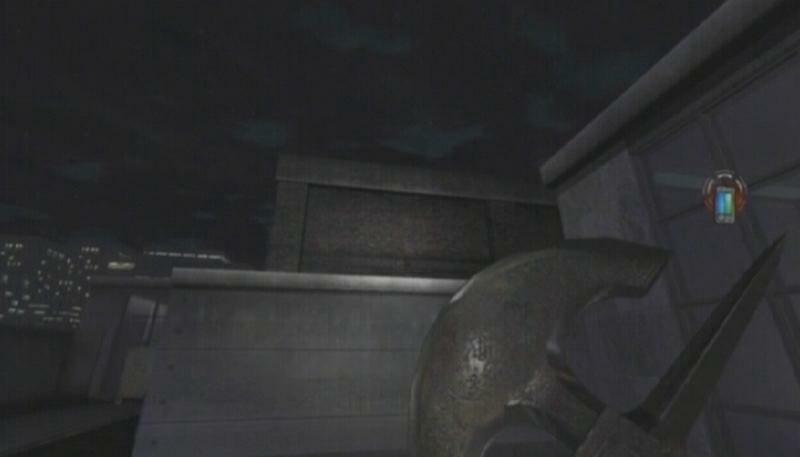 Emitter |
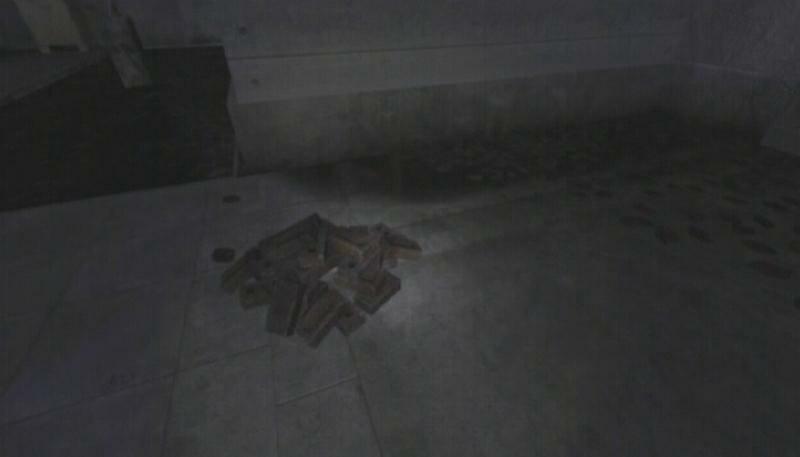 Bricks |
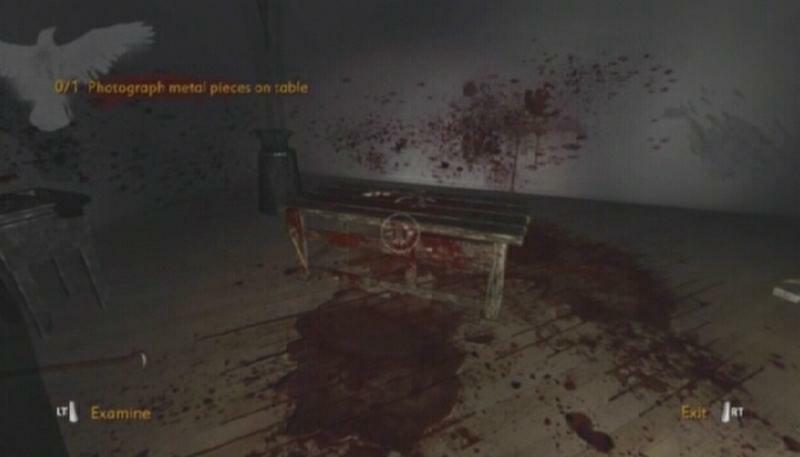
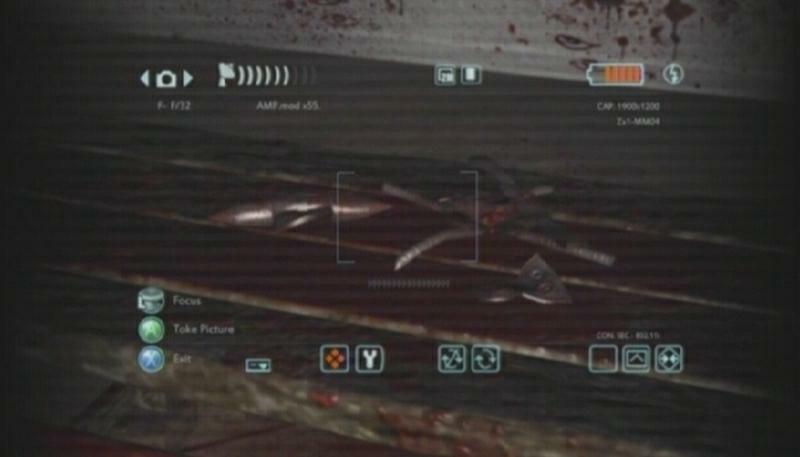
Forensics -- From the door that brought you outside, turn right and head through the door at the end of the way. When you reach the gruesome scene, approach the table and take a picture of the metal tools on the table. Once that's done, move closer still and collect a sample of the blood, then a sample of the metal pieces. When the selection of questions appears, ask “Any evidence the metal pieces came from Rachael Mars's body?” to earn a Perfect rating.
 Evidence |
 Metal Pieces |
To the Lobby
After the investigation, be ready to press the Player Response button when the prompt appears. A couple of thugs will jump you on your way out, so grab one of the swords from the knight's armor displays if you are not currently armed. Upon exiting the room, immediately turn left when you pass the crate and Sprint Attack the guy waiting for you there. Once they have been dealt with, make your way to the opposite end of the courtyard; you'll encounter a security guard and a couple of thugs along the way, so let the guard get killed (though if you don't care about the optional objective, take care of him yourself) and then take out the two enemies.
Another artifact statue is nearby and will now be pointed out, so skip this paragraph if you aren't interested in completing the second optional objective. From the door that brought you outside, turn left and walk down the path there. Keep walking until the “Study Evidence” prompt appears on screen. At this point stop and snap a picture of the artifact on the statue's mouth. Afterwards, head through the doorway to the right of the statue
 Statue |
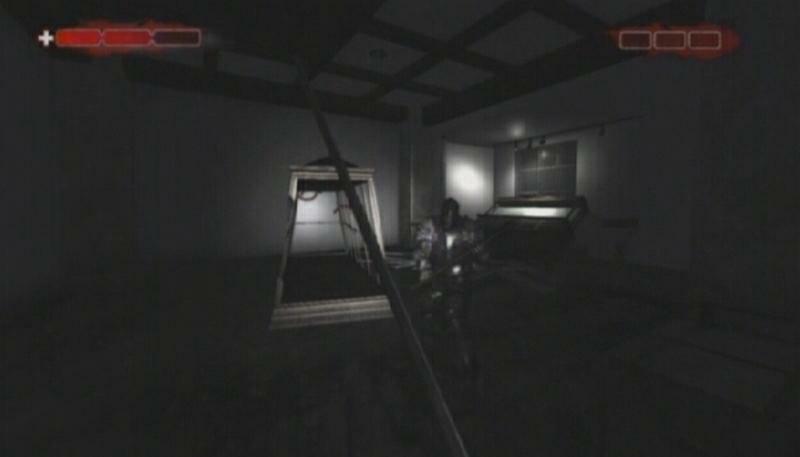
Once back inside the museum, turn left and climb through the board there. You'll encounter a battle ready enemy who dons a full suit of armor and wields a fierce looking battleaxe. This guy is no joke, so quickly sprint to the opposite end of the room once you've got your bearings and cross the bridge there. The knight will fall through the boards due to his heavy armor, providing a temporary reprieve. You will run into him again, though, so don't get too comfortable.
 Knight |
 Boards |
The last of the artifact statues can be found in this room, but take out the hostiles here first before worrying about that. Be careful, as a thug will lunge at you as soon as you enter. Once they have been dealt with, search for the statue near the entrance to this exhibit and take a picture of the artifact on its face. There is an SCU locker next to the statue that contains a couple of health packs if needed. Take one of the Oro Crossbows from the display case before stepping over the boards at the far end of the room. It's that knight again!
 Statue |
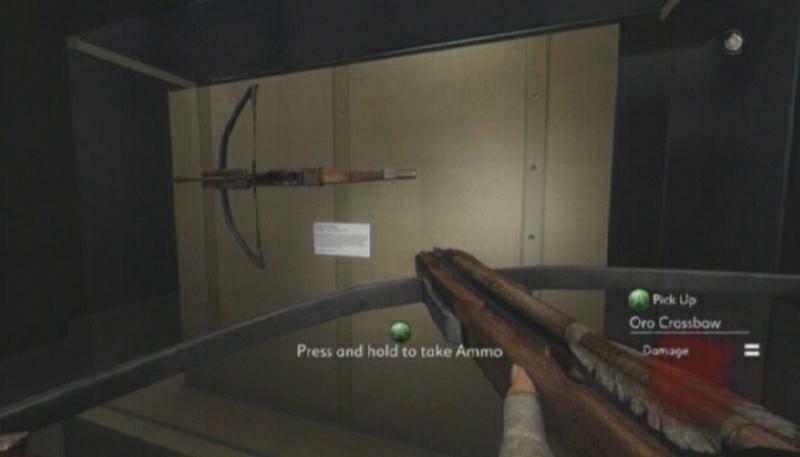 Oro Crossbow |
Boss Battle -- If you're armed with an Oro Crossbow this won't be a tough fight, so take one from a nearby display case if you aren't packing one already. This guy hits hard, but his armor and axe are evidently cumbersome as he moves quite slowly. The basic idea here is to wait until his axe gets stuck in the floor, then proceeding to hit his backplate with crossbow bolts or a Sprint Attack.
There is a SCU storage locker and a couple of health packs in the area if one of the knight's hits does connect, as well as a couple of Oro Crossbows full of extra bolts. When you've hit the knight's back enough times, the metal plate covering his back and abdomen will shatter. Aim your bolts at the exposed flesh and take swings at him until he falls to the floor. Approach the fallen knight and end this bout with a brutal finishing move.
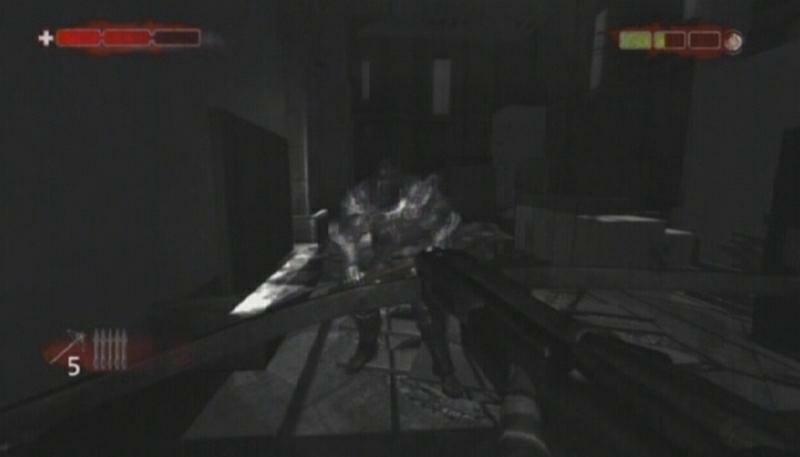 Knight |
OMG I Cant pass this part is tooooo hard, I hate it
lool i was helping my dad and he woundred how i knew what to do thanks
i love you.