3 - Crossing Over
Battlefield: Bad Company Walkthrough and Guide
Battlefield: Bad Company Guide
Level 3: Crossing Over
You have followed the trucks towards a neutral zone. Haggard, crazed to get the gold, runs in firing his gun and sparks off an international crisis. We have to go in and get him back.
Saving Private Haggard
Collectable weapon (1/6 and 2/6):
1. An AN94 machine gun located at the equipment spot in the first guard tower on the right in the opening of the level.
2. SPAS shotgun in the house at the southerly equipment spot.
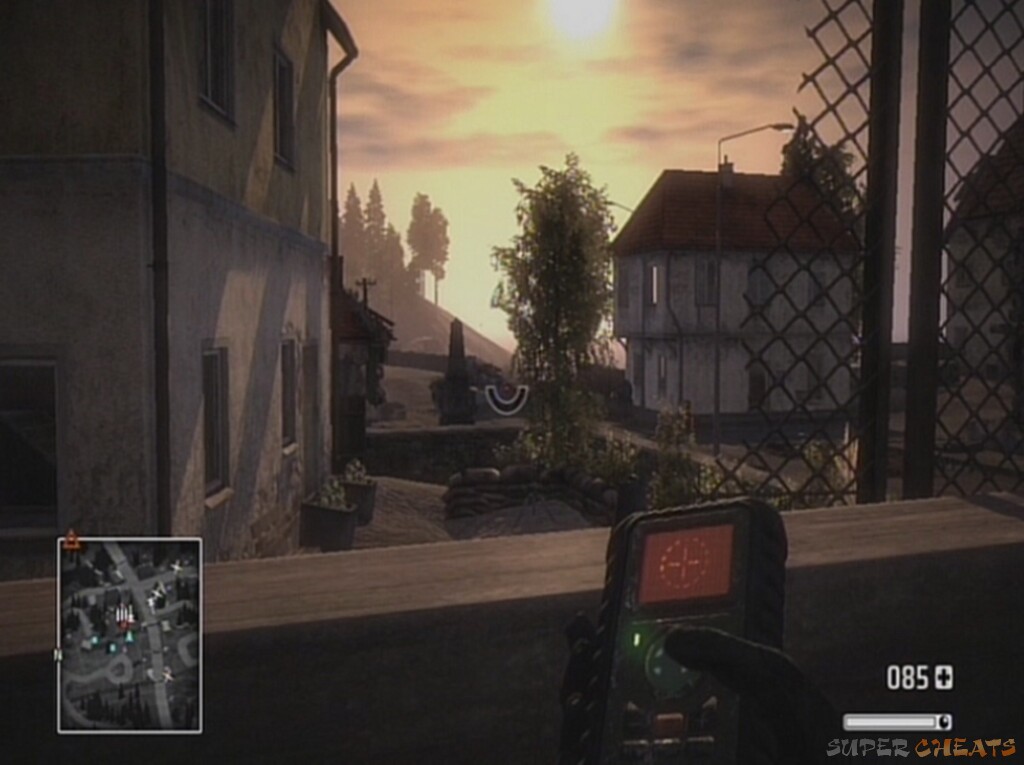
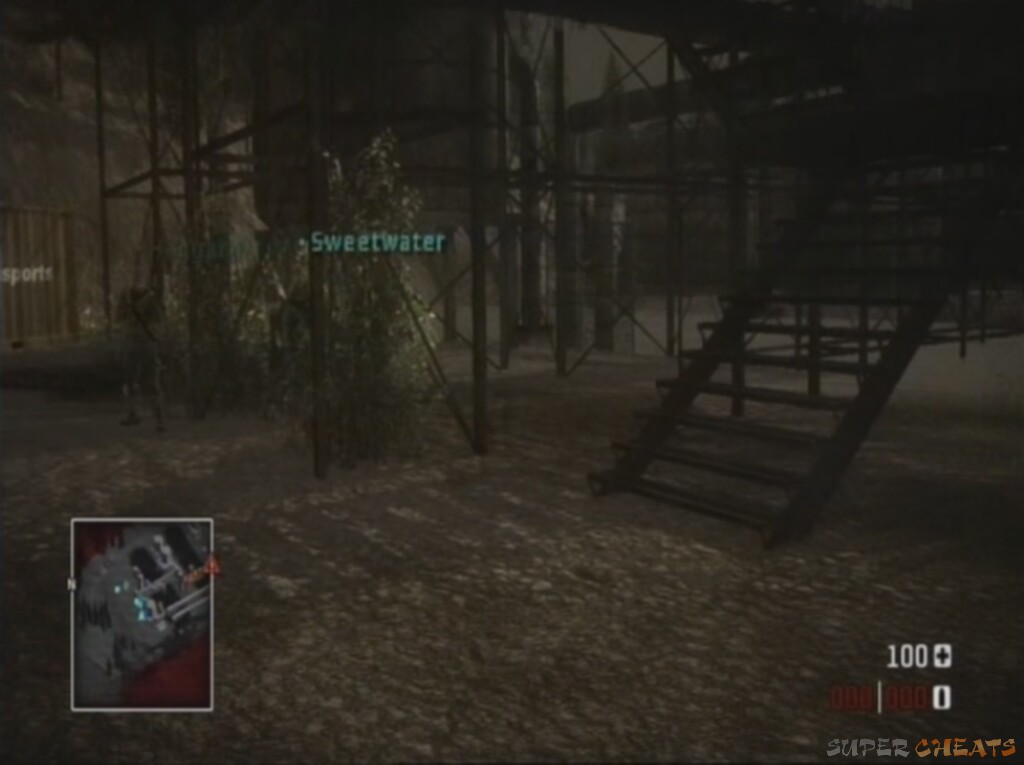
Objective: Reach Haggard by the smoke
You start up on a hill, which is a very decent position, so pick off as many infantry as you can from distance – there will be one in the guard tower, though there is no mounted gun. Some may sneak up the slope at you, so be aware. Sprint down to the guard tower and many bogeys will appear in the field to your right.
 Haggard is not the cleverest |
Run round and get in the door for cover and a collectable assault rifle. Be aware of a mounted machine gun at the next tower in the base, and a RPG soldier in the loft of a building near it. Your team will stay in the open, courtesy of their invulnerability, and force the enemy towards your tower.
Sprint to the house directly across the road to find a mortar strike nice and early. There will be a mounted machine gun amongst some sandbags, so climb back up the same tower you were in before and call in a barrage on its position. Watch out for the two guard towers in the adjacent field on the right, as these are manned as well as covering infantry in the field itself.
Once the coast looks clear, move up to the concrete and iron cross-hatched fencing. There will be a guard in the window of the top floor in front of you if you've not despatched him already. You will hear an engine and this is the signal to retreat. A tank will come down the eastern road (the main road passing through the village). Use the mortars on it from a safe position.
 Tanks are your enemies |
Fallback so your team take the fire, and use the opportunity to target it. It may take two strikes to destroy it. There is also an RPG in the equipment point in the central of the village if you need it. Head out of the village to the east once this is done.
Without crossing the bridge, bring down some mortars on the settlement across it. How Haggard got through all these guards is a mystery...Also notice the military bunker at the top of the hill overlooking the bridge on the left. Mortar fire won't do much to it, so, with both the other buildings shelled, move across. There will still be a good few enemies, and a mounted machine gun may well have survived the shelling on the right.
 Indestructible bunkers are most frustrating |
You may find it worthwhile to jump in the river if you come under heavy fire (or get blown into it; these guards have explosives) and then move up the bank to the left. Approach the bunker on the hill, killing the guard inside, before turning and taking out any stragglers in the village below from height. Use the ammo crate if needed amongst the sandbags, before moving up the road to meet Haggard.
Miss July isn't happy. Sarge takes the blame, but with the realisation that court-martial awaits the squad, the idea of going in deeper to get the gold sounds like a plan. You now need to destroy the antennae to stop the world and more importantly the US army from hearing about your exploits.
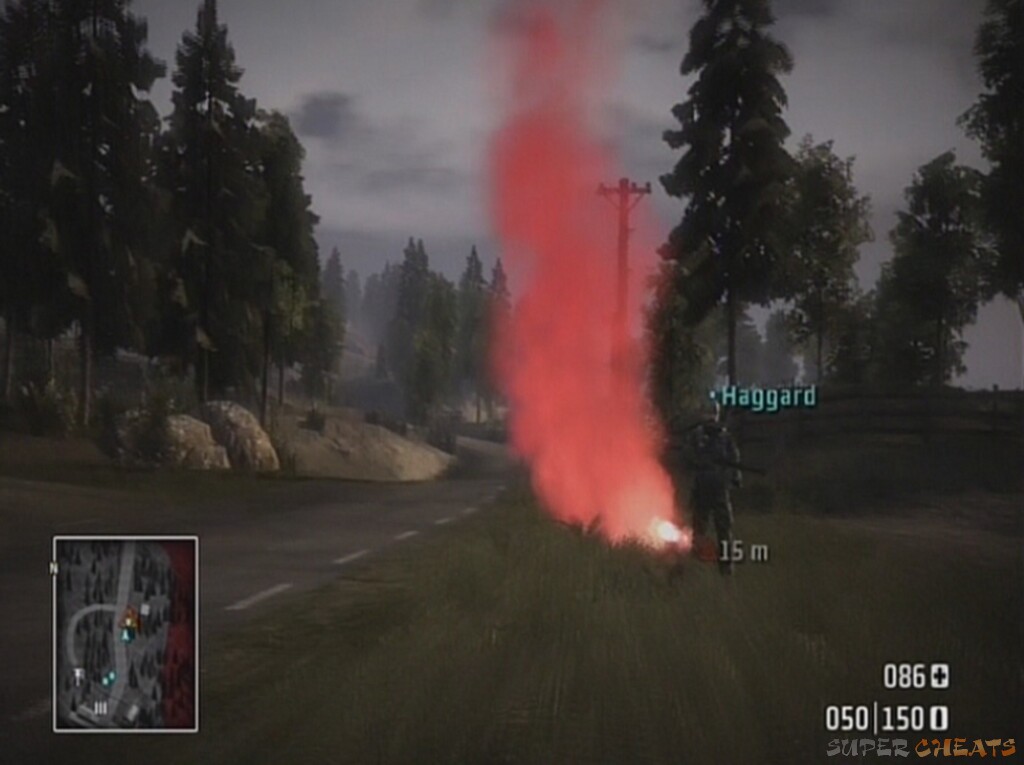 Reunited with Haggard |
Cover your tracks
Collectable weapons (3/6, 4/6, 5/6 and 6/6):
3. XM8C at the equipment spot along the road to the right at the very start of this objective.
4. The snipers in the 'south antenna box' section carry SV98 rifles.
5. SVU sniper rifle in the 'east antenna box' section, located at the top of a guard tower at the northeast of the base surrounding the antenna.
6. MG36 machine gun at the equipment spot to the south of the barn where the AA gun is located in the 'destroy the north antenna box' objective.
Gold (1/6, 2/6 and 3/6):
1. To the right of the road block where the first sniper encounters take place.
2. In the bottom of the barn where the AA gun is located during the 'north antenna box' objective.
3. In the room next to the MG36 weapon collectable marked with an equipment spot to the south of the barn where the AA gun is located in the 'destroy the north antenna box' objective.
Objective: Destroy the south antenna box
Move up the road until you get to the fork. This is one of the more difficult sections in the game as the area is, as Redford states: 'crawling with snipers'. Move into the trees between the fork for cover rather than taking an exposed route on one of the roads. The tactic on Easy or Medium can be to take fire to see where the snipers are hiding, before returning the favour and taking them out. Equally, if you are getting frustrated by not being able to spot the snipers I recommend sprinting up the hill to take them on in close quarters (as shown in the video below). They shouldn't be able to get more than a couple of hits on you if you're sprinting before you're on them and their weak pistols with your assault rifle. Use their marks on the mini-map to discover where to run and let your team deal with any stragglers. On Hard you won't survive more than one shot, so a series of long range mortar strikes may be your best bet.
There's no shame in making use of the fun of mortars regardless of the difficulty either, so call some in at will. You may need to move up to the concrete blocks on the lefthand road to take out the rest of the snipers. They also have access to RPGs, which is a particularly lethal combination. Move up the hill on the left, using the rocks for cover. They can take a serious amount of damage, so don't be afraid to get back in cover and use the auto-injector.
Move up to the fence, then to the next row of rocks, and proceed into the centre. Blow the control box with grenades, C4 (located in the building at the top of the hill – be sure to pick the mortar strike back up again though) or mortars. There will be enemies in the forests and buildings in the distance.
Taking out the first antenna box
Objective: Destroy the east antenna box
Shell the building on the main road through the eastern antenna, there will be one guard in it. Ignore the helicopter for now as we'll deal with that once the problem comes. The road should be relatively clear apart from that, though there are snipers still in the area, and you may find a pair of soldiers moving down the road towards the shelled house. If there are any you can't hit as they move out into the trees, just shell the area until they disappear from the radar. Some have grenade launchers, so watch out. You can tell when they are about to fire as Sarge will shout 'grenade launcher'. Handy.
With the radar clear, move up. Again, some snipers will likely remain alive. Climb the hill and move along the road, killing any snipers who reveal themselves to you. Resist the urge to take out the antenna array box from long range with the mortar strike as this will trigger the helicopter to come in too early. Move up using the rocks and slopes for cover. Use artillery on the guard tower, and move into the centre of the complex, using the lower half of the tower for cover if you need to. Now you're close you can use mortars or general explosives to blow up the antenna box. Be sure to move in quickly afterwards however and sprint down the hill to get on the AA gun as you won't last long with the helicopter in tow.
The helicopter really packs a punch
Objective: Destroy the north antenna box
The AA gun is just outside the barn and once you man it with B (Circle) you can spin it round and aim up at the enemy chopper. A hearty barrage of flak is needed to see it hurtling to the ground, but it's unlikely it will do too much damage to you during the process. The emplacement appears to be invincible, but there are RPGs dotted around, most notably one in the very barn next to the AA gun that you can use as a fallback option.
Make sure you take your mortar strike with you, before locating an armoured car and moving on. Along the road out you will find a group of soldiers, one of which has a RPG. Drive up to them as quickly as possible and get on the turret to take him out fast. Then proceed to the objective. Another group is on the road, though they are only light infantry, before an armoured car comes towards you. Get on the turret and take it out, which should be a quick process.
Exit the vehicle as it takes damage and use the tree-line on the right for cover. Mortar the towers and wait for guards to come to you as the alarm activates.
 Enemies up high |
Move through the base, collecting a collectable assault rifle along the way if you wish (located in the nearest hangar to the direction you come in from, on the corner).
Take note of the unoccupied tank by the antenna and make sure you don't accidentally mortar strike it, as we'll need it shortly. Safely C4 or grenade the antenna, with the C4 being found in the nearest guard tower.
Objective: Regroup at the smoke – just behind the antenna.
It has become clear that the trucks are going to the harbour, frustratingly at the other end of the level.
Chase the gold
Gold (4/6):
4. Take the right hand fork out of the base where you get in the first tank. The gold is in the house with the empty tank and equipment spot and is protected by soldiers.
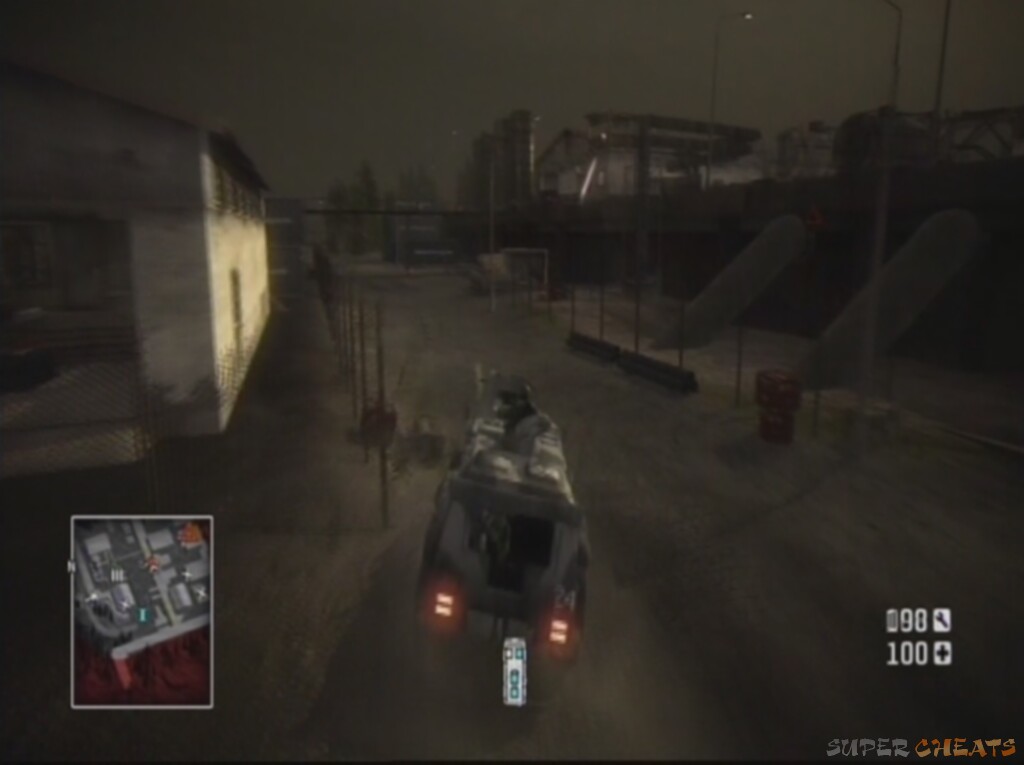
Objective: Reach the harbour
Pick up the power tool in the iron shack by the antenna (yes, you can now ditch the mortar strike!). Get in the tank, and take the southerly road out of the base. The first two infantry should pose little problem as you move out. An armoured car with bullets that struggle to penetrate your heavy tank can also be easily destroyed as you move along, keeping to the right hand road. An enemy tank will come out of nowhere across the countryside. Press RB or (R2) once it's in range to deploy smoke and provide an infallible cover system. Using the radar and your positional awareness, shoot the enemy tank through the smoke. Move closer and out of the smoke if necessary, the enemy will often be focused on looking for you elsewhere and give you the element of surprise.
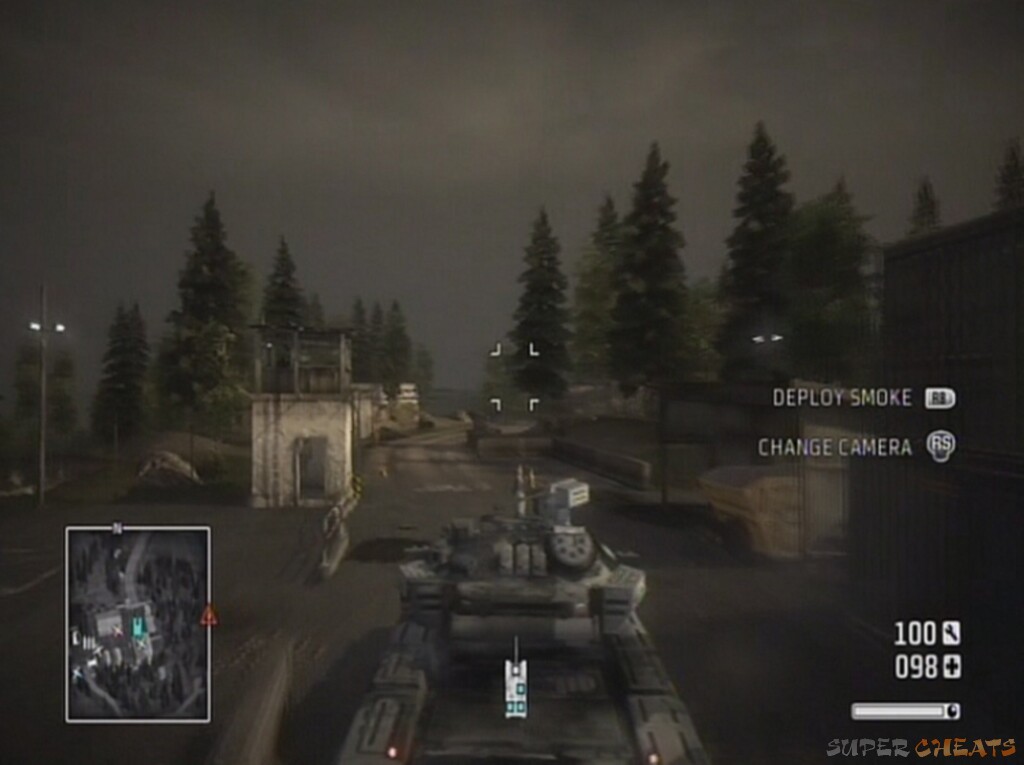 The first tank all to yourself |
Once the road ends, bear off to the right, where the unoccupied tank and two equipment spots are on the map. There will be rocket soldiers, an armoured car and another tank in this vicinity. Use our previous tactics to take them out, and use the power tool if necessary to repair your tank. Should it get destroyed, consult the map to locate the two unoccupied ones nearby.
Briefly leave the tank and collect the gold and collectable in the building nearby (there should also be a new tank there if you want). Notice now that there are many active tanks on the map. Your best tactic is to head across country towards the objective marker, using smoke and power tool combinations to stay alive. This is a retreating tactic. While you can take many hits, the quickest, easiest and most thrilling way to get to the objective is to flee! Keep an eye on the map and avoid enemy armour where possible.
Be aware of the concrete blocks that you may get your tank caught on, particularly if you're in combat. Should your tank be destroyed once you reach the final leg it is possible to sprint down the field to the red smoke. This is a great videogaming moment and one that should not be missed by stopping and blowing up each individual enemy. They'll keep coming!
Stay away from confrontation!
Scout the harbour
Gold (5/6):
5. Once you deal with the first armoured car in this section go up the stairs next to it. The gold is behind the crates.
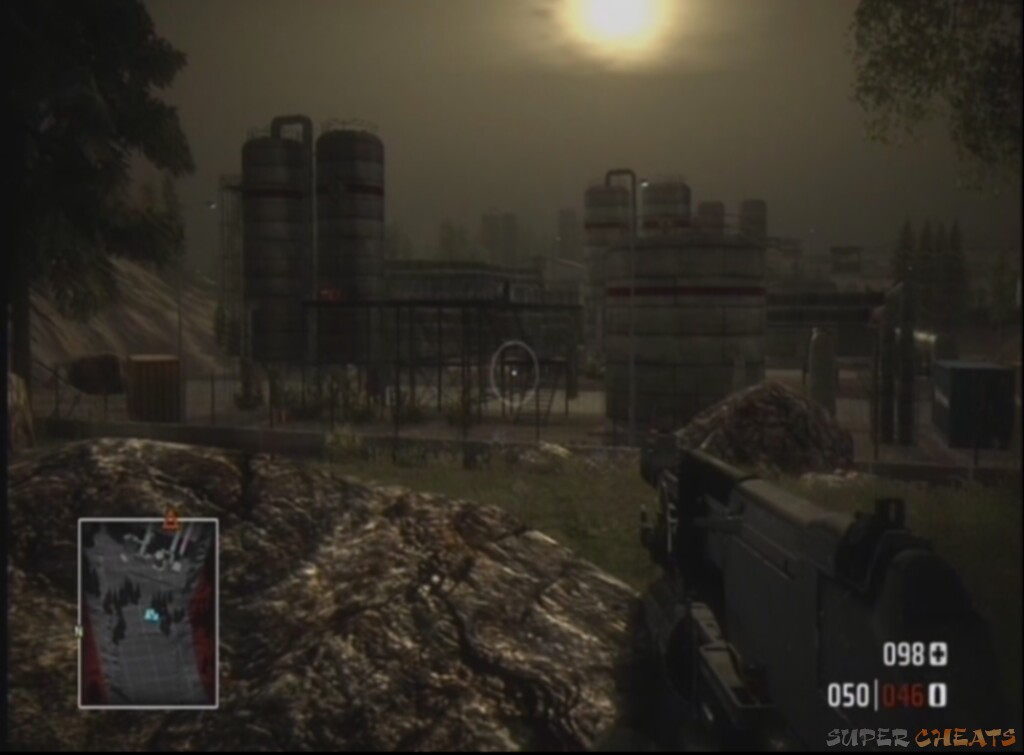
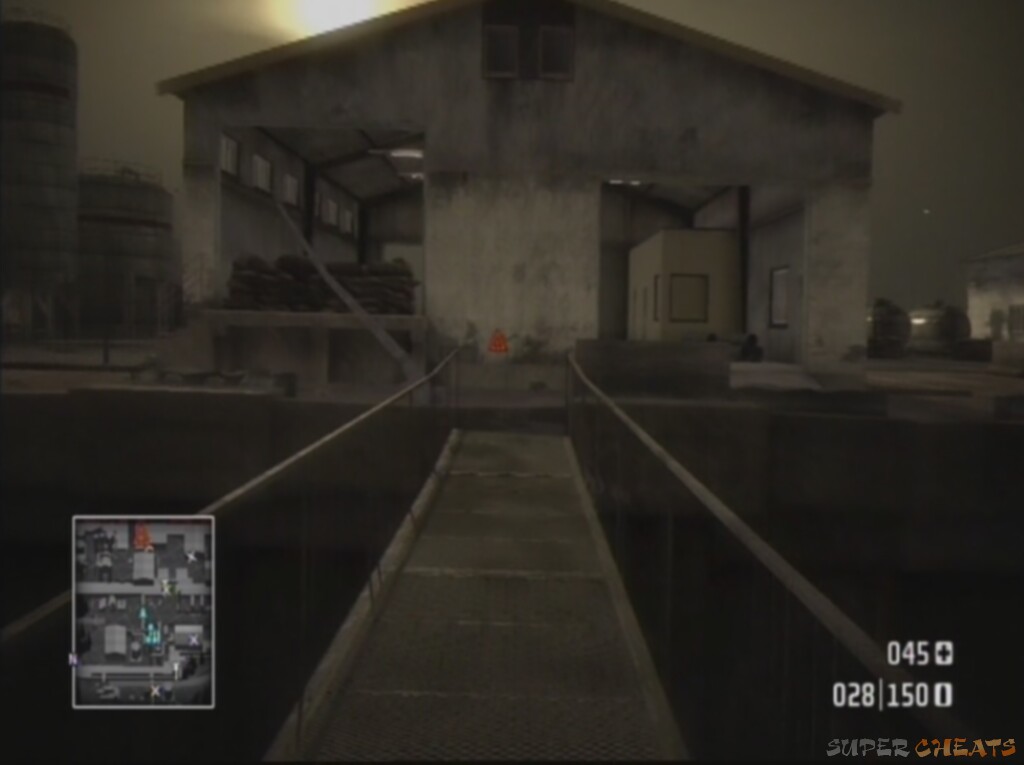
Objective: Scout the harbour
Plenty of on-foot action now, as you start amongst some boulders and trees in a rather covert position looking onto the harbour. Stealth is by no means required, or even advised. The enemies' eagle-eyes will pick you out in a second anyway, but take out the mounted machine-gun as quickly as you can from long-range.
 The harbour is nearby |
Climb on the rock to get some added height and scout out some more enemies. More long-range fire should ensue until the initial area by the large fuel tanks is clear. Move up the rocks in front, then to the wire fence, covering behind the concrete base. Knife it and move in once you feel that it's clear.
The metal, yellow container to the north provides good cover to take out higher enemies. There will be some guards on the top of the silos, as well as more than one on the main footbridge going through the middle of the base, particularly dangerously armed with grenade launchers. With no more enemies in sight, move onto the footbridge and begin to crouch-walk forwards.
 The way up to the next level of the base |
There will be a mounted machine gun and an armoured car (coming in from the south and on the level below the foot-bridge) which may well force you off the bridge once you're on it. The main tactic here is simply to attract their attention and try and take as many out as possible. As you go round the first corner on the bridge, the machine-gun will open fire on you. It can fire through the small gaps in the metal panels on the side of the bridge, so either take it out quickly or jump down and try from below. The gun itself is in a guard tower and you should be able to get some comfortable shots on it from below. With the armoured car, if you pick off the gunner it will allow you to use it for yourself.
Lure the enemy into firing and revealing themselves
Patch it up if you've still got the power tool from earlier, and follow the road out of the base that the car originally came in on. Should you have destroyed the vehicle, either return to the footbridge (where there's also a collectable shotgun) or take the other steps to the north. Drive into the centre of the base and get on the mounted gun to take out as many enemies as possible. There will be an enemy mounted gun for you to worry about in another guard tower, but the base itself is a hornet's nest on its own.
 Using the armoured car |
The hangar on your left as you come in hides an RPG in an equipment spot, which is well worth picking up now. There will be guards in there too, but nothing that should stop you from investigating. Use the hangar and shipping crates out of the northern end for cover as you move through. RPG the guard tower and the armoured car which will now have entered the base.
Take the next footbridge by the ammo crate and shipping containers you covered by once all is clear. Move along the bridge and into the hangar in front of it, which should both be relatively empty by now.
 Nearing the smoke |
As you near the exit of the hangar however, many enemies will be unleashed on your position. Move through the rooms, using the windows to pick off the enemies outside. The RPG is very handy in this position, both to blow a way through to the smoke so you can sprint for it, and also to eliminate enemies in cover. You'll find shotgun troops in most of the rooms, so make sure you check the corners before moving on. In the equipment point to the south (the second-most southerly one in the area, in a hangar) you'll find a mortar strike, which will be very useful before continuing. There's also a collectable sniper at the equipment point next to it on the map. A sniper's not a bad choice for this next section either. Use a mortar strike on the drop-zone to clear the area by the smoke before moving in.
 The harbour, and gold, is within sight |
Locate the gold
Gold (6/6):
6. Head directly south as soon as you hit the bottom of the steps from your raised position as you start the objective, located by the door of the green house.
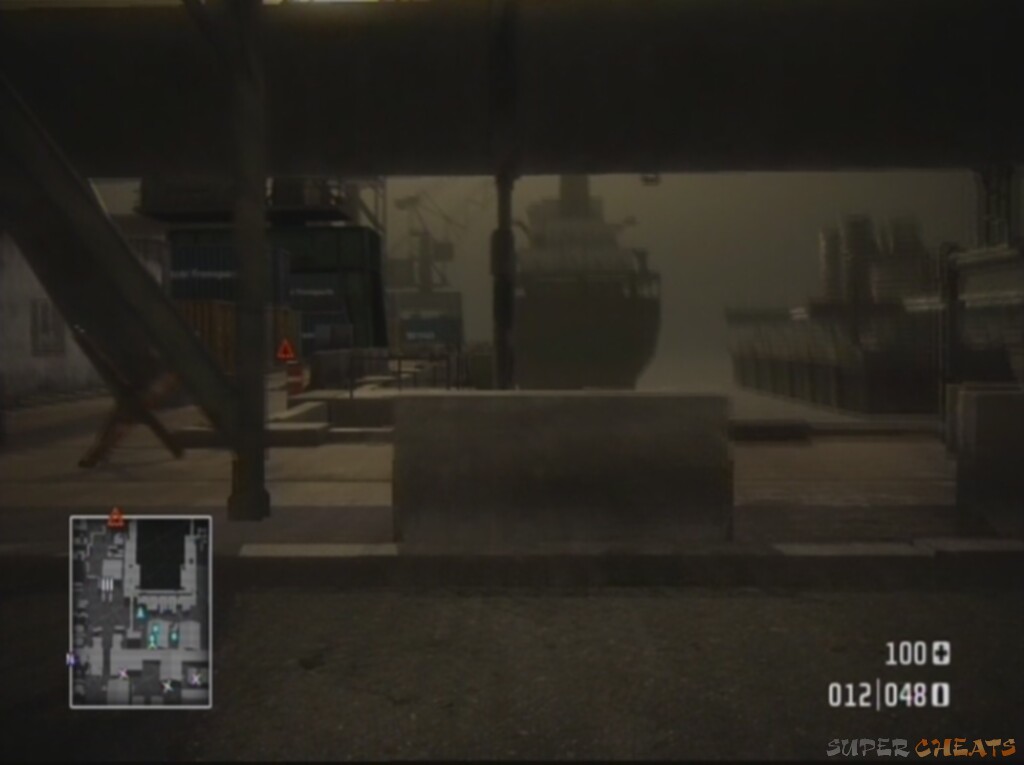
Objective: Reach the Cargo Ship
It's clear that the gold is being moved onto a cargo ship, so we need to go in and get it before they cast off. If you have a sniper, use it to pick off as many enemies as possible before moving in, most of whom will be in the windows of buildings and the main crane. A combination of mortar strike and long-range engagements will make your path forwards all the easier.
Once you move down, switch to close-quarter tactics and clear the rooms as you move up. An armoured car will come into view as you pass the first set of buildings. An RPG or mortar strike from cover will see it off in no time. Due to the large concentration of enemies by it, a mortar strike will help most, clearing a path you can take to get to the cargo ship. There are heaps of collectable sniper rifles in the area, and it's definitely a good choice moving forwards.
Move up to the large pipe where the dock splits into two piers.
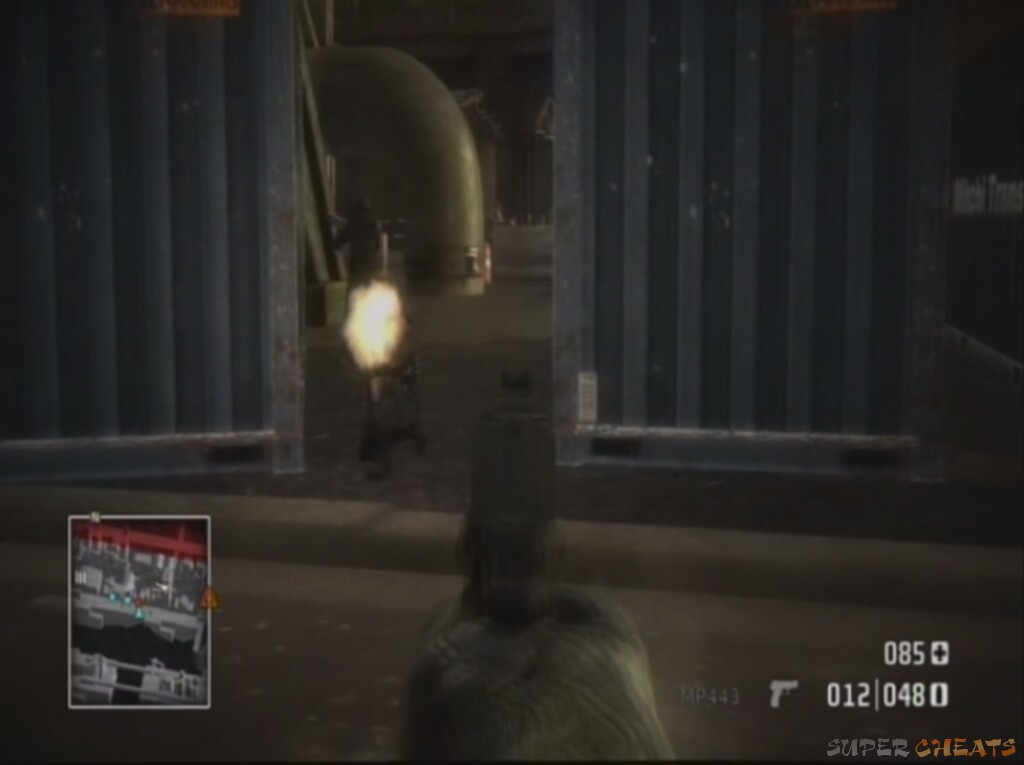
 Keep an eye on those containers |
In the nearest building there will be two guards and steps going up the outside to the roof. Climb up and snipe or pick off anyone you can see, mortar striking any hives of activity. Look out for enemies on all sides once you reach the roof, particularly in the green buildings to your left. Leave the roof and stick to the right hand side of the pier. Keep an eye on the cargo containers to your left (the ship should be in the water to your right) as these hide many enemies in between them.
 Enemies are adept at hiding |
You'll also find one enemy patrolling the top deck of the boat, who you can easily snipe as you look at the end of it in the distance.
A satisfying shot
You can avoid many of the guards in the middle by staying on the wide-right flank. Get within about 40 metres of the objective and it will trigger the end of the level.
The US Army have closed on your position and are taking you in. Ever so close to getting the gold, the plan and your hopes appear to have been dashed.
No comments yet. Tell us what you think to be the first.