Leon and Helena: Chapter 2
Resident Evil 6 Walkthrough and Guide
by vhayste
Leon and Helena: Chapter 2
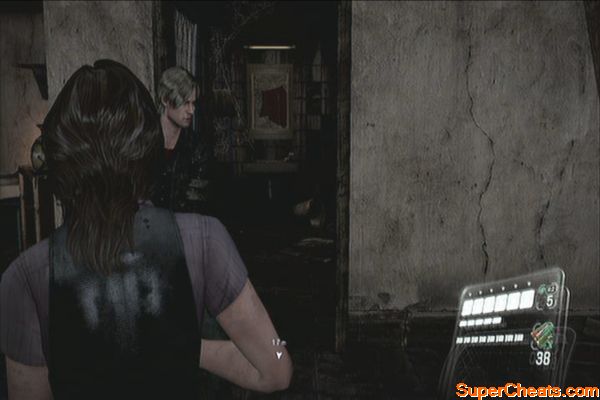
At the start of this chapter, keep shooting until the next scene is finished. Head to the cemetery afterward.
 |
Be careful of the open pits here; always assume that there's a zombie waiting in it. Kill it to get some skill points then follow the trail until you reach the Oaks Cathedral sign. Check behind the tombstone nearby to find a serpent emblem.
Cemetery surprise
Examine the cathedral gate only to discover it is locked. Enter the shed nearby and open the bathroom door. Give chase to the dog and kill it to retrieve the key. Once done, head back the cathedral and open the gate.
 |  |
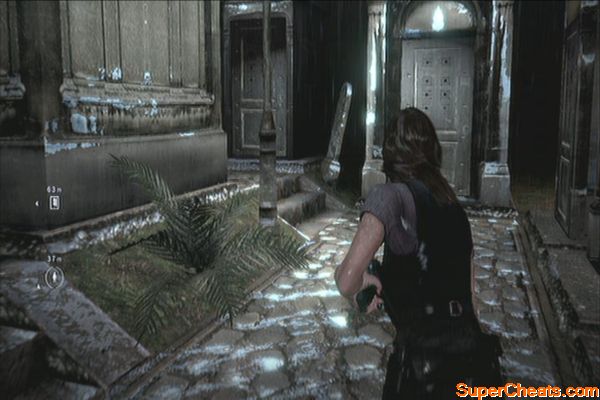
After the scene, you'll be alone for now. Follow the path until you regroup with Leon. If you're playing alone, backtrack from where he came from to grab any uncollected loot the enemies he killed dropped.
 |
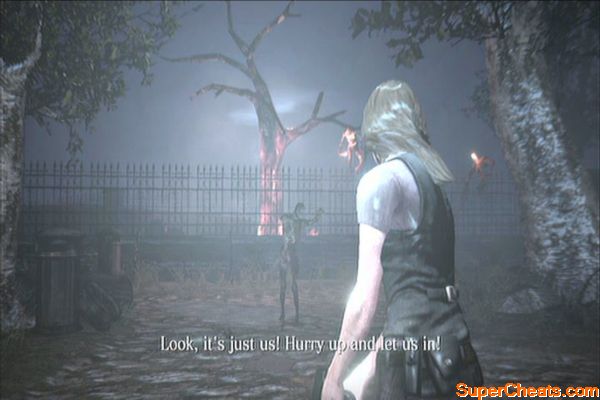
Continue following the objective marker until you reach the cathedral. Attempt to open the door then fend yourself against the continuous undead horde pouring in from the fences. Once they tell you to come inside, kill the remaining enemies if you want then grab the skill points. Once done, enter the cathedral.
 |
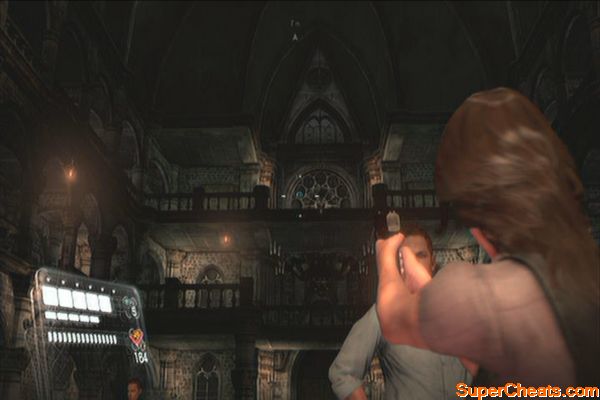
Once inside the cathedral, head towards the altar and turn around. Look up to find a serpent emblem by the window.
 |
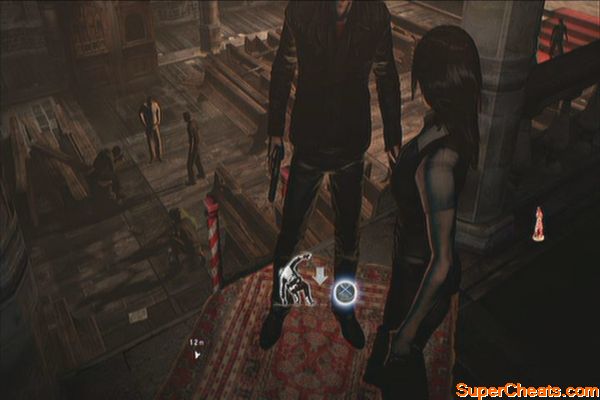
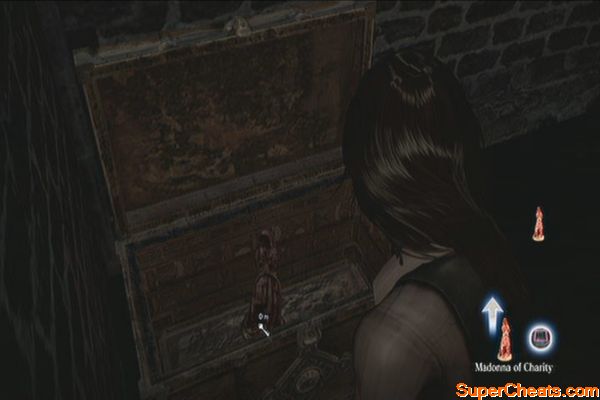
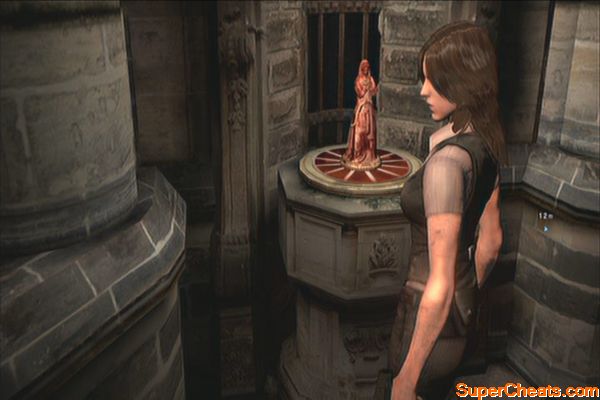
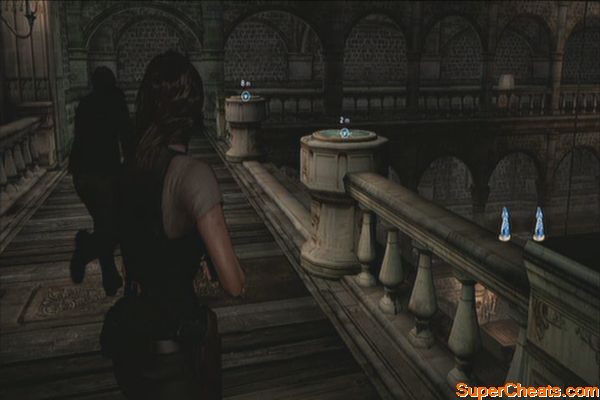
Head to the altar and get the Madonna of Happiness. Boost yourself to the second floor and kick the ladder so Leon can join you. Find a chest as marked in your hud and open it to find the Madonna of Charity. Once you have the two statues, place one on the pedestal in the corner and wait for your partner to do the same.
 |  |
 |
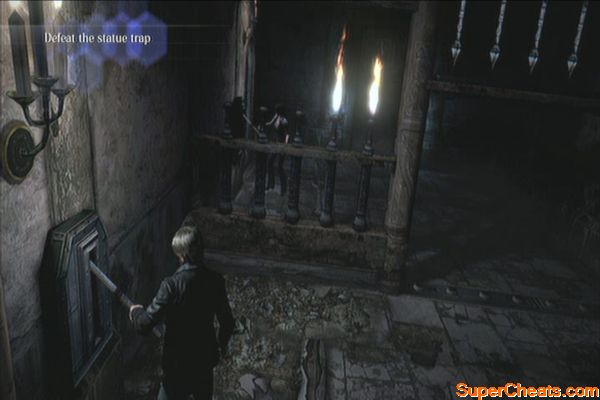
Enter the newly opened room then pull the lever. Push the switch at the base of the statue to disable the trap. Head to the next room and pull the lever again. This time, multiple statue traps will appear. Move quickly and disable them. Make sure to time your evasion to avoid taking in too much damage.
 | 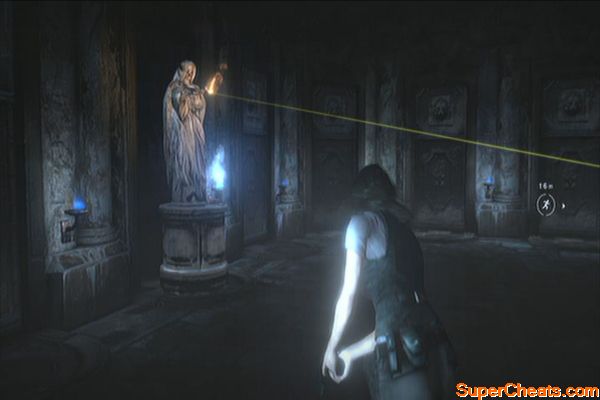 |
In the next room, light the statue to the right using your gun's laser sight. This will open the door. Continue upstairs and follow the corridor. Continue upstairs until you find a locked door. Find a similar statue outside beside the stairs then light it up.
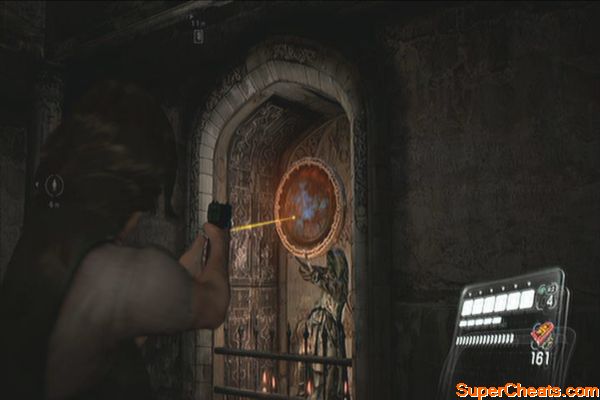 | 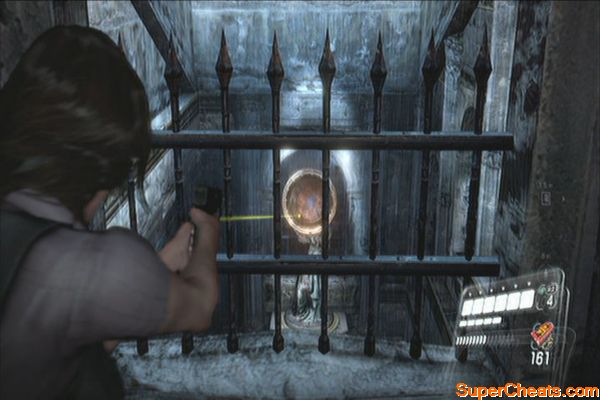 |
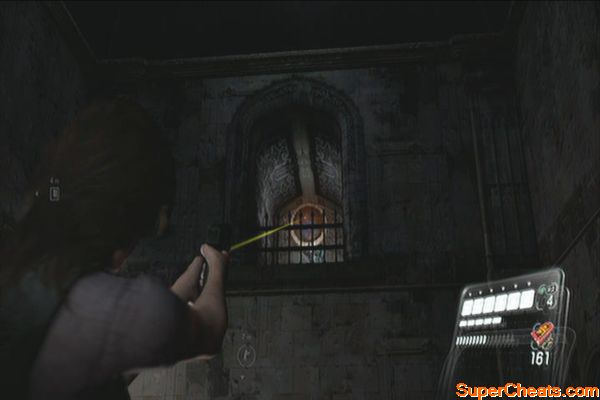
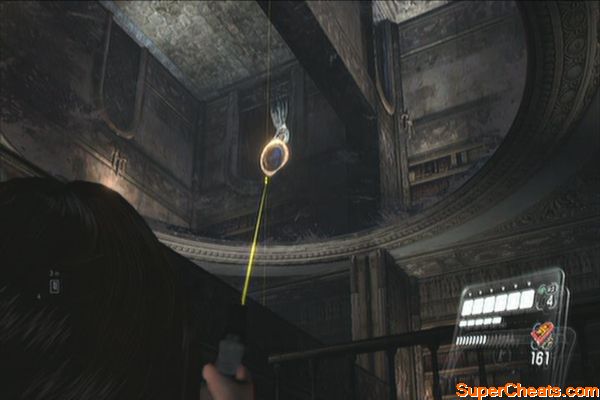
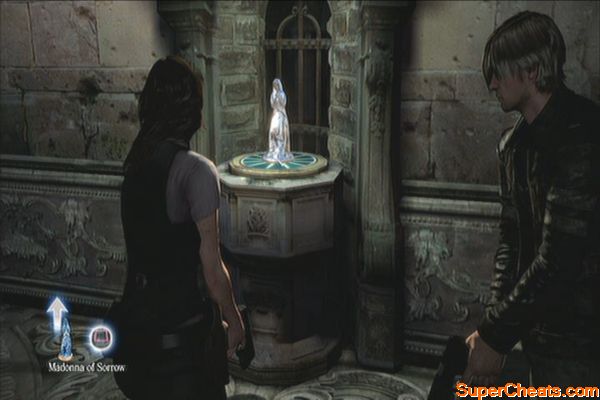
Enter the room then look to the upper right to find another statue you need to light up. Enter the next room this time then look up to find a mirror ceiling. Simply aim for the statue's reflection and your laser sight should bounce to it, opening the door ahead. Grab the Madonna of Sorrow from the pedestal.
 |  |
 |
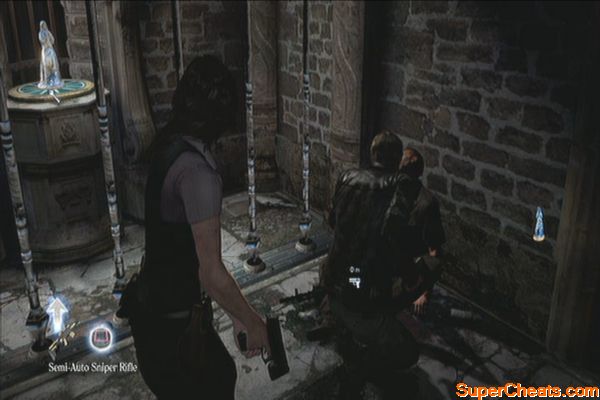
Continue upstairs and grab the Semi-Auto Sniper Rifle from the corpse. Examine the message on the wall to the left to update your objectives.
 |  |
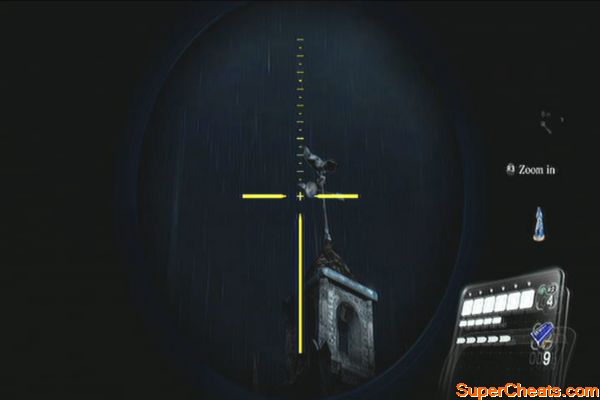
Go outside and shoot the bells to make them ring. There are three large bells and two smaller ones with the metal rooster on them. After shooting them, the barrier should be raised and you'll now be able to get the Madonna of Grief.
 |  |
 |
Continue downstairs and exit through the door to return to the main hall. Place the two statues on the marked pedestals and watch the next scene. You'll now be fighting a boss. This special undead will turn anyone caught in its gas blast into zombies. Aim for it's head until it is dazed and reveals its weak part. Keep hitting it until it is defeated. If you kill it quickly, you should be able to unlock a trophy. (I Prefer Them Alive)
Don't inhale!
Pick the underground keycard from it then collect the recovery items around and heal yourself. Continue to underground afterward. Before exiting the door, destroy the barrels and open the chest nearby to get some bonus skill points.
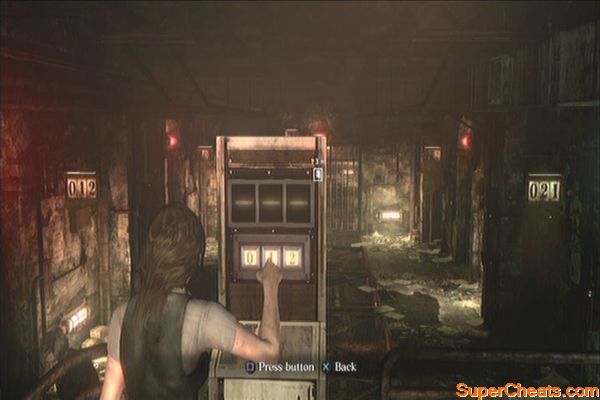
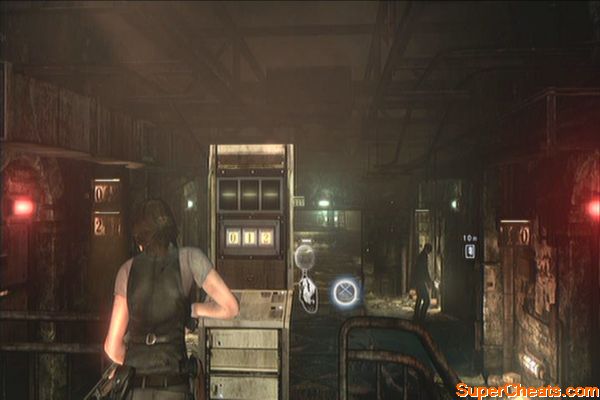
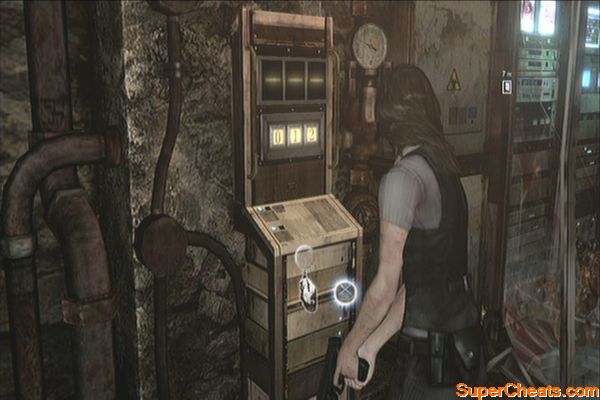
In the underground lab, there's a panel behind that has three numbers: 0, 1 and 2. Entering the number sequence will open the corresponding door. The codes 012, 102 and 201 opens the individual cells containing loot and undead. Entering the code 210 opens the gate ahead.
 | 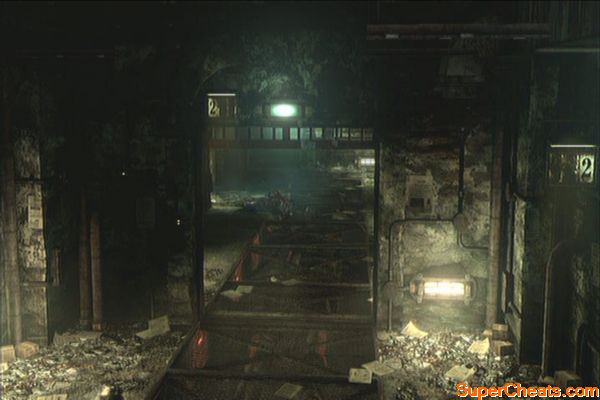 |
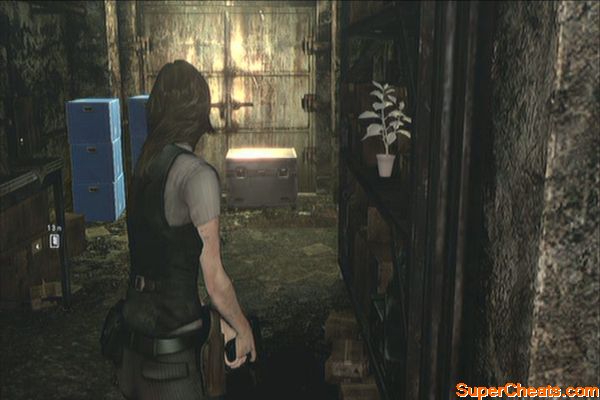
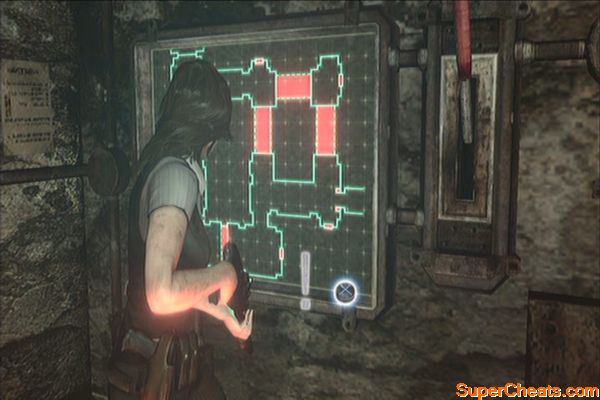
Head to the next room and operate the terminal as well. Code 021 opens the main gate. 102 has a shrieker inside that drops 1000 SP once killed. 012 and 201 opens up the initial room containing two normal undead and a secondary room containing a chest with First Aid Spray and 5000 SP. Room 120 contains a single normal undead.
 |  |
 |
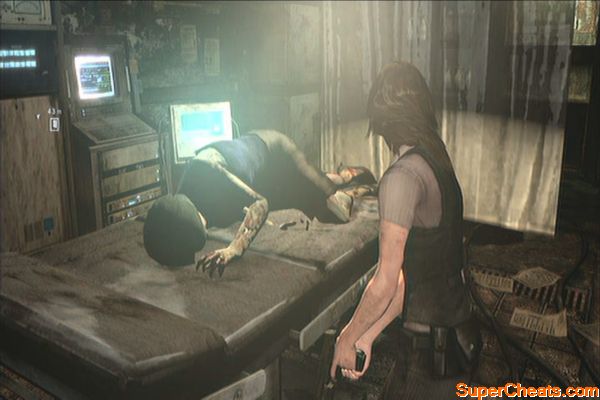
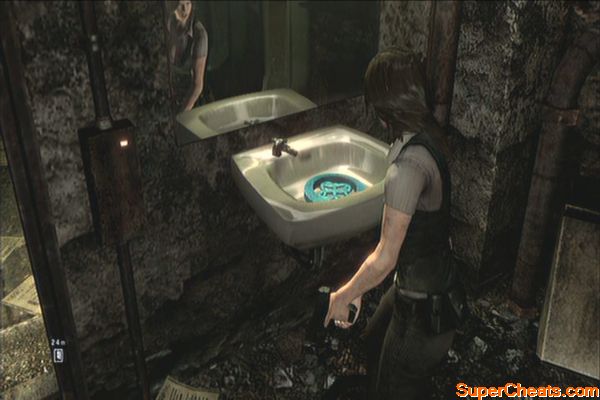
Proceed to the next corridor and enter the next room for another scene. Continue forth past the corpse by the operating table. Continue along the corridor and check each room. Once you find the toilet, examine the sink to drain its water and reveal a serpent emblem.
 |
 |
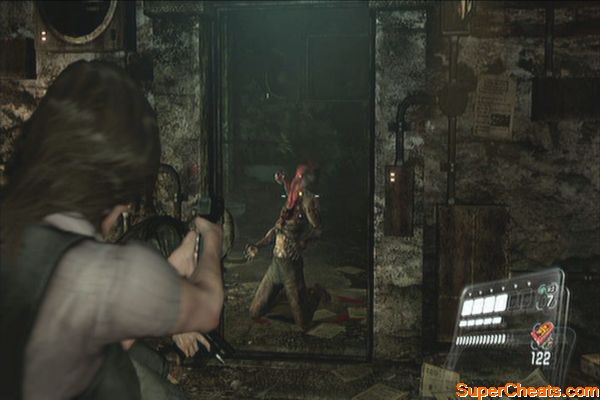
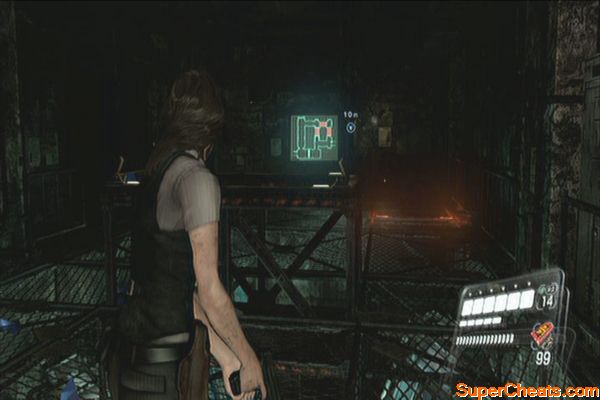
Continue forth and kill the zombies in the next examination room. Continue to the next door and open the room with test subjects in capsules for a scene. After that, examine the terminal beside the broken capsule and enter the code 201.
 |  |
Head to the next area where you need to activate the passageways. Follow the path until you find the first lever. Pull it to remove the barricade in the previous passage. Backtrack there and pull the lever. The barricade will go down again, separating you and your partner. Jump down the opening on the floor then make your way to the other end to use the ladder.
 |  |
After regrouping with your partner, proceed to the third lever and pull it. After lowering the lift, clear the zombies on the top then boost yourself there. Jump down and kill the enemies then pull the last lever. Kill the last few enemies then open the door. Follow the corridor until you reach the end where you can open the vent and slide down to reach the cavern.
 |  |
 |
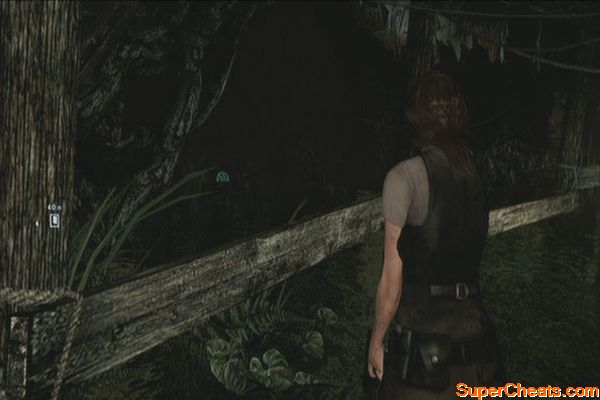
Follow the path and after crawling twice, look to your left to find another serpent emblem.
 |
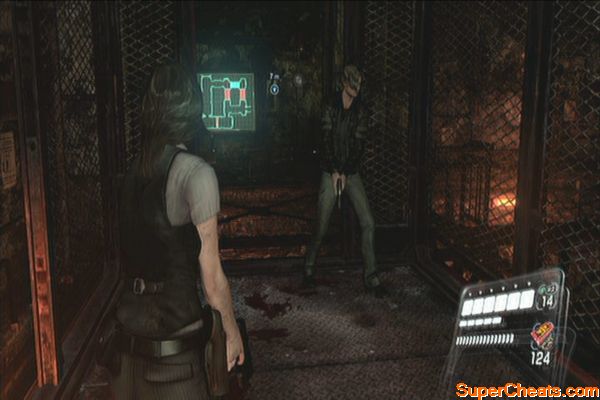
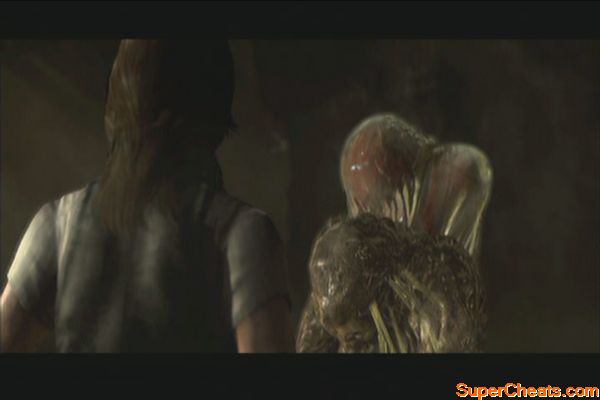
Continue along the way and destroy vases as well to get some loot. Continue until you find Deborah. If you're controlling Leon, you'll have to take care of the hostiles. As Helena, you can't fight back so you just have to rely on Leon in clearing the path.
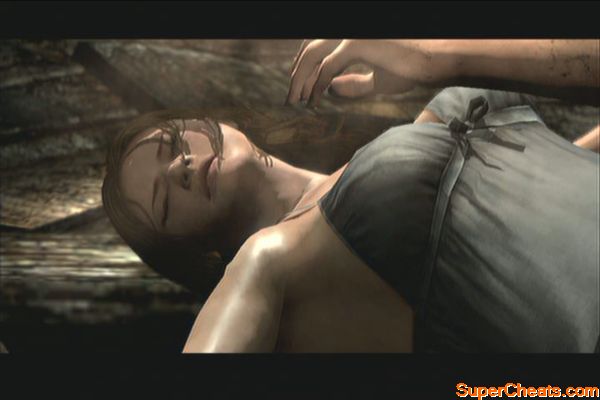 |
Just follow the straightforward path and destroy all vases along the way to earn some bonus loot. Continue down until you reach the objective point. Watch the next scenes.
 |  |
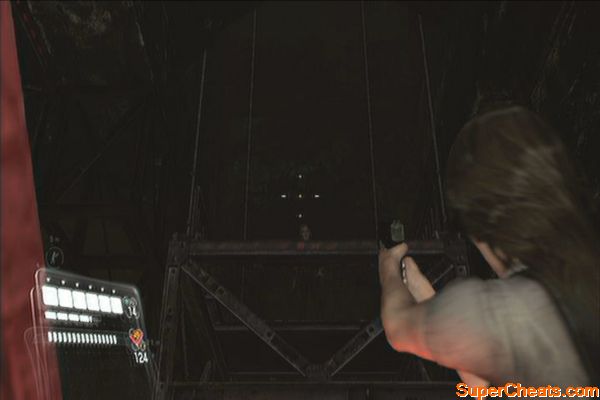
After the scenes, you'll have to find your way down alone again. Continue following the path and hopping down as necessary. Pull the next lever you'll find and continue forth until you face Deborah.
For this sequence, you have to aim for the glowing parts of her tentacles and evade her when she leaps towards you. Use your pistol at long range and switch to your shotgun at close range. There are also TNT barrels nearby that you can shoot to deal fire damage to Deborah.
After the battle, as Leon, make your way down the ramp. As Helena, you'll be riding the lift so provide fire support to your partner. After reaching the bottom, Leon will be able to regroup.
For this sequence you have to shoot the glowing parts of her tentacle. Prepare to evade when you see her about to swing her arms. Be careful of the obstacles as well. Make sure you're ready to press X to evade. Refer to the video below for more information.
No More Tears
Code not working what do I do