Chris and Piers: Chapter 5
Resident Evil 6 Walkthrough and Guide
by vhayste
Chris and Piers: Chapter 5
Open the double-door for another scene. Crawl under the nearby vent. Once in the other room, go down the ladder to the left and peek through the large ventilation fan to an emblem on the far side.
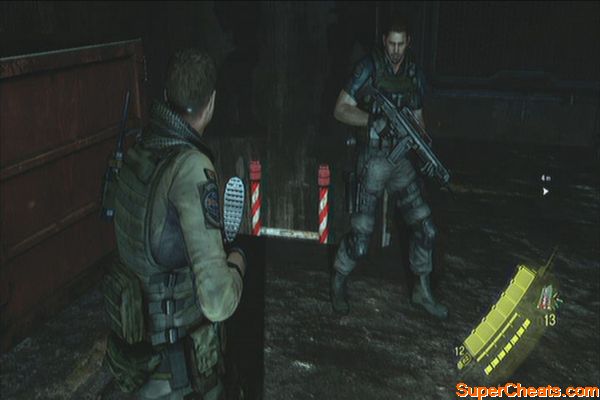 |  |
As Piers, vault over to the other side and pull the lever to stop the fan. Next, dig in and take out the RPG-wielding enemies and those manning the turrets. Pull the second lever when you have the chance and wait for Chris to restore power to the elevator. Destroy the remaining enemies then ride the elevator.
 |  |
Open the next double-door kill all enemies. Before leaving the room, look in the ceiling to the left of the door where you came from to find another emblem.
 |  |
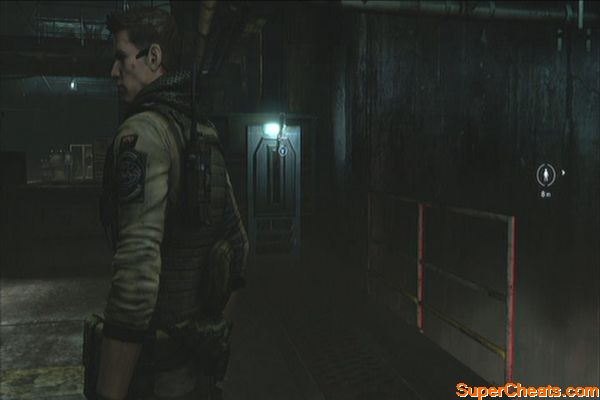
Exit the room and before entering the next examination room, check the box in the corner to the left to find some grenade rounds. Go through the examination room then activate the next lever. Push the elevator button and exit to a large room.
 |
You need to survive the lockdown by killing the cocoon B.O.Ws and the mutated soldiers. Pulling the green levers will release two cocoons. These cocoons are worth some good skill points so it will be worth your while killing them all if you're able. You need to take out the snipers on the ledge above as well. Once done, open the door to meet up with Sherry and Jake.
TIP: After clearing this area, exit and wait for the game to save. You can start again from the beginning and farm through this area to get thousands of skill points in a short span of time.
Research block
Examine the nearby console then activate one of the marked lifts. While making your way up to the top, fend off the enemies that will drop to your platform.
 |  |
You have to keep running until you reach the safety of an elevator. This is pretty trivial except for one particular part in the platform where you need to slide. (See the video below, at 1:00:27). When boosting your partner, make sure to keep hitting circle during the entire process. Also while running and jumping over obstacles, you can keep holding the X button (PS3).
That's one angry sonuva...
After the elevator, you'll have to face the giant B.O.W. Keep hitting it with everything you got until it goes down.
The thing that just won't die
After the short battle, grab the ammo then run ahead. The thing you fought earlier isn't quite dead yet so you have to make it to safe before the bulkheads close before you. Refer to the video below. After reaching the double-doors, look at the floor to your left to find one of the last two emblems in this chapter.
Underwater Tunnel Emblem
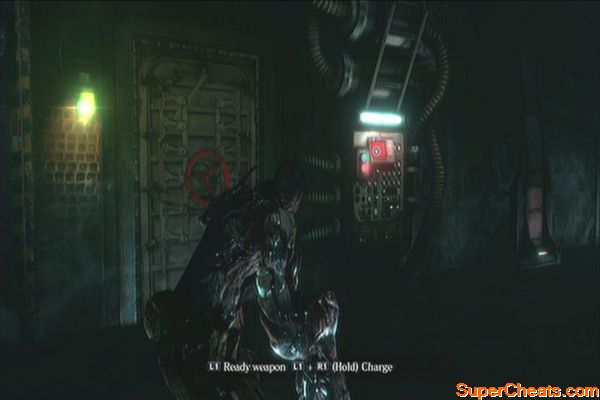
Open the next double-doors for the next sequence. Keep running away to trigger the next scene. As Piers, you have to crawl to the injector and inject yourself with it. Aim to ready your arm then hold the fire button at the same time to charge it. Use it to release Chris then continue firing to defeat the BOW.
The thing that just won't die
As Piers, you won't be able to use conventional weapons now so all crates and boxes you destroy will contain skill points instead. Destroy the boxes in the room then activate the console. This will trigger another battle with the BOW.
 |
This battle has three phases. The idea is to destroy all three “hearts” of the BOW. You have to manually aim and destroy the soft exposed tissue at the back to force the BOW to enclose itself in a cocoon. Destroy the cocoon then stand near the BOW to perform a melee attack that will destroy its heart. Repeat it twice and for the last heart, you have to perform two quick action sequences to completely defeat it.
The thing that just won't die
The thing that just won't die
Open the door and keep running. Destroy the fleshy walls using Pier's charged attacks. When you reach the third wall, peek over to the right to find the last emblem of the campaign. Head to the exit and watch the following scenes.
Underwater Facility Emblem
No comments yet. Tell us what you think to be the first.