Chris and Piers: Chapter 4
Resident Evil 6 Walkthrough and Guide
by vhayste
Chris and Piers: Chapter 4
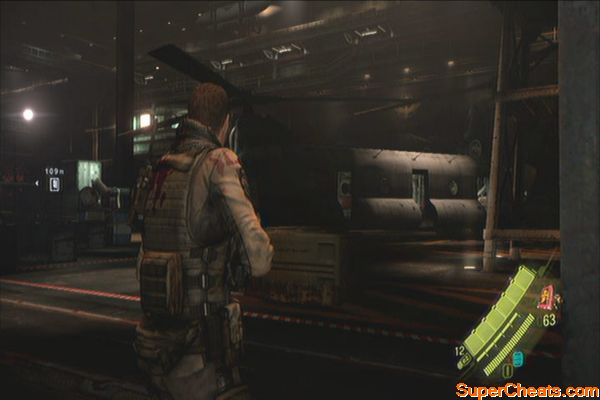
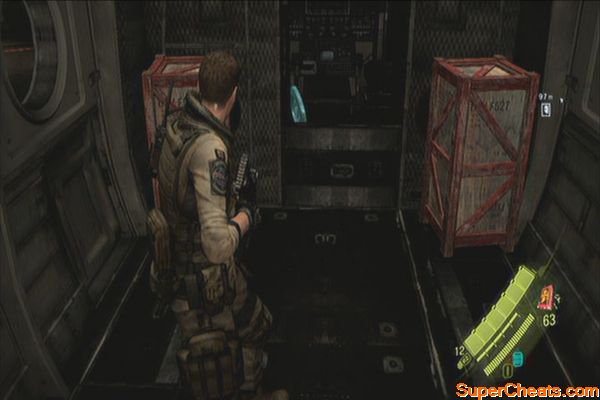
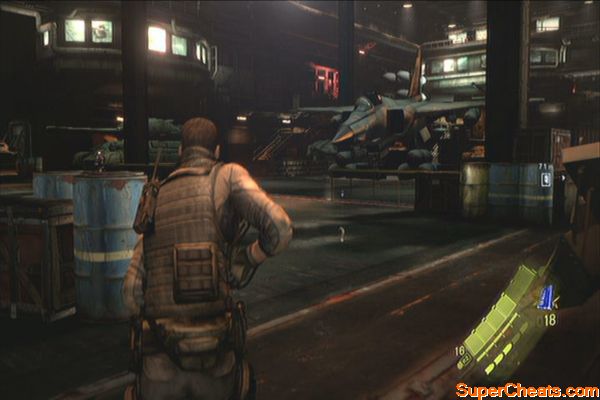
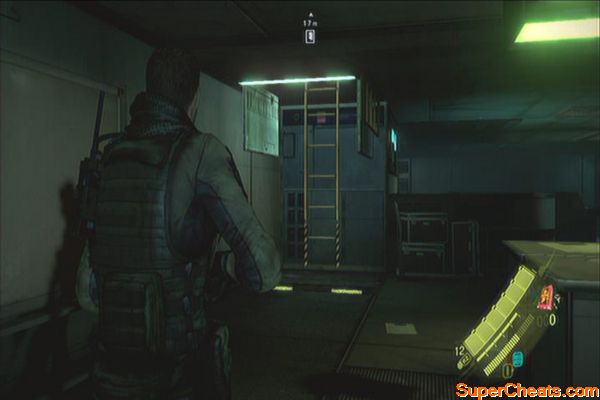
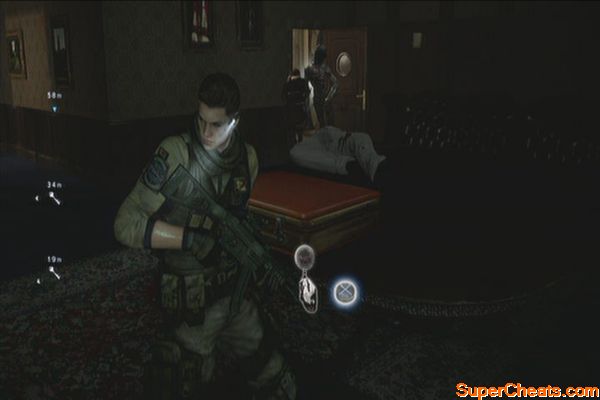
Take cover and take out the enemies in the hangar. Enter the room to the left to find a Semi-Auto Sniper Rifle. Head to the right side of the hanger to find a helicopter. Get inside and check the cockpit to find an emblem.
 |
 |  |
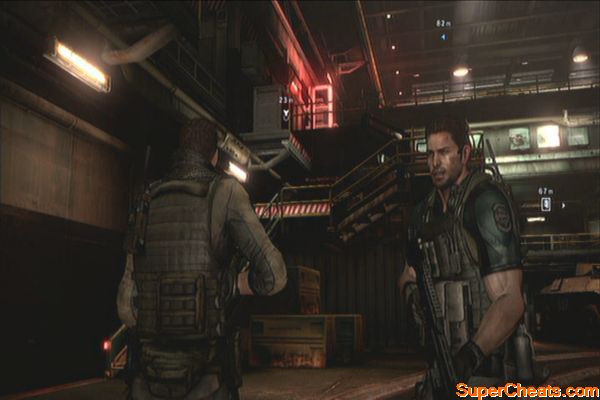
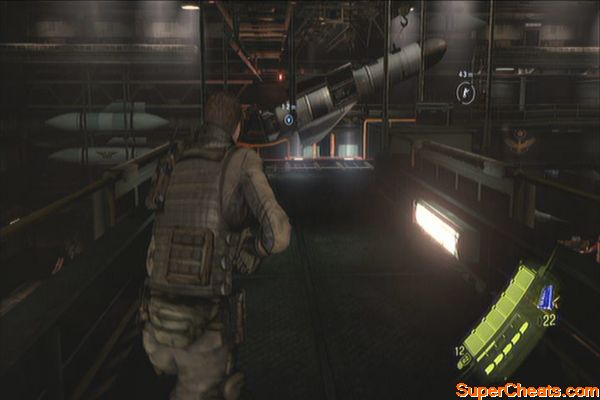
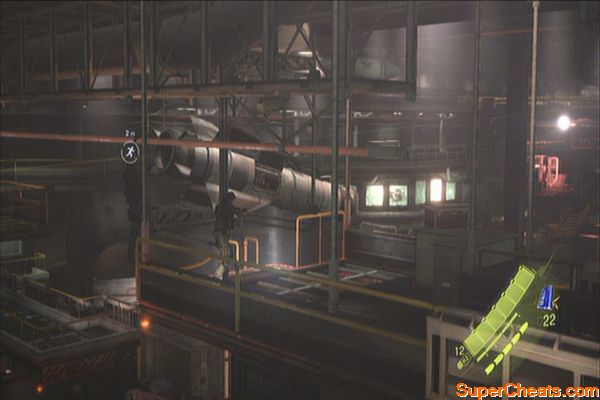
Head towards the stairs ahead until the enemy raises it. Continue forth and climb the stairs in the left side to take out a couple of snipers. Follow the catwalk then jump over to the other side (as Piers). Head to the missile and activate the lever. As Chris, you have to grab on the wire and make your way to regroup with Piers. Once reunited, Piers should take out the snipers and enemies while Chris rewires the missile.
 |  |
 |
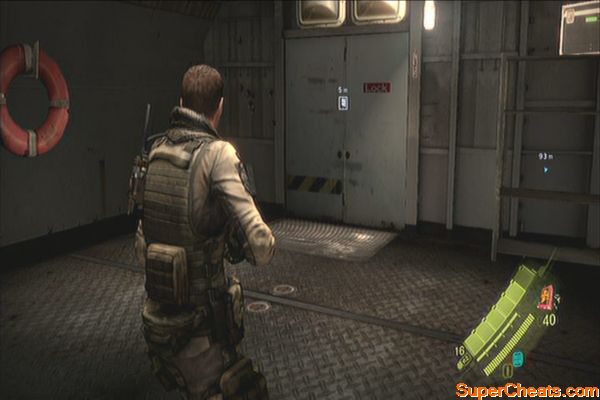
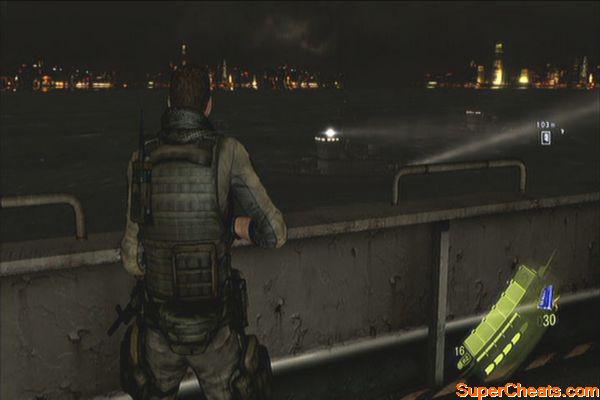
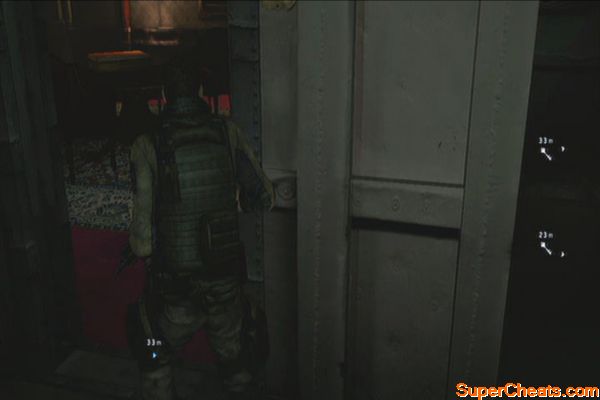
After destroying the bulkhead, climb down and make your way outside through the marked door. Before moving anywhere else, look at the smaller ship's tower to find another emblem.
 |
 | 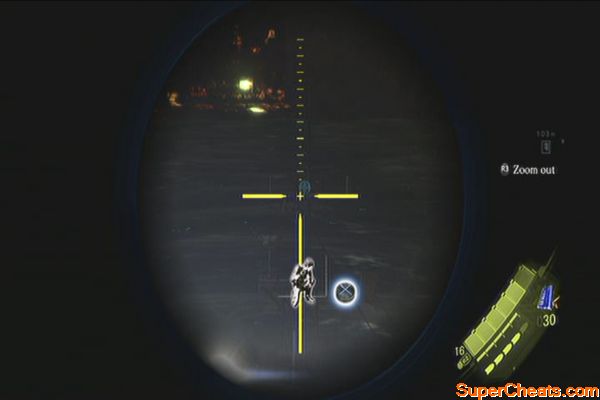 |
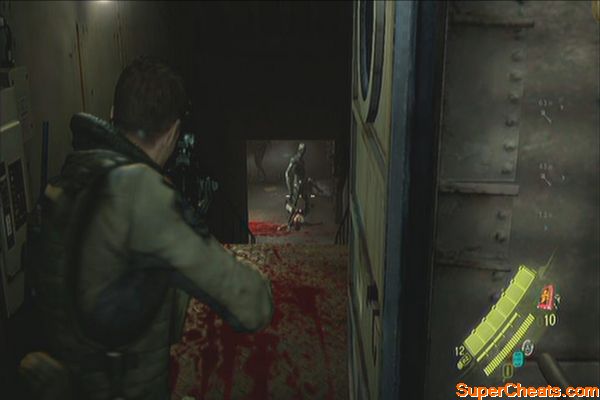
Move forth along the path until you reach another double-door. Open it with your partner and pull the lever to lower the stairs again. Kick the nearby ladder down and descend. Take out the pilot of the harrier by sniping him from a safe location. Fight your way through more enemies and kick the marked door open.
 |  |
Fight your way to the stairs then head to the damaged bulkhead and kick open the door there. Head inside for a scene. Open the next door then take the elevator. Enter the next room then open the next bulkdoor. Clear the briefing room afterward.
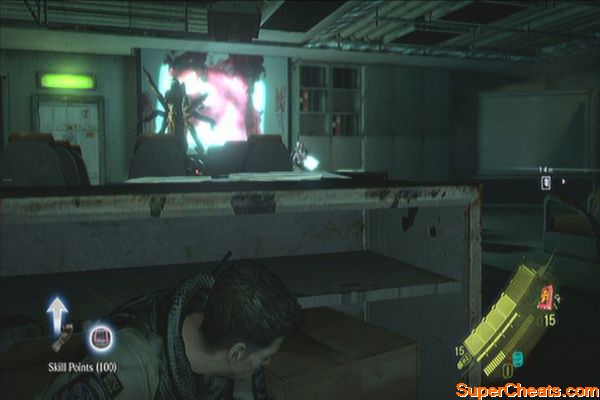 |
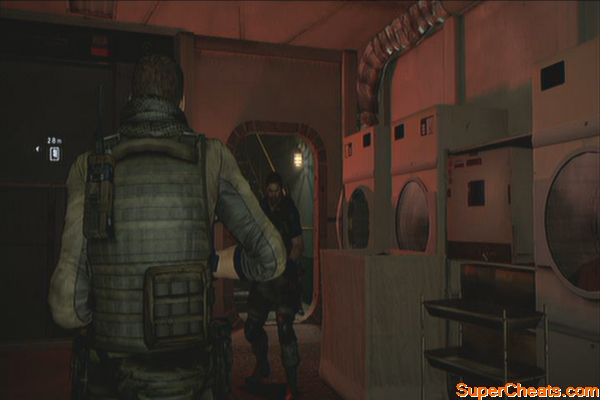
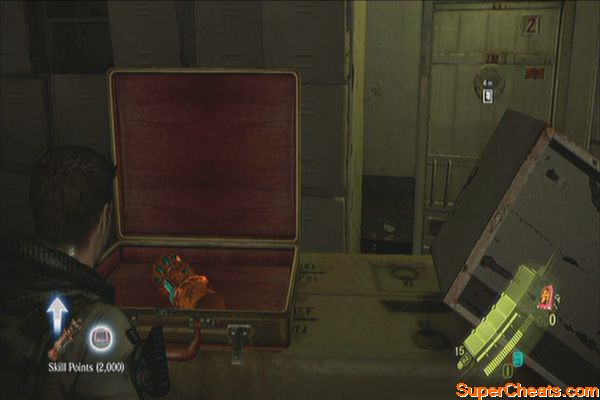
Go around the corner then check the bathroom for a green herb then open the next double-door. Check the laundromat for loot then go upstairs and take out more enemies along the way. Open the next bulkdoor. Head inside and open the red chest for 2000 SP.
 |  |
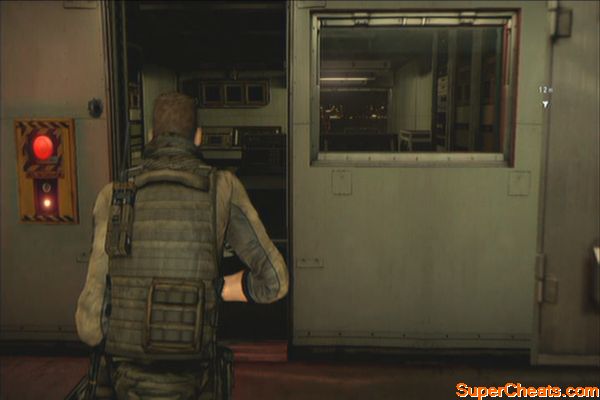
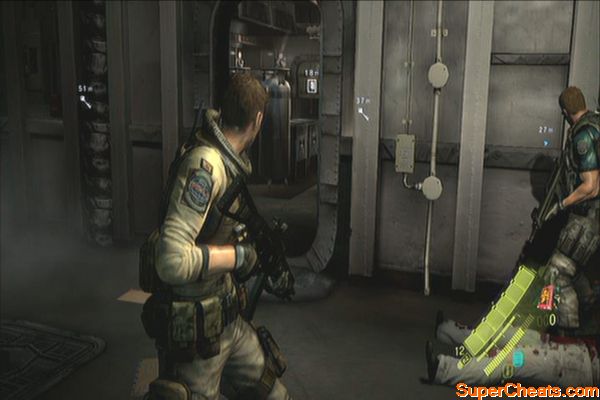
Head to the barracks and take out more enemies. Pursuit Ada only to be ambushed by enemies breaking in from the windows. Kill them then continue your pursuit. Open the next double-door. Proceed through the command center then vault over the window. Take the stairs up then open another double-door.
 |
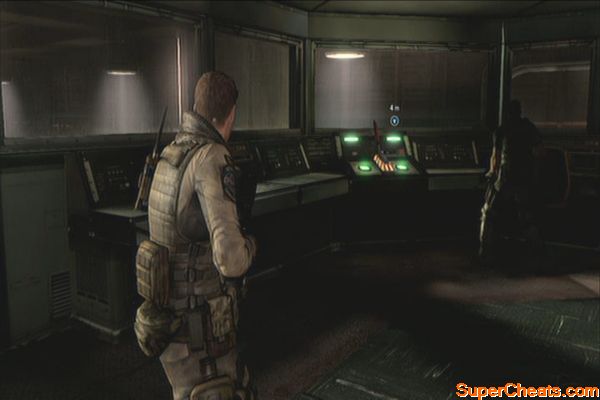
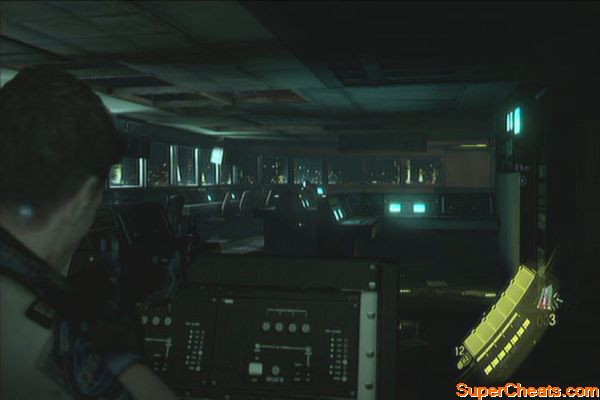
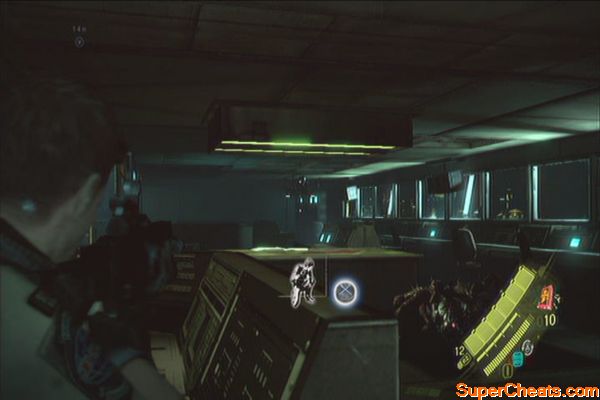
Head inside the control room and proceed carefully. More enemies will break in from the windows. Take them out then turn the valve to open a path on the ceiling. Go up the ladder afterward.
 |  |
After climbing up the ladder and before taking the stairs, look under it to find another emblem. Continue upstairs until you find another ladder. Climb up then loot the shelves then open the door for a scene.
 |
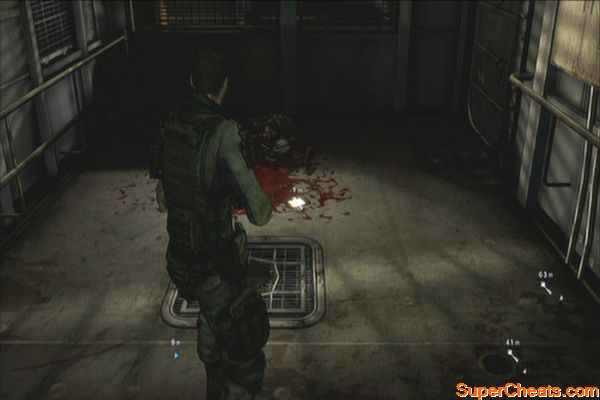
After the scene, examine the console by the door to update your objective. You'll have to find three passcodes to open the door. The first one is found on the floor nearby, beside a corpse. Open the door next to him for a short scene. Don't bother wasting ammo on this enemy as it can't die by normal means. You can still shoot it however, to stop from its tracks and to push it out of the way.
 |  |
Kick open the door to the kitchen to trigger a scene. Survive the attack until the security gates open. Kick the damaged bulkdoor to reach the mess/ dining hall. Open the door near the crates since it leads to the officers' quarters. Check all the rooms there since they contain chests with SP and other loot as well.
 |  |
 |
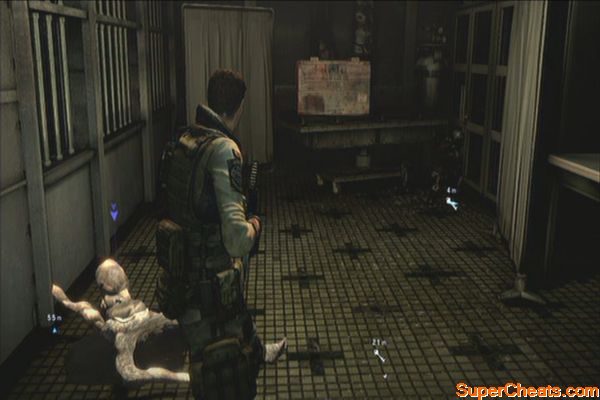
Once you reached the infirmary, open the double-door only for Chris to be trapped inside. Once the enemy inside is taken care of, open the door and grab the second passcode.
 |
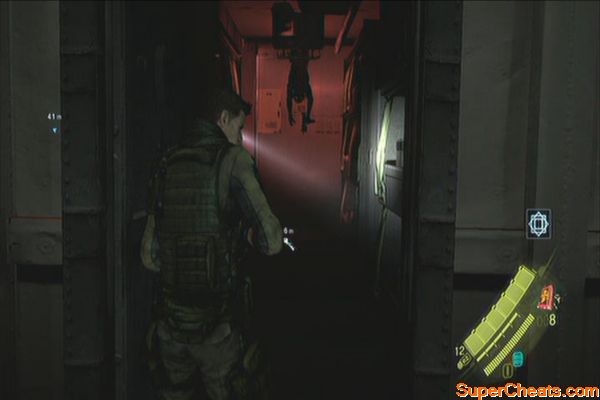
Continue forth and go past the small blue room with vending machines then open the bulkdoor leading to a flooded hallway. This leads to the crew cabins. One of them has the third passcode. Scour the cabins for more loot then open the new bulkdoor leading back to the mess hall. Backtrack to the locked console and open it. Head past the door and open the next double-door afterward.
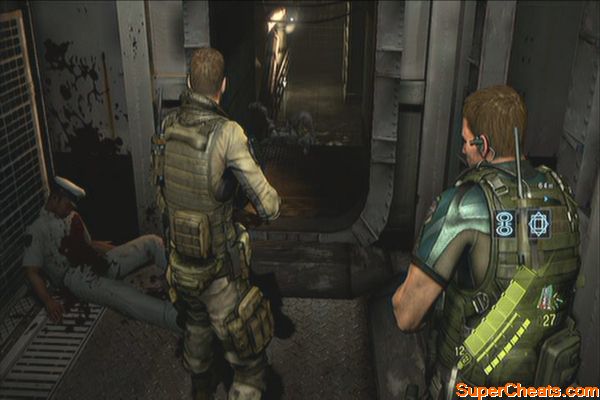 |  |
Move along the catwalk for a short action sequence. Kill the B.O.W before it reaches you then continue to another double-door that leads to the rear hanger. Approach the VTOL to start the next portion of the chapter.
There's another emblem that can be found here but will only be accessible by using Piers. As Piers, you'll be the VTOL's weapons control. It is simple; just aim the targeting reticule on the target, wait for the lockon and press fire to launch a missile. You must keep the targeting circle steady as you make a lockon. Keep destroying the anti-aircraft guns around the carrier so that you can land.
Weapons specialist
Upon landing, have to remove the obstacles along the way by planting explosives. You have to press the action sequences correctly to properly set up the explosives. After destroying the first trailer, vault over two obstacles then turn to the right. Before vaulting over the third obstacle, look at the tire in the corner to find another emblem.
Aircraft Carrier Emblem
No comments yet. Tell us what you think to be the first.