Mission 02: Operation Cobra
Get on the Tank
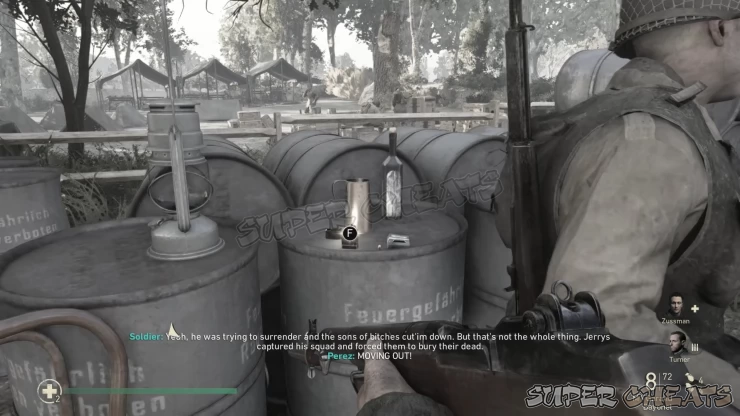
As soon as the mission starts, don’t hop on the tank yet. Instead, turn around and head to the left to find the first memento sitting on top of a barrel, behind two soldiers. (Flip Lighter) Head to the tank and climb over for a short cutscene between Zussman and Pierson. Once the tank column starts rolling, just enjoy the brief peace and quiet until German Stukas arrive and start bombing your formation.
Rally on Turner / Reach the AA Guns
After clearing the tanks, regroup with Turner and push with the rest of the team towards the MG nest in the barn. There are also enemies in the field so take them out systematically until you get near the barn. Make sure to aim for the heads of the MG gunners and seek cover while you attempt to shoot them to avoid getting ripped to pieces. Approach from the left and take out the gunner there so you can flank the enemies and gain access to the barn.
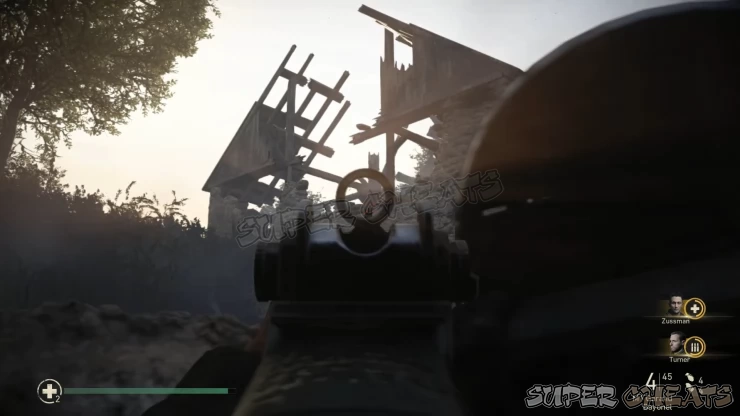
To take out the enemies on the 2nd floor, make sure to carefully lob a frag grenade or set a smokescreen above the ramp to blind them as you pick them off one by one. There are also openings by the ramp that will give you clear shots of the enemies above. Head to the second floor once done and switch weapons if needed. Dismount one of the MG-42s and help your squad clear the escaping enemies from the barnyard behind the building.
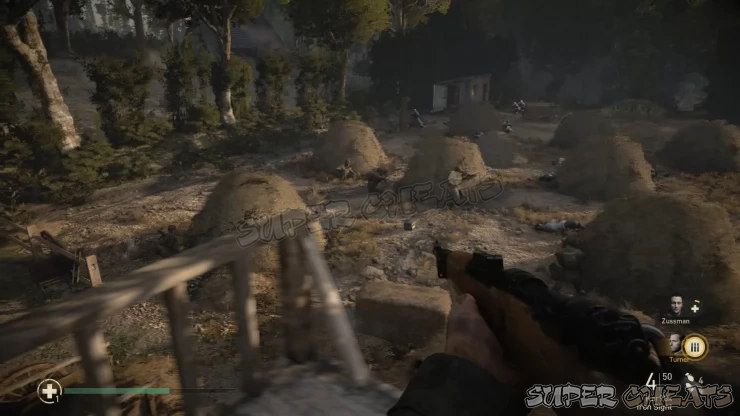
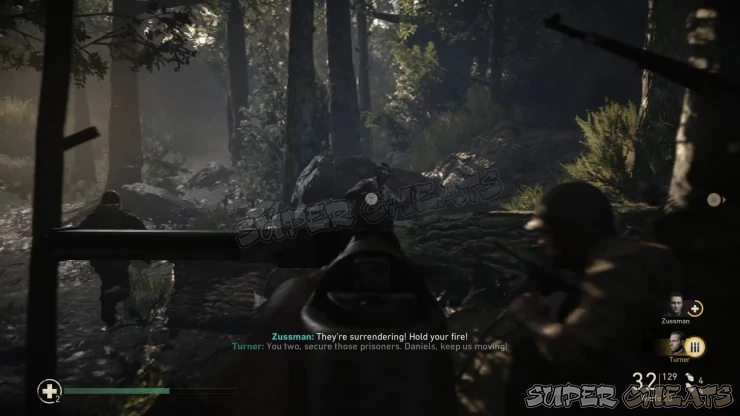
After clearing the barnyard, chase the enemies to the woods ahead. Keep an eye out of surrendering enemy troops to register your first heroic action for this mission. Continue past the woods to reach another farmyard. Take out the two enemies there then head left of the field towards a small shed. The second memento awaits inside. (Pocket Watch)
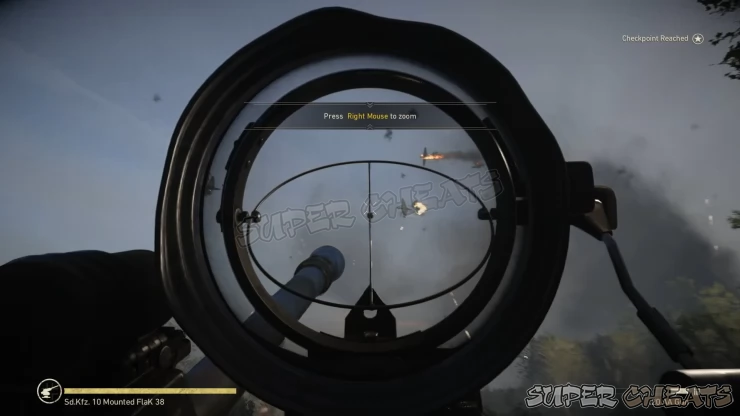
Continue forth in the next field to reach the AA gun. Clear out its crew then get on the flak gun to take out the Stukas. You have to lead your fire and aim for the direction where the Stukas are flying to. This will ensure that your shots will hit them. Listen carefully to the directions given by your teammates. Later on, the Stukas themselves will start bombing your position. Make sure to take them out before they can release their payload. Keep doing this until the sky is clear.
Get to the Vantage Point
After receiving your next task, follow Pierson to the vantage point. There’s an ammo crate and two first-aid kits by the allied jeepneys along the way so make sure to stock up and heal up if you need it.
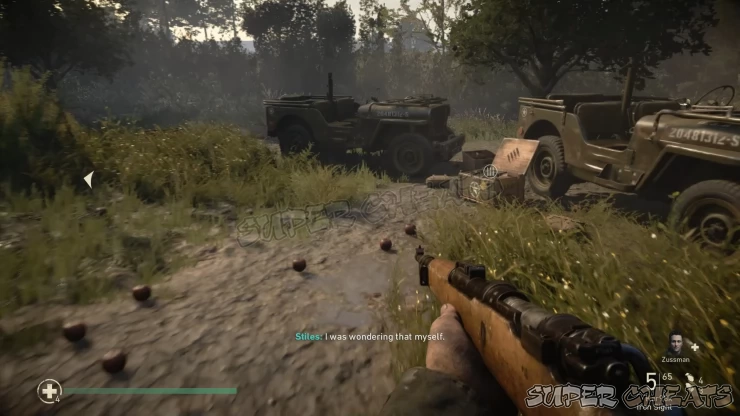
Keep following your squad until you reach a vantage point overlooking the flank of the first PAK-38 dugout. Don’t jump in the trenches yet; instead, switch over to the M1903 sniper rifle and target the explosive gas canisters beside the artillery guns. The explosive should be enough to take out the crew and guns. After taking out the guns, the rest of the enemies will attempt to fall back. Don’t chase after them yet; instead, use your vantage point by sniping the fleeing enemies as much as you can.
Stack up behind one of the tanks/ Push forward with your armor
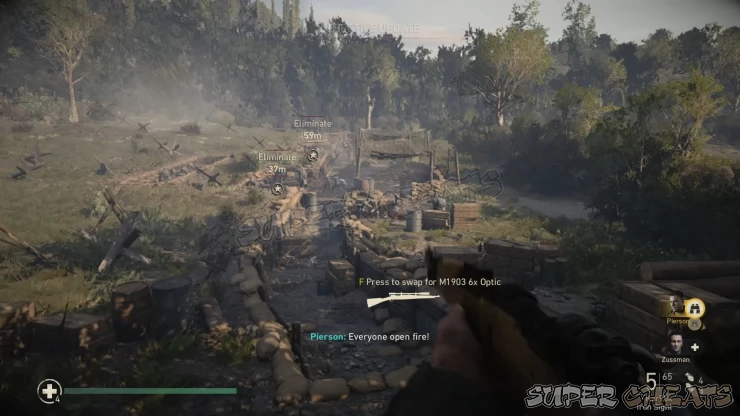
After the friendly tanks cross the trenches, you’ll have to get behind one of them and push forward to the next enemy dugout position past the hedges. Before doing that, make sure to use the ammo crate and collect first aid kits in the trenches. When ready, get behind an ally tank and start the push. Take cover behind the tanks (don’t sit in front of them) and start clearing any enemies within your range. Concentrate on taking out the krauts in the open since the tanks will shoot the MG nests ahead.
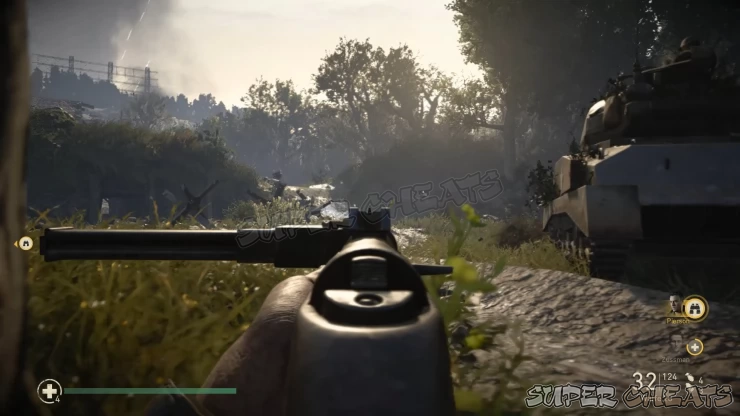
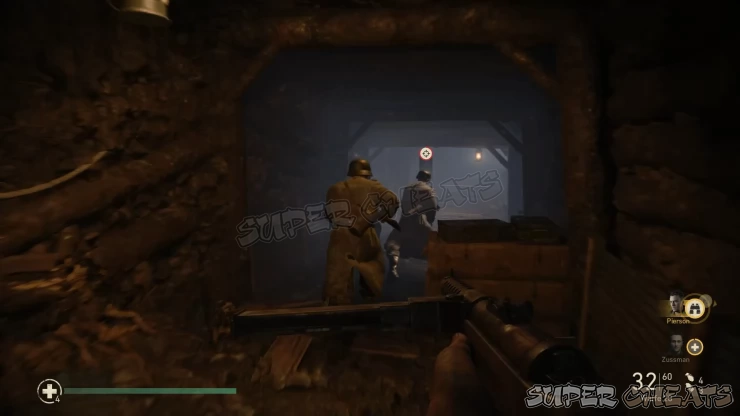
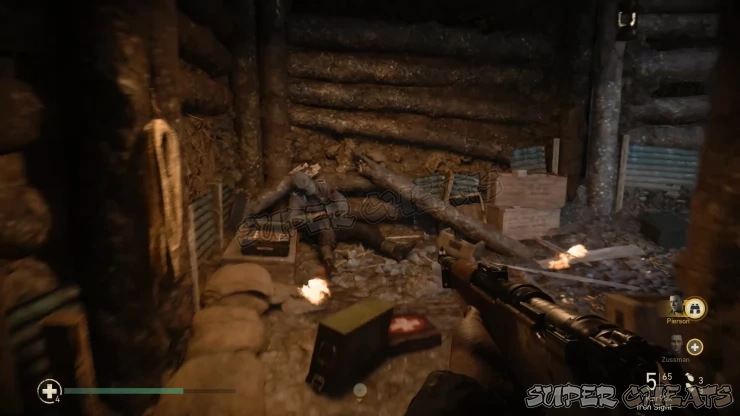
Once the nests are cleared, head towards the tunnel. Keep an eye out for an ally that will be overpowered by a kraut. Saving him will net your second heroic action for this mission. Stay inside the tunnel and engage the enemies that may shooting from outside. Once cleared, make sure to check the right-most MG nest at the end of the tunnel and loot the last collectible of the mission from the dead german soldier sitting in the corner (Gas Mask). Continue pushing to the next barn where another PAK-38 position is located, sitting on the hill overlooking your position.
Reach a sniping position
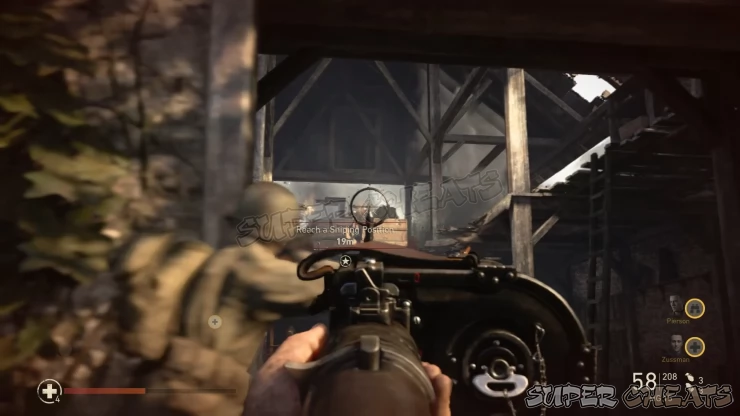
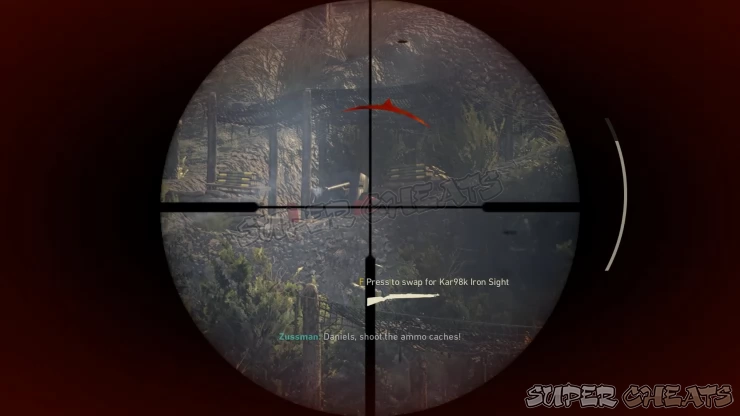
Regroup with Zussman and Pierson as they open the gate to the barn. Clear out the enemies there then take out the gunner on the second floor to gain access to the vantage point and sniper rifles. Head to the upper floor and switch to one of the sniper rifles there. Like before, look for the red explosive containers that can you shoot at. This will conveniently destroy the PAK-38s beside them. If you’re having a hard time finding them, make sure to check your objective to highlight their locations. After taking out the artillery guns, pick off the remaining enemies within your sight then throw away the sniper rifle and switch to another weapon for close and mid-range combat.
Push forward with your armor
You’ll have to clear the trenches next. Regroup with your squad and head towards the trenches. You’ll need to take out the initial enemies but watch out for the surrendering troops near the entrance. Capturing them will mark your third and final heroic action in this mission. Once the trenches have been cleared, you’ll have to rally up on turner to get an objective update.
Get to Charlie Company
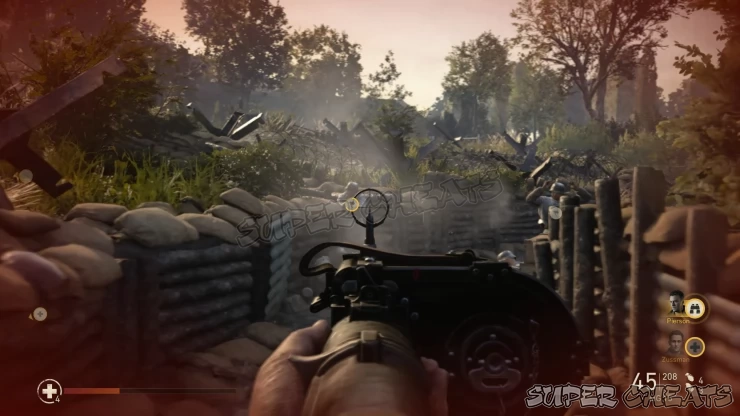
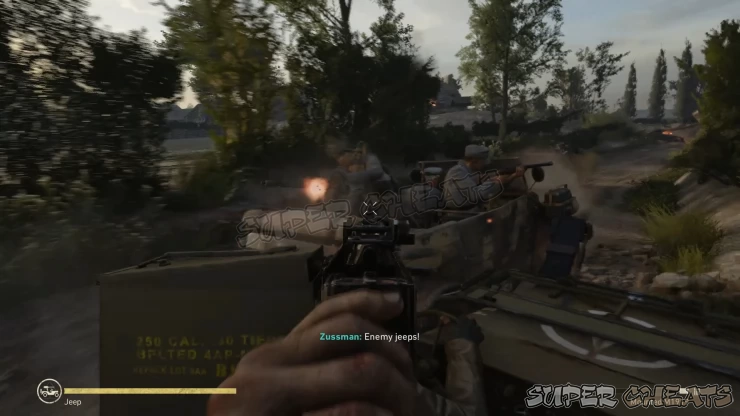
You’ll be driving a jeep in this objective to rescue Charlie Company. The path is linear but you still have to drive carefully but quickly. Keep driving for now until you encounter retreating krauts along the way. Don’t hesitate to run them over if they’re in front of you. Your objective for now is to keep driving until you switch positions with Zussman and take the gun. You’ll be intercepted by loaded kraut light vehicles so make sure to gun them down quickly before they can deal damage to your vehicle. You’ll be gunning across enemy positions as well so make sure to spray lead to them. Release the trigger when you’re not shooting to prevent overheating to your jeep’s mounted weapon.
Clear the hostiles
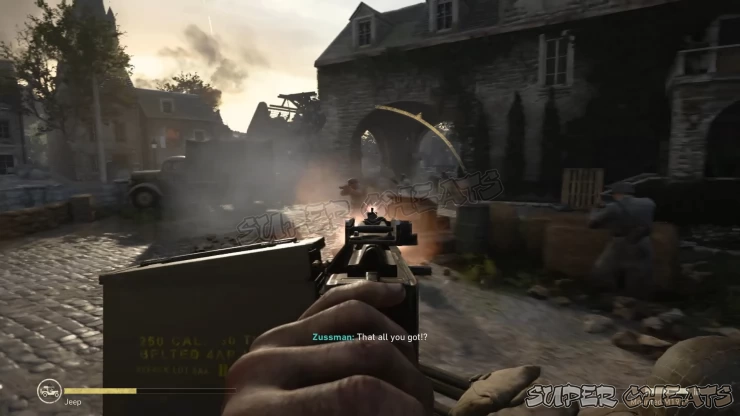
As soon as you regroup with Charlie Company, more enemy soldiers will arrive. Make sure to gun them down the best you can until clear the perimeter of hostiles. Mission complete.
Anything missing from this guide?
ASK A QUESTION for Call of Duty: WWII
 Join us on Discord
