Mission 03: Stronghold
Take the Church
As soon as the mission starts, you’ll have to storm through the first house ahead. You can also use a new squad ability - Aiello’s artillery strike. You can use that ability to clear out the building ahead. Otherwise, you’ll have to charge in and clear it out yourself.
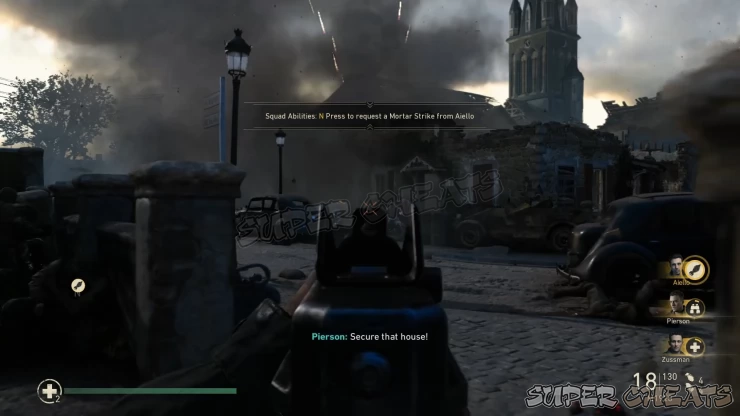
While clearing the house ahead, use the stairs to reach the second floor. Turn left to find the remains of the 2nd floor bathroom. The SS Pin is attached on the mirror frame on top of the sink. You’ll have to carefully jump on the broken wall to get near the memento and collect it.
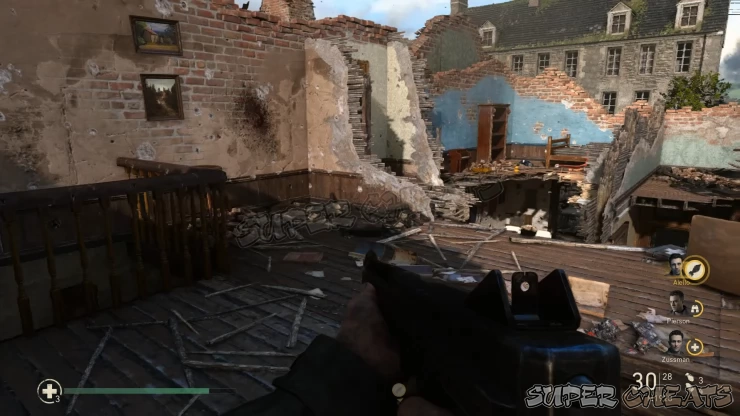
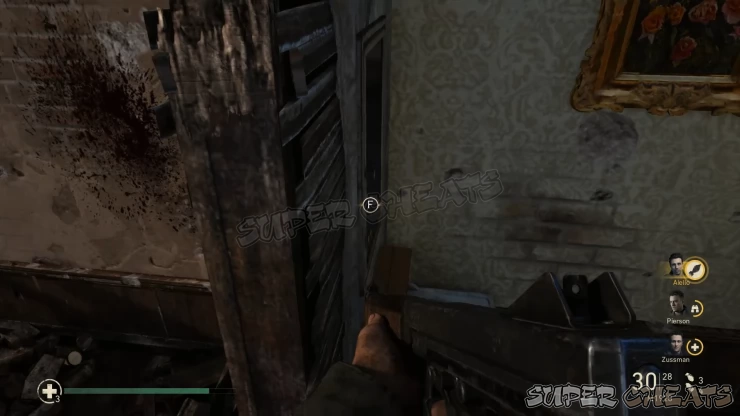
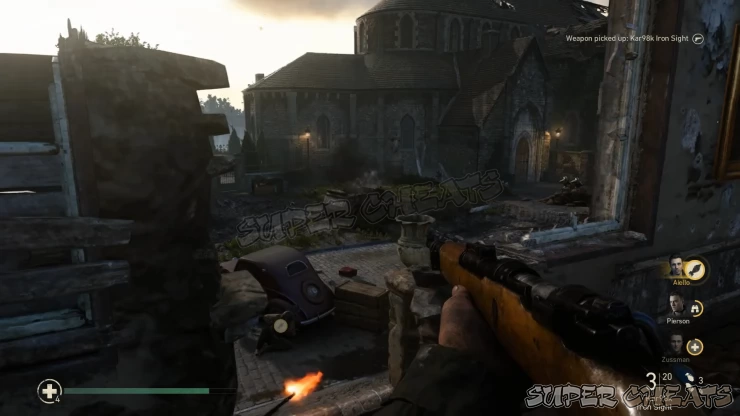
After getting the memento, look for the vantage point where you can swap your 1911 pistol to a Kar98k Iron Sight. Use this spot to pick off the germans in front of the church one by one, preferably through well-placed headshots. Continue doing so until a half-track joins the fray.
The only heroic action of the mission will become available here. Watch out for a wounded ally that you have to pull out. (Take note that the position of this wounded ally might be different from what is shown in the video, but you’ll definitely find him in the open) Before pulling him out, you have to make sure that you lob at least two smoke grenades - one in the enemy position and one beside your ally to block their sight and mask your movement. If a panzerfaust soldier appears on the second floor of the adjacent building, make sure to take him out first since he’s cable of one-shotting you.
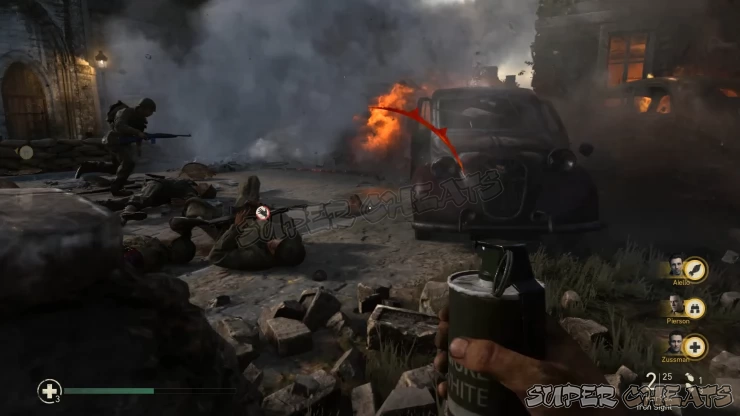
After successfully performing the heroic action, heal up and continue clearing the enemy forces in front of the church. If you haven’t used Aiello’s squad ability yet, this is a good chance to call in the allied artillery to take out the concentrated enemy positions in front of the church. Just make sure not to use this ability when your allies have started moving since you’ll fail the mission if they’ll get caught by friendly fire. If you manage to flank the enemies, you might even be able to man the half-track’s mounted MG to lay down fire at the enemy forces.
Once the church’s front yard has been cleared, scour the area for med kits and swap out weapons as you see fit. When ready, stack by the door and open it. Head inside but remember to move behind cover. Shortly after, an enemy MG and a couple other soldiers will appear on the second floor while more enemy reinforcements will pour in from the large doors. Take out the MG first then carefully pick off the enemies on the upper floor. Stay behind cover while you take out the enemies ahead. An flamethrower soldier will appear next. Make sure to land headshots to take him out quickly. Mop up the remaining soldiers then replenish your ammo using the ammo crate near your position.
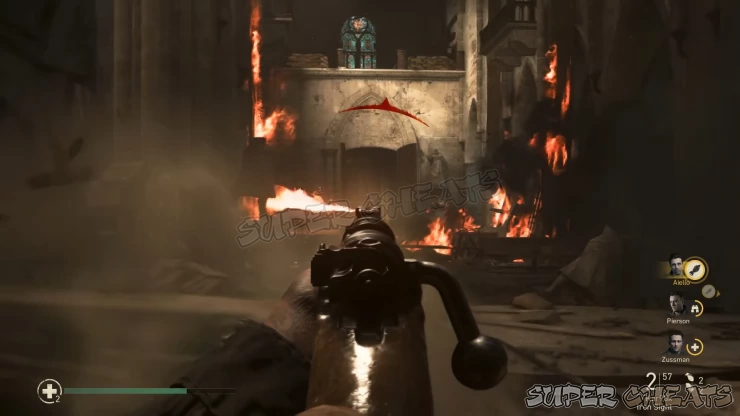
Scout the Courtyard
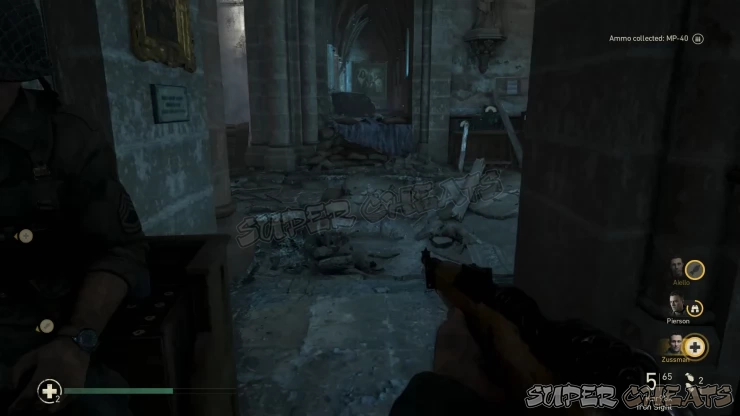
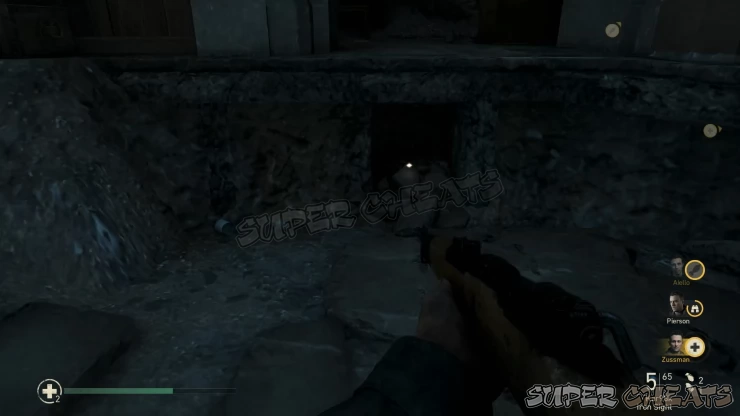
Move up by going through the right side of the church. You should find a crater on the floor. Jump there and look for a small hole where the second memento is kept (Locket). Continue pushing forward but make sure to watch out for any stragglers hiding by the door. After completing clearing out the church, head to the door and interact with it to update the mission objective.
Climb the Bell Tower / Protect Zussman
Next, follow Pierson and ascend the bell tower. After reaching the top, swap out one of your weapons with the Kar98k 6x Optic and start providing covering fire from your position so Zussman’s group can move ahead and take out the AA guns. Listen to Pierson’s directions and keep an eye out of the objective markers so you can spot the enemy positions and manage to take them out quickly. Remember to use the Hold-Shift focus mechanic so you can accurately land your shots, preferably headshots.
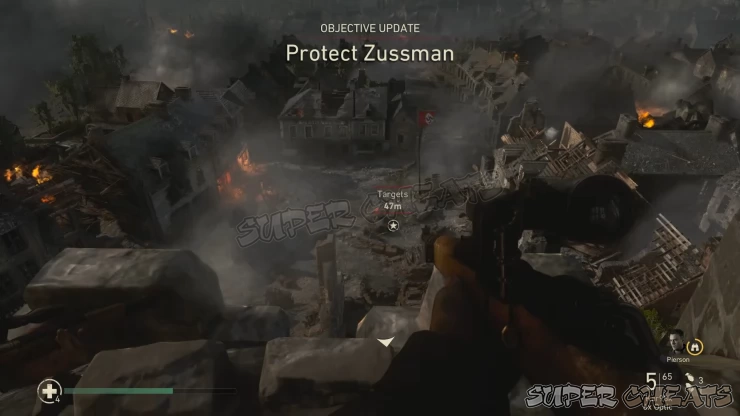
After getting rid of the first group of enemies by the burning car, you’ll have to deal with the snipers on the second floor of the house ahead, and shortly after a small kraut team with a flamethrower. Make sure to take out the flamethrower first. You can target his fuel tank to ignite it and kill him instantly. Otherwise, you’ll have to land two headshots to take him out. Taking out these enemy groups will allow Zussman to take out the first AA emplacement.
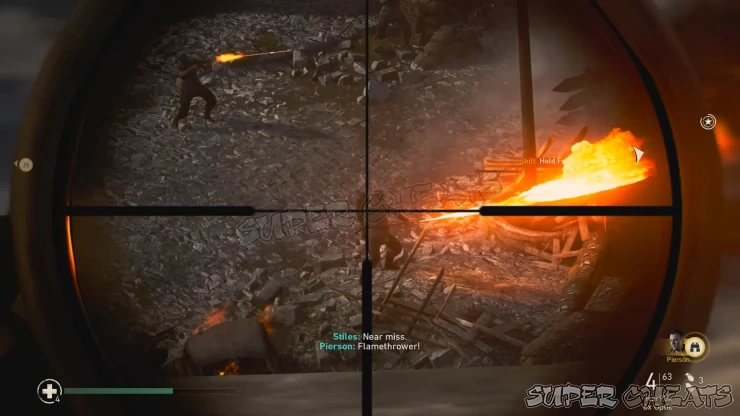
Shortly after, two halftracks and a jeep will arrive, carrying more enemy forces. Make sure to prioritize taking out the MG gunners of the halftracks and the rear gunner of the jeep first to ease up the threat. Next, Zussman will push up and three more enemies on the rooftops will appear to ambush his group. After eliminating the rooftop soldiers, more enemies will appear ahead of Zussman, including an MG mounted jeep. Like before, prioritize taking out the gunner first. While taking out the enemies ahead, another halftrack will arrive from behind and flank Zussman. Take out the gunner first first pick off the reinforcements. Allied soldiers will arrive to back Zussman up as soon as you deal with german reinforcements. Once clear, just sit tight and wait for your allies on the ground to light up the second flak gun.
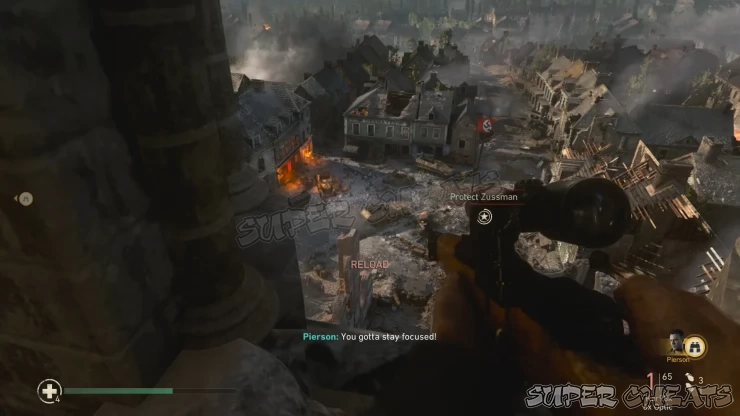
Escape the Church
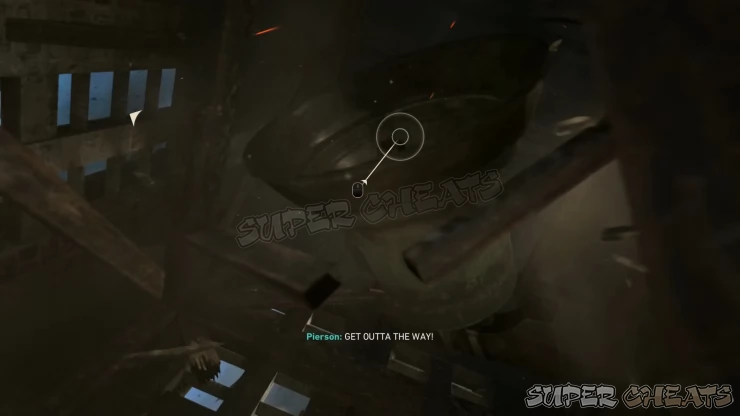
Your vantage point will come under fire shortly after. Perform the first QTE event then climb the ladder down. After the second QTE event, get up your feet and follow Pierson to the door to complete the sequence.
Defend the Area
Now you’ll have to hold this position against the creeping german assault. Swap out your sniper rifle with either the M1 Garand Rifle Grenade and/or the Flammenwerfer 35. The last memento in the mission (Fuel Canister) is found to the right side of your defensive perimeter, behind the sandbag cover by the ruined house.
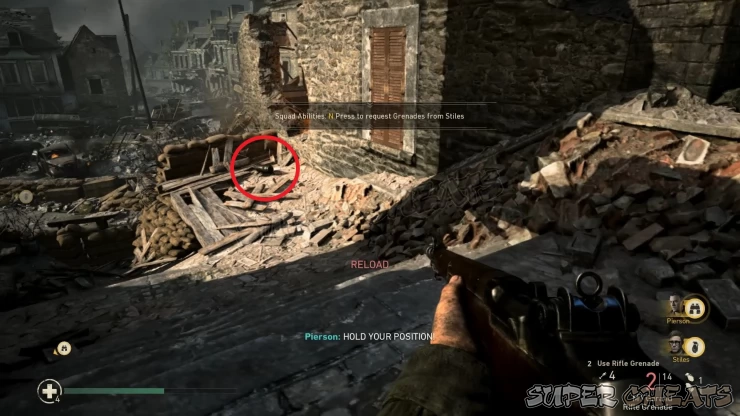
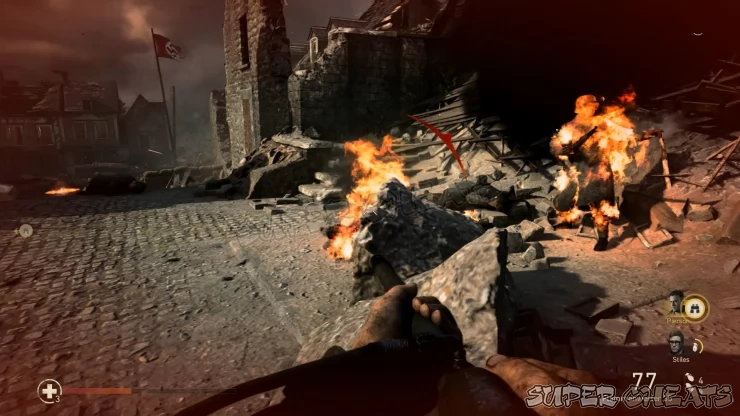
Stay behind cover and take out the enemies as you see them. Be careful since they’ll be able to breach your perimeter, which can easily be addressed by a well-placed flamethrower spread. Just take note of the flamethrower’s limited range to maximize its effectiveness. Survive the german push to finally complete the mission.

Anything missing from this guide?
ASK A QUESTION for Call of Duty: WWII
 Join us on Discord
