Mission 05: Liberation
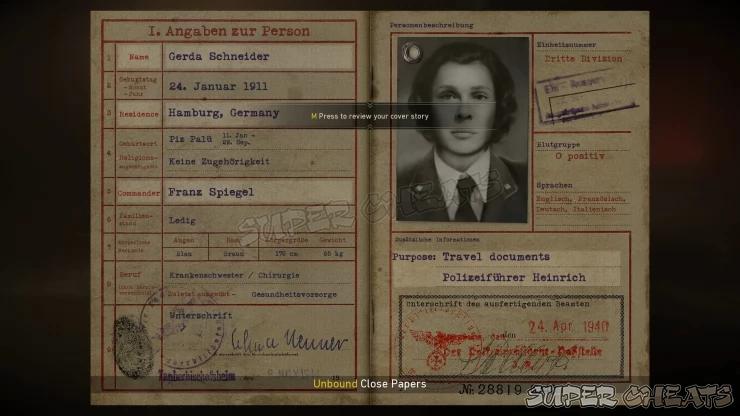
After the cutscene, open your travel document and take note of the highlighted information as you’ll be able to use them in case you run into various security checks inside the building. You can review your documents any time by pressing M. Follow Crowley to the first inspection point and answer the guard “Travel Documents” to gain entry.
Search for Officer Fischer
To get the first memento (Propaganda Poster) of the mission, go straight to the main doorway then turn right by the elevator. Look for the door with the “Toilettes” sign. Look for the poster on the floor of the second open stall.
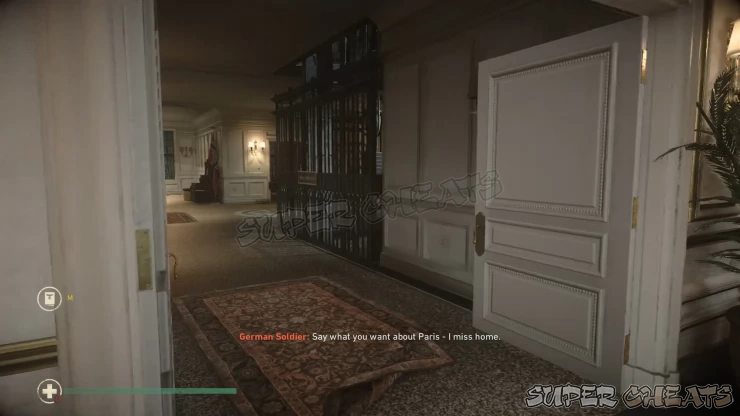
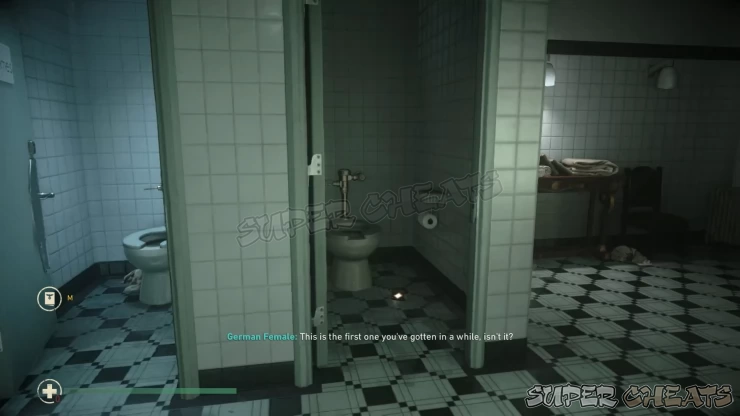
Fischer is found on the second floor of the building. However, before going there, you can pickpocket the key from an officer in room 103, right across the restroom in the first floor. This is optional since getting the key will allow you to open certain locked doors instantly. Otherwise, you’ll have to spend a few seconds lockpicking them instead.
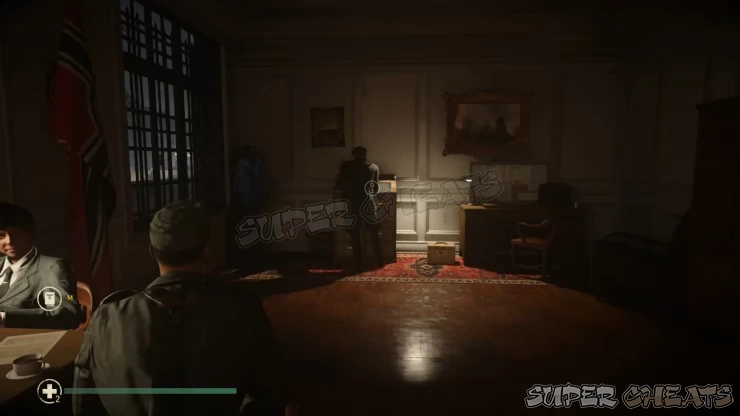
You can also go down the basement to free some prisoners to join your assault later in the mission. You can even rescue a female prisoner from being assaulted by a nazi soldier. This action is also optional and is not needed to complete the mission.
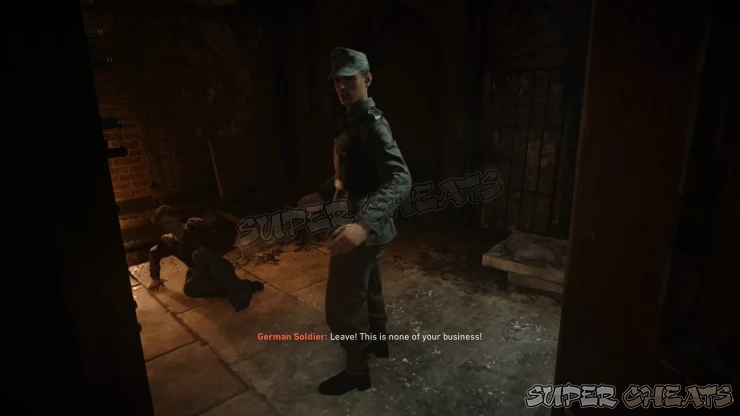
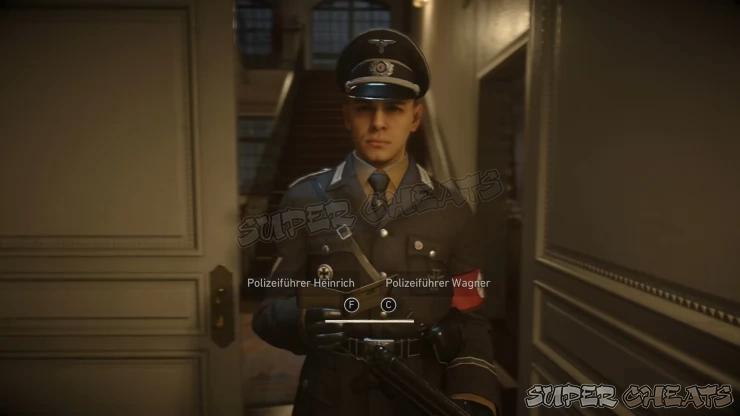
When ready, head to the second floor. You can either talk to the guard blocking the stairs and answer his question correctly based on your travel documents or sneak behind him by unlocking the door inside Conference Room 105.
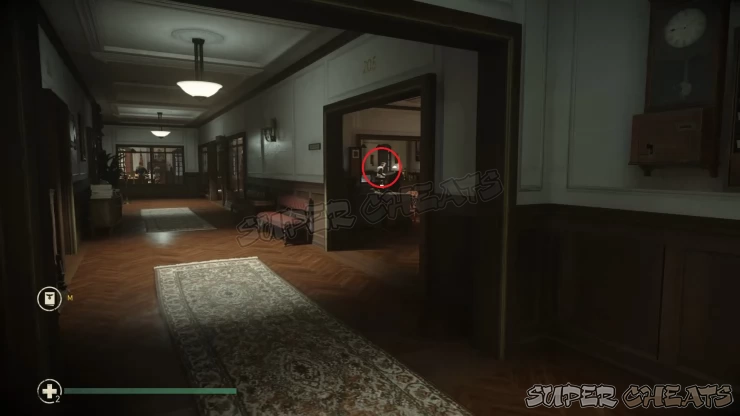
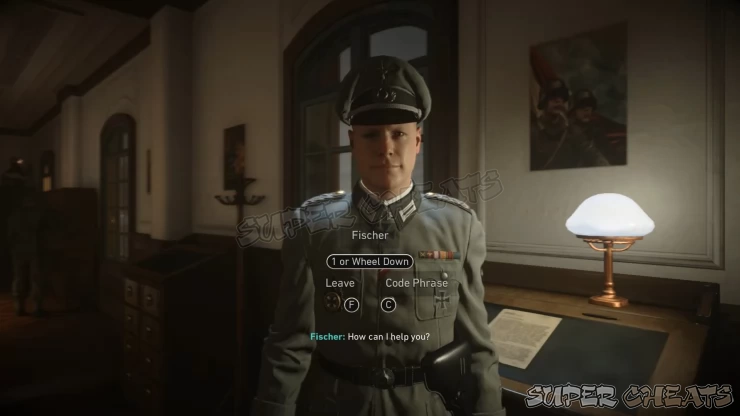
Upon reaching the second floor, look for the large room 205 and find Fischer standing by a display cabinet. Talk to him and give him the code phrase then follow him to an empty room where he will tell you where to make the exchange.
Enter Heinrich’s Office
After talking to Fischer, follow the objective marker to the third floor and talk to Heinrich’s secretary. Enter the office and interact with the window to start a short cutscene. Successfully complete the QTE to complete the sequence.
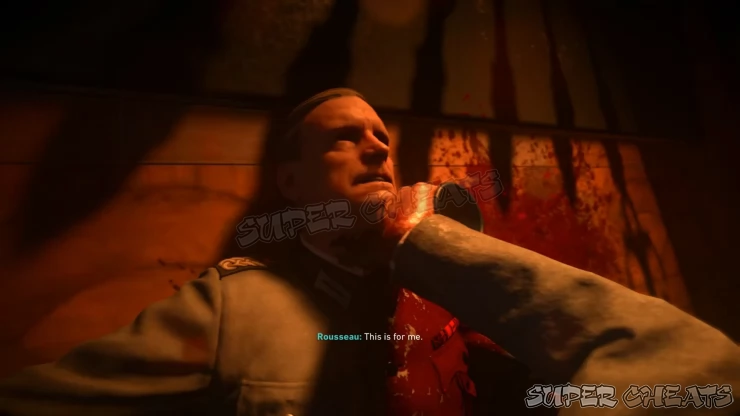
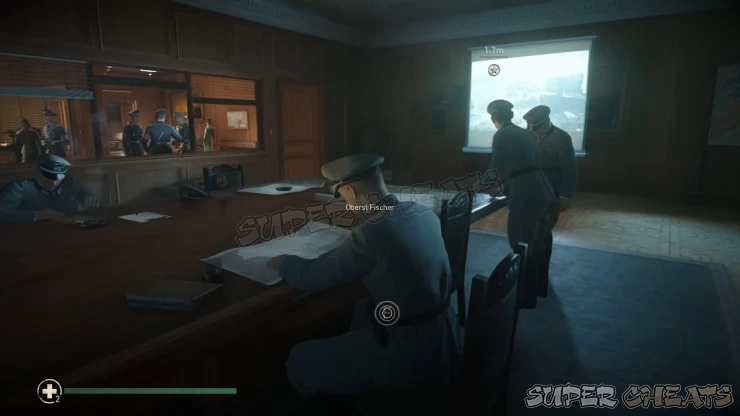
Once done, open the window and get out of it. Follow the objective marker to the next window and climb through it to reach the next wing. Continue following the objective marker until you reach the war room where Fischer is sitting. Talk to him to make the exchange then hastily leave the area. Go downstairs and head towards the objective marker where Crowley is waiting for you. Don’t worry about the answer you’ll give the nazi soldier since Crowley will take care of him. The next part of the mission starts.
Place Explosives on the North Gate
Now, you’ll be able to use the P-08 pistol with suppressor. You have to maintain stealth in this part so make sure to take out enemies with a stealth melee kill or headshots with your silenced pistol. Cross the ledges from the balcony to the next where a lone guard is waiting. Get rid of him then quietly enter the room. There’s another lone guard patrolling the hallway outside of the room so make sure to wait until you see where he’s going so you can dispatch him without risking of exposing yourself.
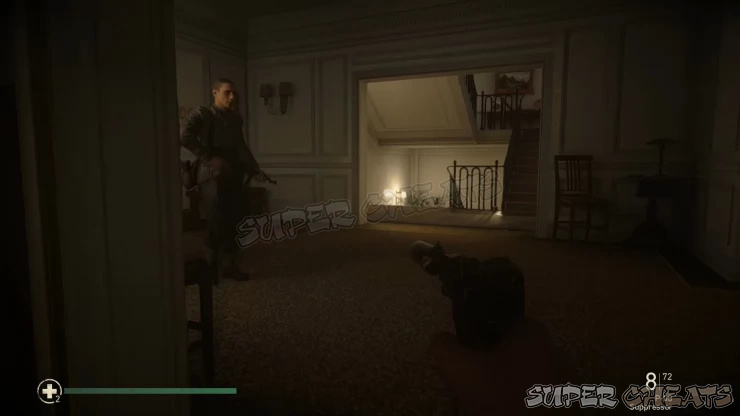
After killing the guard, carefully go downstairs. In the room ahead, you’ll find Fischer that you can rescue as an optional objective. If you want to rescue him, make sure that the two patrolling soldiers are out of the area first before moving in and killing Fischer’s guard.
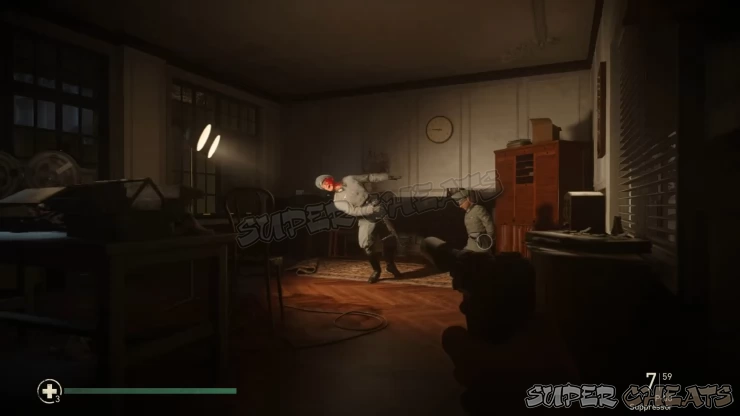
The second memento (Liquor Bottle) in this mission is found in the building across the north gate. The door is locked so you either have to pick the lock or use the key you pickpocketed from the german officer earlier in the mission. Go upstairs (there’s a lone guard patrolling the first and second floor hallways) then enter the first open room in front of the stairs. The bottle is found on a chest to the right.
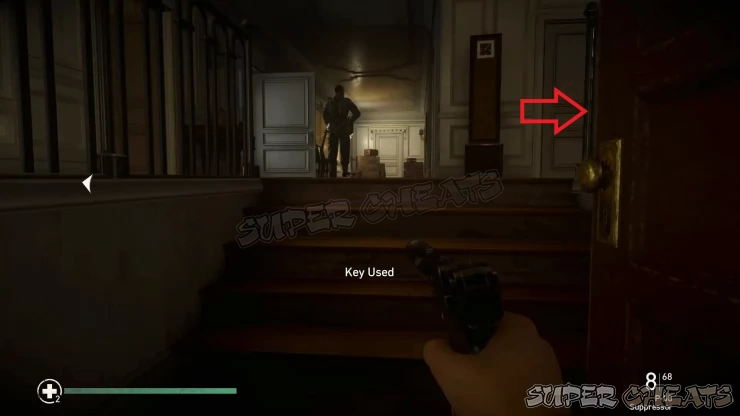
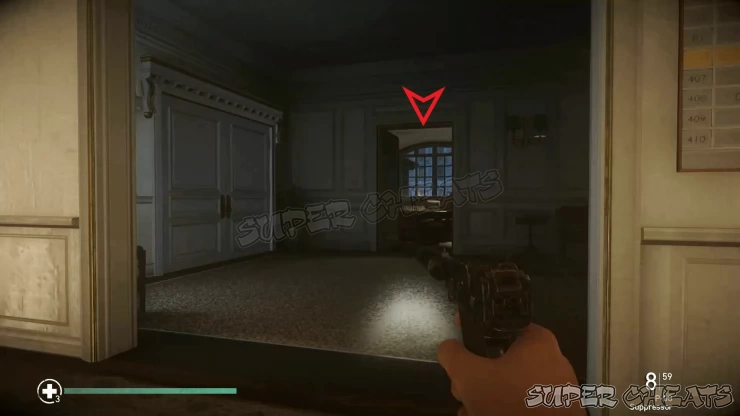
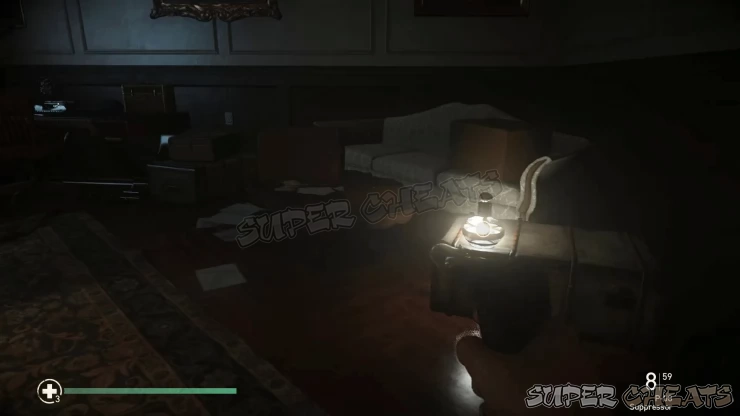
After freeing Fischer, the north gate where you need to plant the explosives is right behind the truck outside the door. There’s a lone guard there so make sure to get rid of him stealthily so you can place the explosives in peace.
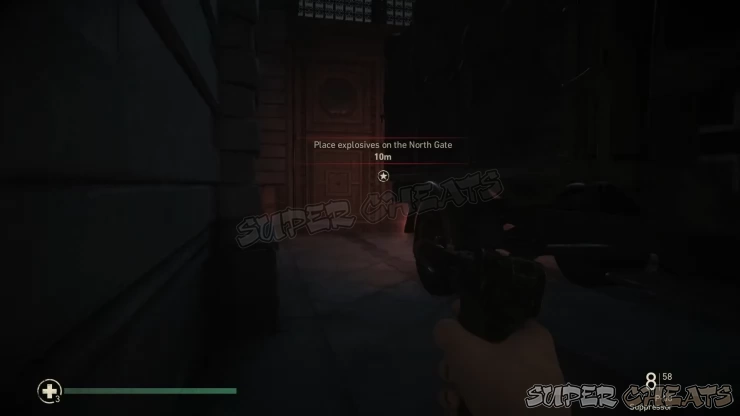
Place explosives on the South Gate
After successfully placing the explosives in the first gate, you have to sneak around towards the South Gate. Enter the door that you opened earlier to get the second memento and look for the doorway leading to the south gate. Kill the lone guard there and move behind the crates and barrels to find the wooden ramp leading to the balcony.
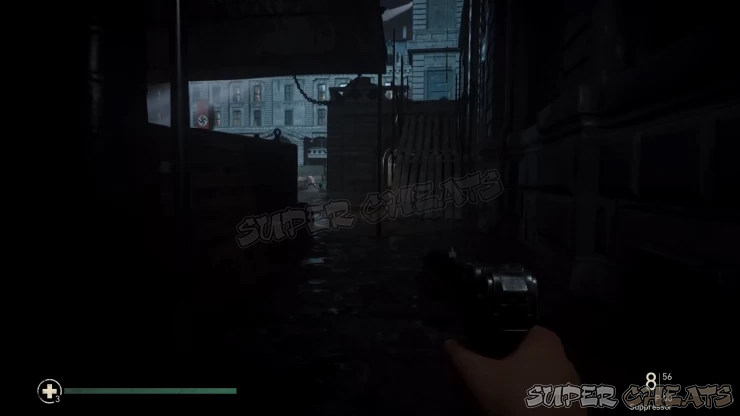
Take out the lone guard overlooking the balcony then continue to the end of the balcony so you can drop off the ledge and head to the next ramp connected to the southern wing of the complex. Continue hopping on the ledges then take out the lone guard standing by small balcony ahead. Shoot him in the head then enter the building. There’s another lone guard downstairs so make sure to take him out too before going downstairs.
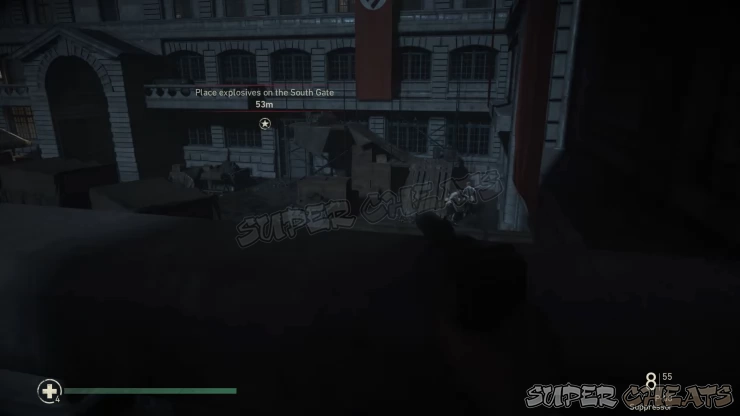
Continue downstairs to find another truck. There’s also one guard standing in front of the truck so you can just sneak behind and plant the explosives or kill him first before planting. After planting the bomb, the control switches back over to Daniels.
Assault the Garrison
Once the planted explosives detonate, engage and take out the surprised german soldiers ahead. Shortly after, the french resistance will join the fray and assist your assault. Continue pushing as the germans fall back. Be careful when taking cover behind vehicles since they can explode after sustaining a good amount of damage. Once you reach the bridge, watch out for a resistance fighter on the left side of the bridge that will get sniped and wounded. If you’re drawing too much fire, use a smoke grenade. Otherwise, simply pull him behind a nearby crate to complete the first heroic action of the mission.
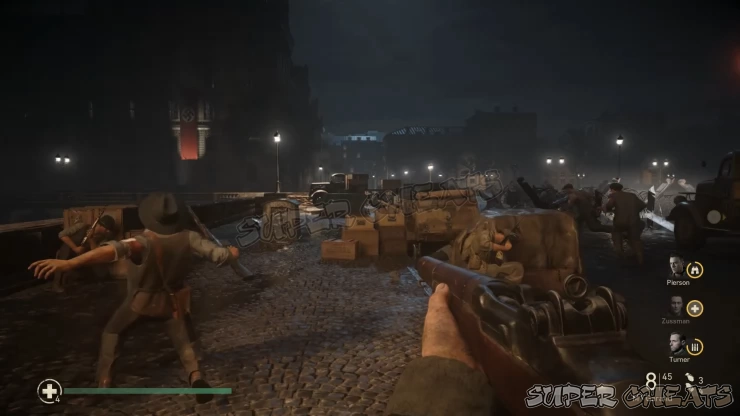
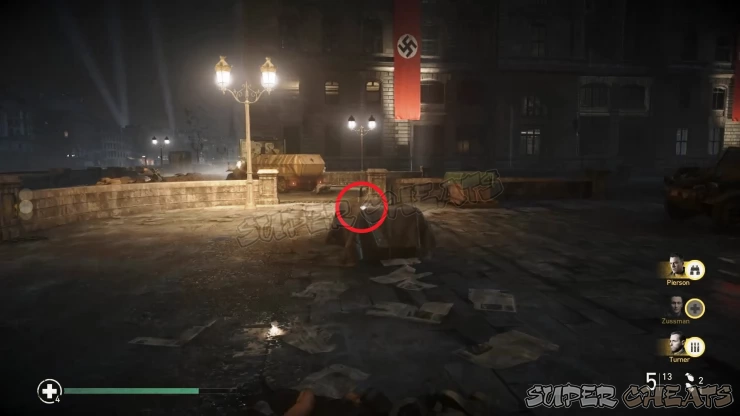
Next, continue your push to the garrison’s corner and whittle down the enemy numbers. Carefully circle to the plaza in front of the church to the right side. After clearing it and before rendezvousing with Crowley, check out the crate in the middle of the plaza near the building to find the last memento of the mission (German Medal).
Rendezvous with Crowley/ Clear the Building
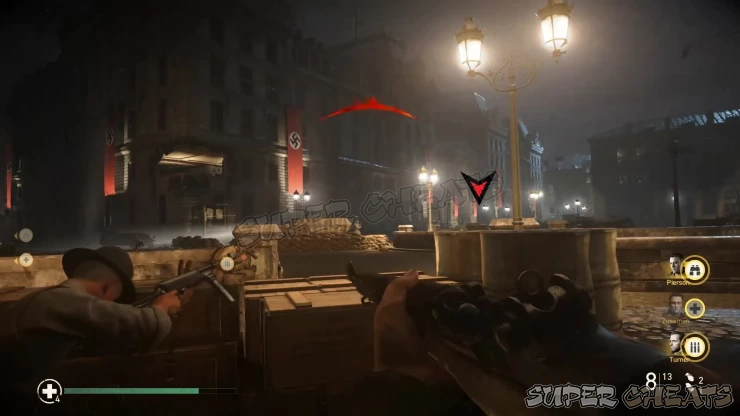
After wiping out the enemy position in the plaza, your mission objective will be updated to follow your squad and rally up with Crowley. Follow him to the next door where you’ll receive a Combat Shotgun from him. As soon as the door opens, start blasting away at the startled germans and clear the first floor.
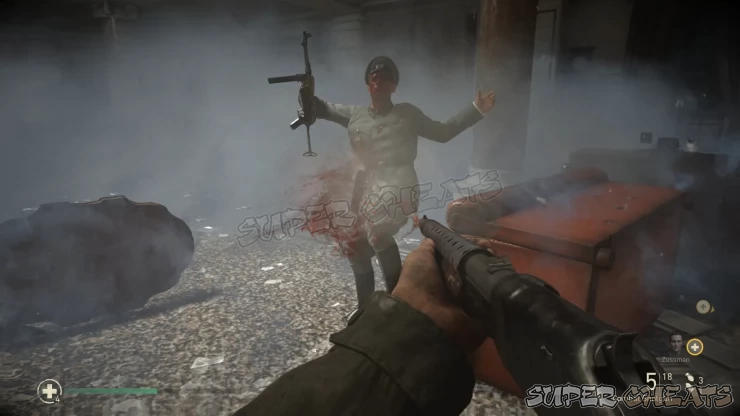
Continue to the second floor take out the hostiles. Keep an eye out for the surrendering troops across the room. Hold the right mouse button to complete this second heroic action.
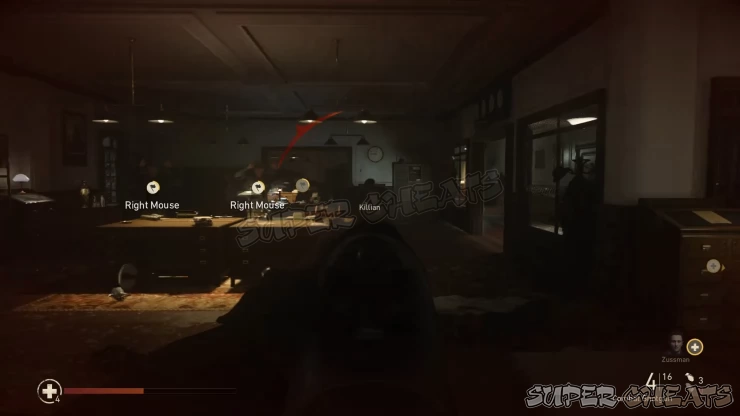
Next, heal your wounds and stock up with first aid kits. Pick up the molotovs from the cache on the table and swap your combat shotgun with the Kar98 optic. Replenish your ammo if you want then crouch on the opening to hold off the german counteroffensive.
Defend the Garrison
Listen to Zussman’s spotting and make sure to attempt shooting the jeep’s drivers to destroy them instantly. More foot soldiers will be pouring in across the river including a flamethrower trooper. Continue picking off the enemy soldiers with sniper fire. Later on, halftracks will arrive so make sure to prioritize taking out their gunners first.
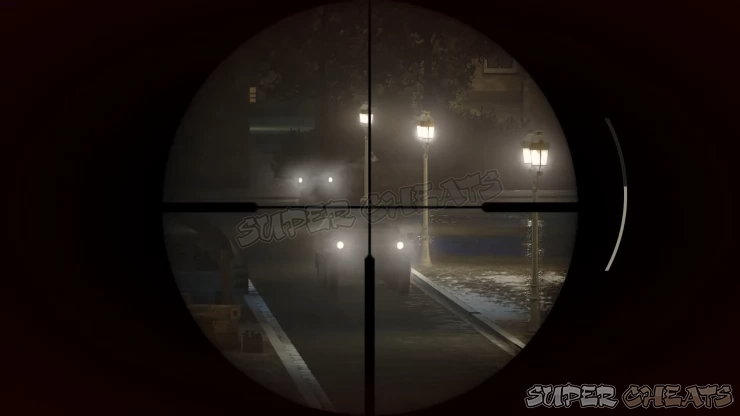
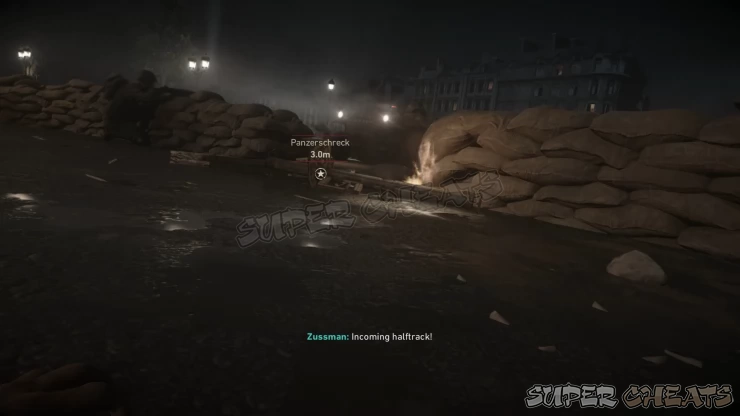
After getting shocked by a panzerschreck, jump out after Zussman then pick up the panzerchreck on the ground. Use that to blow up the halftrack pinning you down. The germans will be forced to retreat. Rally up with the rest of your squad to complete the mission.
Video Walkthrough
Anything missing from this guide?
ASK A QUESTION for Call of Duty: WWII
 Join us on Discord
