Irish's Missions
Red Dead Redemption Walkthrough and Guide
Irish's Missions
(New Austin Walkthrough)
Complete 'Liars, Cheats and Other Proud Americans' in Nigel West Dickens' mission line to unlock Irish's missions. Travel to the 'I' symbol in Armadillo to get started.
A Frenchman, a Welshman and an Irishman
When you regain control over Marston, shoot the enemy on the left in the head, then take aim at the man with the knife and press the RT/R2 button when he's close to perform an execution kill. After the ensuing cutscene, mount your horse and start following Irish. He'll lead you to a cliff overlooking a small cabin.
The enemies surrounding the cabin will open fire as soon as you come into view, so waste no time. You can likely kill them all from horseback with your Winchester Repeater without taking too much damage. If not, hop off your horse, enter and take out the enemies as they pop out to shoot.
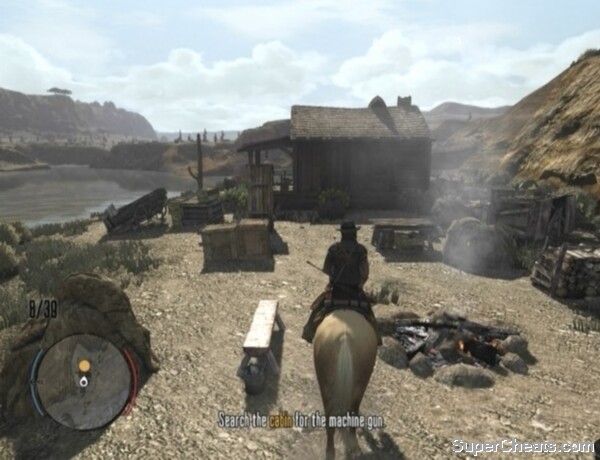 Kill all of the enemies outside and then search the cabin for the Gatling gun. |
There is one last enemy inside the cabin. He won't appear on the Mini Map and he's wielding a Double-barreled Shotgun, so be careful. Keep your distance from the front door and blast him from afar when he appears. Pick up the Double-barreled Shotgun for your own use and enter the cabin to complete the mission.
Man is Born Unto Trouble
Irish is now in Benedict Point, so make your way there and approach the marker to get started. The machine gun you're after is being held by a group of miners in Gaptooth Breach. Hop on your horse and follow Irish there.
At Gaptooth Breach, when Irish leaves with the horses and the two guards approach you, take out your weapon, click the Right Stick to activate Dead Eye, sweep the target reticule over the two guards and then press RT/R2 to shoot both of them.
You must get inside the mine. The mine entrance is marked with a yellow blip on the Mini Map. There are eight or so armed miners protecting the entrance. The miners are spread out and there are plenty of objects to use as cover, so this should be an easy fight. You can likely clear the place by simply walking toward the mine entrance and shooting the miners when they appear.
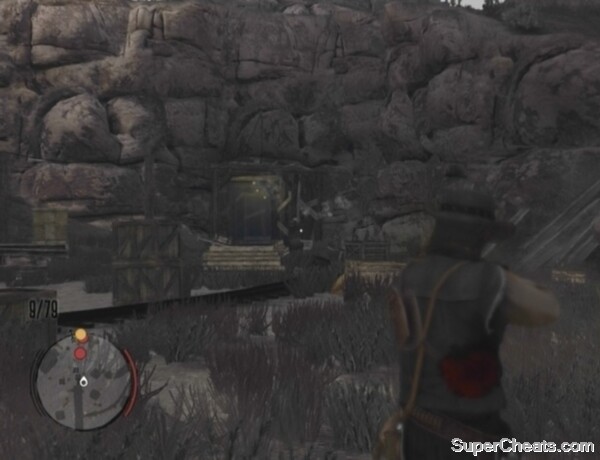 Fight your way to the mine entrance. |
Enter the mine once the outside area is clear. There are two enemies at the start. Blast the first with your Winchester Repeater, then turn the corner and look for a TNT crate next to the cover there. Shoot the TNT to kill the miner hiding behind the crates. You'll encounter more TNT crates and TNT barrels as you move through the mine, so use them to your advantage.
Continue down the tracks and turn left when you reach the fork. Shoot the TNT barrel beyond the crate to kill the miner that appears. There are two more enemies up ahead. You can take out one or both of them by shooting the TNT crates next to their cover. Continue following the tracks once you've dealt with both enemies,
You're almost at the Gatling gun, which is marked on the Mini Map by a yellow blip. Continue following the tracks, killing any miners you encounter, and you will soon find yourself at the core of the mine. There are four miners guarding the machine gun. There's one TNT barrel here you can shoot to kill at least one of these miners.
Once you've downed the miners guarding the Gatling gun, move in and inspect the mine cart. The gun is inside. It's very heavy, so you'll push it in the mine cart. Stand behind the cart, press the Y/Triangle button to take hold and then start pushing the cart toward the shaft room.
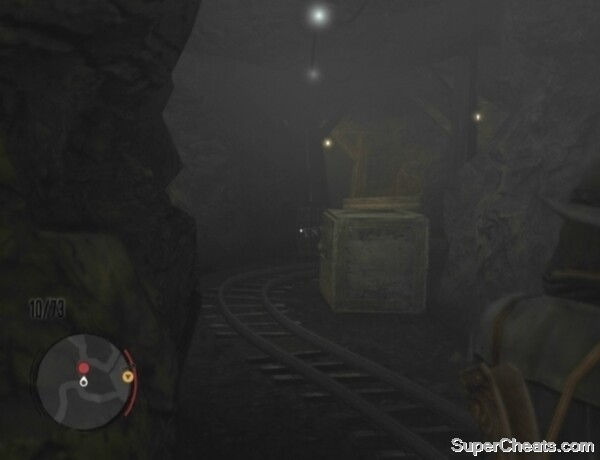 Take advantage of the TNT crates and barrels inside the mine. |
A cutscene will ensue once you've made it to the shaft room. After the cutscene, grab onto the mine cart once more and start pushing it down the tracks. There are some more miners to deal with here; pick them off with your revolver as they come into view. Keep pushing the cart and Marston will automatically jump on the cart when you gain enough speed.
As you near a downward slope, you will see a miner placing a TNT barrel in the middle of the tracks. Take aim and shoot the TNT barrel to kill the miner and clear the tracks. With that, ride the cart down to the yellow marker to complete the mission.
On Shaky's Ground
Irish is in Thieves' Landing, which is just west of MacFarlane's Ranch. If you haven't visited this location before, you can fast travel there by setting a waypoint on your map and travelling to that waypoint via a stagecoach or your campsite.
Follow Irish to the shipping yard at the south end of town. The gate is closed, so follow Irish around back. A cutscene will ensue when you head up the steps there. Shaky is being held captive inside the warehouse; you must rescue him so he can provide you with ammo for the Gatling gun.
When you regain control over Marston after the cutscene, climb the ladder across from the stairs to reach the walkway and then climb the second ladder to reach the roof. Click the Left Stick to crouch once on the roof and walk to the top of the peek. There's an open window on the other side of the peek you can use to enter the building. Slide down the side of the peek to reach the open window. Don't touch the Left Stick while sliding, as doing so might cause you to accidentally overshoot the platform below.
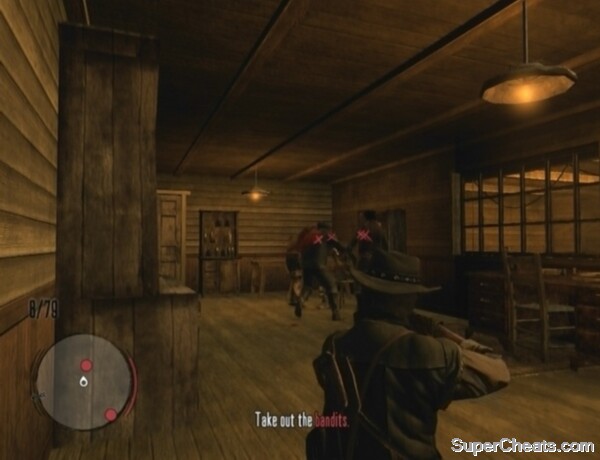 Save Shaky from the bandits in the warehouse. |
Make sure you're crouching before entering the warehouse through the window. Don't tap the A/X button to move faster once inside the warehouse, as doing so will alert the patrolling guard. Look down at the patrolling guard on the walkway; wait until he walks over and stands at the top of the stairs at the far end of the walkway before dropping from the platform.
After dropping onto the walkway, turn around and enter the room where Shaky is being beaten. The three bandits here are occupied, so move in and kill them swiftly. Take aim, click the Right Stick to activate Dead Eye, sweep the target reticule over the three men and press RT/R2 to clear the room. The guard patrolling on the walkway will have heard the commotion, so blast him through the doorway when he comes close.
Approach Shaky when the warehouse is clear to cut him free. A group of five bandits will then enter the warehouse, so you'll have to fight your way out. Exit the room and take cover behind the crates along the railing. Kill the enemy by the barrels to your right first, then target the TNT crate on the walkway on the other side of the warehouse and shoot it. Finish off the remaining enemies and then take the stairs down to the ground floor. Approach the wooden gate on the ground floor and press Y/Triangle to open it.
You'll encounter four more enemies as soon as you're through the warehouse door. Take cover behind the crates just beyond the door and clear the enemies here. Then, follow Shaky deeper into the yard and you will encounter four more bandits. Kill these last few bandits and Shaky will come through with the machine gun ammo.
Rescuing Shaky
Bandits on horseback will attack the wagon as you're leaving with the ammo. All of the enemy riders will attack the wagon from behind, so turn around and be ready with your Winchester Repeater. Auto-aim will help you greatly here, as you'll just need to wait until a rider is close before pressing LT/L2 to lock on. Auto-aim will always lock on to your target's chest, but you can score a headshot quite easily by using the Right Stick to move the reticule up a bit right after locking on to an enemy. Two body shots with the Winchester Repeater are enough to kill an enemy, but a shot to the head will end him immediately.
Irish will at one point call out an enemy on the bridge; when you hear this, turn around and shoot the bandit to knock him down. This enemy will appear on the Mini Map as a red blip with a black arrow, so keep an eye on the Mini Map.
Defend the wagon until Irish makes it to MacFarlane's Ranch to complete the mission.
We Shall Be Together in Paradise
Complete 'The Assault on Fort Mercer' in Marshal Johnson's mission line to unlock this mission. Irish is by the waterside south of MacFarlane's Ranch. You're leaving for Mexico, so you'll have to take a ferry there.
Once on the ferry, pick up the Springfield Rifle on the crate to your left. This is a great weapon and definitely a step up from your Winchester Repeater. However, the Springfield Rifle can only hold four shells at once, which means you'll have to reload it twice as often. As well, ammo for the Springfield Rifle is not as easy to come by, so you'll likely still be getting use out of your Winchester Repeater. Enemies will soon start appearing along the coastline, so it's a good thing you have this new weapon.
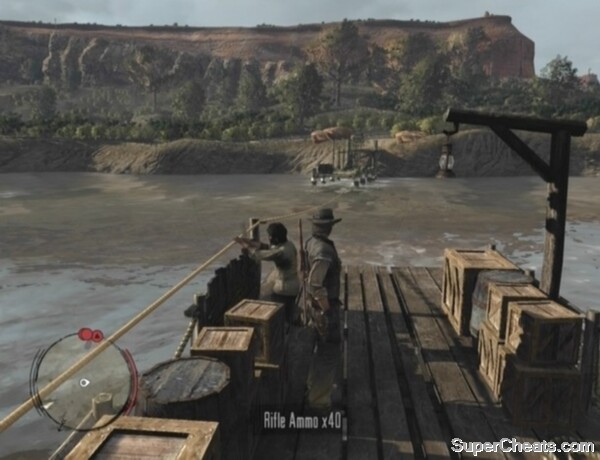 The Springfield Rifle will aid you greatly on the ferry ride to Mexico. |
There is a crate of ammo at the back of the ferry you can use to refill your weapons. You can only take ammo from this crate when your current weapon is low on ammo, at which point Irish will point out the crate and it will appear on the Mini Map as a green blip.
Take cover next to the crates along the side of the ferry and pop up to shoot the enemies along the coast as you pass by them. Duck down if you're taking a lot of damage and remain down until your health is restored. You'll be attacked by enemies on horseback as well as enemies on foot. Most of the enemies on foot will be hiding behind boulders, so stay down until they pop out to shoot, at which point take aim and blast them.
The ferry will soon come to a hill. There is an enemy on this hill with a crate of TNT. This enemy will throw TNT at the ferry, so you must kill him before he manages to throw one onboard. If a stick of TNT lands on the ferry, you're done for, so immediately target the crate of TNT on top of the hill and shoot it to kill the enemy there.
More enemies will appear alongside the river once you're beyond the hill, so continue gunning them down with your Springfield Rifle. You'll get a short reprieve afterward.
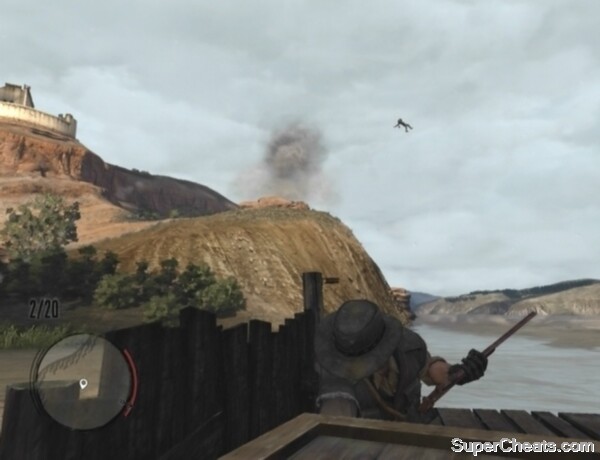 Shoot the TNT crate to send the TNT-throwing enemy flying. |
Shortly after reaching the second wave of enemies, you'll come to another TNT-throwing enemy on a hill. The TNT crate next to this guy is a bit hard to see, so quickly take him down with your Springfield Rifle when you're close enough. You'll encounter yet another TNT thrower when the ferry reaches Greenhollow (text reading 'Greenhollow' will appear at the top of the screen). This guy's TNT crate is sitting on the boulder atop the hill, so shoot the crate to send him into the drink.
There is still one more TNT-throwing enemy to look out for, but you'll pass by some enemies on foot and horseback first. Keep an eye out for a TNT crate along the ridge as well as the smoke arc created when a stick of TNT is thrown.
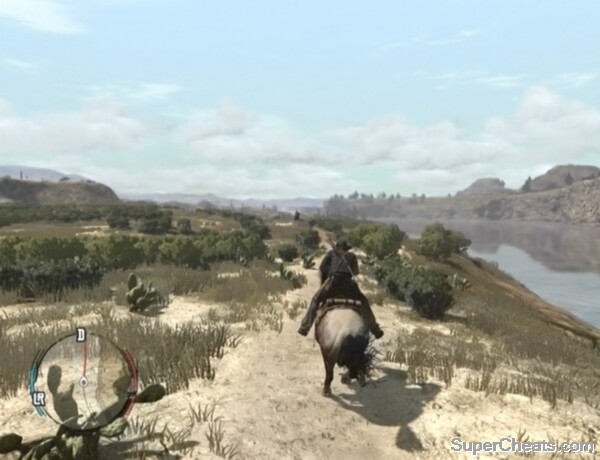
Once you're past the last TNT crate, there's just a short ways left to go. Kill the remaining enemies and the raft will then stop on a beach. There are two horses on this beach; you can use one to get out here.
You already have a safe house in Mexico. The safe house is along the coast northeast of Escalera; just look for a green house icon on your map. You can set a waypoint next to the safe house and fast travel there from your campsite or ride your horse there and enjoy the scenery.
 |
All of this is so so true I found out for my self.
Red dead is beast