P6: Out of Business
Okay so wow! Kai and Tyson have teamed up to get you out and help you take down Captain Dawes... Huh. And it seems Dawes is a Greedy Gus and has been really messing in his own backyard! Well hey, now that you are out of prison go ahead and pick your load-out, select the gadgets you want, and then review the Wanted List!
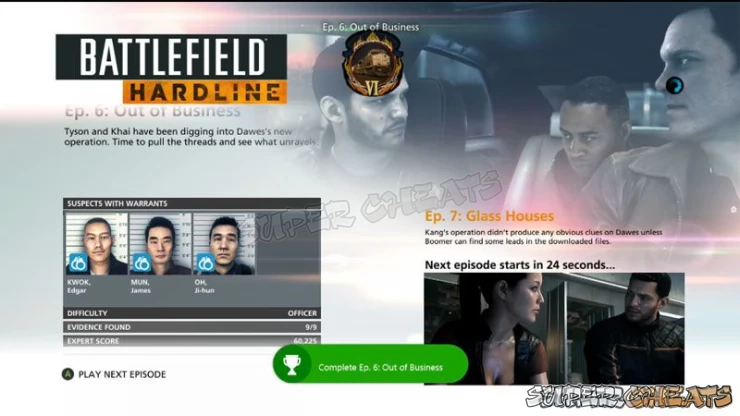
The Suspects with Warrants for this Episode are:
KWOK, Edgar
MUN, James
OH, Ji-hun
Though really, why you should care is a bit confusing!
Oh and we resume looking for Evidence starting with this Episode too... Hey, it may be good to get back to being a cop after all that prison time, right?
As the mission begins you get treated to a video of Captain Dawes, who appears to be soliciting investors for a new business model. As Tyson and Kai lay out the facts to you, it turns out that Dawson is a bigger douche than we thought!
Kai explains to you about the case that they are working - and their informant - and Kai and you come to a sort of understanding.
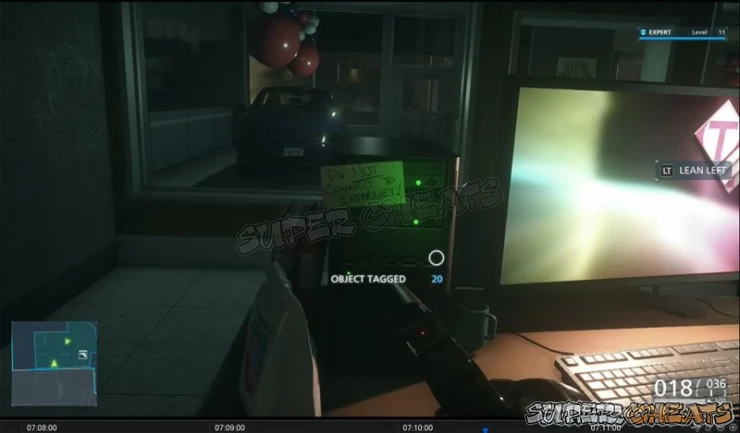
The perps leave and Kai sends you inside to crack the computer - so Tyson drives up and you go in, then use your Scanner to find a Tactical Box and, on the desk, a Purchase Order for Bianchi that is your first Document Evidence for the new case, Power Play.
Inside the back office is a second Document Evidence - Letter from Kang's Wife -- which is also for Power Play. That takes care of the two pieces of evidence for this location.
Now head to the computer on that desk and insert the USB Stick. That begins the data transfer but wait!! You must have tripped a silent alarm because you got goons on the way in mates!
Make a run for the car, survive the semi ramming then fight your way through the parking lot to the replacement car. Get in and drive straight ahead into the river canal and have you your escape via that viaduct.
As you drive away as fast as you can you talk with Kai over the radio or phone - whatever - and she explains you have to rescue Boomer - and gives you directions to the next location.
The Scrapyard
There is a Tactical Gear Kit in the boot of the car you are in if you need to reload and re-arm. Open your Scanner to learn that there are four more pieces of Evidence here at this location.
The easy way to do this one is to grab the Grapple as one of your gadgets then head into the building and up the stairs. Use the Scanner to spot the targets across the way, then exit the building through the front loading door, and use the Grapple to get to the top of the building across the street that is next door to the yard. At this point you should then use a silenced pistol to shoot the Alarm Box - that may get the attention of one of the goons, but what is he going to do about it??
You will have ID'd two of the Warrant subjects in the yard below - James Mun, and Ji-hun Oh. Be an idea to arrest those two, right? Actually it would be an idea to arrest ALL of them, but you may not be able to depending on how things play out.
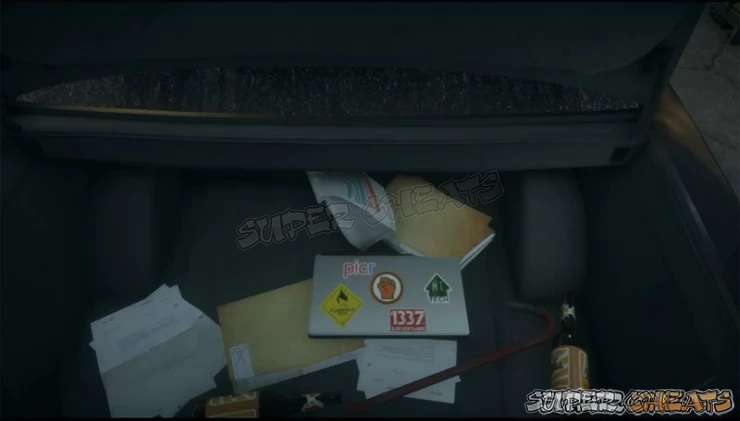
Whether you Taze or arrest the Suspect in the back (Mun) area make sure you search him to obtain the Document Evidence - Boomer Photo.
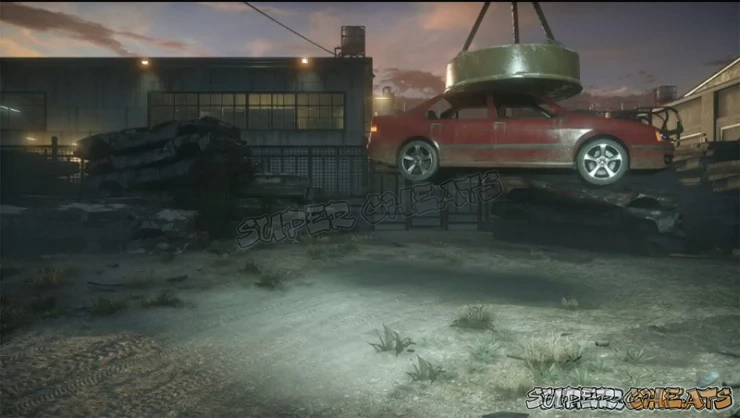
After you take down the remaining thugs head inside the garage to Scan the Designer Luggage - which is Trace Evidence -- then use the crane controls to lower the car and release Boomer from the boot!
Boomer gives you his keycard - or you take it depending on how you look at it - then you let yourself through the gate and go to clear the next warehouse.
Second Warehouse
Use the stairs on the right-side to enter the office, taking down the thug there. Use Scanner to mark the thugs below - including the third Warrant Suspect Kwok, and Scan from here the Physical Evidence below -- K-Pop Album.
On a workbench below is Physical Evidence -- Remote Detonator -- which is the final piece of evidence for this location.
At this point you should have unlocked the Achievement One Good Cop (25g) Reach Expert Level 15 in single-player.
You then head out the back door to find Boomers car and snag his laptop from the boot but, just as you do that a thug you did not see attacks and as you blow his head apart with his own pistol the warehouse explodes!
You then have to deal with half-dozen thugs, then make your way back to the first warehouse yard, where you face even more of the thugs before you make a run for the car in the street and discover that Boomer is in the back seat!
You just need to escape the thugs - head straigth then left, avoid the train and when you drop into the river viaduct turn right and GO!
Once you are in the river you have to drive and avoid being shot to heck until you end up swapping seats with Tyson, at which point you hang out the window and shoot it out with the gunmen in other cars as Tyson gets you through the area and into the Metro Tunnels - at which point you have to shoot up the final car in order to escape without getting creamed by the train!
Once you do that you get a semi-resolving CS in which Boomer sets you straight on the operation, and then you end up at yet another warehouse, where you make your way to the tracks.
At this point you should Scan the area ahead to mark the thugs - and note that there are three pieces of Evidence in this location for you to find.
Now you can peel this grape from the outside in, starting from left-to-right taking down the thugs. Follow the left-hand thug into the office and take him down, then Scan the Document Evidence on the desk -- Photo of Lily Kang and Roark -- and then take out the rest of the guys in the warehouse.
Inside you will Scan Physical Evidence on one of the cars -- Bomb Under Kang's Bianchi -- then some Trace Evidence in the back of the warehouse -- Palette of Hot Shot. That concludes the evidence for this location and this Episode.
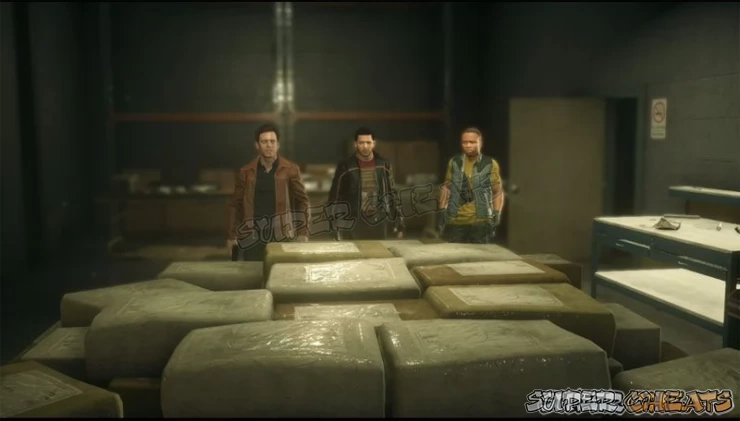
You just need to take Kang and his two guards down and then you force your way into the back room and discover a massive amount of Coke!
Tyson opts to steal the Coke - but his plan does not work out as a train sort of gets in the way... Heh. It is snowing in LA!
After that the crew hooks up with Kai and that nicely wraps up this Episode! You unlock the Achievement Snow Blind (20g) Complete Ep. 6: Out of Business.
You should have unlocked the following weapons:
Pistols: 92FS / P226 / CZ-75 / G17
Heavy Pistols: 45T / M1911A1 / .40 Pro / Bald Eagle
Revolvers: .38 Snub / .357 RS / 410 Jury / 44 Magnum
Machine Pistols: 93R / G18C / TEC-9 / MAC-10
Shotguns: 37 Stakeout / 870P Magnum / SPAS-12 / Double Barrel Shotgun
SMG/PDW: MP5K / MPX / UMP 45 / P90
Sniper Bolt Action: R700 LTR300 Knockout / AWM
Assault Rifle: M416 / M16A3 / AKM
Carbine: RO933 / SG553 / AKS-74U / G36C
Sniper Semi-Auto: SOCOM 16 / SR-25 ECC / SAIGA .308 / PTR-91
Anything missing from this guide?
ASK A QUESTION for Battlefield Hardline
 Join us on Discord
