Collections Guide
While the objects in Hardline are presented as “evidence” they really are the standard Collectible for this genre. While some of these items do require you to look for them, for the most part they are acquired as you play through each level as long as you stay aware of them.
Organized logically, by Case Name, the Collectibles span multiple Episodes for the most part - but we organized them by Case as is done in the game to make it easier to follow - and we provide you with the location for each...
Evidence Collection
Evidence comes in many forms, from Trace and Documents to Physical, and it is used in the game as sets. Specifically it is organized in sets, in some cases spanning multiple episodes..
When you complete an evidence set you are rewarded with both XP and new Weapons and Kit, but also with Battlepacks for the MP side of the game! That being so getting all of the evidence is a really good idea - and not just because there is also an Achievement ./ Trophy for the doing of it...
(A) The Hot Shot File
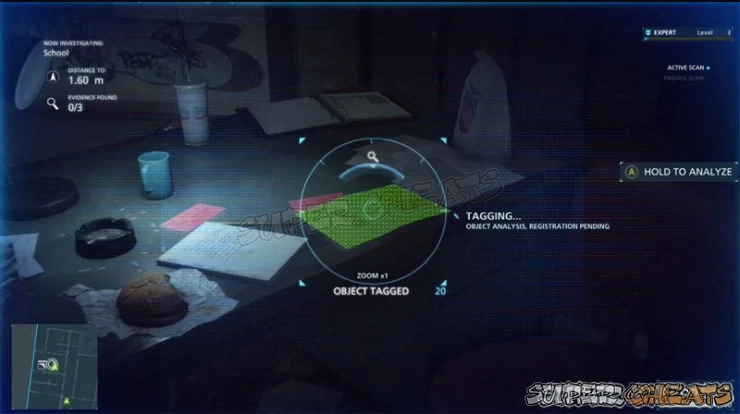
1. Document: Ledger and Money (Episode 1)
On the second floor of the old school building. The first evidence you encounter is on the desk in the marked room - Scan it and record it.
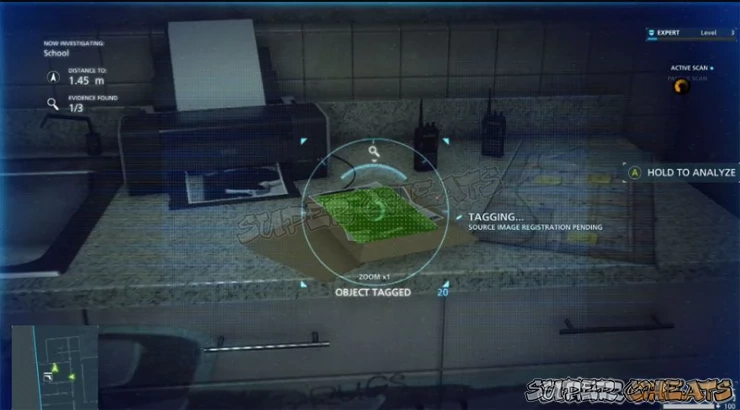
2. Document: Surveillance Photo of Stoddard (Episode 1)
On the second floor of the old school building. The second evidence is on the sink behind the desk with the Ledger - Scan and record it.
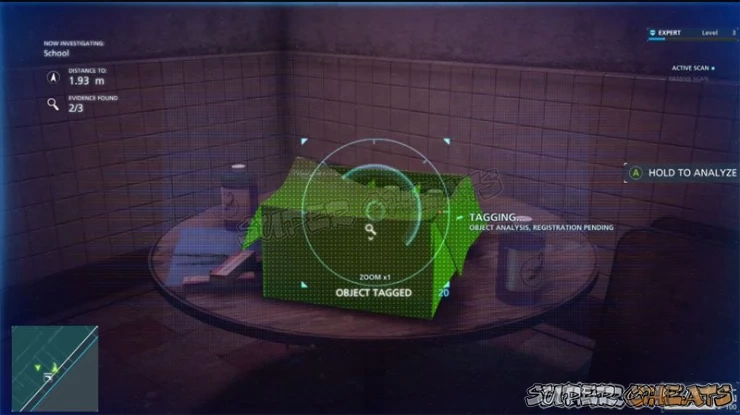
3. Trace: Box of Hot Shot (Episode 1)
On the second floor of the old school building. The final piece of evidence is in the room next door on the table. Scan and record it.
(B) Hot Shot Supply Chain
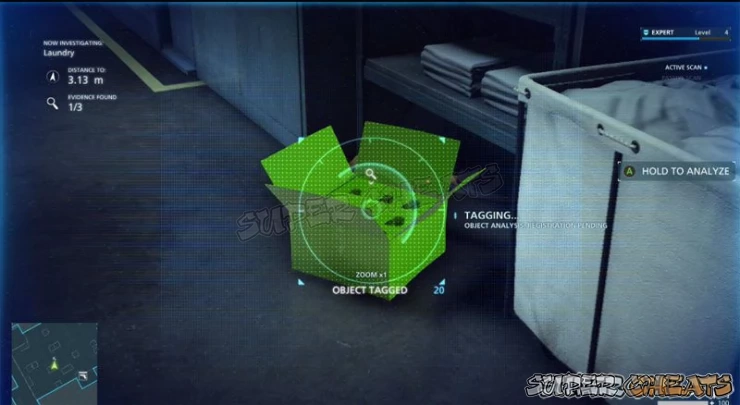
1. Trace: Box of Hot Shot (Episode 2)
Hotel Laundry Room - on the floor by the shelves in the middle of the room.
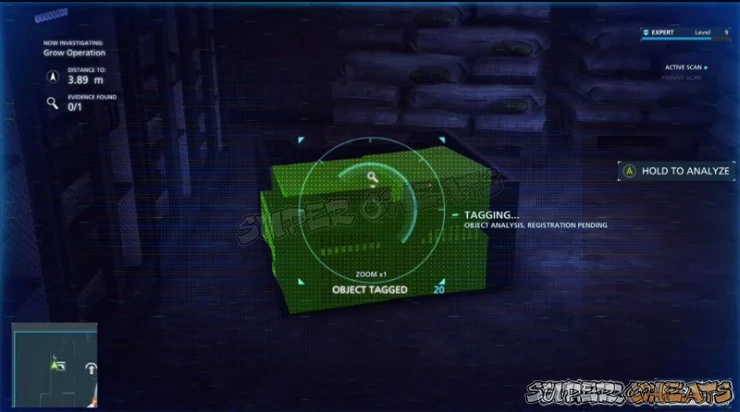
2. Trace: Crate of Hot Shot (Episode 4)
In the Security Office in the basement of the second warehouse just off the grow room. This is the last piece of evidence you find in this episode.
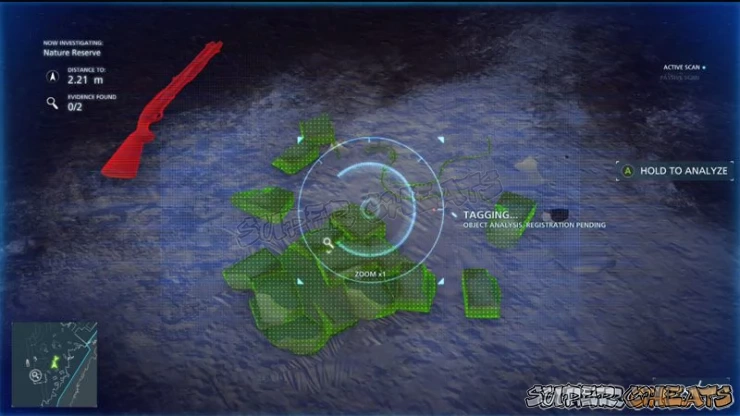
3. Trace: Exploded Drug Bale (Episode 3)
On the ground where you consult a trio of thugs after the platforms.
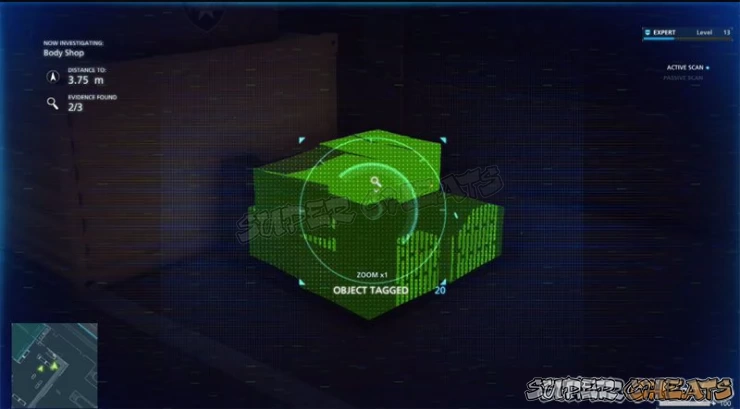
4. Trace: Palette of Hot Shot (Episode 6)
In the back of the chop ship warehouse at the third location for this episode.
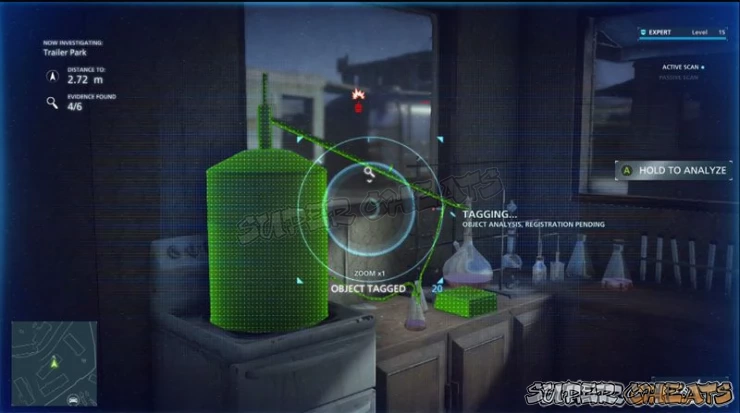
5. Trace: Hot Shot Lab (Episode 8)
In the trailer near the under-fence entrance of the trailer park. You will need to clear away most of the thugs in order to Scan this one.
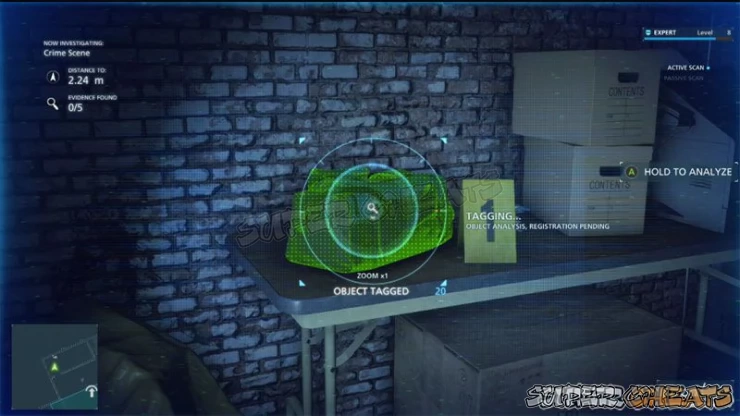
6. Physical: Gym Bag of Money (Episode 4)
Inside the office on the ground floor of the warehouse - this will be the first piece of evidence you Scan for this episode.
(C) The Elmore Hotel Investigation
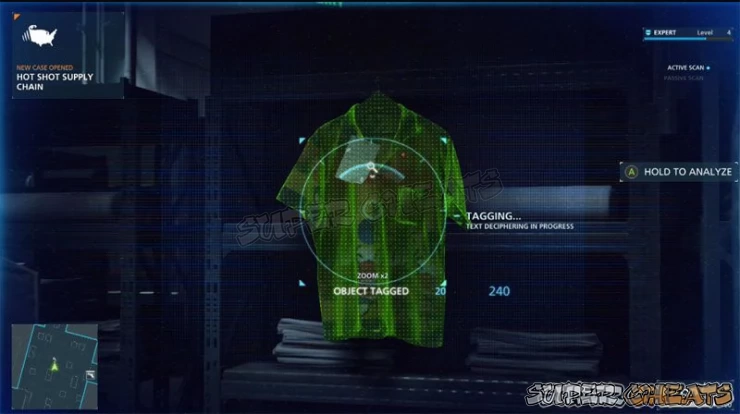
1. Document: Care Instruction Memo (Episode 2)
Hotel Laundry Room - hanging from a shelf to the left-middle of the room.
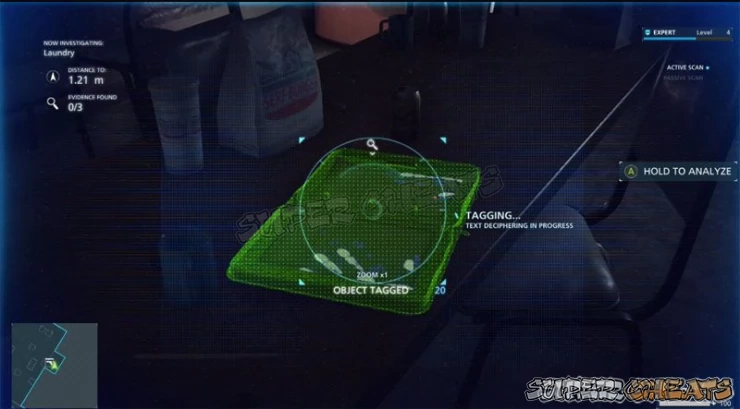
2. Document: Drug Purchase List (Episode 2)
Hotel Laundry Room Office - On a table in the room with the Tactical Box.
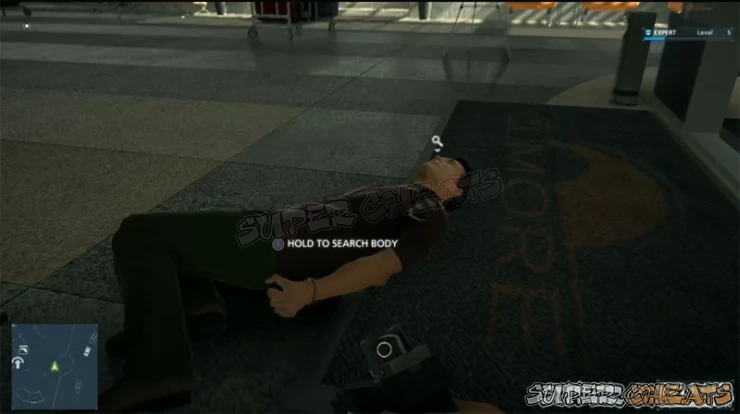
3. Trace: Vial of Hot Shot (Episode 2)
Hotel Lobby -- Taken from the body of Javier Rosado.
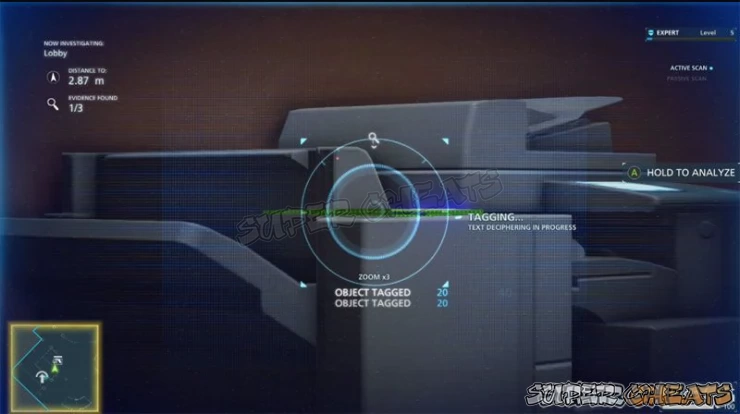
4. Document: Tablet with IM Client (Episode 2)
Hotel Front Desk -- on the photo copy machine.
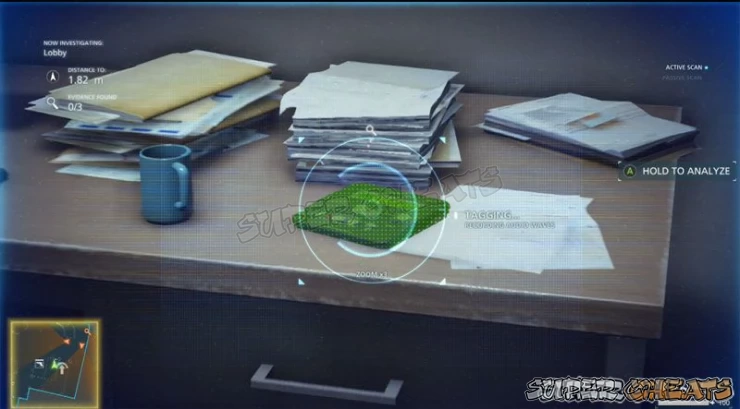
5. Physical: Answering Machine (Episode 2)
Hotel Office behind the Front Desk -- on the desk in the office.
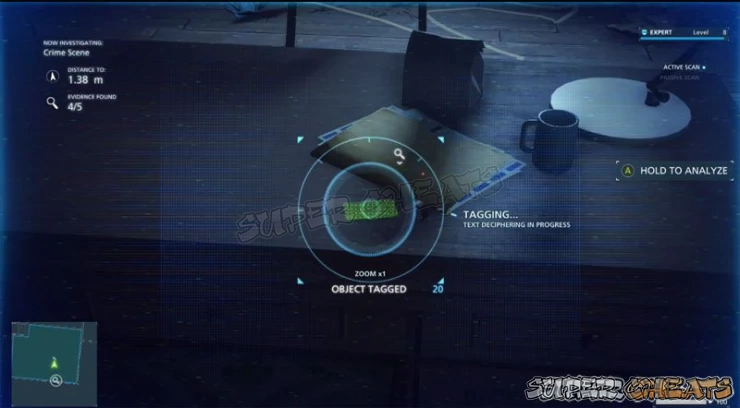
6. Document: Elmore Plaza Business Card (Episode 4)
Found on the desk in the office on the top floor of the warehouse - this is the fifth evidence you Scan for the episode and it completes the evidence collection for this case.
(D) Internal Affairs
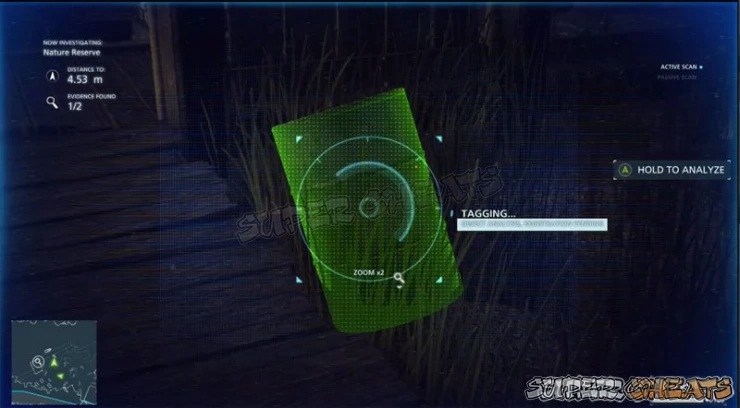
1. Trace: Toxic Barrel (Episode 3)
Near the docks where you face a trio of thugs at the Exploded Drug Bale.
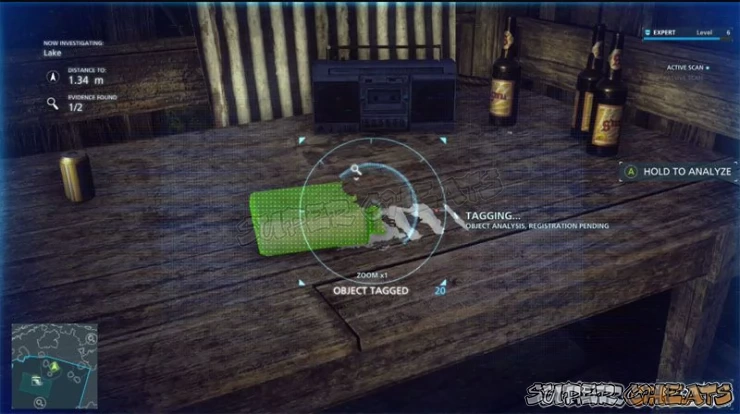
2. Trace: Kilo of Cocaine (Episode 3)
On the wooden platform south of the starting point on your way to the marker.
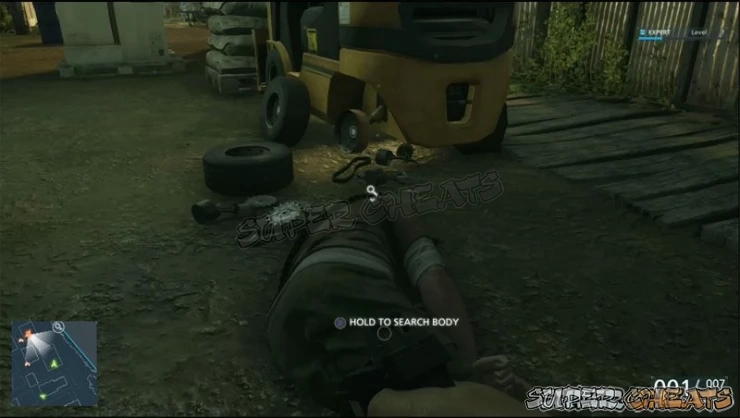
3. Document: Newspaper Story (Episode 3)
Search the boy of Warrant Suspect Thomas Bell as the Gator Farm to Scan this.
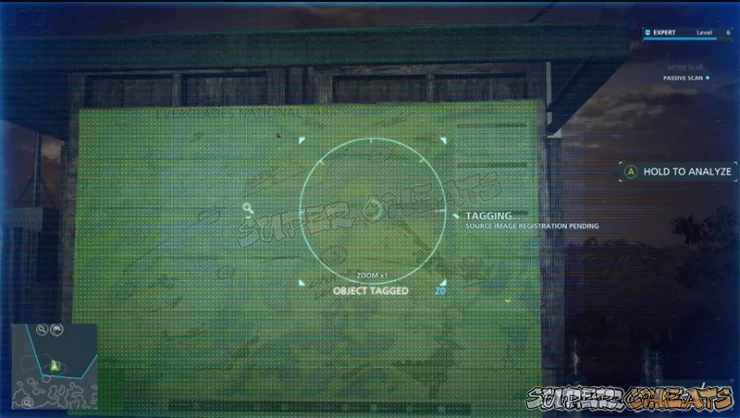
4. Document: Regional Zoning Map (Episode 3)
On the small platform north of the starting point where the Exploded Drug Bale was. Use the Grapple to climb the taller platform then Zipline to the smaller one to Scan the Map.
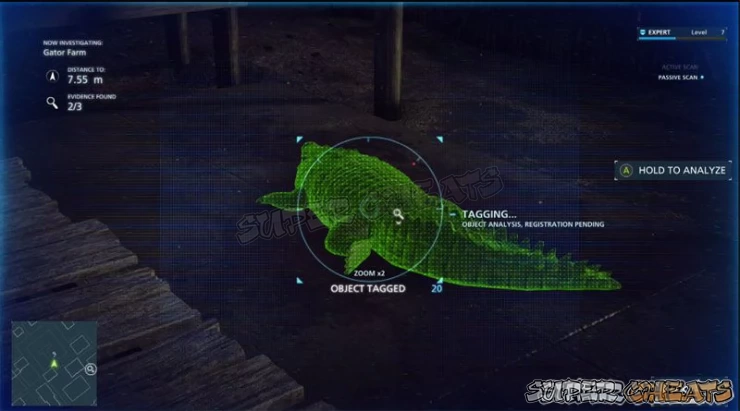
5. Physical: Dead Gator (Episode 3)
In between the docks at the Gator Farm - Scan it after you take out the thugs.
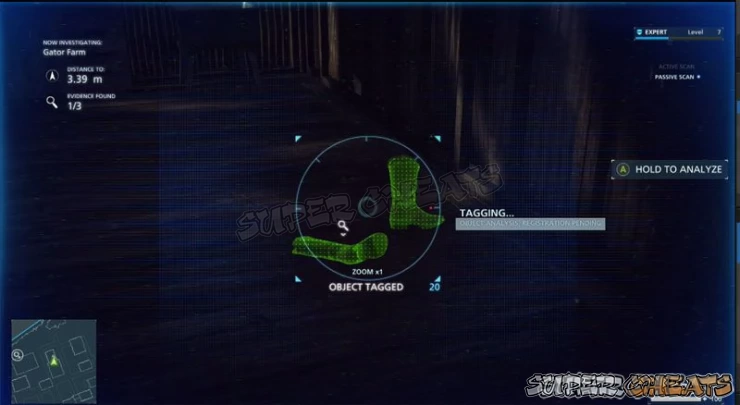
6. Physical: Torture Traces (Episode 3)
Inside the shed on the water at the Gator Farm.
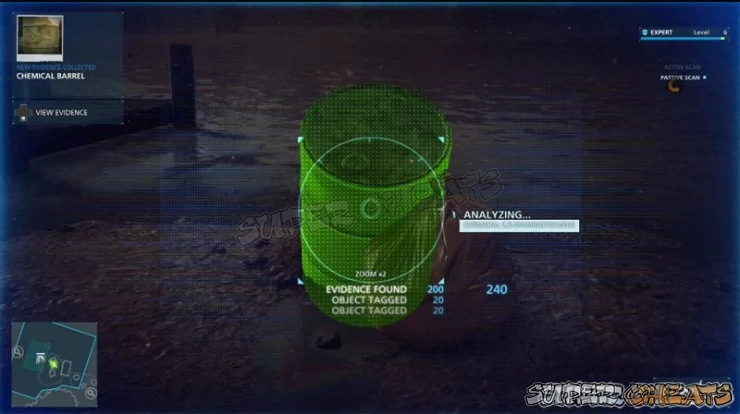
7. Trace: Chemical Barrel (Episode 3)
South of the Burst Bale Start Point next to a dock - you get the evidence rumble on your gamepad as you approach.
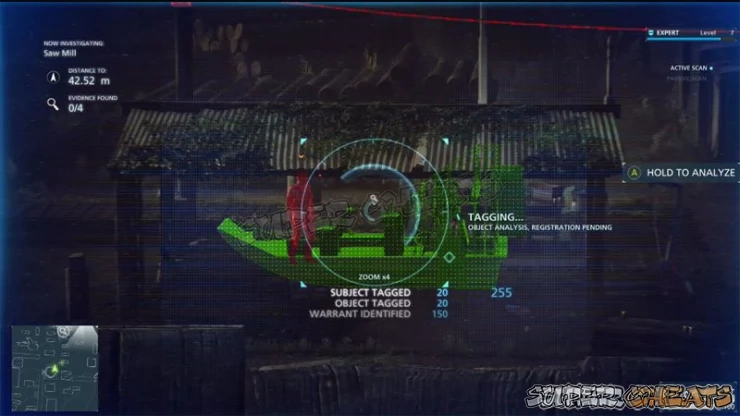
8. Trace: Stained Fanboat (Episode 3)
This is sitting in the boathouse dock at the Sawmill Lumber Camp. You can Scan it from the tower as you mark the location of the thugs.
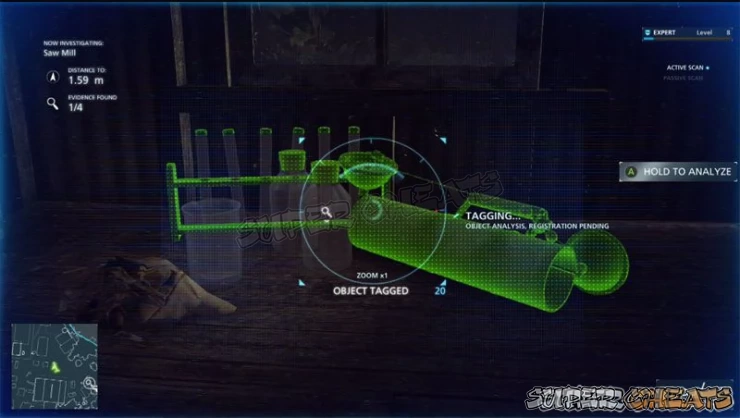
9. Trace: Water Sampling Equipment (Episode 3)
In the third small shed in the Sawmill Lumber Camp.
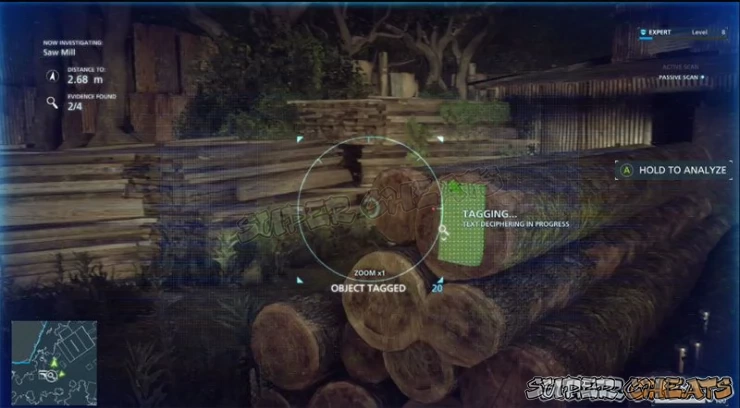
10/ Document: Note Pinned with Switchblade (Episode 3)
Stuck in the end of a log on the stack near the shipping container in the Sawmill Lumber Camp.
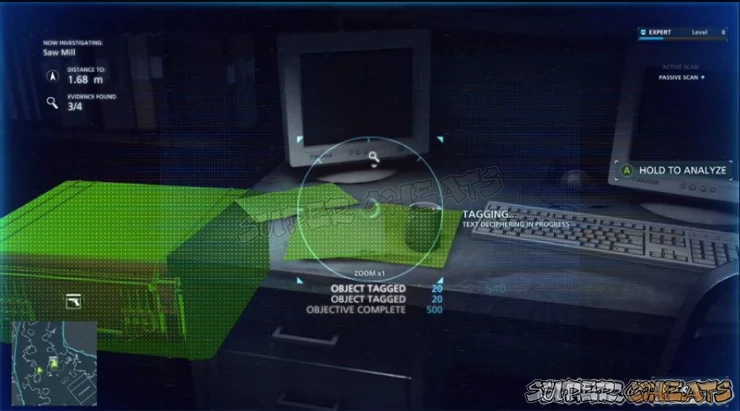
11. Document: Manilla Envelope (Episode 3)
On the desk inside the office at the Sawmill Lumber Camp.
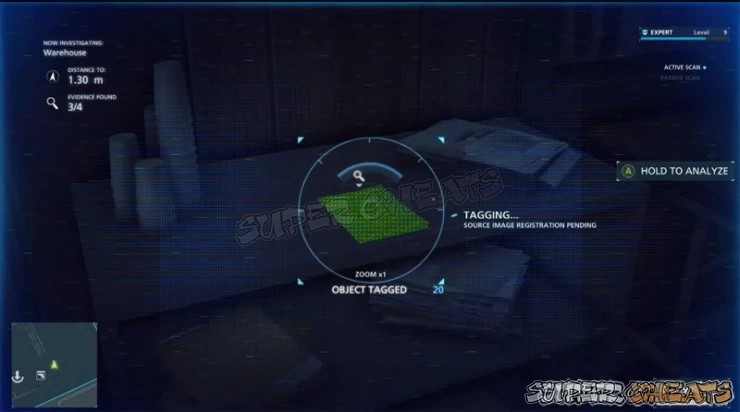
12. Document: Flyer for Tamu-Tamu (Episode 4)
In the ground floor office of the second warehouse on the counter to the left as you enter.
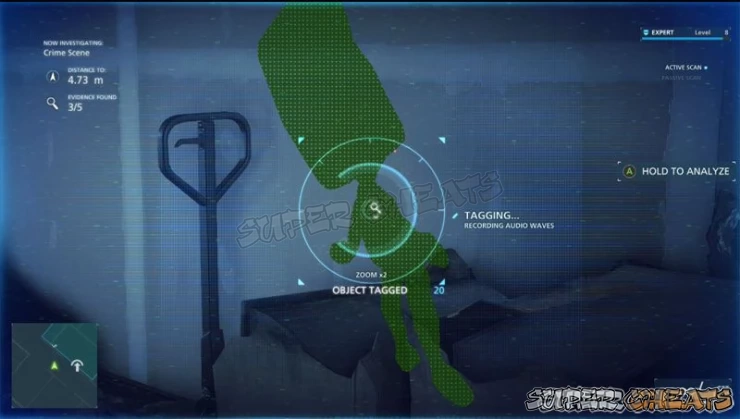
13. Physical: Talking Tamu-Tamu Stuffy (Episode 4)
In the corner of the office across the hall from the Burner Phones - this is the fourth evidence you Scan for this episode.
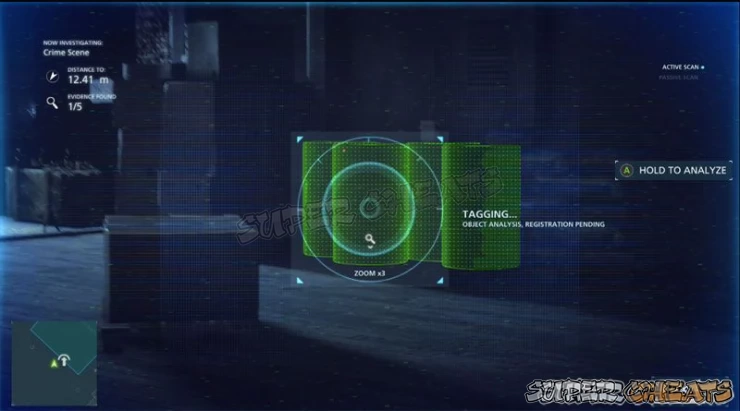
14. Trace: Barrels of Dye (Episode 4)
Inside the warehouse on the ground floor - this will be the second evidence you scan for this episode.
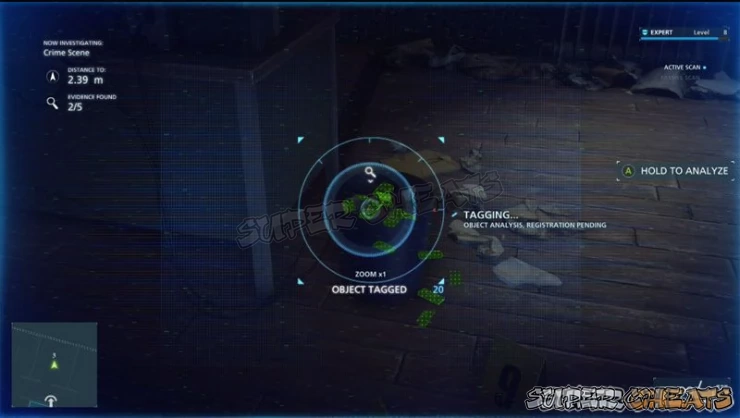
15. Physical: Burner Cellphones (Episode 4)
In the office on the second floor up in the warehouse. This is the third evidence you scan for this episode.
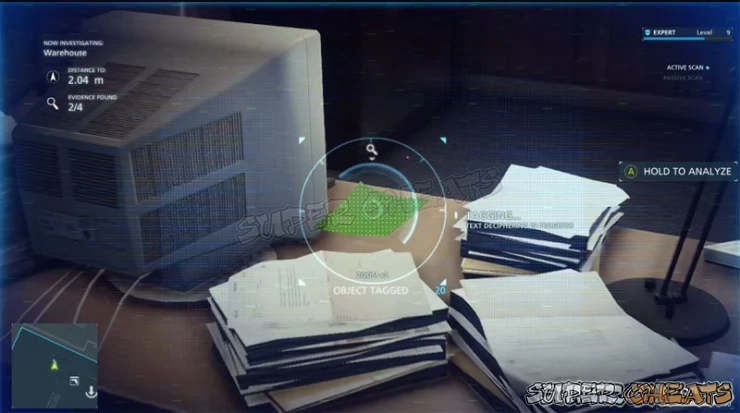
16. Document: Letter from Neltz's Business Manager (Episode 4)
On the desk in the corner of the ground floor office in the second warehouse. Collecting this evidence completes the Internal Affairs Case.
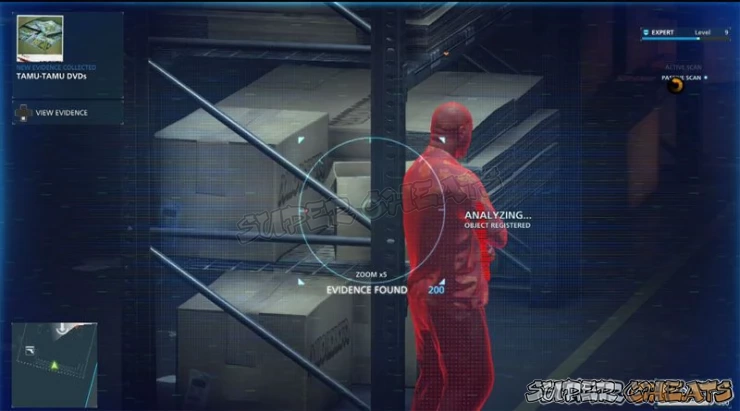
17. Physical: Tamu-Tamu DVDs (Episode 4)
On a shelf in the second warehouse. You can scan it from a distance from the office above without risking discovery.
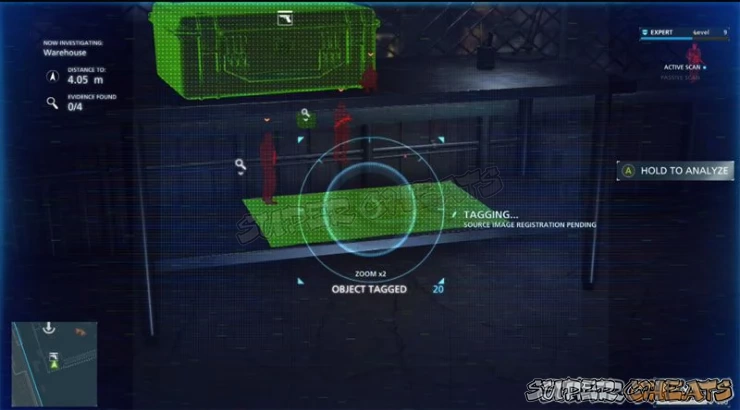
18. Document: Poster for Tamu-Tamu (Episode 4)
Inside the office of the second warehouse on the shelf below the Tactical Box.
(E) Power Play
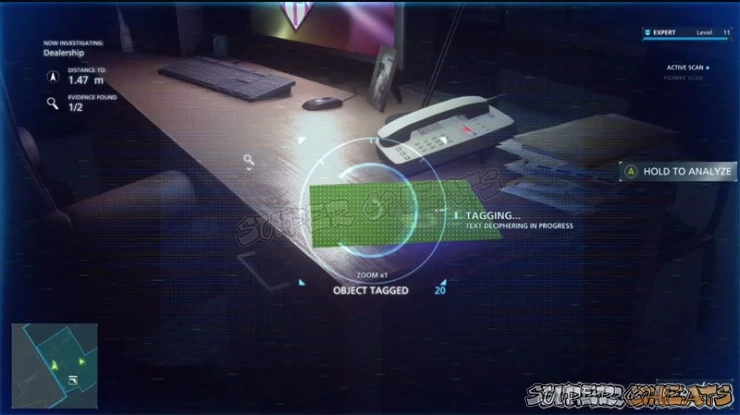
1. Document: Letter from Kang's Wife (Episode 6)
Found on the desk inside the back office that has the computer whose files you need to copy.
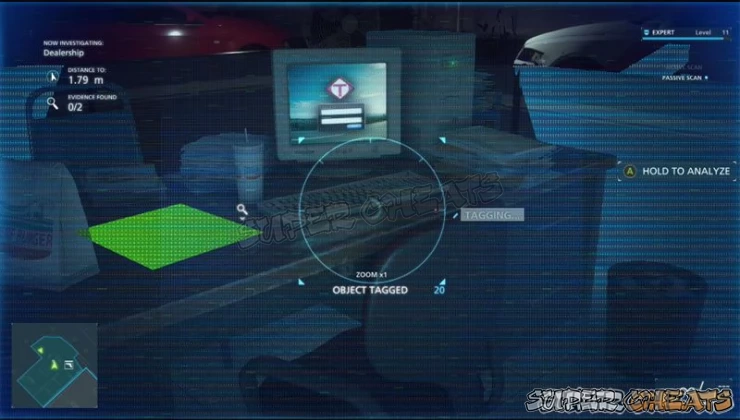
2. Document: Purchase Order for Bianchi (Episode 6)
Found on the desk in the center cube inside the car dealership.
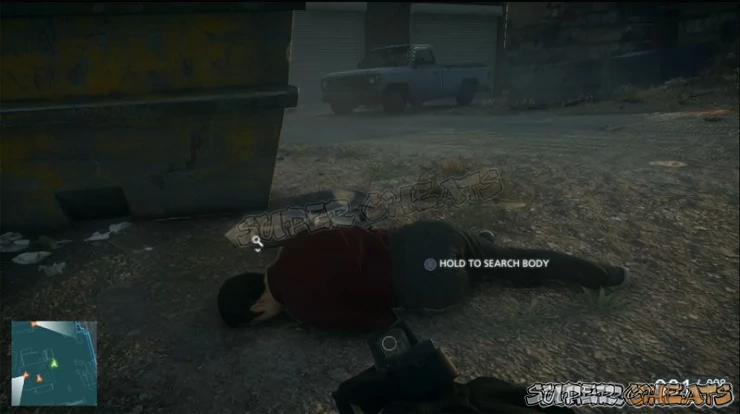
3. Document: Boomer Photo (Episode 6)
On the body of the second Warrant Suspect James Mun you take down outside the first garage at the salvage yard. If you actually go to the second garage using the keycard you went too far and chances are you will not be able to get this then.
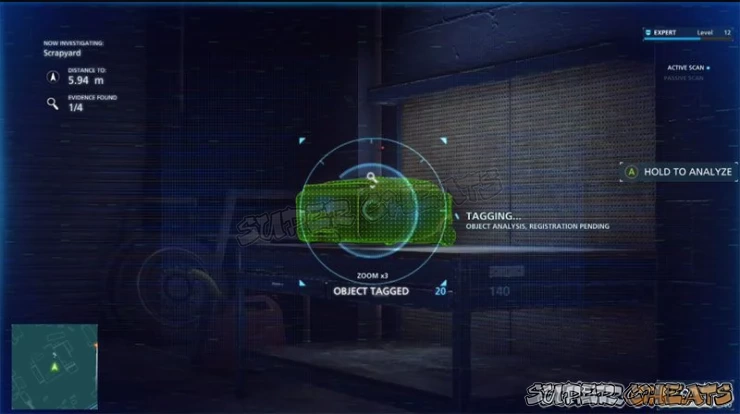
4. Trace: Designer Luggage (Episode 6)
Inside the chop shop at the salvage yard - Scan after you take out all the thugs but BEFORE you get Boomer's keycard and head to the rear area.
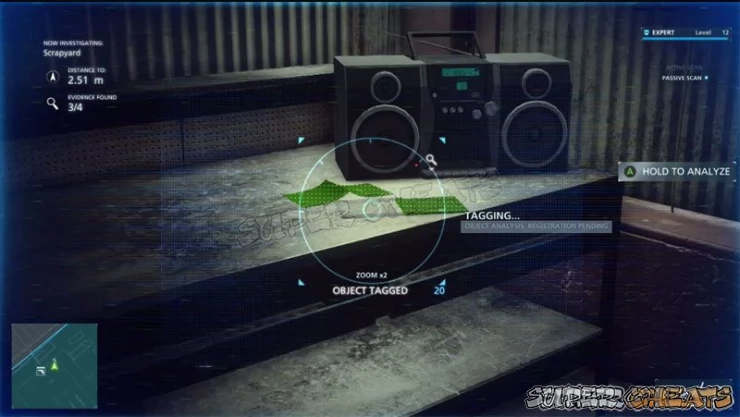
5. Physical: K-Pop Album (Episode 6)
On the work bench in the back of the second garage at the salvage yard.
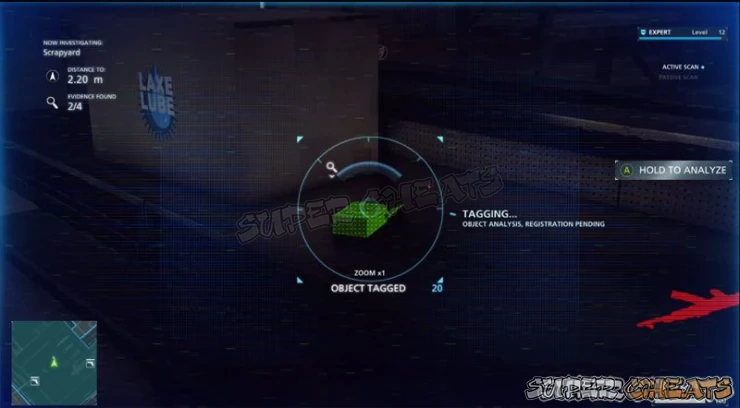
6. Physical: Remote Detonator (Episode 6)
On the bench in the second garage at the salvage yard.
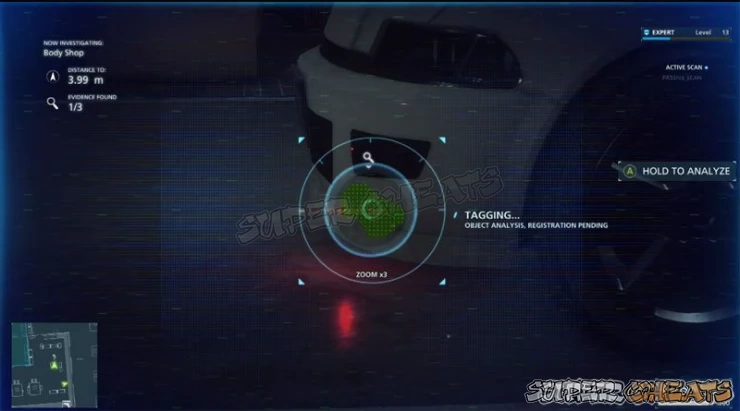
7. Physical: Bomb Under Kang's Binachi (Episode 6)
Under the front clop of the white car in the chop shop warehouse at the third location.
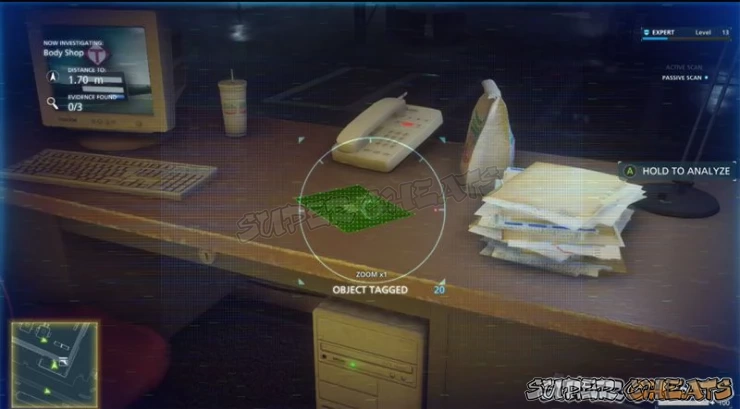
8. Document: Photo of Lily Kang and Roark (Episode 6)
Inside the office in the chop shop warehouse (third location) on the counter.
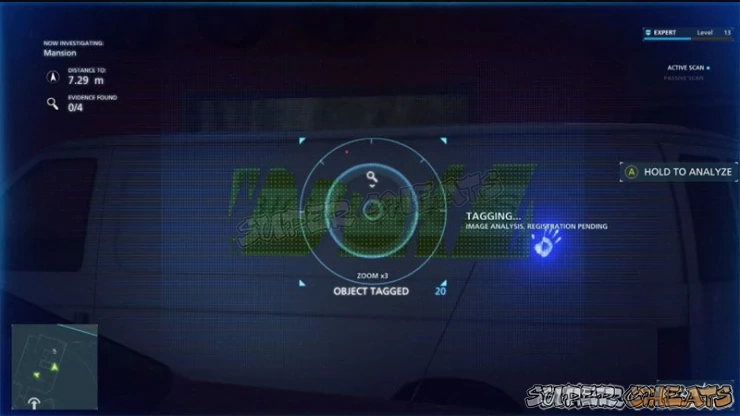
9. Physical: White Van (Episode 7)
Parked inside the garage at the mansion - Scan the sticky residue from the re-signage.
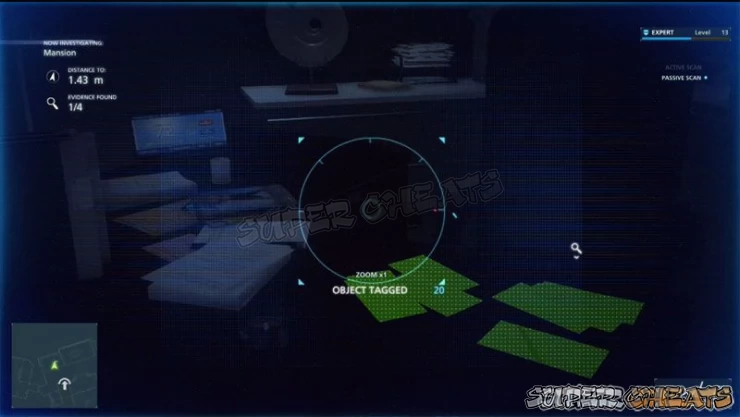
10. Document: Shipping Label (Episode 7)
On the desk in the ground floor office at the mansion.
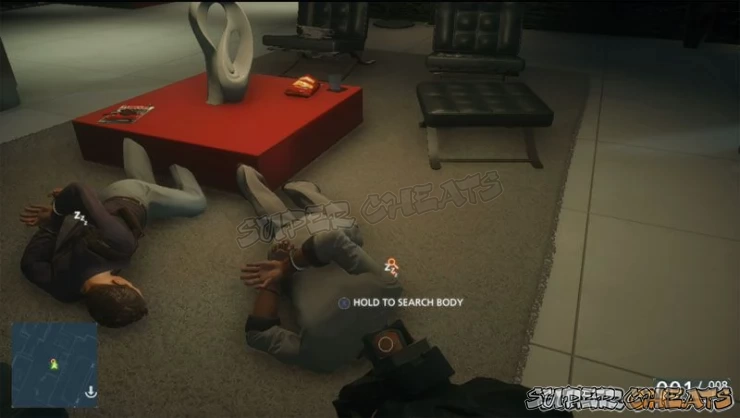
11. Document: Safe Combination (Episode 7)
You take this by searching the body of the Warrant Suspect in the living room of the mansion first location.
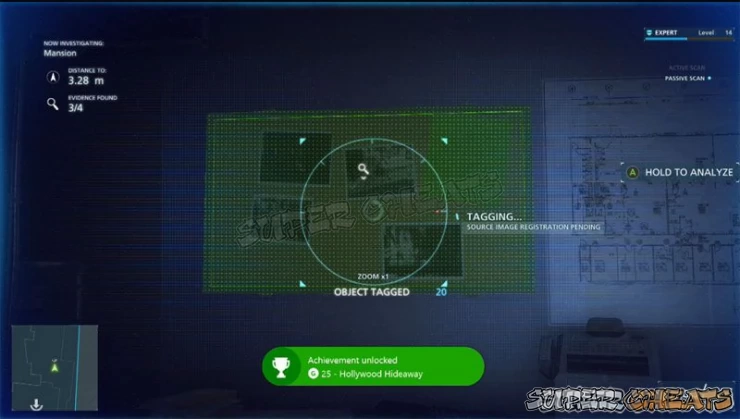
12. Document: Wall of Photos (Episode 7)
After obtaining the Safe Combination head into the exercise room of the first mansion location and open the secret door on the wall. Inside this concealed room on the side wall is this evidence.
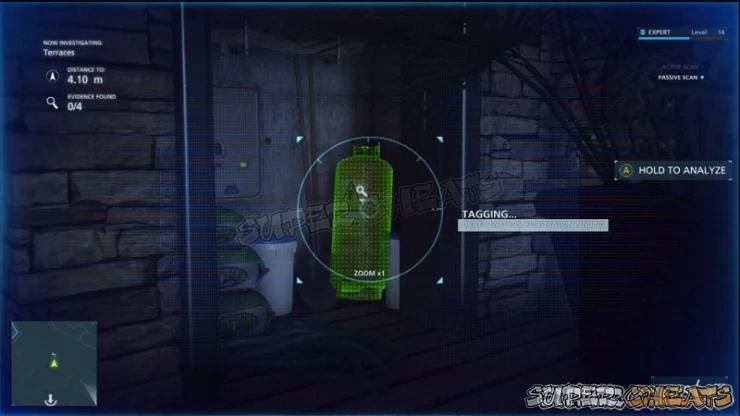
13. Trace: Tanks of Tear Gas (Episode 7)
Inside the greenhouse of the second mansion location.
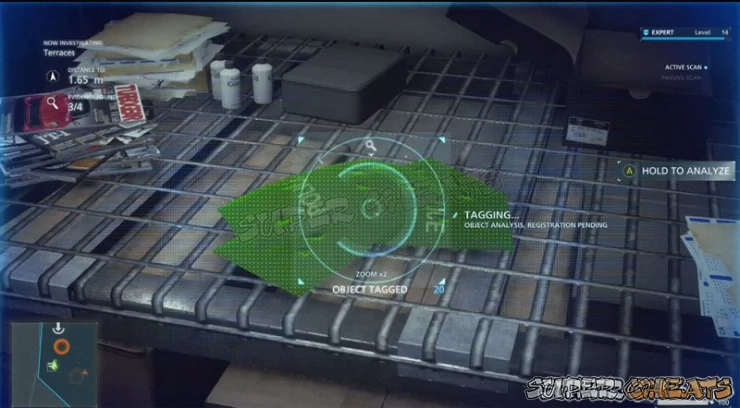
14. Physical: SWAT Flak Jackets (Episode 7)
Inside the supply room in the shooting range for the second mansion location.
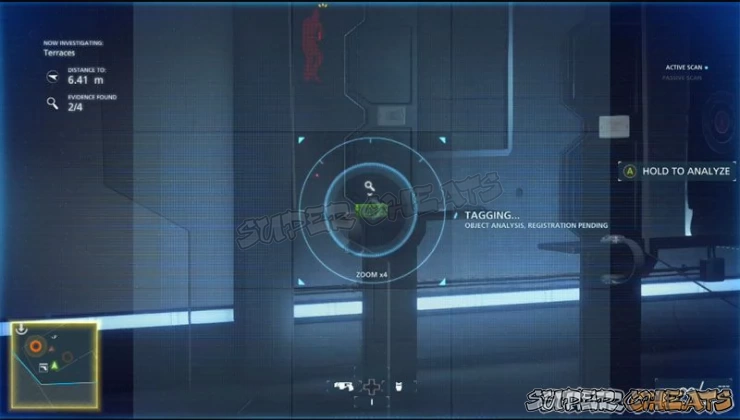
15. Physical: Box of SS190 Cartridges (Episode 7)
On the shooting range target line in the second mansion location.
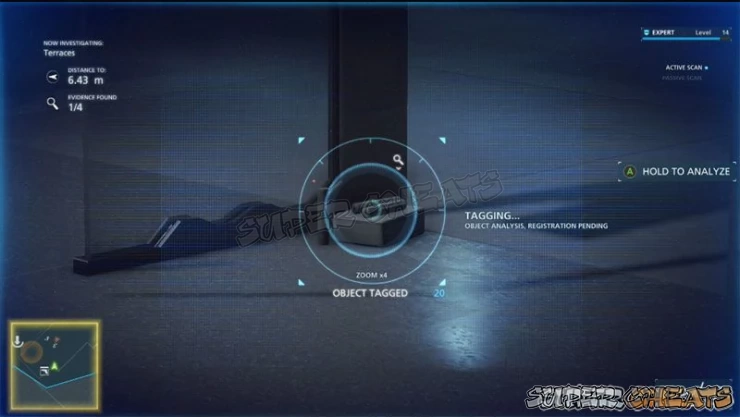
16. Physical: Rifle Suppressors (Episode 7)
On the shooting range target line in the second mansion location.
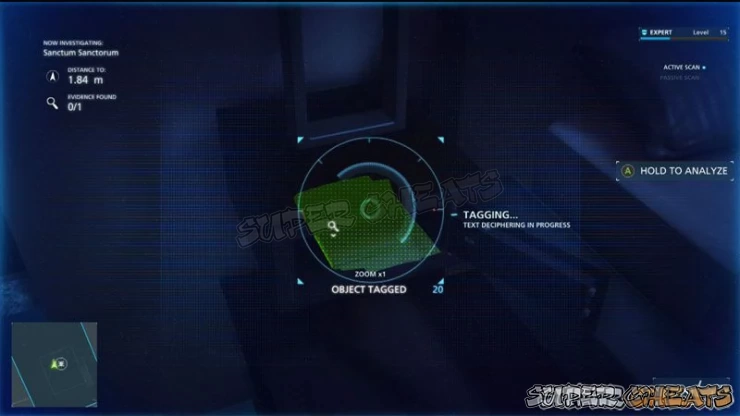
17. Document: File Inside Safe (Episode 7)
Inside the safe in the bedroom of the third location at the mansion.
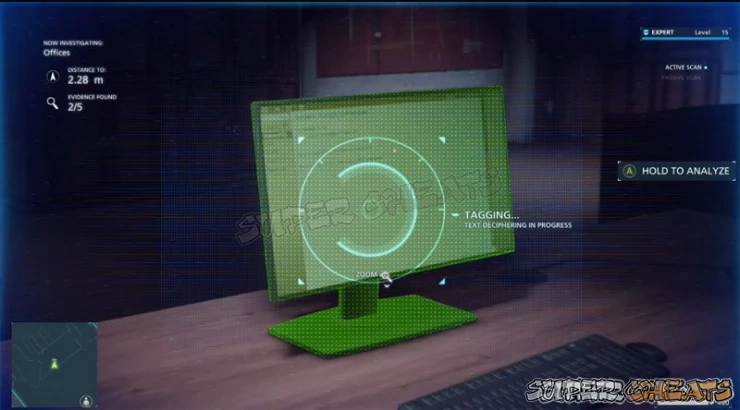
18. Document: Email from Dawe's Computer (Episode 9)
The computer is located in the private office above the main room where you first hook up with Tyson and hand-off the C4...
(F) The Boomer Connection
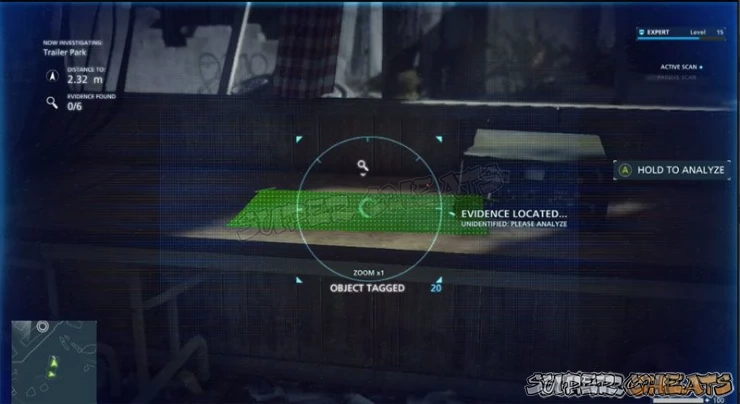
1. Document: Bomb Blueprint (Episode 8)
In the radio trailer that Boomer goes to immediately after you exit the missile base.
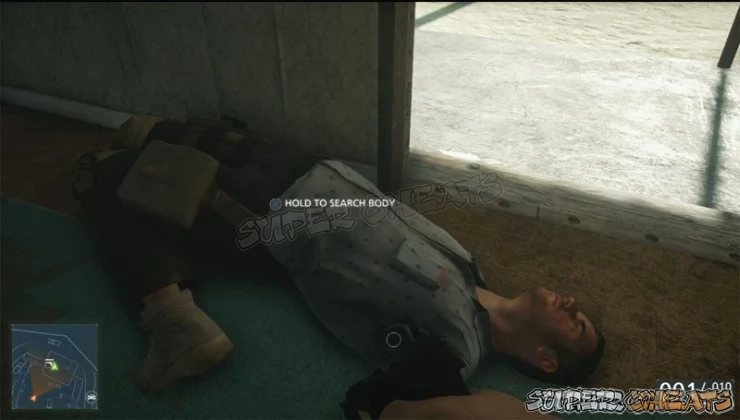
2. Physical: ATF Agent's Badge (Episode 8)
Take this off the body of the Warrant Suspect after you arrest / take him down.
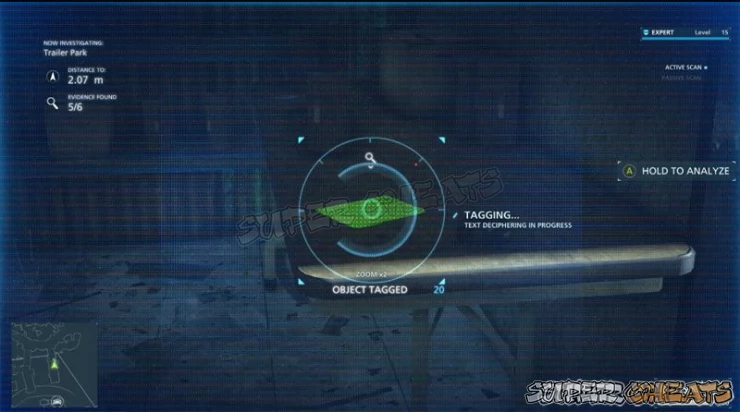
3. Document: Boomer Dossier (Episode 8)
On a table in the trailer in the corner of the trailer park past the one with the Tactical Box in it.
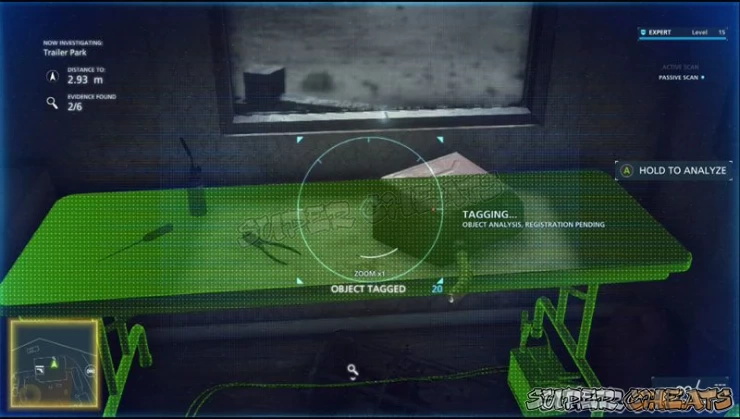
4. Physical: Torture Room (Episode 8)
In the trailer on top of the trailer with the Tactical Box in the Trailer Park. Use the ladder that is installed on the front of the bottom trailer.
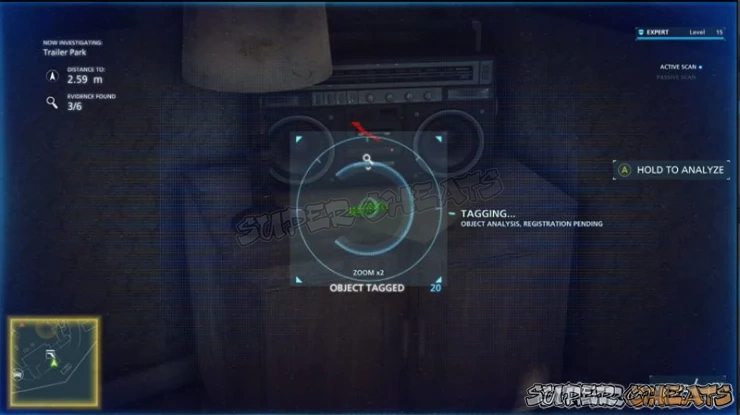
5. Physical: Cell Phone (Episode 8)
In the trailer on top of the trailer with the Tactical Box in the Trailer Park. Use the ladder that is installed on the front of the bottom trailer.
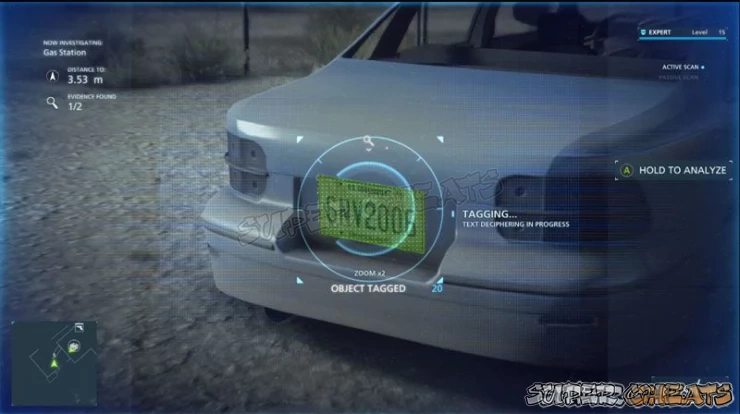
6. Physical: License Plate (Episode 8)
On the car next to the garage at the gas station after the massive firefight.
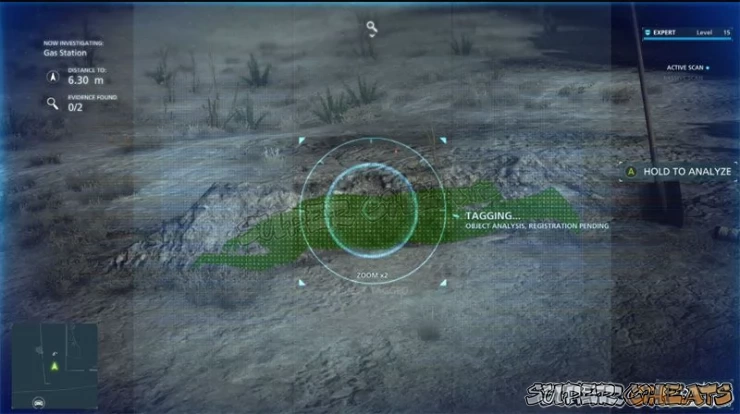
7. Physical: ATF Agent's Grave (Episode 8)
In the yard of the burnt-out house across from teh gas station following your shootout - Boomer will remind you to take a look at the burned building noting that the fire is recent.
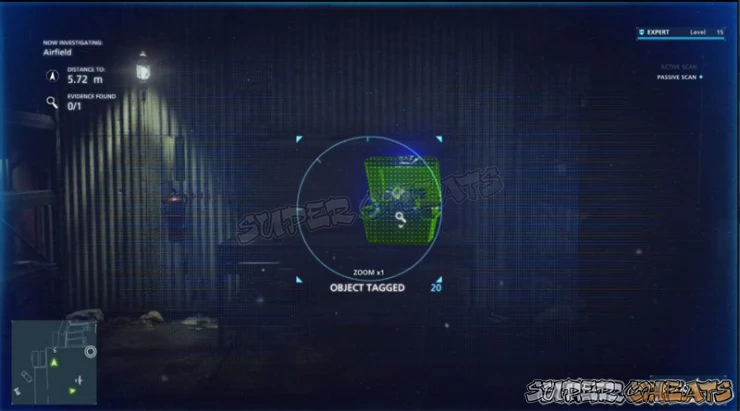
8. Trace: Ricin Bomb (Episode 8)
Inside the hanger at the airport on the workbench in the corner (the first one not the one with the Brute)
(G) Preferred Outcomes
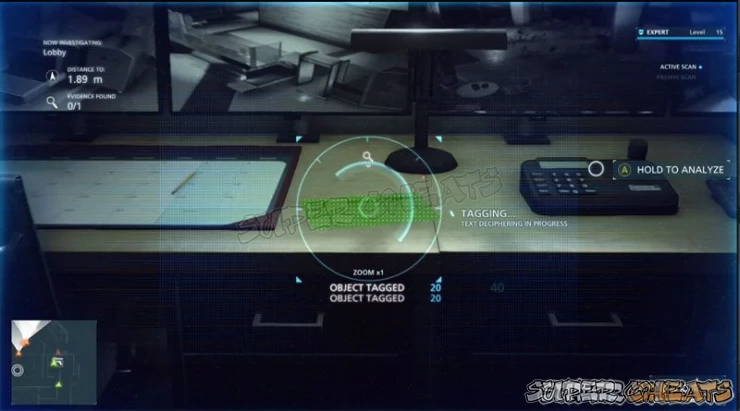
1. Document: Staffing Chart (Episode 9)
This evidence is located on the counter inside the Security Room in the back of the ground floor -first door you see after you enter.
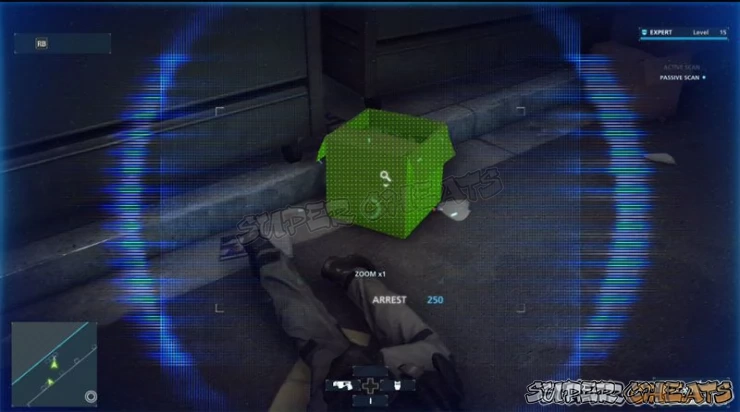
2. Document: Box of Books (Episode 9)
This evidence is actually located in the back of the building on the ground floor beside the dempster there. You are going to want to go back here and take down the two thugs here anyway, since entering the building through this back entrance is the best way in.
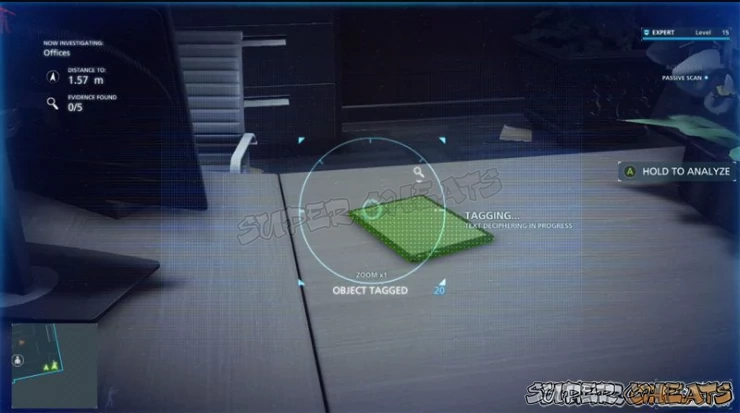
3. Document: Letter from Chicago Politician (Episode 9)
This tablet evidence is found in an office at the opposite corner from the conference room with the whiteboard.
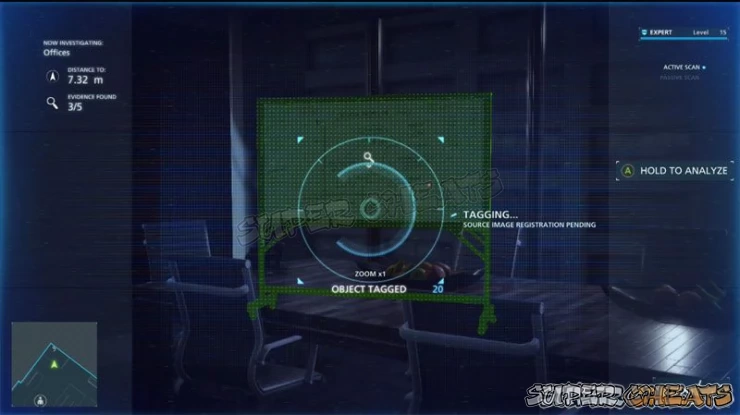
4. Document: Revenue Sketch (Episode 9)
In one of the back area conference rooms this whiteboard is sitting by the table. You don't have to go in you can Scan it from outside the room.
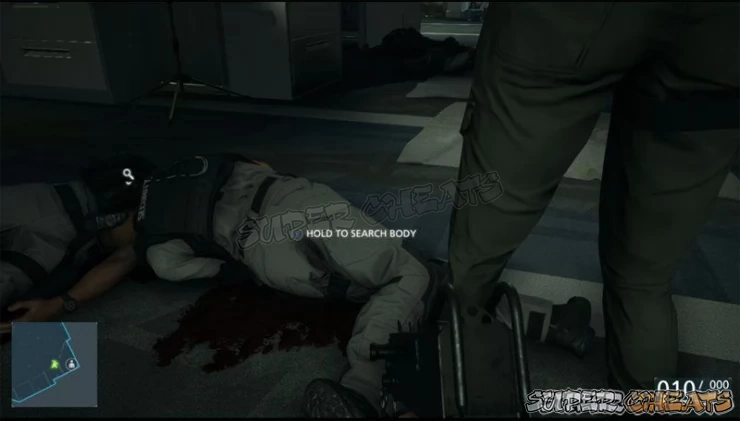
5. Document: Notice of Transfer (Episode 9)
You find this evidence by searching the second Warrant Suspect in the main room.
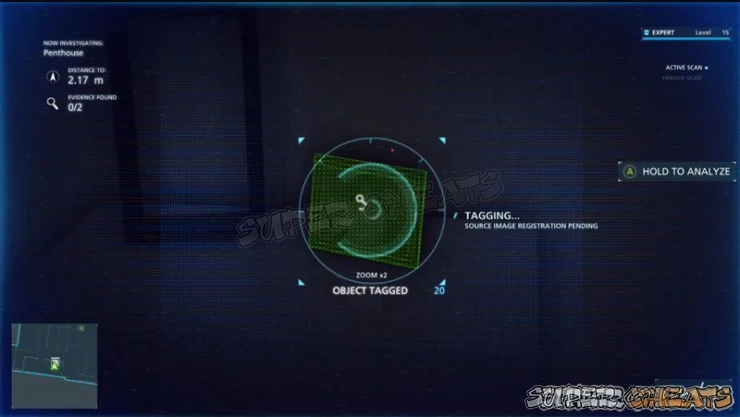
6. Document: Photo of Dawes' Dying Wife (Episode 9)
In the bedroom on the top level of Dawse's private floor...
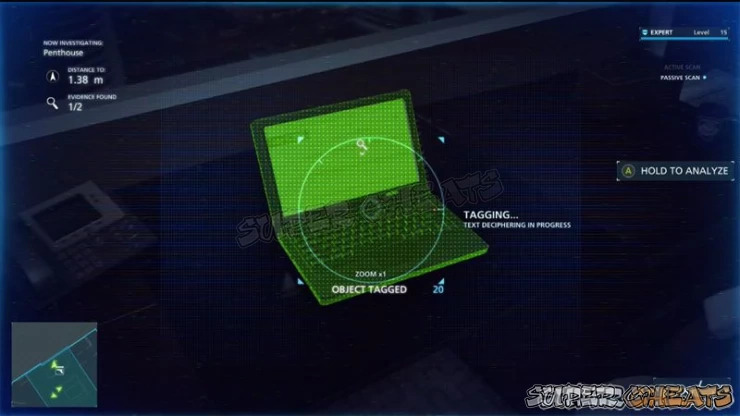
7. Document: Bank Website (Episode 9)
In Dawse's office on the private floor after you swim up the lift shaft.
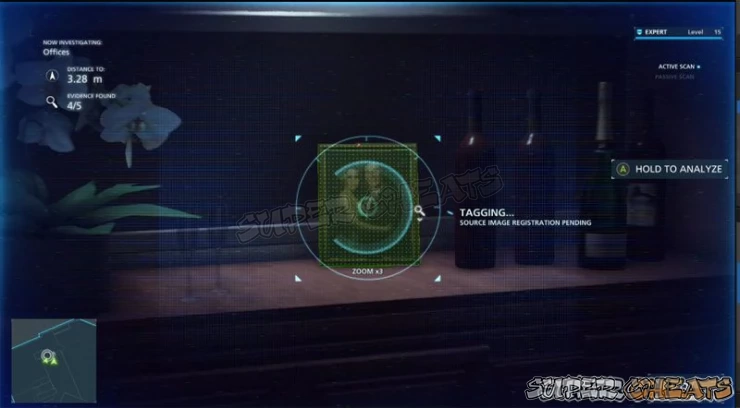
8. Document: Photograph of Dawes' Wife (Episode 9)
Found on the counter to the right of the lift in the private office.
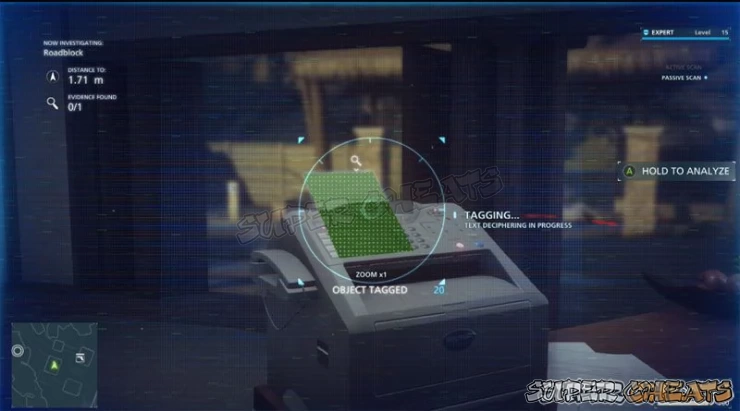
9. Document: Fax from Neil Roark (Episode 10)
In the office in the shack in the first compound area after the beach. You'll need to clear away the thugs to get to it.
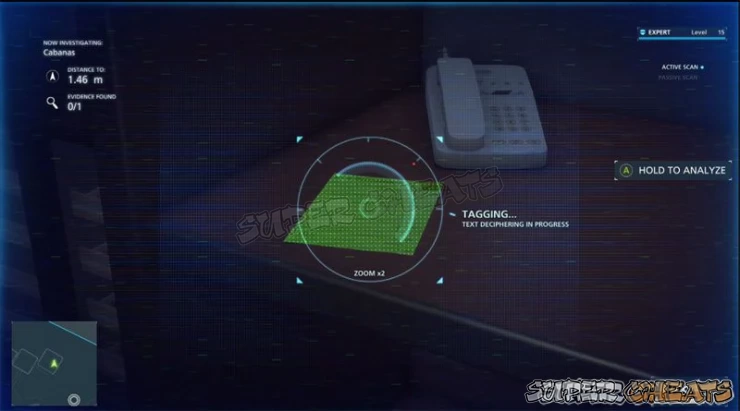
10. Document: Summons from the IRS (Episode 10)
In the cabana on the water off the docks of the second compound behind the bar.
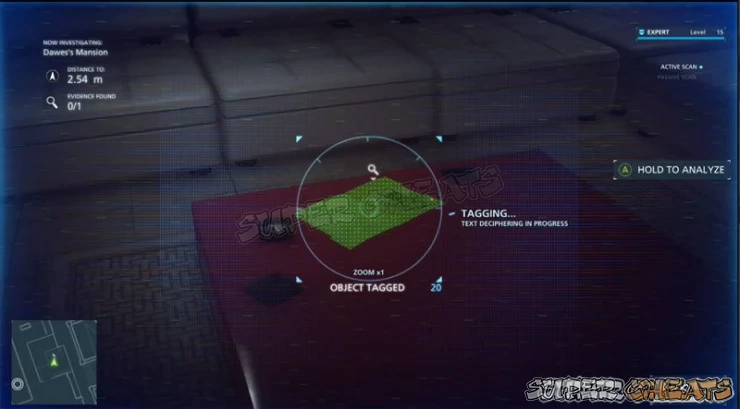
11. Document: Dossier on Cpt. Hector Mendoza (Episode 10)
On the table in the sitting room on the very top floor of the mansion.
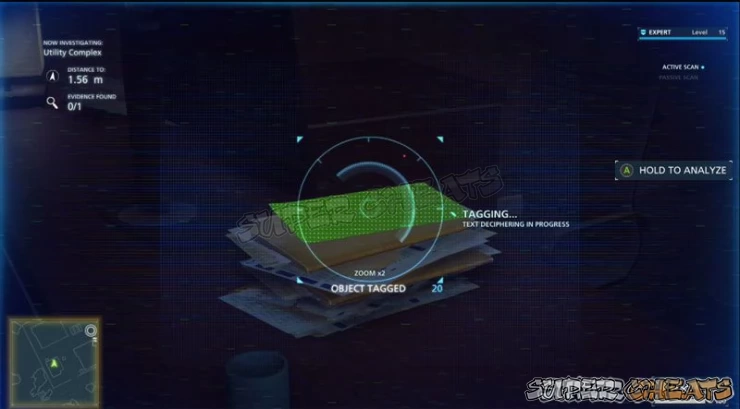
12. Document: Surveillance Log (Episode 10)
In the office building of the third compound below the radio tower area.
Suspects with Warrants Collection
Prologue -- DORSETT, Shea
Episode 1 -- KENT, Lawrence
Episode 2 -- ROSADO, Javier
Episode 2 -- VOLKER, Gary
Episode 3 -- MINGUEZ, Luis
Episode 3 -- BELL, Thomas
Episode 3 -- BROWN, Nathan
Episode 4 -- EVANS, Philip
Episode 4 -- MILLER, Leonard
Episode 4 -- DIAZ, Frankie
Episode 4 -- GONZLAES, Xavier
Episode 6 -- KWOK, Edgar
Episode 6 -- MUN, James
Episode 6 -- OH, Ji-hun
Episode 7 -- BRILLER, Cameron
Episode 7 -- THOMAS, Marvin
Episode 8 -- PRESTON, Jim
Episode 9 -- KELLY, Derek
Episode 9 -- STARNES, John
Episode 10 -- WHITE, Howard
Episode 10 -- FELDMAN, Lyle
Episode 10 -- FOSTER, Craig
You need to either arrest using the LB Flash Badge (250pt) and cuff option, or you need to subdue the Suspect using the Tazer (100pt).
I do not recommend using your Police Baton / Melee Weapon as that can very easily and accidentally KILL the Suspect!
If you DO accidentally kill one or more of the Suspects with Warrants the fix for that is to finish the level completely and then AFTER you complete the level, return to the main menu and select the Level and REPLAY it.
The Suspect you killed will still appear in the list as killed BUT they WILL re-spawn in the replay of the level - so as long as you capture or arrest them the second time around you will get credit for that and it WILL count towards the Achievement / Trophy.
Anything missing from this guide?
ASK A QUESTION for Battlefield Hardline
 Join us on Discord
