Chapter 1: Illusory 106 - Part 1
Common Enemy List
| Mirage | Strength | Weakness |
| Nickelwise | Slash, Axe, Ice, Light, Dark | Fire |
| Ironclad Myrmidon | Thrust, Elec, Light, Dark | Axe, Ice |
| Ironclad Cavalier | Axe, Ice, Elec, Force | Slash, Fire |
| Dark Barbarian | Slash, Ice, Force, Light, Dark | Thrust, Elec |
| Samantha | Slash, Fire, Force | Elec, Dark |
| Man o' War | Slash, Force | Thrust, Elec |
| Troll | Fire, Elec, Light, Dark | Slash, Thrust |
Illusory 106, 1F
There’s a warp portal near the entrance and a blocked wall. You can’t use the portal right now since there are no other locations within the dungeon with other portals activated just yet. Defeat the first few enemies and you’ll probably get enough performa to unlock new Radiant and Carnage unities. Prioritize making these first while you’re near the entrance. There’s a blocked wall near the entrance so ignore it for now and continue forth. Get the (Performa) Caspar Force x1 from the container in the deadend then enter the giant maid costume. You’ll find more of these in the other floors since they’ll serve as your main method of going up or down between floors.
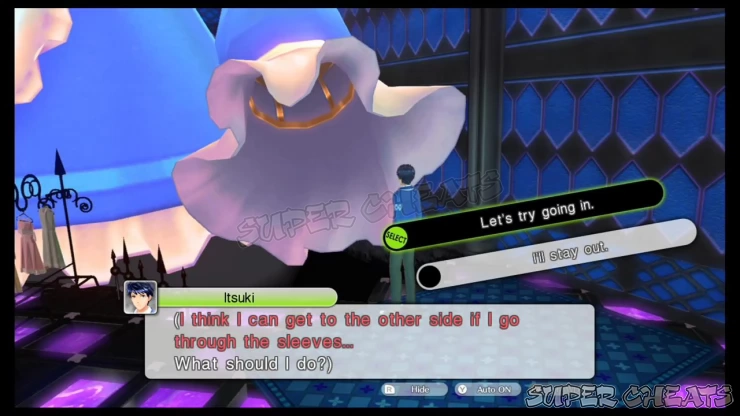
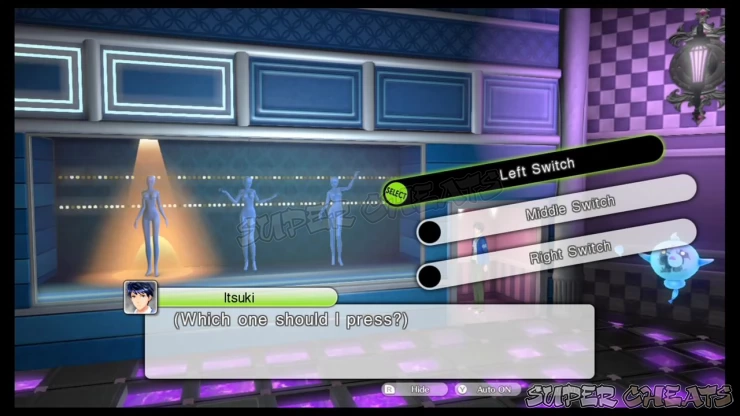
Once you reach the other side, you can talk to the non-hostile mirage near the mannequin display. Before interacting with the display, collect the Life Stone x2 from the nearby container. Interact with the switchboard on the right side of the display to select which mannequin to be highlighted. Take note of the position of the mannequins’ arms. The giant maid costume’s sleeves will mimic the selected mannequin’s arms, allow you to use it as a tunnel to reach the other sides of the sleeves. Select the rightmost mannequin to reach the third floor.
Illusory 106, 3F
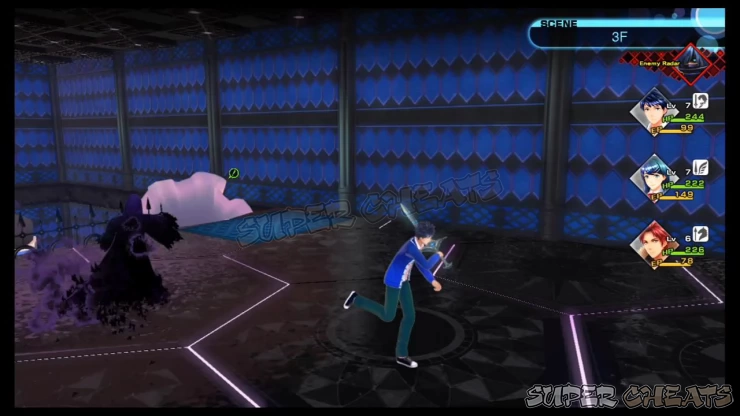
There’s another display here but before moving forth, you’ll get your very first encounter with a black savage mirage. You have the option to engage it in battle or lure it then evade it at the last minute. Savage mirages can’t be stopped by your sword.
Head to the end of the corridor to find a Chakra Drop x1 from the container. Interact with the display once again and flick the RIGHT switch. Go across the costume once again to reach the other side of the third floor. There’s a locked wall and a SPD Incense from the container.
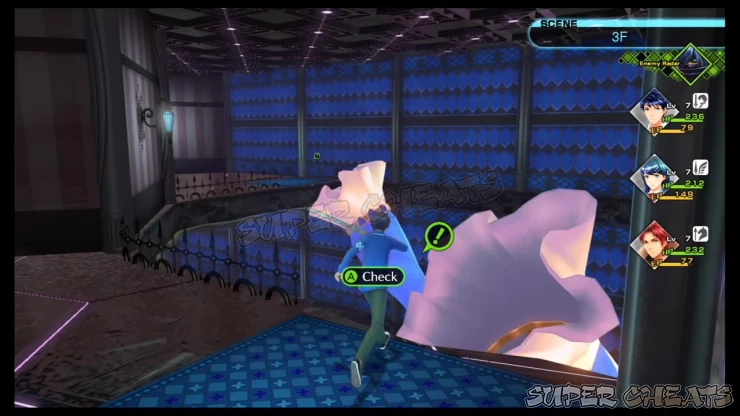
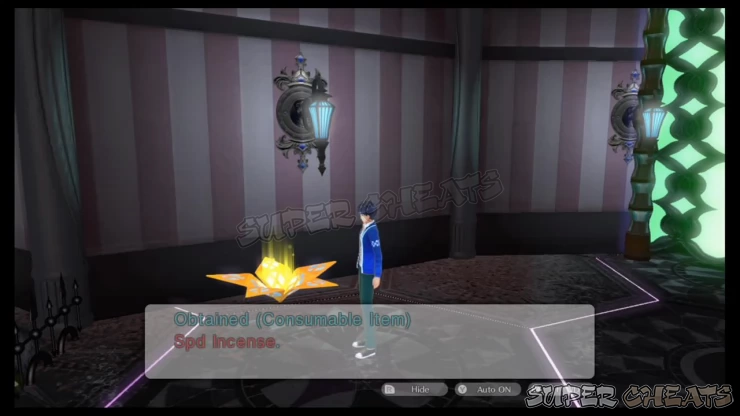
Go through the maid costume once again and interact with the mannequin display once again. This time, select the MIDDLE one. Go through the costume to reach the second floor.
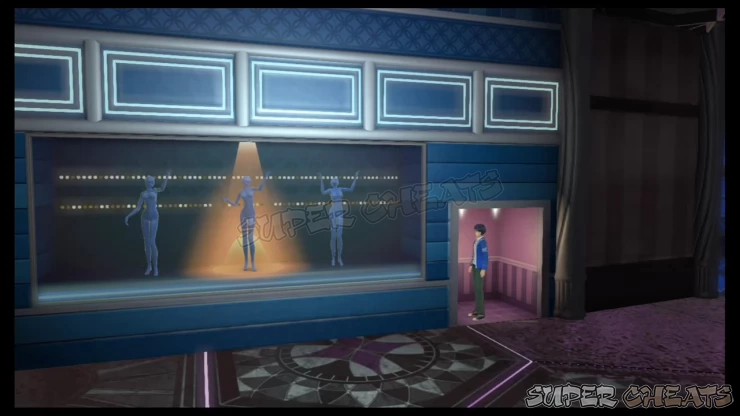
Illusory 106, 2F
There’s a breakable wall ahead however, look to your left first to find an item container in the corner. Get Dis-Poison x2 then swing your sword to the wall to break it. Continue along the corridor but expect more enemies to appear. Go through the pink maid costume this time.
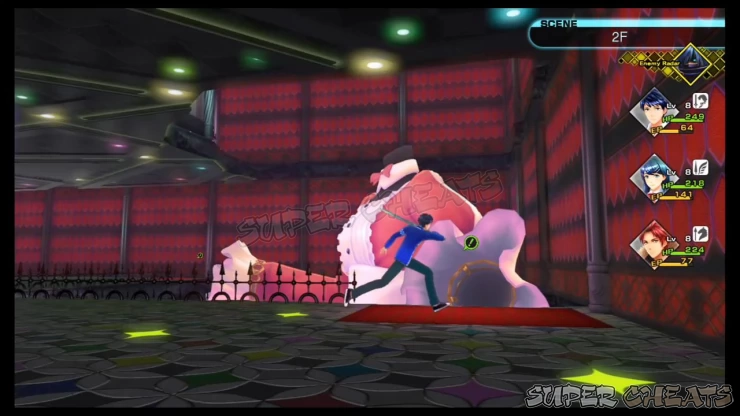
Break the wall to the left first then go through the narrow corridor in the middle then collect Revival Bead x2 at the end. Backtrack a bit then continue towards the circular room this time to trigger a cutscene. Help the man by engaging the mirages cornering him in battle.
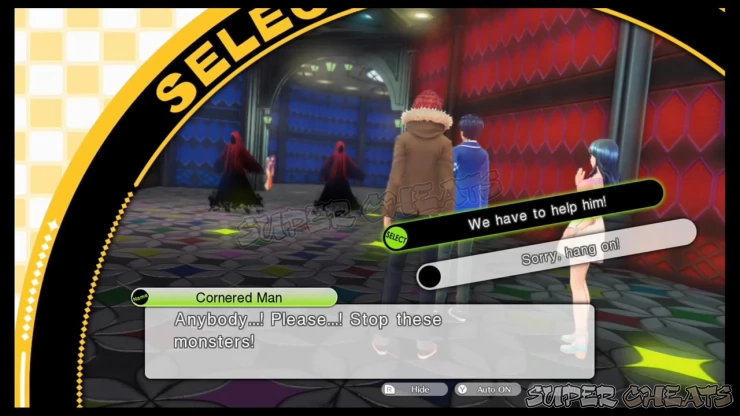
After getting rid of the mirages and you regained control, go to the circular room to collect Chakra Drop x1 and Traport Stone x1. Examine the pink-windowed mannequin display and choose the one to the RIGHT. Head towards the pink maid costume again to trigger another cutscene.
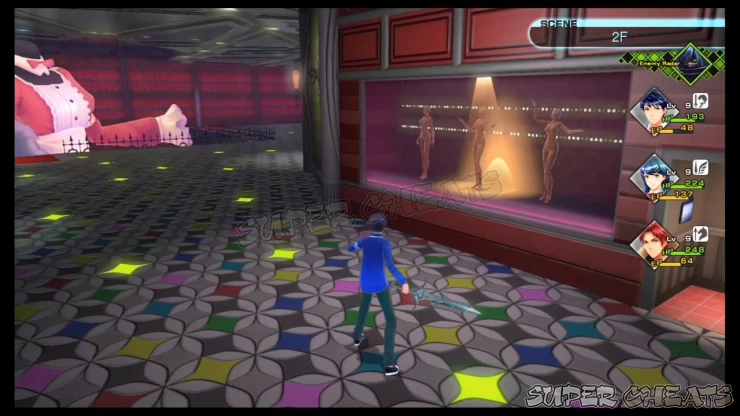
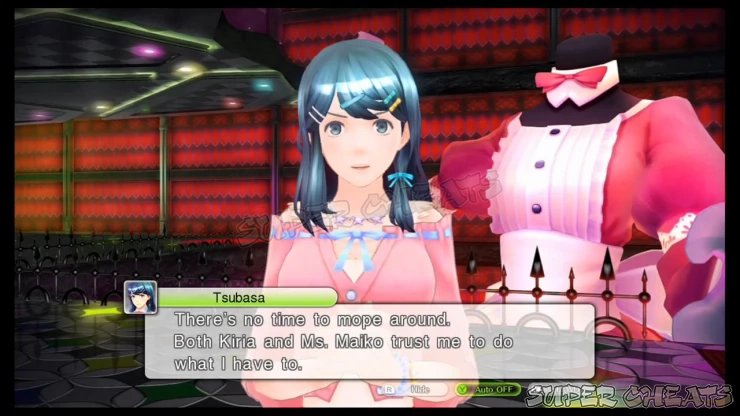
Continue to the third floor again and activate the portal. If you need to heal up, resupply, or need to perform new Carnage or Radiant Unities, this is a good time to do so. Use the portal to return to the idolasphere entrance. When ready, return to 3F and go through the door. Use the spiral staircase leading to 4F.

Illusory 106, 4F
You’ll be facing a sub-boss here so make sure you’re prepared before entering the door. After the scene, you’ll have to fight the Umber Pegasus Knight.
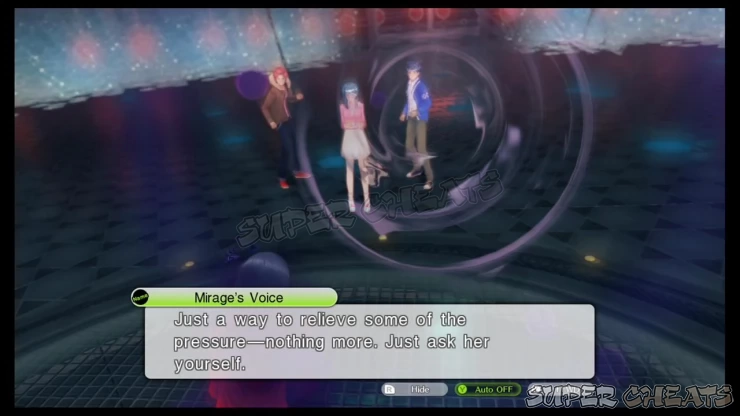
The boss has two Man-o-War and your first priority is to defeat them both first to prevent any enemy session attacks. The boss can use Zan, which Tsubasa is weak against. The Man-o-Wars can also use Poisma, a move that can potentially poison your characters. If that happens, make sure to cure it immediately to avoid unnecessary damage to the inflicted character. If you have stored SP, use a Special Performance attack to take out the minions and soften up the boss.
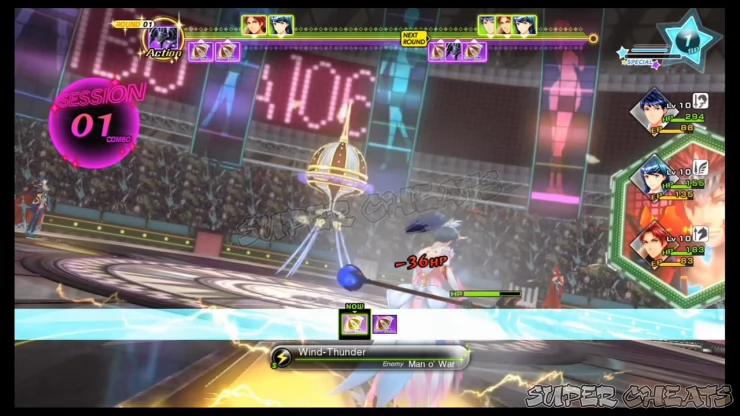
Don’t let any of your party members to go down below 50% HP to be safe. Itsuki can become a backup healer if needed but have Tsubasa do the main healing. Use buffs whenever you can, especially Tarukaja to increase your party’s offense for 3 rounds. Poison works against this boss so you can have Touma use his Poison Skewer move. Finally, the boss is weak against fire so using Touma’s Fire Strike skill will allow Itsuki and Tsubasa to do follow up attacks in a full session. Continue with the offensive to defeat this boss.
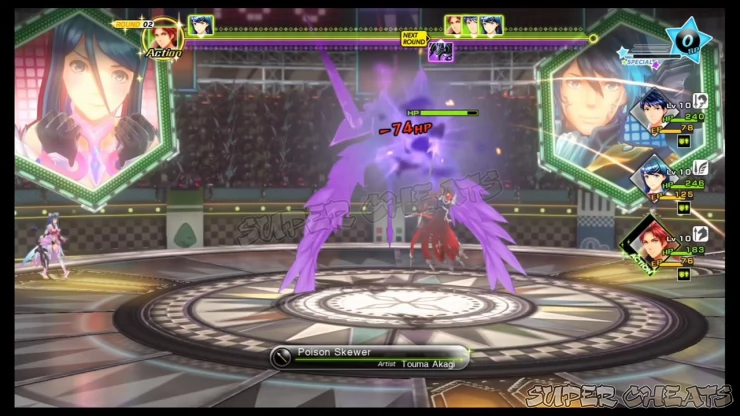

After the battle, you'll have to return to Fortuna to create a new Radiant Unity skill for Tsubasa. Use this chance to heal your party and resupply.
Anything missing from this guide?
ASK A QUESTION for Tokyo Mirage Sessions #FE
 Join us on Discord
