Mombasa Streets
Halo 3: ODST Walkthrough and Guide
Halo 3: ODST Guide - Walkthrough
Mombasa Streets
Occupied city center
Character: The Rookie
At the start of the game you’re given the option of activating a tutorial. Even if you’re familiar with the Halo series, activating the tutorial would be beneficial because Halo 3: ODST introduces several new features to the core game. If you choose to opt out of the tutorial, skip the next paragraph.
Once your aiming style has been set, move the target reticule over one of the green lights on the hatch and hold the RB button to plant an explosive bolt there. When the first explosive bolt has been planted, move the target reticule over to another one of the markers and do the same. There are four markers total.
When the four explosive bolts have been planted, the hatch will be blown open and you’ll fall to the street below. A notification informing you that your Stamina is low will appear at the top of the screen when you hit the ground. Stamina is a new feature in ODST, but can be likened to the rechargeable shields and health system of Halo: Combat Evolved. When your Stamina is low, the edges of the screen will redden; take cover and stay out of combat until your character has recovered. If you continue to take damage once your Stamina is depleted, further attacks will result in damage to your health bar, which is visible at the top of the screen.
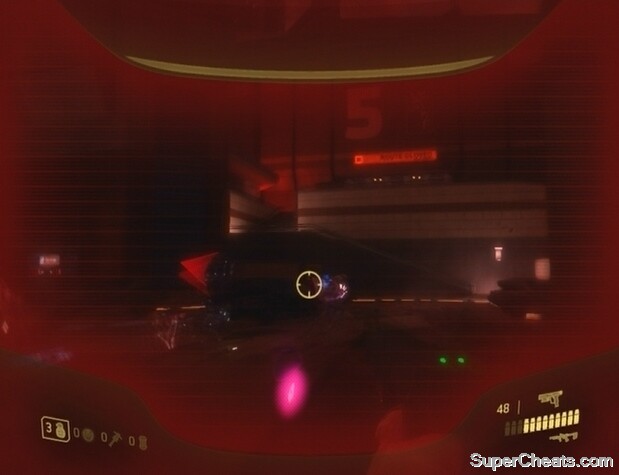 Stay out of combat to restore Stamina. Without Stamina, taking further hits will damage your health bar. |
The only way to replenish the health bar is by picking up a health pack, which can be found on the ground or at an Optican kiosk. In fact, turn right and look for an Optican kiosk on the building there. Approach the kiosk and pick up the health pack there to restore your health bar, unlocking the “Heal Up” Xbox 360 achievement in the process.
The VISR is another new feature. Toggle VISR with the X button. Use VISR to find your way around dark areas and to highlight clues or data terminals. Clues and data terminals are outlined in yellow, weapons in cyan, and enemies in red.
Objective: Explore the city
Continue down the street beyond the Optican kiosk. Be ready to face a Brute and a few Grunts. The Plasma Pistol can be used to quickly take out a Brute at close range. With the Plasma Pistol equipped, hold RT to charge a shot, and then release with a Brute in your sights. If the shot hits, the Brute’s armor will be destroyed and his shield lowered, allowing you to finish him off with a quick headshot from your Magnum. Some Grunts carry a Plasma Pistol, so look around for one after dispatching the first group of enemies you encounter. The Silenced SMG is unnecessary when you’re just facing Brutes and Grunts, so consider swapping the weapon for a Plasma Pistol.
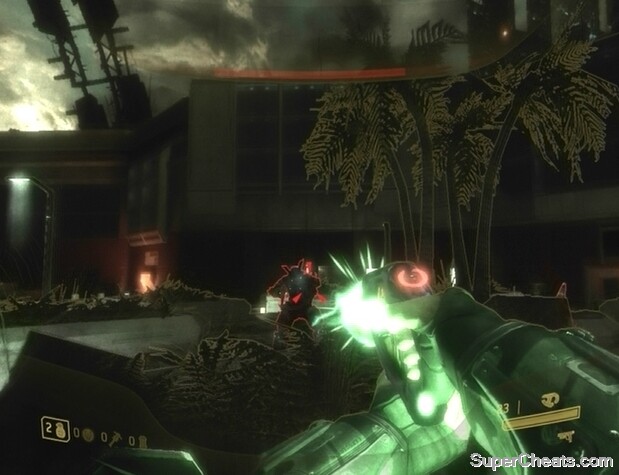 A charged Plasma Pistol shot will remove a Brute’s armor and lower his shield, allowing you to pick him off with a headshot. |
When you reach the circular street, kill all the enemies in the surrounding areas to receive your next objective. In every case, you’ll come across a Brute and a group of three or four Grunts. Use the Plasma Pistol and Magnum combo to take out the Brute, then pick off the scurrying Grunts and move on to the next group.
Objective: Contact the Superintendent
Activate VISR if it isn’t already and press up on the D-pad to call up two objective markers onscreen. Follow one of the markers to a highlighted data terminal. Hold the RB button to access the data terminal. Do so to download a handy map of New Mombasa, which can be accessed by pressing the Back button. Note that a compass now appears above the health bar at the top of the screen.
While viewing the map, press the A button to set a waypoint where the cursor is placed. While a waypoint is set, it will appear on the compass at the top of the screen.
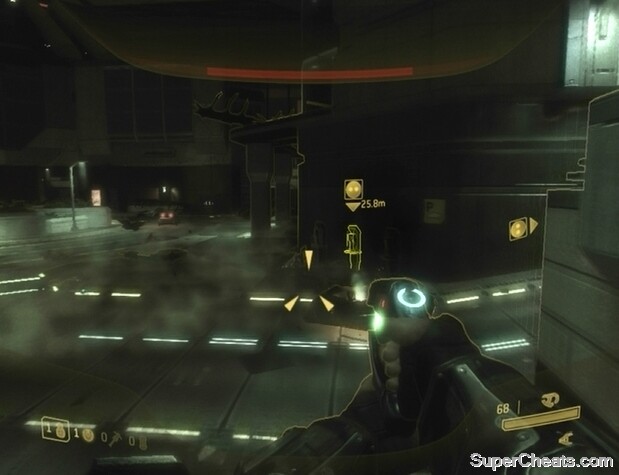 Interact with one of the marked data terminals to complete the objective. |
Objective: Search TAYARI PLAZA for ODST squadmate
You must make your way to the Beacon in Tayari Plaza to find the first clue. Follow the blue marker on your compass to an unlocked door with a sign that reads “Detour” next to it. If the marker on your compass is doing a poor job of pointing you in the right direction, open your VISR NAV and place a waypoint by the mid-red block at the south end of the district. The door you’re supposed to head through is just northeast of the locked security door.
Approach the door and hold the RB button to open it. Activate VISR to enable you to see more clearly in this dark building and follow the marker at the top of the screen to a door outside. Assassinate the sleeping Grunt by hitting him with a melee attack (B button) from behind, and then quickly take out the second Grunt in the same fashion.
Fight your way to the other end of the courtyard and enter the building there. Inside, head up and through the series of steps and corridors to reach the room with the first clue. Look to the cracked monitor on the northwest side of the room. Activate VISR if it isn’t already and inspect the RECON HELMET lodged in the monitor to trigger the first mission.
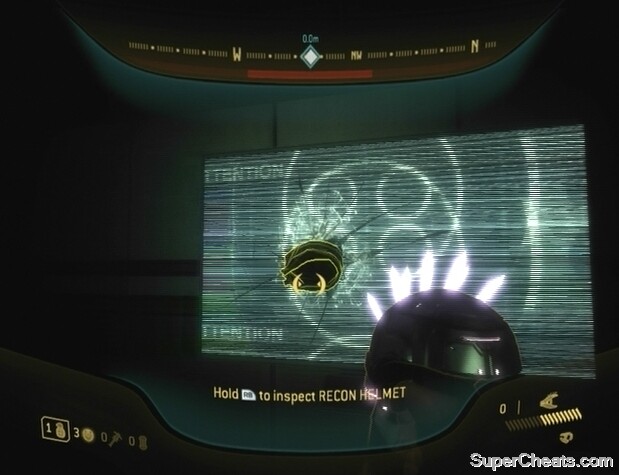 Clues and data terminals will be highlighted while VISR is active. Look for the first clue in Tayari Plaza. |
More for Halo 3: ODST on Super Cheats
where do you find the beacon when searching the kmpd headquaters for squadmates?
Hey I'm on objective 5 and I'm walking around but I see no squadmates
where is the recon helmet and how do you get there easily
Panchud