Kizingo Boulevard
Halo 3: ODST Walkthrough and Guide
Halo 3: ODST Guide - Walkthrough
Kizingo Boulevard
Mombasa Streets
Character: The Rookie
Note that you can tackle the Kizingo Boulevard, ONI Alpha Site, NMPD HQ, and Kikowani Station missions in any order you wish. To set a different Beacon on your compass, first press the Back button to access your VISR NAV and then use the up and down buttons on the D-pad to switch between the available Beacons. Press the A button to set the selected Beacon to the compass.
Objective: Search Kizingo Boulevard for ODST squadmate
Activate VISR and look for a highlighted turret on the building at the northwest end of the area. Enter the building by the door along its east side and take the stairs up to the turret on the balcony. Inspect the GAUSS TURRET to start the mission.
Kizingo Boulevard
Character: Mickey
Achievements: Kizingo Boulevard, Both Tubes (get 10 Rocket Launcher kills).
Objective: Save marines and Scorpion tank
At the start of the mission, switch to your Rocket Launcher, turn around, and fire both rockets at the Wraith down the street to destroy it. Doing so will net you three Rocket Launcher kills.
 Use your Rocket Launcher to destroy the Wraith at the start of the level. |
Use your Silenced SMG to kill the two Jackals that accompany the Wraith. Swap your empty Rocket Launcher for the Plasma Pistol carried by one of the Jackals. Then, head northwest until you reach some marines, a Brute, and a couple of Grunts. Hit the Brute with a charged Plasma Pistol shot to remove his armor, then switch to your Silenced SMG and finish him off
Kill the Jackals on the street further north. Some Covenant reinforcements will then appear to the west; ignore them and make a beeline for the Scorpion tank to the north. Get in the driver’s seat and immediately take to destroying the Wraith in the middle of the street to the west. Hit the Wraith with cannon fire until it explodes and then turn your attention to the Ghosts and other enemies in the area.
When the area is clear, start heading west.
Objective: Drive tank to rally point
Blast the Jackals and Ghosts you encounter along the way. When you pass an energy shield on your right, aim the turret up and blast the two Brutes on the walkway connecting the two buildings on either side of the street, and then take out the Ghost that’s headed your way.
 Push through to the rally point. |
Continue down the street and blast the Shade turret on the walkway to the east when you enter the next plaza. Hit the Brutes and Ghosts in the area and then take out the second Shade turret on the walkway to the southwest. There is also a Jackal Sniper on top of the building at the southeast end of the area. Fire at the purple tower at the bottom of the ramp to destroy it and then continue down the road to the east.
You’ll be in range of three Shade turrets when you turn the corner, so immediately take aim and blast each one. Next, hit the groups of Grunts and Brutes in the middle of the area and then fire at the purple tower in the distance. There are Brutes wielding Brute Shots on the walkway next to the tower and a Brute War Chieftain wielding a Fuel Rod Gun nearby. Hit these enemies with cannon fire before continuing to the security door at the end of the southern street.
Objective: Rescue Dutch
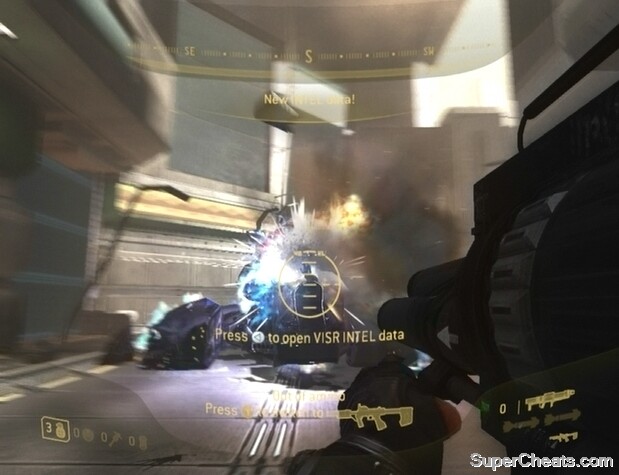
Shoot the two Banshees that appear out of the sky and then hit the Brute and Grunts on the sidewalk to your left. Before moving on, there’s some Rocket Launcher ammo nearby that will make the encounters to come much less of a hassle
Step out of the Scorpion tank when the immediate area is clear and enter the building next to the Gauss Turret along the right side of the road. Inside, move down the corridor to find a Rocket Launcher and a health pack. Pick them up, then turn around and start back down the corridor. Turn left when you can and climb up the stairs there. Head up the stairs and move through the corridors you come to until you reach the balcony. Look next to the piece of cover to the right of the Gauss Rifle to find some additional Rocket Launcher ammo.
Collecting Rocket Launcher ammo.
When you have the Rocket Launcher ammo, hop back down to street level and get in the Scorpion tank. Move further south and look for a Brute gunner on a Plasma Turret along the left side of the street. Blast the gunner, then take aim at the Wraith in the area further south and hit it with cannon fire until it explodes. If you’re after the “Both Tubes” Xbox 360 achievement, you may want to hop out of the Scorpion and destroy the Wraith with a couple of rockets instead. Doing so is not necessary however, as there will be plenty of other opportunities to rack up Rocket Launcher kills very soon.
Once the Wraith has been dealt with, turn your attention to the Grunts and Brutes dropped by a Phantom on the road to the west and fire at them. Then, continue south to encounter another Wraith. Destroy the Wraith with the Scorpion tank if it’s still intact, otherwise hit it with a couple of rockets. It’s very important that you save at least two rockets for the finale, so don’t waste them.
After destroying the second Wraith, abandon the Scorpion tank and make your way to Dutch’s marker. As soon as you reach Dutch, turn your attention to the security door to the south. A Brute and a group of Grunts and Jackals will soon march through. Now’s the time to get those last few Rocket Launcher kills to unlock the achievement. The enemies will be packed together when they first appear, so quickly take aim and fire to score multiple kills.
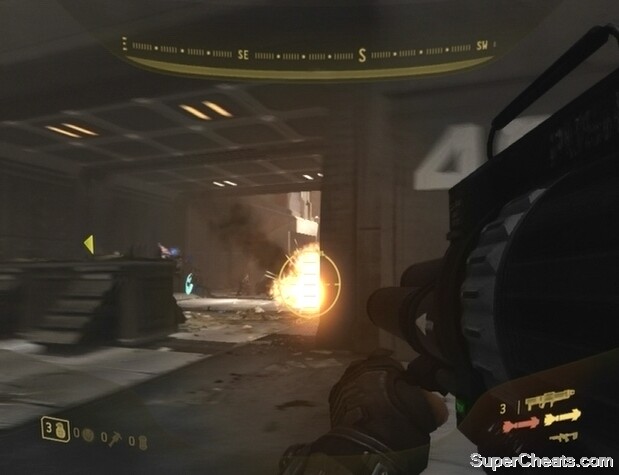 Be ready with a Rocket Launcher when the security door opens. |
Don’t waste all of your rockets on these enemies; save at least two for the next area. Fight your way south to reach the rally point.
Objective: Help Dutch defend rally point
A Phantom will soon appear and drop a Wraith off in front of the building at the west end of the area. Equip your Rocket Launcher and hit the Wraith with two rockets to destroy it, then fallback to cover. You can find a Sniper Rifle next to the container at the east end of the street. There’s also a Magnum and health pack at the bottom of the steps at the southeast end of the area.
To complete the objective to end the mission, you must kill each and every enemy at the rally point. Phantoms will appear to drop off more batches of enemies as the battle progresses. The Carbine-wielding Jackals that take position along the walkways on the northeast and southeast sides of the area can be a problem, so take them out with a Sniper Rifle or other weapon when they appear. You can distinguish the snipers from infantry by the energy shields the infantry carry.
 Kill every last enemy at the rally point to complete the mission. |
Keep fighting until the last enemy falls to complete the mission.
More for Halo 3: ODST on Super Cheats
^ Board the Wraith. Overcharged Plasma pistol shots with stun it so it cant turn and fire at you, just take you the turret gunner first
What do you do if you have no rockets to shoot the wraith? I'm stuck here.