Fontaine Futuristics
BioShock 2 Walkthrough and Guide
Fontaine Futuristics
Proceed through the gate, past the Vita-Chamber and into the next area. Upon stepping through the automatic door, turn left to spot the first Audio Diary (Alone at Last) of the level. Take out the Leadhead Splicers in the area below. Shoot an Electro Bolt at the pool of water they're standing in. Through the automatic double-door you'll find another gift from Eleanor -- this time the Damage Research Gene Tonic.
Down the stairs, listen to Gil Alexander's message and then enter the Airlock chamber.
Goal: Find Gil Alexander's Next Recording
Cycle the Airlock Control to fill the chamber with water. Step onto the ocean floor and walk the short route to the Fontaine Futuristics Airlock. Once there, cycle the Airlock Control to drain the water.
In the next area, after witnessing a Security Drone zap a Splicer, you will be attacked by a group of Houdini and Leadhead Splicers. There's a Vending Machine at the east end of the room, and a Healing Station behind the wall across from it. Use either of these if your health is low.
 Kill the Splicers in Fontaine Futuristics. |
Goal: Activate the Bio-Scan
After dealing with the Splicers, proceed up the steps and to the gate. Interact with the highlighted Bio-Scan security panel next to the gate.
Goal: Defeat Gil's Security Guard
You must defeat the Alpha Series Gil sends after you to open the gate. He's not nearly as tough as he looks. Have Telekinesis selected so you can throw back the Frag Grenades he sends your way. When he appears, hit him with whatever you've got. When he shoots a Frag Grenade at you, catch it with Telekinesis and shoot it back. Hit him with a couple of these to kill him. Be sure to pick up the Launcher he drops and loot his corpse for ammo.
Killing Alpha Series
Goal: Enter Fontaine Futuristics
Continue through the gate at the top of the stairs once the Alpha is dead. Listen to Gil's recording and then collect the highlighted Audio Diary (Agnus Dei) to the left of the desk. Interact with the Voice Activated Switch on the other side of the wall to open the gate. Attempt to gain access to the Security Office using the Voice Activated Switch around the other side, only to be thwarted by Gil.
Goal: Break Gil's Control Over Security
When the way is open, look for an Audio Diary (Means of Control) on the couch to the right of the hanging corpse. There is a Big Daddy in this area -- a Rumbler. You've faced this guy before. He's armed with a shoulder-mounted launcher, making him a fierce long-range fighter.
If you have Drill Fuel, hit him with a Drill Dash to get close and then just keep drilling until he falls. This strategy is most effective with the Freezing Drill Gene Tonic. If you're out of Drill Fuel, equip Telekinesis and any weapon; use Telekinesis to catch and throw the Rumbler's projectiles and Mini-Turrets, and continuously fire at him until he falls. Be sure to loot his corpse for Mini-Turrets.
Killing the Rumbler in Fontaine Futuristics
With the Big Daddy out of the picture, either Adopt or Harvest the Little Sister and be on your way. As with every other Little Sister, you can gather from two corpses to earn an additional 120 ADAM before rescuing or harvesting her. The gather spots here are a lot more challenging than those in previous levels, so be ready.
There is an Audio Diary (Life After Sisterhood) on the ground next to the Vent in the southeast corner of the second-floor walkway. Once you have that diary, head to the southwest end of the walkway and move through the opening in the wall here. There's a Turret beyond the pillar at the bottom of the steps; there's no need to hack it since there aren't any Splicers here, so just destroy it. Drop through the hole at the other end of the corridor to enter the Plasmid Laboratory Facade. Look for an Audio Diary (A New Cognitive Model) on the chair here, as well as the Drill Power 2 Gene Tonic.
Goal: Destroy the Signal Relays (1/4)
Proceed through one of the doorways at the south end of this room. Destroy the highlighted Signal Relay attached to the Bot Shutdown Panel on the other side of the wall. Deactivate the alarm using the Bot Shutdown Panel when it goes.
Goal: Destroy the Signal Relays (2/4)
There is another Signal Relay in the Plasmid Showroom, which is accessible through the door at the west end of this area. Before entering the theatre, look to your left to spot a hole in the wall next to a sparking Turret. Take note of the blood-scrawled code on the wall behind the woman tied to the chair: 5254. With that, continue into the theatre.
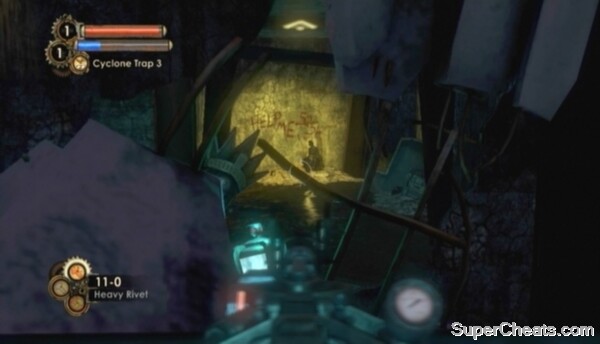 Take note of the code written here: 5254. |
Down the steps, turn left and go through the double-door marked “Employees Only.” Throw an Electro Bolt into the pool of water to zap the Splicers down below. The Keypad code to open the gate here is 5254. There is an Audio Diary (Prototype) next to a Storage Crate across from the bound corpse. The Careful Hacker Gene Tonic is on the broken wall across from her.
Wade through the pool of water, then head up the steps and proceed through the double-door at the top. Wait until the Splicer here is killed by an explosion and then collect the ammo from the vandalized Vending Machine.
Stand in the spotlight when told. A Houdini Splicer will soon appear on the platform to your right. Place a Proximity Mine in the middle of the platform to kill her immediately. Another Houdini Splicer will soon appear on the platform to the left. Place another Proximity Mine there to kill him as well. Kill the remaining Houdini Splicers and an Alpha will appear. Be ready with your Launcher and Frag Grenades and hit him as he approaches. Equip your Drill when his health is low and hit him with Drill Dash to finish him.
The Plasmid Showroom
After that ordeal, walk off the stage and destroy the highlighted Signal Relay on the Bot Shutdown Panel on the pillar straight ahead.
Goal: Destroy the Signal Relays (3/4)
The third Signal Relay is in the Marketing Department. The Marketing Department is through the automatic double-door off the east end of the second-floor walkway. Kill the two Houdini Splicers sitting at the table here, then exit through the door at the north end of the room.
Look to your left once through the door to spot an Audio Diary (Source of Volunteers) on the desk there. Move in and collect the diary while there is no electricity running through the water to avoid taking damage. The third Signal Relay is attached to the Bot Shutdown Panel on the other side of the wall. There is a Security Camera there as well, so destroy it before it triggers the alarm.
Gil has set up a Missile Turret in the previous room. Hit it with a Hack Dirt and hack it to your side, or simply destroy it. To destroy the Turret, catch one of its missiles with Telekinesis and throw it back.
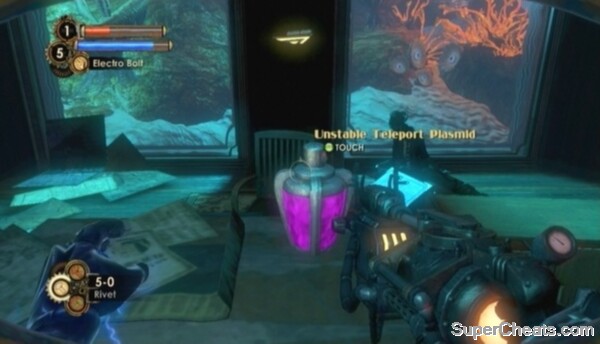 The Unstable Teleport Plasmid will eventually lead you to the Vending Expert 2 Gene Tonic. |
Throw an Electro Bolt at the sparking Door Control panel at the south end of the room to open the door there. Touch the Unstable Teleport Plasmid on the desk. Touch it again when it reappears and it will disappear again. Exit the office and touch the plasmid on the overturned desk next to the Missile Turret on your way out of the Marketing Department. The plasmid can then be found on the pillar stump at the north end of the second-floor walkway. Touch it again.
Goal: Destroy the Signal Relays (4/4)
The fourth and final Signal Relay is in Frank Fontaine's office, which is through the double-door at the north end of the second-floor walkway. There is a Turret in front of the door, so be careful. Inside the office is an Alpha. Hit him with a couple of Frag Grenades and whatever else you have. The Signal Relay is attached to the Bot Shutdown Panel in the southeast corner of the office.
Examine the Conspicuous Boar Mount in the southwest corner of the office to uncover a secret storage space. There are three locked safes and an Audio Diary (Goodbye to Fontaine) here.
Goal: Enter the Security Office
Downstairs, look for the Unstable Teleport Plasmid on the counter next to the Vending Machine and touch it. Look for it again on one the couches across from the Security Office. Touch it this time and you will eventually be teleported to a secret area. Collect the Vending Expert 2 Gene Tonic to be teleported back to the Lobby.
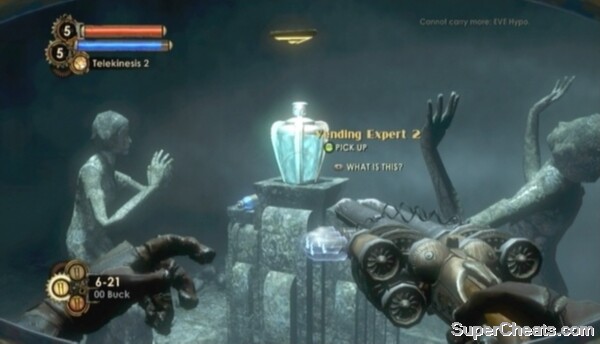 Touch the Unstable Teleport Plasmid one last time to reach a secret area. |
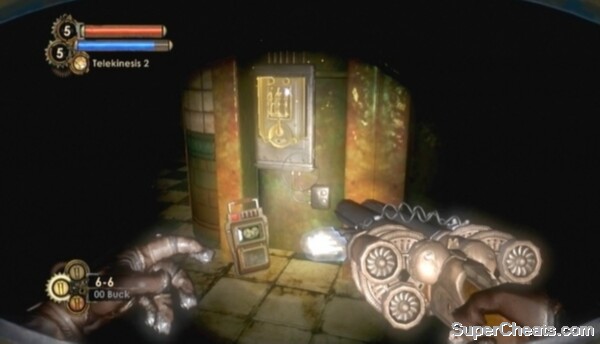
Return to the Security Office and interact with the Voice Activated Switch to finally gain access. Use the Power to the People station to upgrade one of your weapons, and then flip the Plasmid Laboratory Access switch to complete the goal.
Goal: Get to Gil Alexander
The way to the Plasmid Laboratory is through the automatic double-door next to the Ammo Vending Machine at the west end of the ground floor of Fontaine Futuristics. Upon entering the Lab Airlock, turn left to spot an Audio Diary (About the Experiment) on a table with some Big Daddy gear.
Goal: Find the Entrance to the Hidden Plasmid Laboratory
Cycle the Airlock Control to fill the chamber with water. Drop through the hole in the ocean floor and continue down the path to another airlock. Inside, cycle the Airlock Control and enter the Plasmid Laboratory.
Goal: Find and Activate the Circuit Breakers
The two Circuit Breakers are on either side of the giant tank in the middle of the room. Look for an Audio Diary (Solving for X) below the north-most breaker.
 Activate the two circuit breakers to turn on the lights. |
Goal: Activate the Power Mains
There is an Audio Diary (Gil's Plan in Place) next to the Gatherer's Garden between the two sets of steps that lead up to the switch.
Activate the Power Mains Switch to complete the goal. Be ready for a fight though.
Goal: Collect 4 ADAM-Infused Plants
Collect the first ADAM-Infused Plant next to the Power Mains Switch. Two Alphas will then spawn. Use Telekinesis to pick up the Hypnotic Polyp by the base of the tank and propel it at one of the Alphas, or you could just use the Hypnotize Plasmid. Kill the surviving Alpha and then exit to the Showers through the door at the northeast end of the room.
There is an Audio Diary (Outlived Usefulness) in the Subject Observation room across from the steps into this area. Collect the diary and then enter the Test Pacification Chambers through the door at the other end of the room. Turn left to spot the second ADAM-Infused Plant. Collect the plant and attempt to leave the room. Kill the Alpha and Leadheads that appear, and then make your way back to the main room.
Goal: Collect 4 ADAM-Infused Plants (3/4)
A Little Sister and Rumbler Big Daddy have spawned in the lab. You know what to do. Equip Telekinesis and any other weapon, provoke the Rumbler and then simply catch his projectiles and throw them back with Telekinesis. That, or you can attach some Proximity Mines to one of the Alpha corpses in this room, pick the corpse up with Telekinesis and throw it at the Rumbler to greatly diminish his health.
Killing the Rumbler in the ADAM Research Laboratory
When the Rumbler falls, loot his corpse for Mini-Turrets and then Adopt or Harvest the Little Sister.
Exit through the doorway at the south end of the room to enter the Live Test Facility. There's a Missile Turret under the stairs in the first room. Hack this turret to your side and it should take care of the Splicers here.
Proceed through the door at the far end of the room to enter the Test Subject Surgery area. The Rumbler here is special. He carries an Audio Diary (Meltzer's Choice). Kill him as you did the other two -- either by flinging a Proximity Mine-covered corpse at him or by throwing his projectiles back with Telekinesis. Search his corpse to find the diary.
Killing the Rumbler in Test Subject Surgery
Adopt or Harvest the Little Sister once the Rumbler is dead and then collect the third ADAM-Infused Plant next to the surgery chair.
Goal: Collect 4 ADAM-Infused Plants (4/4)
Before leaving Test Subject Surgery, look for an Audio Diary (Goodbye, Dr. Alexander) by the Vent in the northeast corner of the area. To the right of this diary, hit the Door Control panel visible through the broken window here with a Hack Dart and hack the door open. Return to the previous room and head through the now-open door to find a Power to the People weapon upgrade station and an Audio Diary (Big Sister) next to it.
You have with you the final Little Sister of the game. If you've rescued every other Little Sister, a gift will be delivered to the Gatherer's Garden upon rescuing this one. This gift contains 250 ADAM, 100 Dollars, and a Creme-Filled Cake. Sweet.
Remember that delivering the last Little Sister of the level will spawn a Big Sister, so be ready for a fight before proceeding. The best place to face her is the room just outside the Test Subject Surgery area, especially if you've hacked the Missile Turret to your side. Throw some Mini-Turrets down and then hit her with Frag Grenades and whatever else you've got. Set fire to the oil spill with Incinerate if she's standing there.
Killing the Big Sister in Fontaine Futuristics
When the Big Sister is dead, loot her corpse for ADAM and cash and then return to Test Subject Surgery. Make your way back to the Vent at the northeast end of the area and drop through the opening in the barred floor nearby to enter the Test Subject Holding Cells. The last ADAM-Infused Plant you need is in the southwest-most cell.
There is an Audio Diary (Betrayal) in the northwest-most cell. To get to it, enter the cell at the northeast end of the block (mind the turret) and move through the opening in the bars at the back of the cell. Walk to back of the northwest cell and use Incinerate through the bars to melt the ice that has the door frozen shut. Collect the diary and ammo in the northwest-most cell and then be on your way.
Goal: Lure Gil out of Hiding
Start back to the central room. You'll encounter some Leadhead Splicers, Houdini Splicers and a couple of Alphas, so be ready.
Make sure you're ready for a fight before activating the Sample Injection Controls in the main room. There is a Vending Machine at either end of the control deck if you need anything.
Goal: Extract Gil's Genetic Key
Approach the controls and interact with the highlighted panel to complete the goal. Pick up Gil's Genetic Key when it appears.
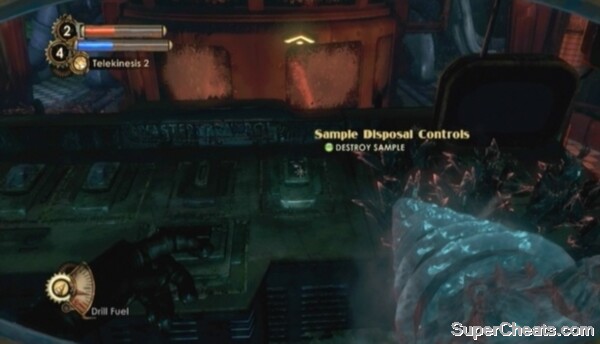 Leave Gil alive if you're after the Savior achievement/trophy. |
You're faced with another choice here: kill Gil Alexander, or leave him alive. The choice is easy if you're after the “Savior” achievement or trophy, which is unlocked by rescuing all Little Sisters in the game and sparing all characters when given the choice to let them live or die. Interact with the Sample Disposal Controls if you want to kill him, otherwise be on your way.
Goal: Unlock the Hidden Elevator
Head back to the airlock and cycle the Airlock Controls. Interact with the highlighted Airlock Access Panel on the ocean floor to unlock the way to the elevator.
Goal: Take the Elevator Down
Cycle the Airlock Controls to access the hidden elevator. Look to the right for the last Audio Diary (The People's Daughter) of the level. Don't miss it on your way out!
Step into the elevator and press the button to complete the level.
I find your walkthroughs extremely helpful as I can't find them in stores.
One co. said they don't print them anymore.I'm an older gamer(57)and en
joy playing them even if I'm an old fart, not a young man(I still remember
PONG).
im stuck in a lift and i cant get out