3: Heart of Darkness
Battlefield: Bad Company 2 Walkthrough and Guide
Level 3: Heart of Darkness
Story:
The cargo in the truck turns out to be fake. The Russians are building a weapon, and the operation we were assisting was to discover more information about it and to steal a crucial part of the weapon. We have been welcomed into the Special Activities Division of the army, in what will, as in the previous game, be Sarge’s last mission. The US need more information on the weapon, and so have set B Company up with Aguire, an expert on this sort of thing, in Bolivia, and that is our next location.
Collectibles:
SPAS-12
Other Collectibles:
AEK-971, T88 LMG, M2 Carl Gustav, T88 S-R, SCAR-L, TOZ-194S
M-COMS:
2
Walkthrough:
We are dropped in by our hippie helicopter pilot into a jungle wilderness.
Follow Unit:
This area is tense and atmospheric, but there are no enemies to worry about for a while. Move up the hill out of the water and into the village along the path ahead. Someone has wasted everyone and everything in the area, but don’t worry about that for now, just proceed to the marked house to find Aguire’s last known location. Aguire is nowhere to be seen, but has left a clue, suggesting he is upriver. Before you can dwell on this revelation, however, enemies appear.
Withstand Counterattack:
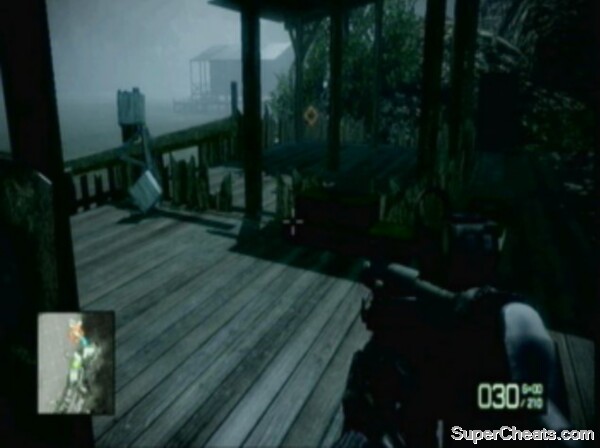
From the window that you begin at, enemies will come down the hill to the right and the hill to the left. The best tactic is to use an LMG to mow down the oncoming horde. Pick off any RPG units that pop up. You will get grenaded and your building will take plenty of hits, but eventually the Bolivian militia will stop coming.
 Defend your position |
TIP: Don’t be afraid to move from the window. A good tactic, in fact, is to stand back from it in case of RPGs or grenades against the wall.
You can move outside once the enemy begin to thin out. With the area clear, an enemy boat will appear on the water. You need to head to the house on the hill in the centre (from your original window, marked on the map with a gun icon). The M2 Carl Gustav RPG is located on the surrounding balcony of this house. Once you have picked it up, head back towards the waterfront and launch some rounds at the boat. It should be relatively easy to hit.
Collectible: SPAS-12 – this is located in a house by the waterfront, marked on the map with a pistol icon (not the one with the Gustav).
Other Collectibles: Enemies will drop the AEK-971 and T88 variants in this area, and you can also pick up the Carl Gustav as mentioned above. Look for the T88 S-R near the boat.
 This level’s collectible weapon, the SPAS-12, can be found in a shack by the waterfront. |
Find Transport Upriver:
With the boat down, you can proceed to follow your team up the hill.
Move through the undergrowth to locate a small boat that will be used to move upriver to find Aguire.
Follow Aguire’s Trail:
Proceed along the river. This is a very atmospheric section, with flashes of lightning and people moving along bridges and among the bushes at the edge of the river. Eventually you will come to a dead end. Run the boat into the ground and move out on foot. Once you reach the area covered in logs, enemies will surface out of the water. Use the logs for protection as you finish off the sneaky hostiles in this area. The river bends round to the right, where a rope bridge with an enemy on and a village bustling with activity are located. Before following this path, however, there is an M-COM station to be destroyed.
M-COM Station #1: Continue straight on up the paths past the log and guerrilla insurgent area, ignoring the objective marker and route to the right. The M-COM is to the left as you reach the peak of this slope.
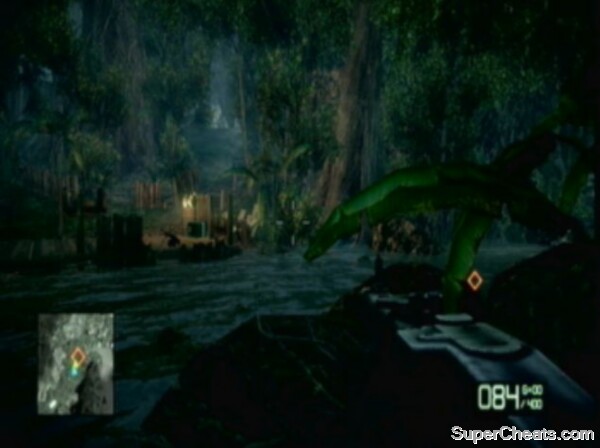 The first M-COM station of this level is up the slope straight ahead. |
Resupply at Flynn’s Weapon Cache:
You can now proceed under the rope bridge and into the village area. Flynn, the helicopter pilot, has dropped some weapons for us to pick up to make the rest of this mission easier. There are not too many enemies in the village, and you will soon be able to climb various sets of stairs at the side of this area towards the weapons cache.
M-COM Station #2: At the top of the staircases is the second M-COM station, next to the gap in the wall that you have to move through.
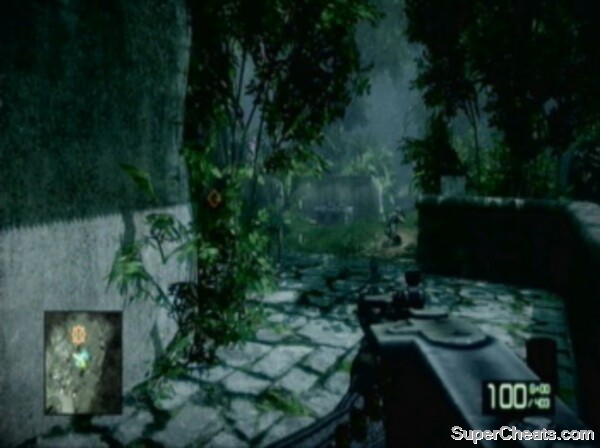 The second M-COM is on the route to the next objective. |
With the M-COM destroyed, move through the gap in the wall. After travelling through a jungle section, you will come upon the yellow weapon cache. Access it and you can retrieve any gun you have picked up thus far.
Find Transport Upriver:
At the edge of this area you can gain an overwatch on the village below, where the boat we need is located. Take out any enemies in sight and move down amongst the houses. A much better craft than the previous one is available now, complete with grenade launcher. Get on board when ready.
Sweep and Clear Militia Logging Camp:
You are in control of the boat and the gun, though Sarge is actually the one manning it. There are not any enemies to deal with here, but once you reach the blockage in the river you can get the boat up close to the barricade and use the turret to wreak havoc on the buildings and infantry ahead. Some will try to rush your position, and you should be careful of getting flanked if you remain in the boat.
 Use the boat’s turret to clear the initial area. |
Once you have disembarked, use the land to the right, following it until you enter the side of the camp. Pick up the C4 in the first building you come to, marked by a gun icon, and then lay it in the middle of the dirt road ahead. You will hear a vehicle coming in, and you should detonate the C4 once it rounds the logs and comes into view.
TIP: C4’ing the truck is not necessary, but is good fun and nice practice for multiplayer!
With the truck out of the picture, move through the base, taking out the Bolivian enemies as you go. Many of them have shotguns here, and the AI is very accurate even at medium range with them. The vast logging area that you enter is prime flanking territory, for both you and the enemy, particularly the sections under roof cover. You must push through, however, until you reach a road leading to another village.
TIP: There are many collectible guns in this area, marked on the map by gun icons.
C4 the enemy truck and clear the logging camp.
Secure Access Road:
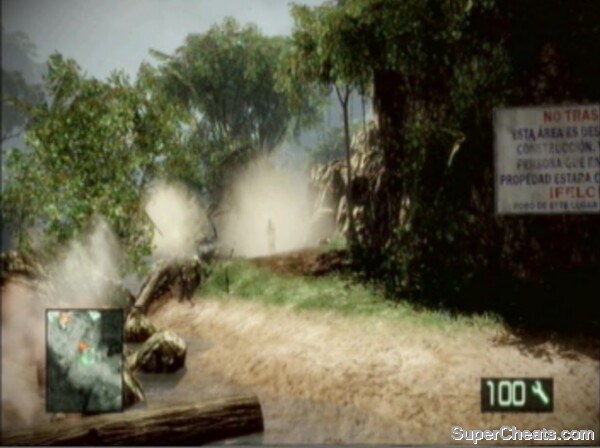
As soon as the buildings come into view, use your 40mm grenade launcher on the shanty houses up ahead. Once the enemy begin to reveal themselves as a result, let rip and take them down. Use the sandbags for cover, and when the coast appears clear, move amongst the houses.
TIP: A shotgun is a good weapon for the confined areas ahead.
Other Collectible: Two gun icons in the logging camp provide the TOZ-194S and the SCAR-L.
Be careful of every door you pass, as some enemies may be remaining. Targets will move to engage you once you clear the first pair of houses. Before long, however, you will reach a road, leading uphill. Reach the objective marker to complete the mission.
 Nearly at the end now, but don’t get complacent! Watch out for hidden enemies amongst the flames. |
the T88 S-R,is where the M-com station is b4 u get to the supply crate,if u look to ur left when u get to the Concrete building thing,it should be there
Where exactly do you find the T88 S-R and the TOZ-194S?