Arica Harbor Rush
Battlefield: Bad Company 2 Walkthrough and Guide
Arica Harbor Rush
Overview:
Arica Harbor is one of the most popular Rush maps. Set around a South American desert town and military base, it features high ground, long-range combat, close-quarters M-COM stations and vehicular combat, making it a map for all types of players. Helicopters do not feature, but there are plenty of land vehicles in the first few bases. It is a large map, with five stages in this Rush game type. The Americans are attacking the Russians on this map.
 Arica Harbor is a very large map |
Class Recommendations:
1) Engineer: The vehicular combat of the first base, combined with the close-quarters nature of the rest, make the engineer class a good choice on this map. The attackers have far less need for anti-vehicle units on Arica Harbor, so assault may be a better choice if you are on the offensive.
2) Medic: LMGs are versatile weapons, but it is primarily for the attacking team, to reduce the number of tickets lost on each base, that medics should be employed on Arica Harbor. Their weapons are good for suppressing enemies, and this is one of the best maps for creating bottlenecks of players defending or attacking, where reloading could cost you an M-COM station.
3) Assault: As mentioned above, the attackers would benefit from using assault class units over engineers, as they have few vehicles to deal with and their increased accuracy is always a benefit. The 40mm grenades are useful for the M-COM stations, as some are in sealed rooms, while the 40mm shotgun is superb for attacking the tight M-COM areas themselves.
4) Recon: There are plenty of opportunities for Recon players to enjoy themselves on this map, but it takes a good knowledge of the bases. The first base has mountains, which can be used for discreet sniping, while the rest have tall buildings allowing snipers to turn the tide of the battle.
Bases
Attackers Deployment
This is far and away the best-stocked spawn in Bad Company 2. The Americans are gifted 3 Abrams Tanks, 2 Humvees, a quad bike and a UAV. Being in a squad is still essential, however, as it is difficult to reach the Border Control base without a vehicle, and even on the quad bike or in the humvees it is not easy.
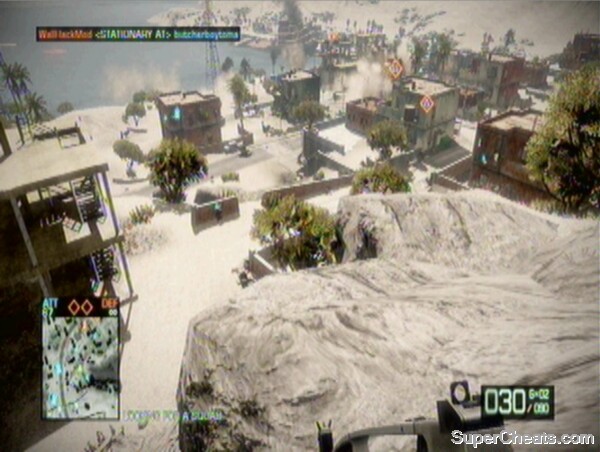
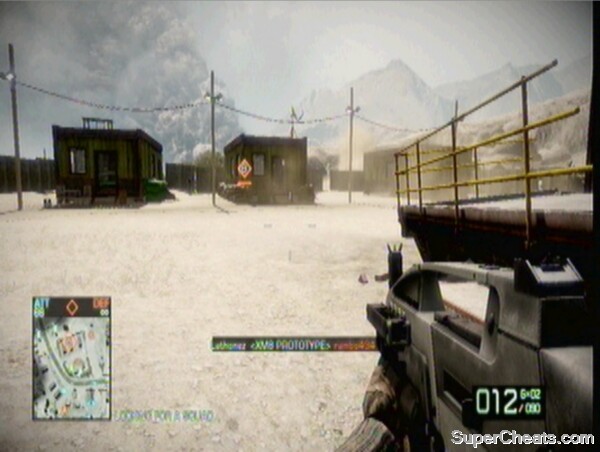
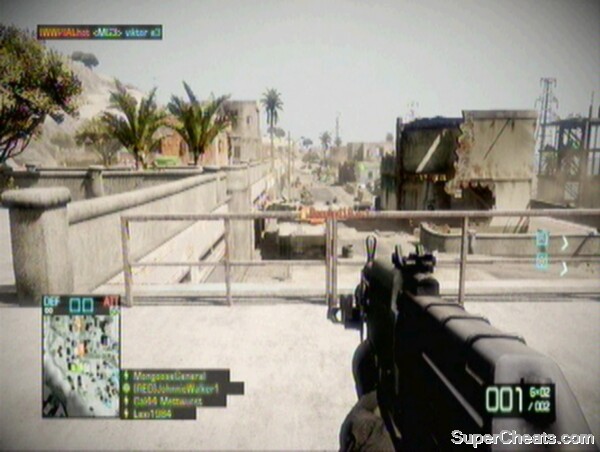
Border Control
There is one main road towards this base, though it splits, going around two sides of the military installation. Concrete blocks stop the way in places, but it is still possible to get vehicles in a bombarding position over the defenders. It is almost inevitable that the defenders will plant anti-tank mines on the roads and in any gaps in their perimeter wall, so it is essential for any vehicle driver to take great care while moving forwards. The M-COM stations are in a central area, surrounded by concrete blocks, and are quite easy to defend. Outside this internal core are other buildings, which infantry and vehicles use to flank the defenders.
 The road to the first base is long and dangerous |
Alpha:
The Alpha M-COM is nearer the main road, but the raised piece of land on which the main base is located makes access a little more difficult. The best way to deal with Alpha is to use the tanks given to the attacking team to destroy the building with Destruction 2.0. Defenders are rarely found inside the building, however, so it is possible for infantry to assault and arm this M-COM.
Bravo:
Bravo is located behind Alpha, in a small and thin building that cannot be destroyed. It is usually taken out after Alpha, and there are many routes to it for infantry who do not have to stick to the road and can slink through the concrete perimeter that is in place to aid defenders.
 The Bravo building cannot be destroyed |
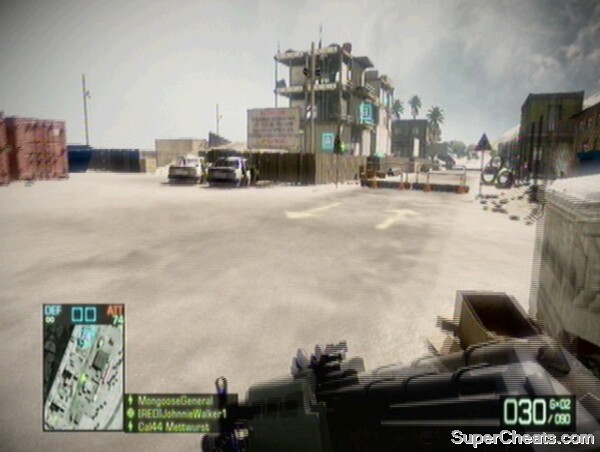
Town
The Town base has since been converted into a great Conquest map. However, in Rush, the attackers face a daunting trip down a steep hill into the town. This is often exploited by snipers, attacking anyone in the open in the town below. There are scores of buildings that are all frequented by close-quarter units and snipers on their rooftops. The main road continues down into the town, again often dotted with anti-tank mines. Attacking vehicles can park right outside the Alpha M-COM station, but they can also go off the road and protect the area near Bravo.
Alpha:
Alpha has the unfortunate distinction of being impossible to find among new players to the game. Alpha is only accessible using explosives to blow open a garage door at street-level in the town, before it can then be armed. Once you locate it, it is notoriously difficult to arm, because defenders camp inside the garage area, but once activated, it can be protected by a small group of players. Grenades and RPG users can get plenty of kills bombarding the garage.
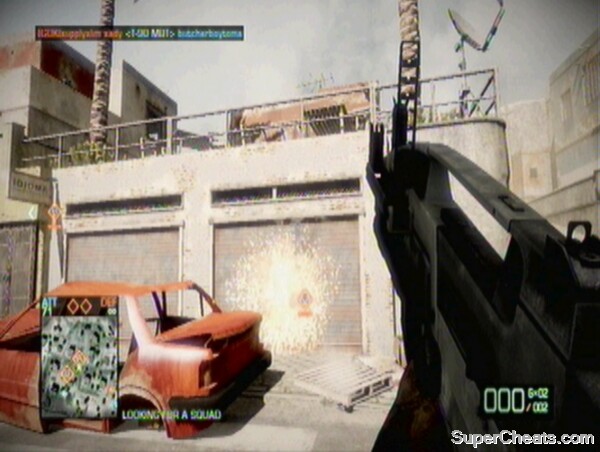 The hatch to Alpha must be physically blown open! |
Bravo:
The Bravo M-COM is located opposite Alpha, in a multi-storey building. It is best accessed from the rear, as this surprises the defenders. It can also be destroyed using Destruction 2.0, and the UAV of the attackers comes in particularly handy here. Tanks should be brought down the road and used to destroy the building.
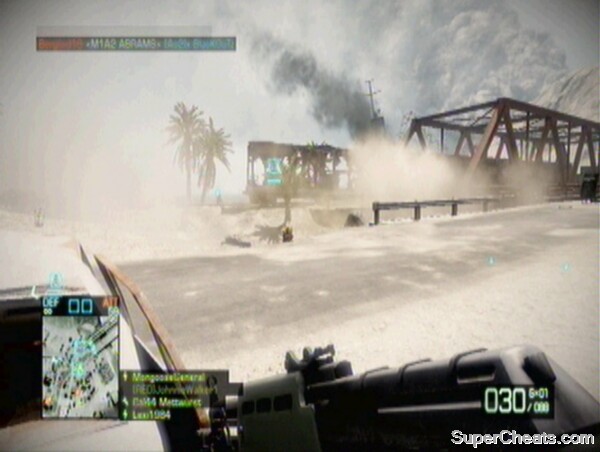
Bridge
The Bridge area is located not far from the town itself. Down another slope, there is a train track and crashed bus. The train and bus are the locations of the two M-COMs. This area is very vulnerable to snipers, using the town's buildings to dominate the defending army. However, it is also easy to flank these snipers, as there is plenty of cover for infantry moving left and right away from the bridge. The same is of course true of attacking infantry, and defenders must ensure they protect their flanks with advanced units. There is also a tall building overlooking the M-COM boxes, another area used by snipers – it is vital for defenders to keep this under control.
 It is important for the defenders to flank the attacking units to relieve the pressure. |
Alpha:
Alpha is located inside the bus. Once an attacker is inside the bus, he is invulnerable to most gunfire due to the high sides of the vehicle, and the only way to really remove them is using a grenade. While easy to arm, it is also easy to deactivate, and there is often a back-and-forth nature to this M-COM box. Getting to the bus is also quite easy, as there is cover in the form of buildings, rocks and trees between the town spawn for the attackers and the bus. The vehicle itself is also useful as cover.
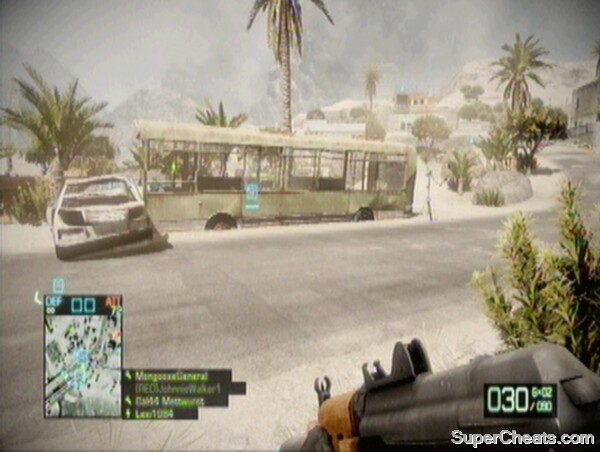 Alpha is located in a fairly battered bus. |
Bravo:
This M-COM is located further back than the Alpha station, and the train carriage must be hit with a 40mm grenade or an RPG before the M-COM station is exposed. Repeated Mortar Strikes also pack a punch here, particularly with the amount of vantage points given to attacking snipers at this base.
 Bravo is in a train carriage. |
Harbor
Assaulting the harbour involves traversing the long bridge section. There is lots of cover on this bridge for defensive infantry to use to prevent too many attackers from reaching the M-COM boxes. However, there is also a route under the bridge, and a road route along the side. Tanks can get across using this method.
Alpha:
Alpha is again located in a train carriage, close to the end of the bridge. This time, however, it is on its side. The roof and sides are impenetrable, meaning attackers tend to be funnelled through on entrance at the front. This entrance can be bombarded by tanks and RPGs, however, providing many kills for the attackers. Once armed, it is easy to protect due to the bottlenecked defenders. Throw plenty of grenades in to keep the defenders off.
 Another train carriage, but a very different nature to the battle surrounding it. |
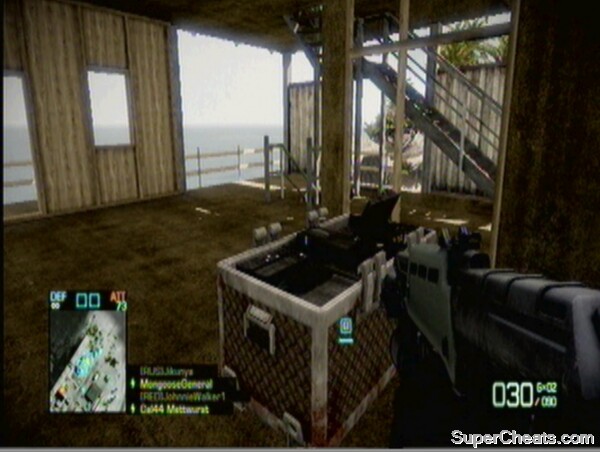
Bravo:
The Bravo M-COM is located in a building identical to that of Alpha on Nelson Bay's Last Stand. Because it is set back so far from the bridge, many players focus on defending Alpha. There is lots of cover to reach Bravo, however, and some defenders should be left to camp inside and deal with any attackers who focus on this base too early. It can become more exposed through persistent mortar strikes, though it is still partially covered by cargo containers.
Last Stand
The final base is unique to Arica Harbor. The building that the M-COM stations are housed in is not particularly original, as it is one of the multi-storey under-construction buildings visible elsewhere on this map, and on other Rush and Conquest levels. The distinction is that both M-COM boxes are in the same building. Reaching the building is easy, as there is plenty of cover on the route towards it. The M-COMs are well protected from vehicles, and defenders have lots of cover inside the building itself. The difficulty is that often one attacker can arm both boxes, which makes it difficult to keep the situation under control.
 Two M-COMs in one building! |
Alpha:
Alpha is on the lower floor of the building. As such it is the one most regularly armed. Defenders often camp in the corners around it, but holes can be blasted in the concrete surrounding it allowing for quick access.
Bravo:
Bravo is on the next floor up, so is usually armed after Alpha. Defenders from the roof can come down to assist if this does occur, but generally it is best to guard the bottom floor of the building.
Bravo is higher up, making it easier to defend |
Best to defend Final Stand by exposing Alpha by destroying the walls? Or is that too advantageous for the Americans?
right chea right chea
where da hood at