Destroy the Anti-Air Emplacements
Thank you for printing this page from www.SuperCheats.com.
Remember to come back to check for updates to this guide and much more content for Metal Gear Solid V: Ground Zeroes
Follow this guide to hear about updates
Last Updated:
Videos
Out of the four AA emplacements in the base, you only need to destroy three. However, you can also unlock the "Extraction" trophy / achievement. This will require you to find and extract all prisoners of war in the base. One prisoner (who will unlock Chicos' Tape #7 upon debriefing) is located inside the administration building's boiler room.

The other prisoners of war are held in the prison camp. You can refer to the videos below:

Rescuing the POWs

Extracting the POWs
Text Walkthrough
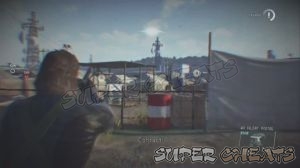
As soon as the mission starts, take out the nearest guard you can see and hide his body. Now approach the AA gun and there should be another guard nearby. Quickly put him to sleep and hide his body. Now approach the AA gun and there should be another guard nearby. Quickly put him to sleep and hide his body. Select your explosives in the weapon menu and keep holding the same direction to bring up more options for that weapon slot. Select the C4 and plant it on the AA emplacement. Take note that you can also remotely detonate all the C4s you planted at the same time, anywhere in the base. This will make it convenient for you since you can just plant C4s and detonate them all when you’re about to leave.

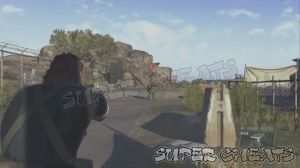
A few minutes in the mission, the whole base will go on alert because of they detected the incoming assault force. All guards will be on alert status now and will be moving about. Make your way to the prison camp and look out for a guard smoking inside the fence behind the armory, right before you cross the road.

Follow the road and make your way to the prison camp. Look around for a possible roving guard in the nearby refugee camp. A guard will also run along the road from where you came from so ambush him and put him to sleep as well. Hide his body then head towards the prison camp.
Take down the guard standing by the guard house then head to the prison camp. There’s another guard there. Fortunately, he’s alone so you can take him by surprise and use the slow-motion feature to take him out. Free up the prisoners and take them to the nearby landing zone. Load them all up to the chopper and continue with your current objective.
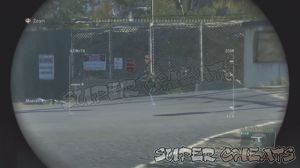

Out of the three remaining AA emplacements, the one standing in the middle should be the hardest to reach since it is in the open and there are more guards. From the prison camp, get back to the main road and make your way northeast. You can take out the soldiers around the AA gun along the way and plant C4 there.

After planting the C4, go around and take out the lone soldier patrolling the walls. He carries a rocket launcher so make sure to pick it up a swell. Walk carefully while hugging the walls until you get near the administration building’s northwestern entrance, where another AA emplacement guarded by two soldiers is located. Knock them out and remove their bodies to a safe distance to avoid collateral damage. Plant a C4 there as well.

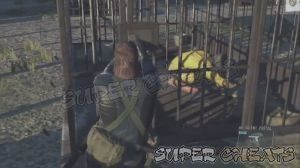
Now enter the administration building and make your way to the Boiler room. A more valuable POW is found here so bring him upstairs, preferably towards the admin building’s northeast entrance. You can disable the camera along the way or just use its blind spot to get past it.
Once you’re in a safe distance, you can detonate the planted C4s. After destroying all AA emplacements, CP will deploy an armored vehicle, coming from the western side of the base. At this point, it will be a good idea to call in your chopper already. If you still have a lot of extra C4s, you can lay them down along the road since the armored vehicle will make its way to the helipad by following the main road. Detonate the C4s to damage it and make it stop then destroy it using your rocket launcher.
Destroying the armored vehicle will make initiate a three-minute countdown. If you’ve called the chopper in advance, it should be arriving just in time to pick you up. Carry the prisoner and hop aboard the chopper to complete the mission and unlock the achievement/ trophy afterward.

Anything missing from this guide?
ASK A QUESTION for Metal Gear Solid V: Ground Zeroes
Comments for Destroy the Anti-Air Emplacements
Add a comment
Please log in above or sign up for free to post commentsNo comments yet. Tell us what you think to be the first.
Table of ContentsClose
Guide Updates
Get notified of updates to this guide
Many of our guides get updated with additional information. To get an email when this guide is updated click below.
 Join us on Discord
Click to close