MQ: Restoring the Shrines
Restoring the Shrines
Juliace talks about the shrines that needed to be activated for the portal to open.
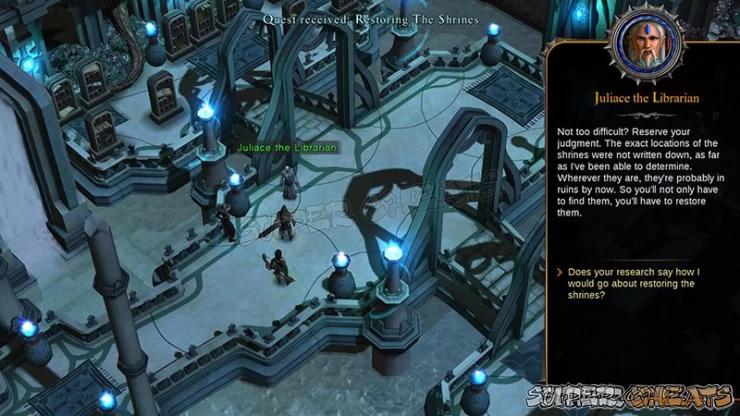
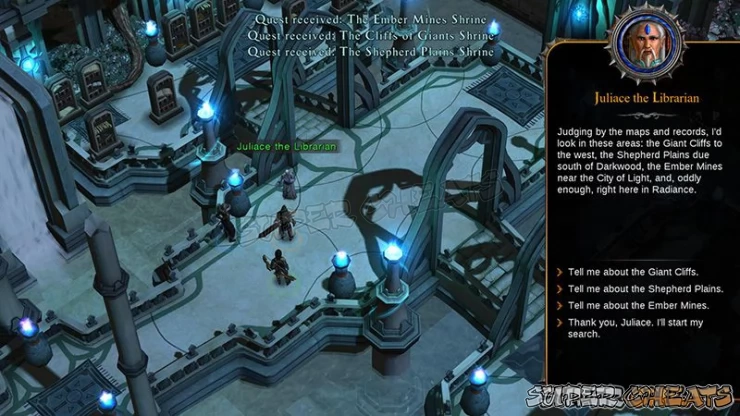
After he tells you what you must do, you may opt to learn more about the areas or go on and continue.
TIP: It is recommended to do the quest "For the love of Elena, Looking for love in all the wrong places, & The Blade of Legend since all of them are a long quest line resulting in a neat weapon as a reward.
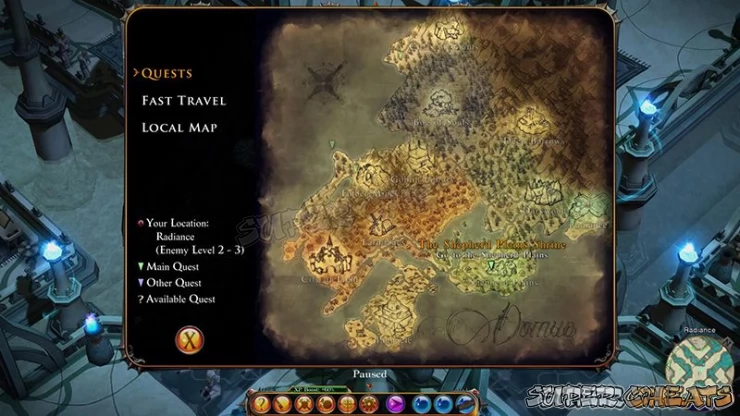
Head to the Shepherd Plains to go look for the shrine there.
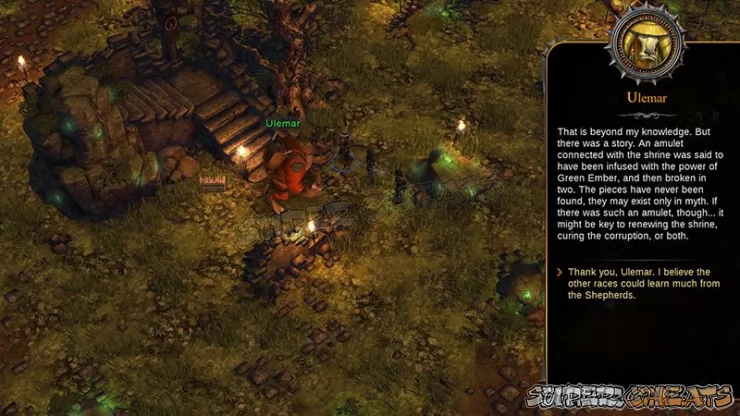
When you arrive, find Ulemar and speak to him. He will tell you to find the Shepherd at Glen Lake.
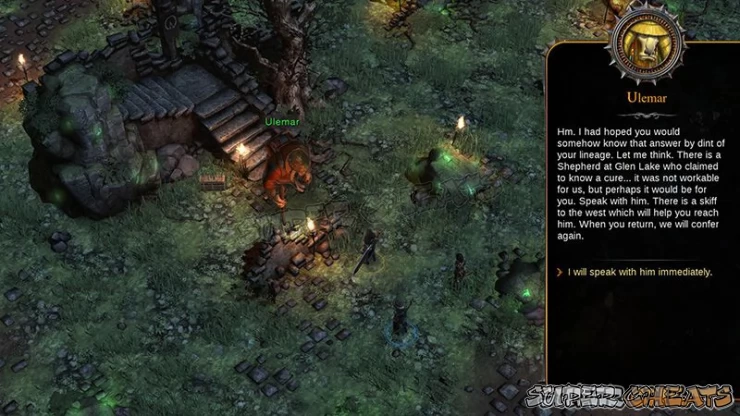
Head to the quest marker by the lake and ride the boat to the island.
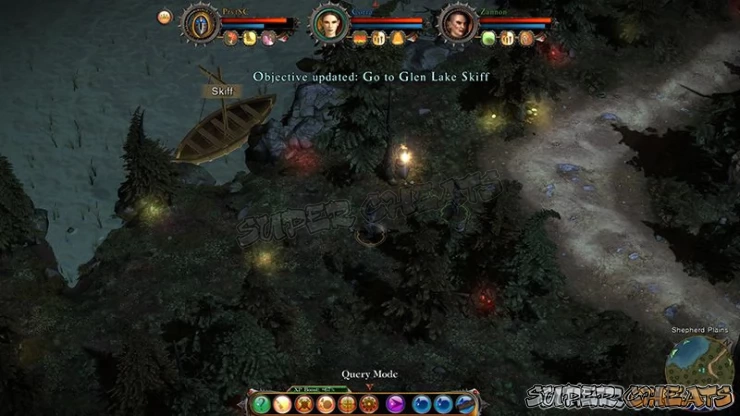
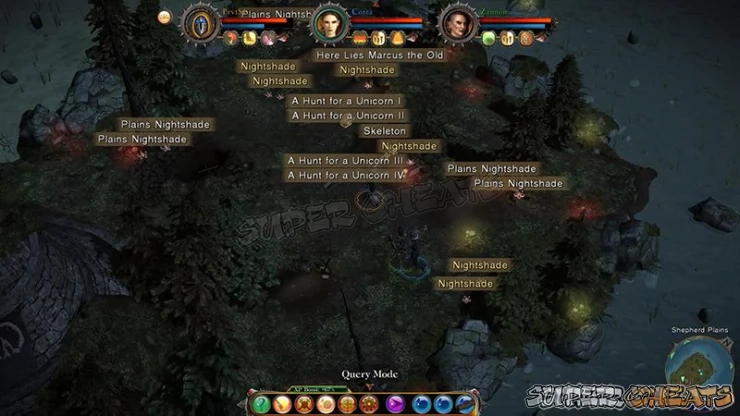
On the island, you will meet Marwhal. He has you get some Plains Nightshade.
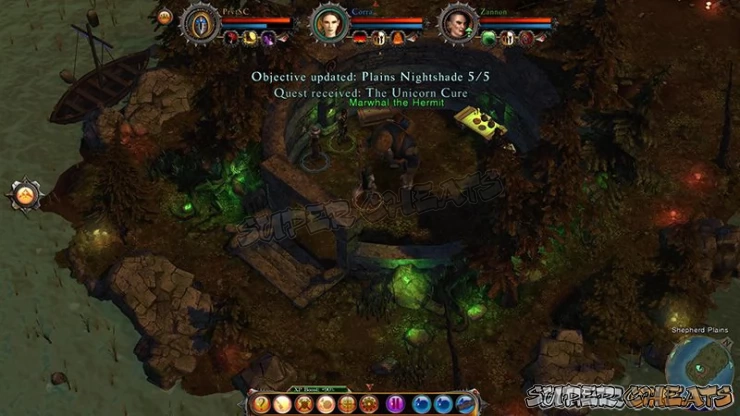
All of them are behind his house.
He makes something for the unicorns. Now go back to Ulemar.
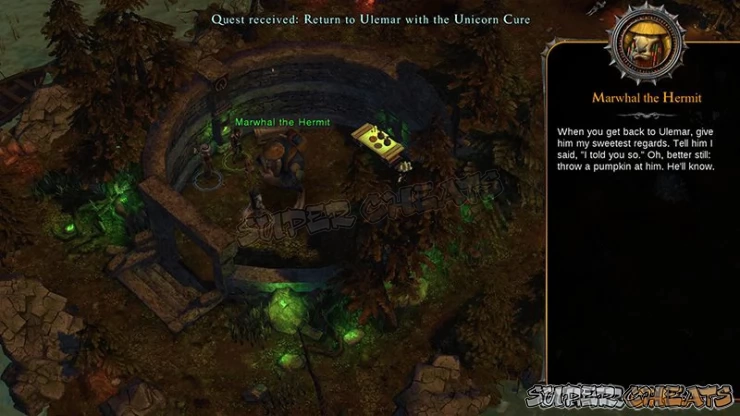
Speak to Ulemar to get to the next step of the quest.
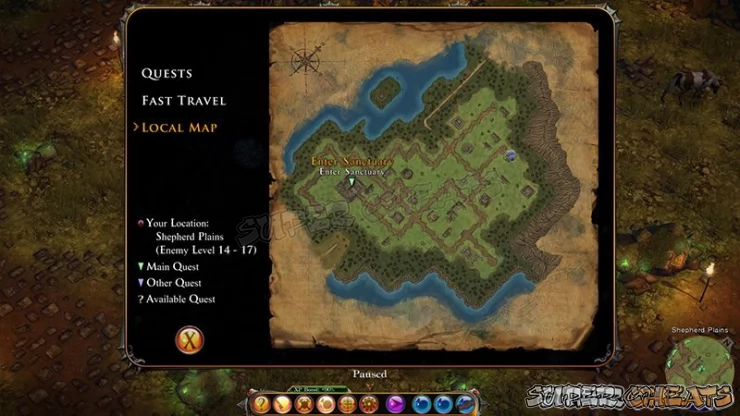
The Sanctuary is in the south western side of the map.
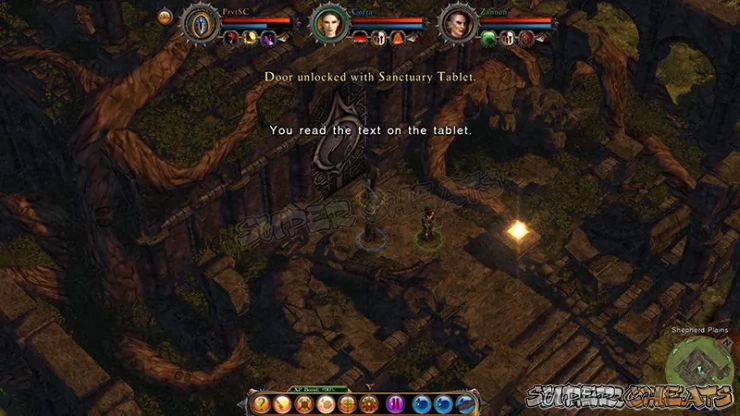
Use the Sanctuary Tablet given to you to gain access to the shrine.
Go to the marker on the map.
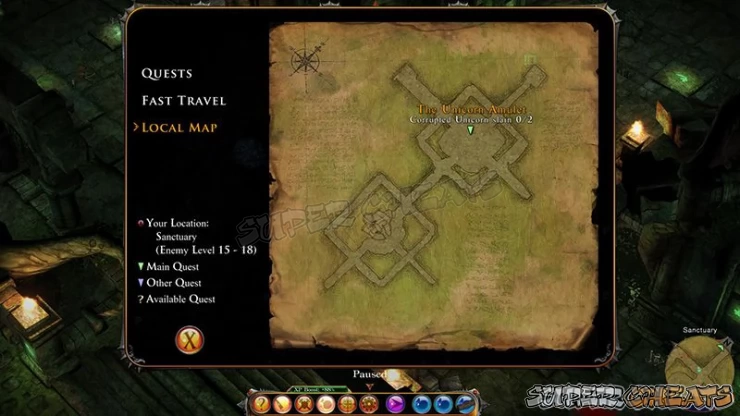
You will find the corrupted unicorns in the center area. You will fight them and the area will be sealed. The two unicorns are pretty tough but nothing too phenomenal.
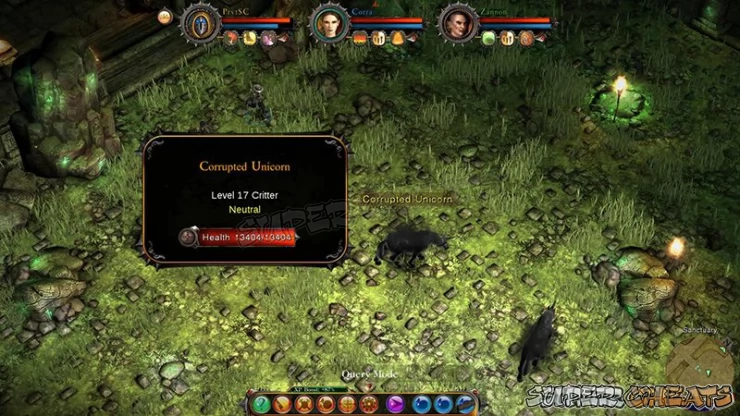
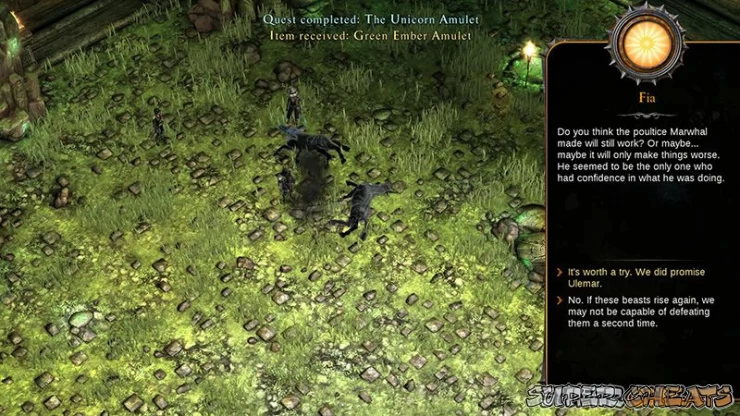
When you defeat them, give them the cure.
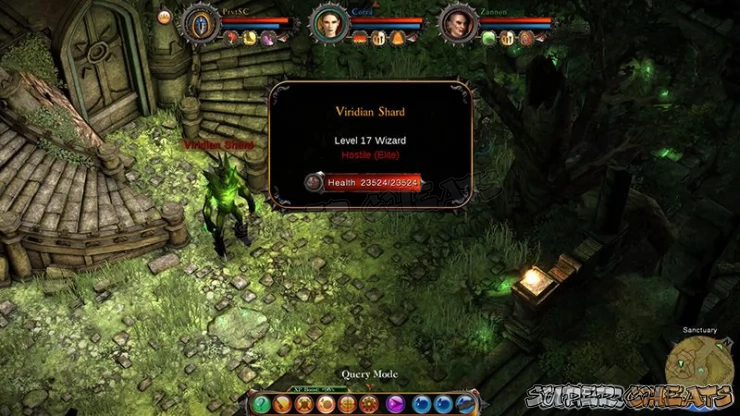
Go deepere into the Sanctuary and you will find the shrine. It is being guarded by a shard. Defeat it and make your way up the altar.
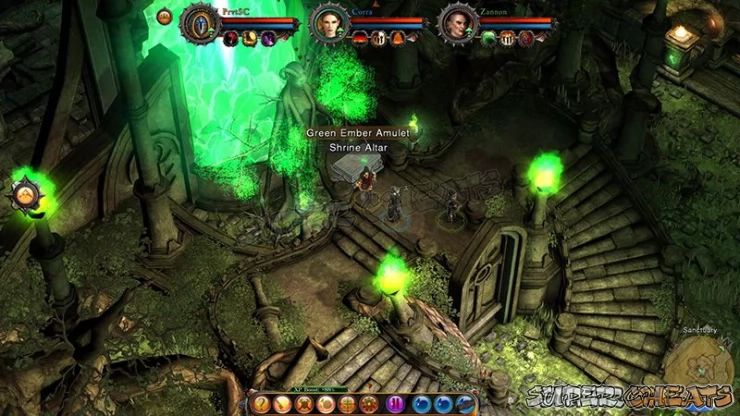
Drag the Green Amulet you got from the unicorns and put it on the Shrine Altar.
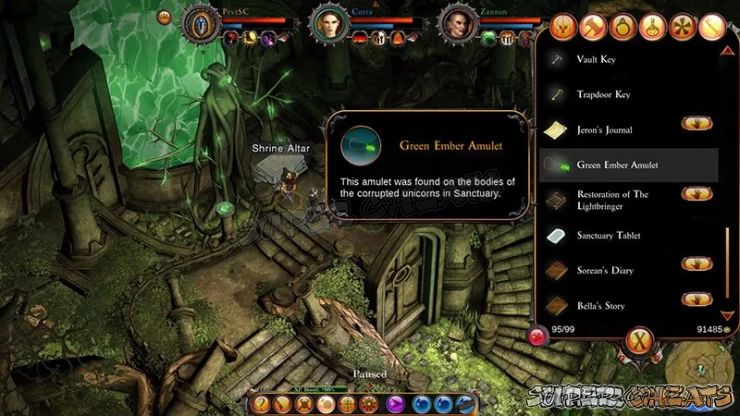
The shrine will be activated and the Sanctuary will also begin to repair itself.
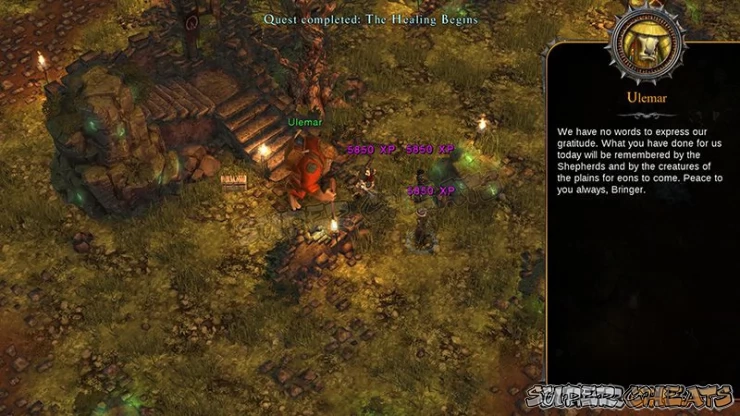
Report your success to Ulemar. He will be grateful to you.
The next area is the Embr Mines. Fast Travel there (if you already discovered the place) or walk there by going from City of Light's North western gate and walking to the end.

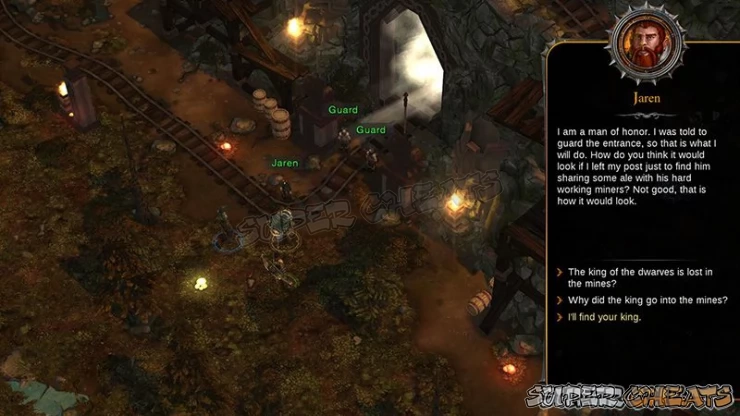
Speak to Jaren outside the shrine. He says that their King hasn't come out yet. Offer your help to him.
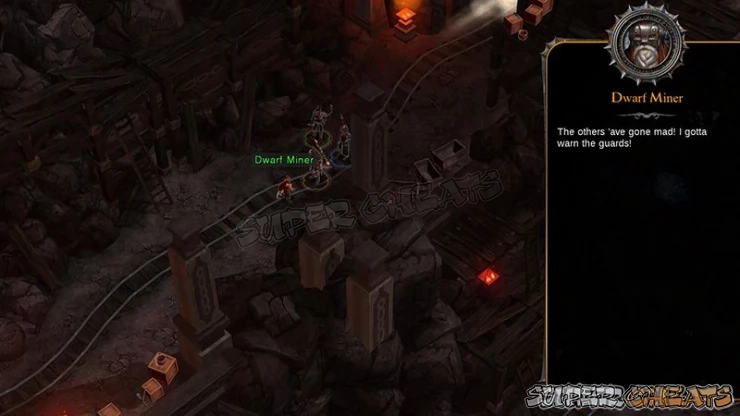
When you enter, you will find a miner running for his life. Saying the guards have gone mad.
Make your way to the quest marker.
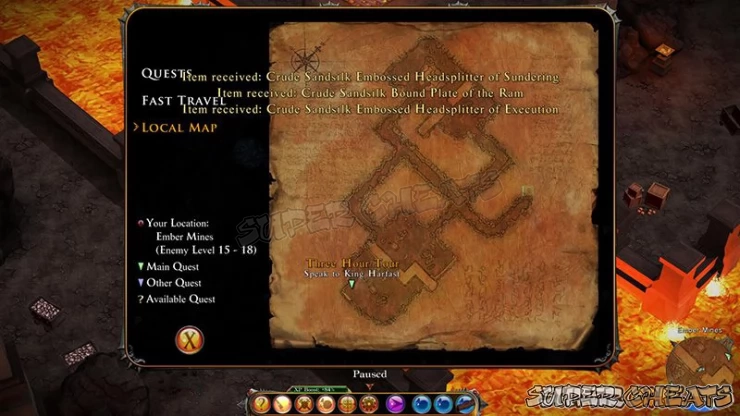
You will find the Darkbringer holding the King and his men back.
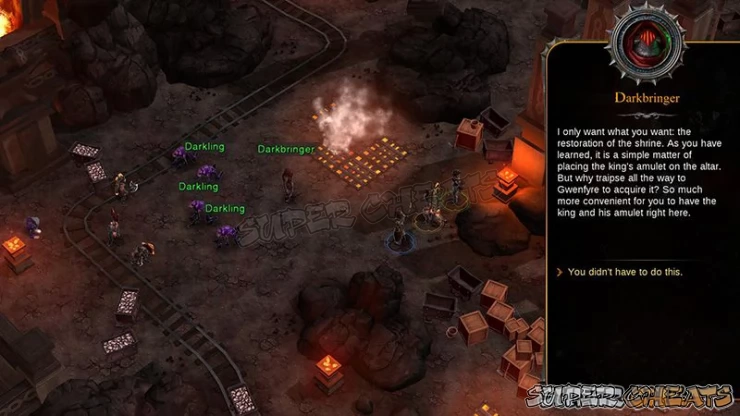
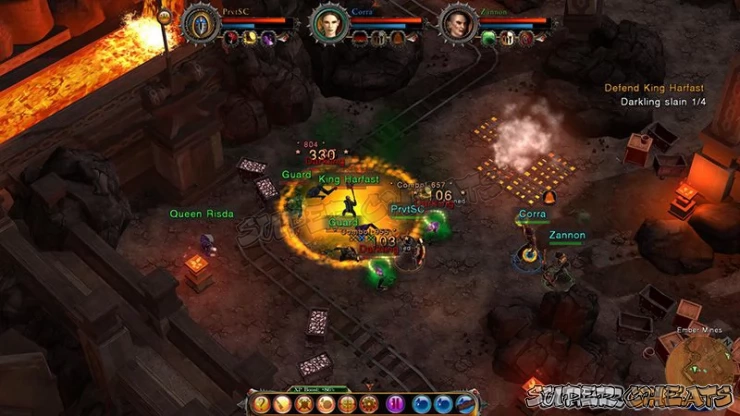
Fight off the Darklings to help the King and his men.
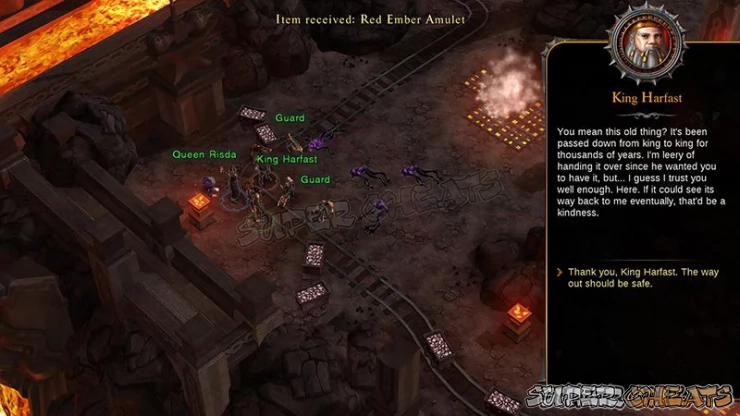
Speak to the King after saving him and he will hand over the Red ember Amulet to you.
Similar with the Green ember Shrine, Drag the Red Ember Amulet to the Altar.
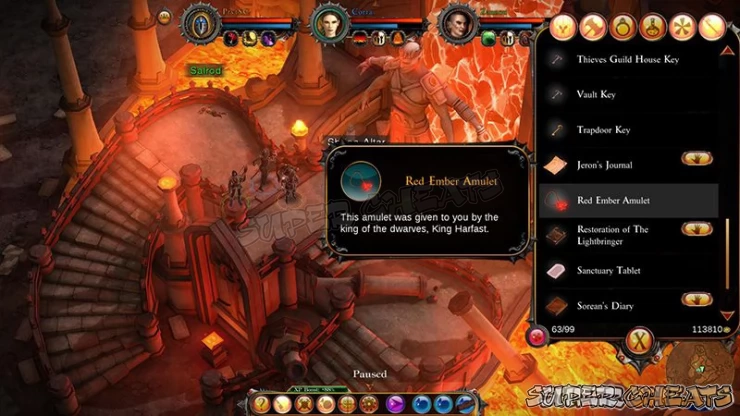
Another shrine activated, go on to the next.
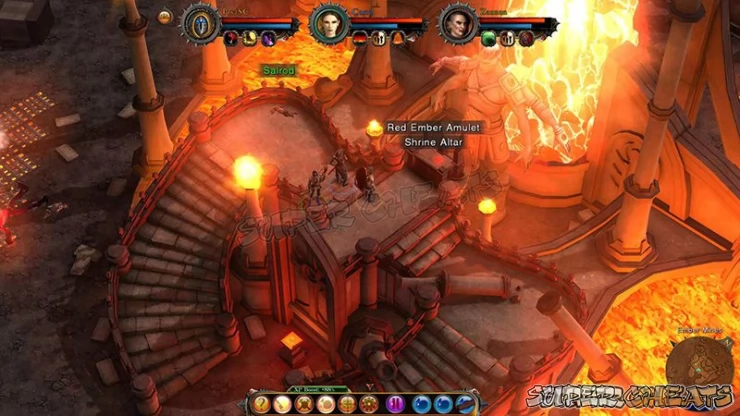
The next shrine is located in the land of the giants.
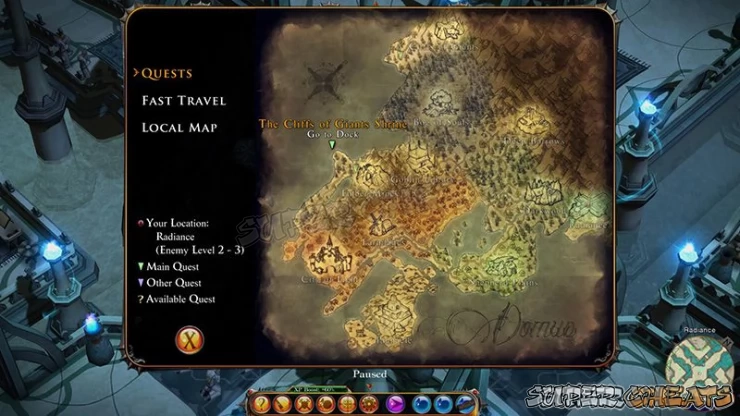
To reach the place, you have to go west of the ember Mines, toward a solitary pier.
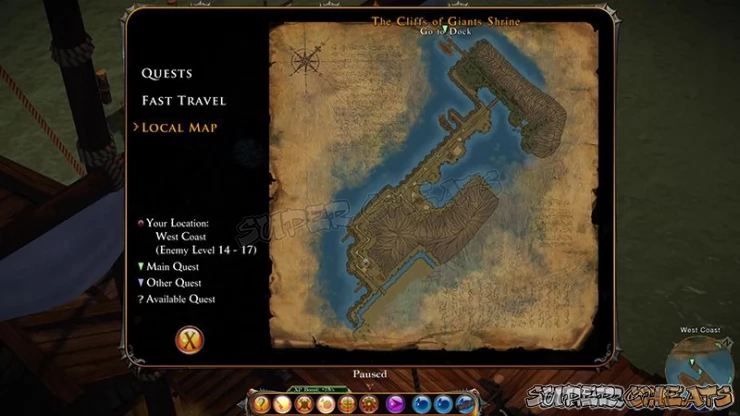
Speak to Vicar over there to ride the boat towards the next area.
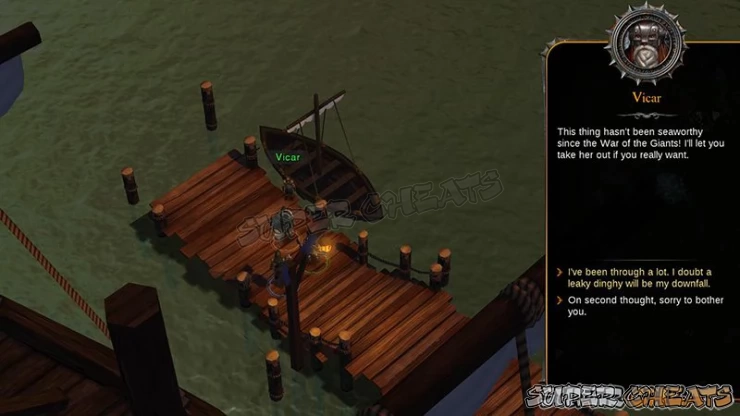
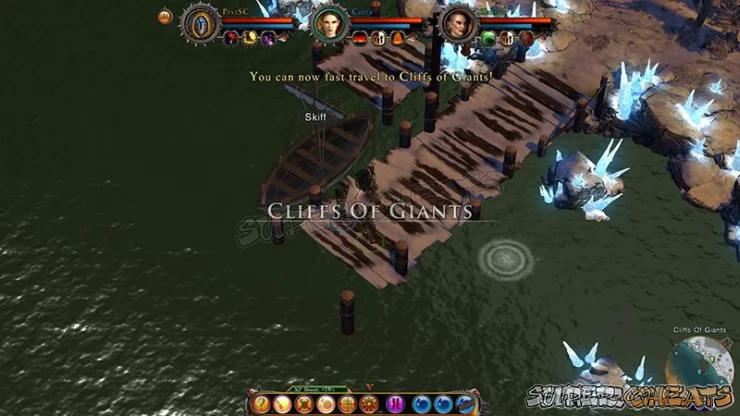
The Cliffs of Giants is a cold place that has a harsher climate than the rest of the land.
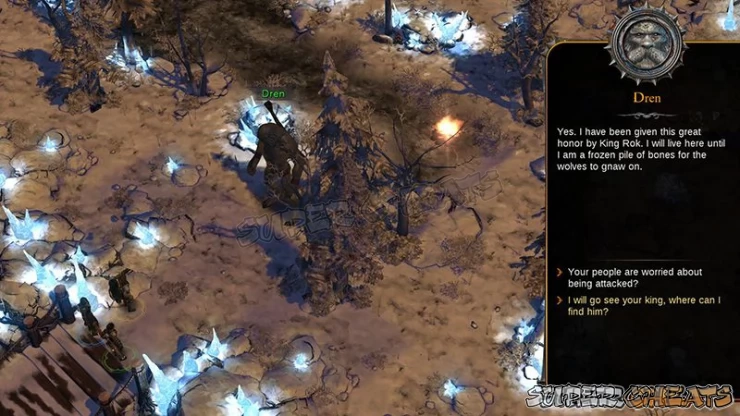
Speak to Dren about your quest and he will point you towards their king.
Go to the quest marker to find the giant's king.
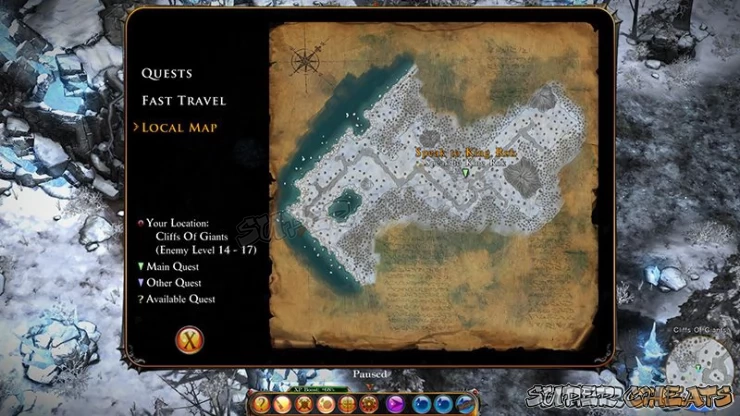
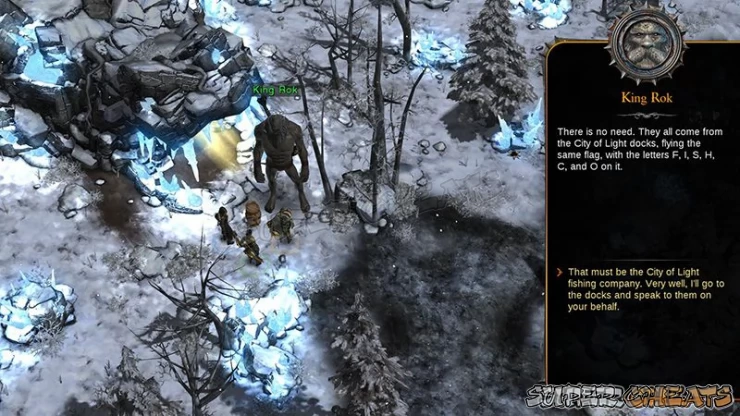
Speak to King Rok and learn that they have a food problem caused by a fishing company in the City of Light. Tell him that you will fix the problem.
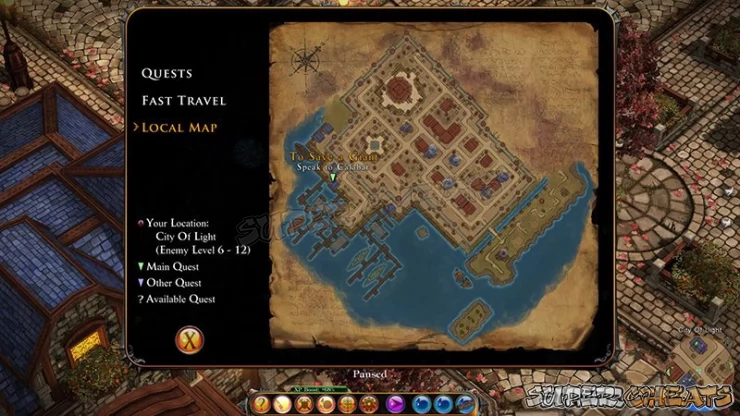
The person you need to find is in a building by the water, at the docks in the City of Light.
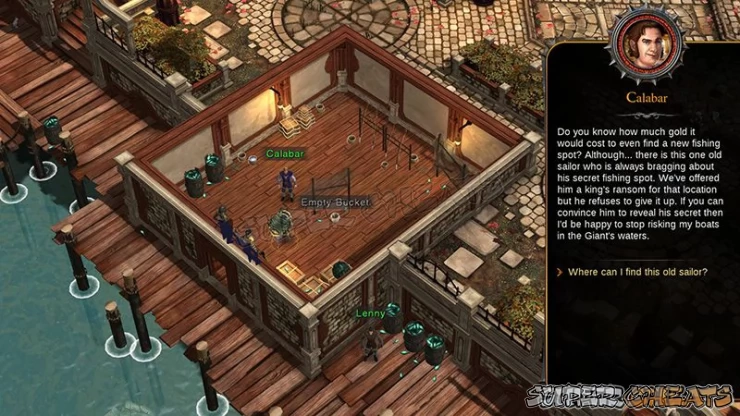
Speak to Calabar to see if you can find them another spot to fish. He mentions an old sailor that knows of such a place.
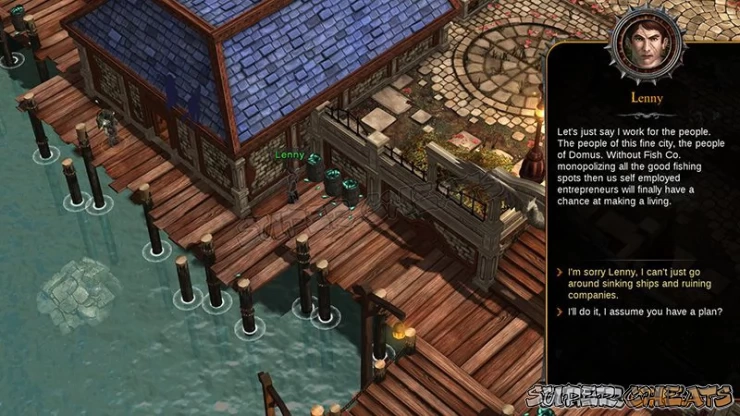
When you go outside, a man named Lenny will call your attention. He tells you that you can go blow up the ship instead. If you choose to do this, the fishing will stop but Fia will say that you could have done it a better way.
Head to the area indicated on the map to find the sailor.
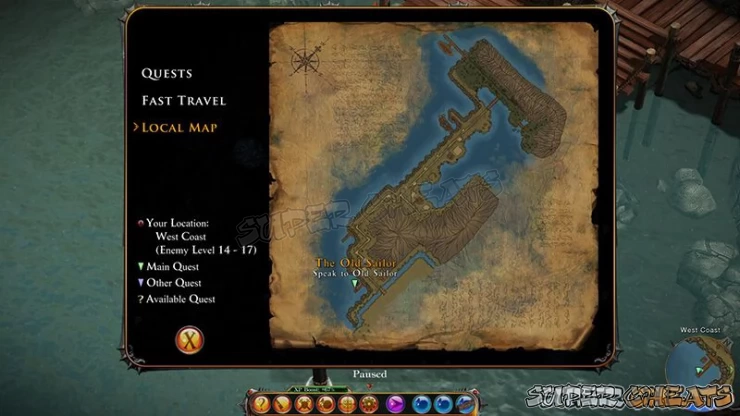
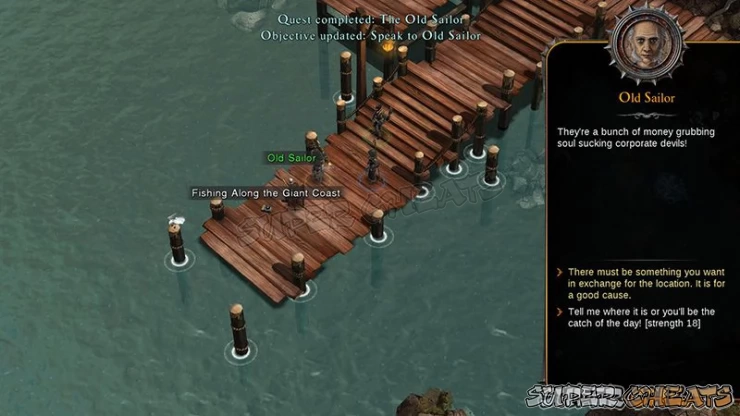
Here, the Old Sailor is fishing. Ask him about the place he knows of and he will refuse to give it away just like that. You have an option to threaten him if you have 18 base strength, or prove yourself to him.
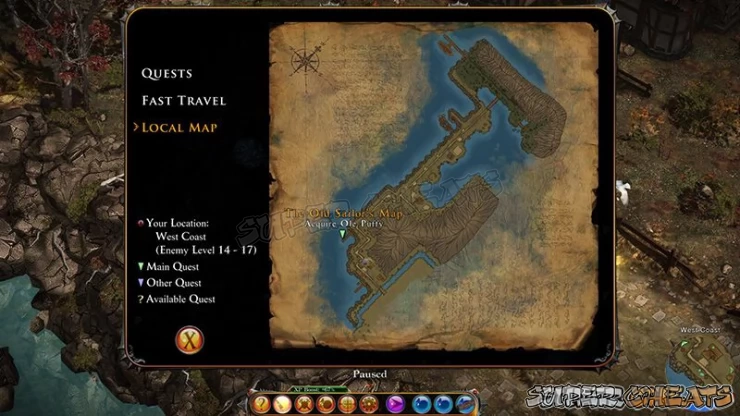
Go to the area he told you about to go and attempt to catch Ole Puffy.
You will find the area has a lot of fishing spots.
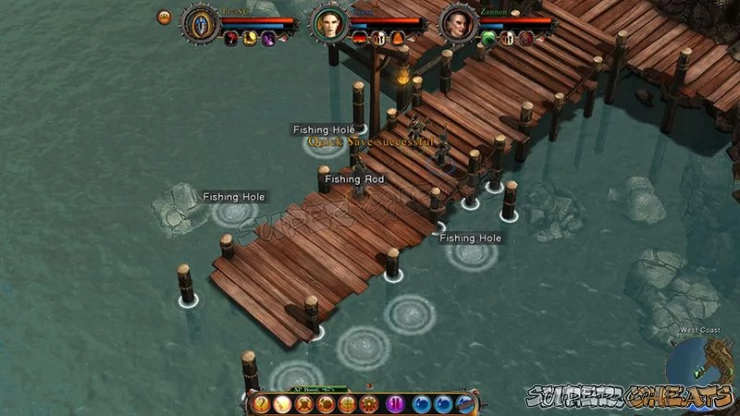
Eventually, you will catch Ole Puffy.
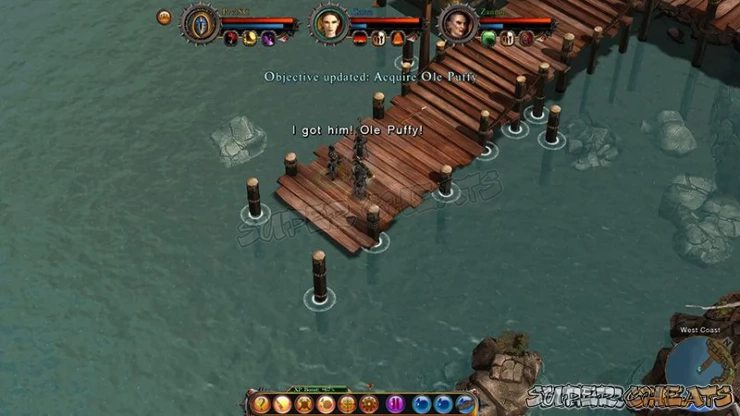
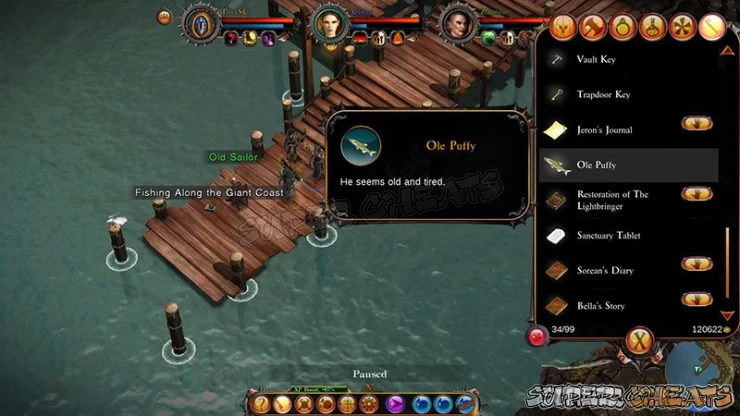
Return to the Old Sailor to show him that you have caught Ole Puffy.
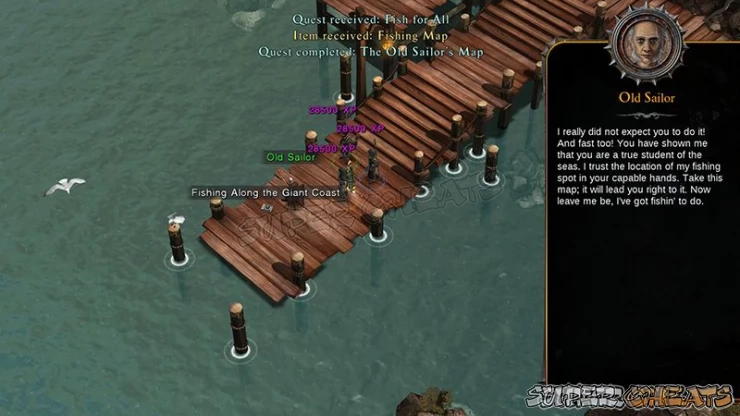
Head back to Calabar and hand the new spot to him. He agrees not to fish in the giant's area anymore.
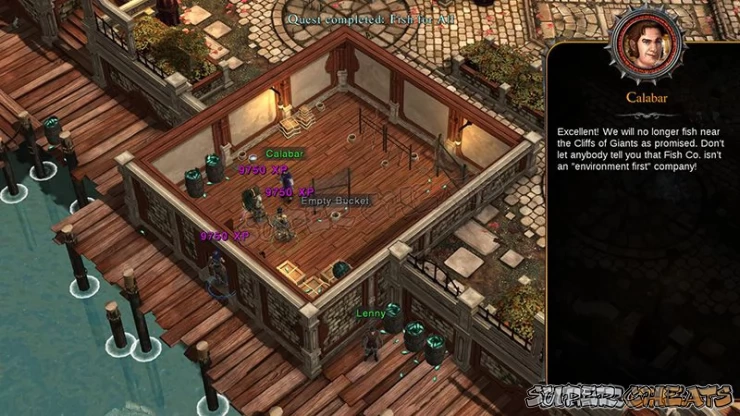
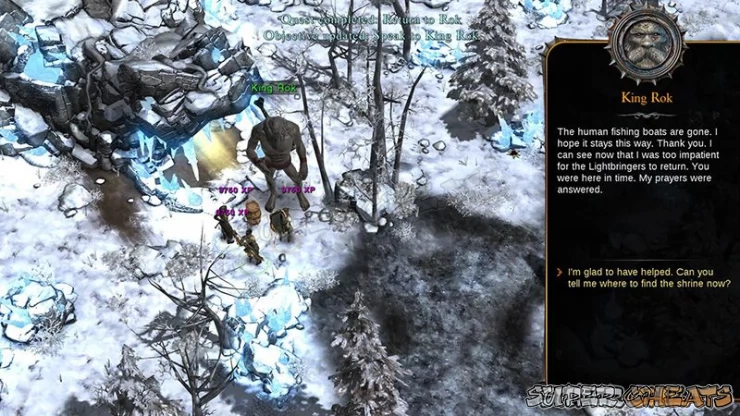
Go back to King Rok and tell him the good news. He will allow you access to the shrine and give you the Amulet you need to activate it.
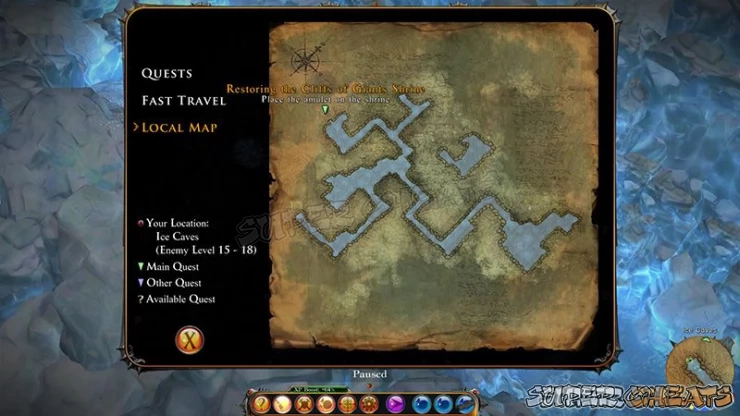
When you enter the cave, go to the marked position to find the shrine.
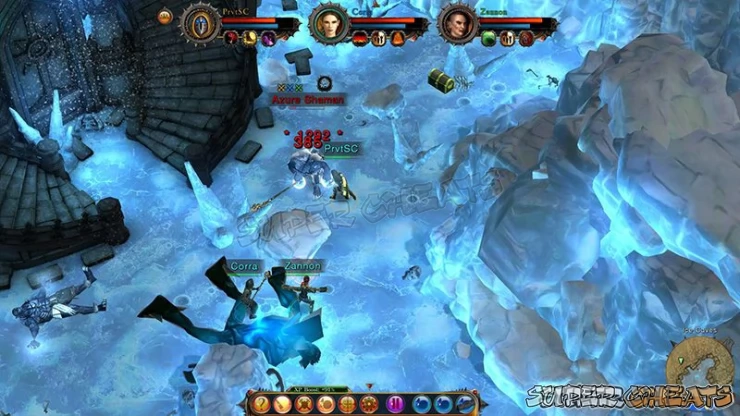
Defeat the guardians in front of the shrines. Defeat the long range ones first if possible.
As with the other shrines, drag the Blue ember Amulet to the shrine.
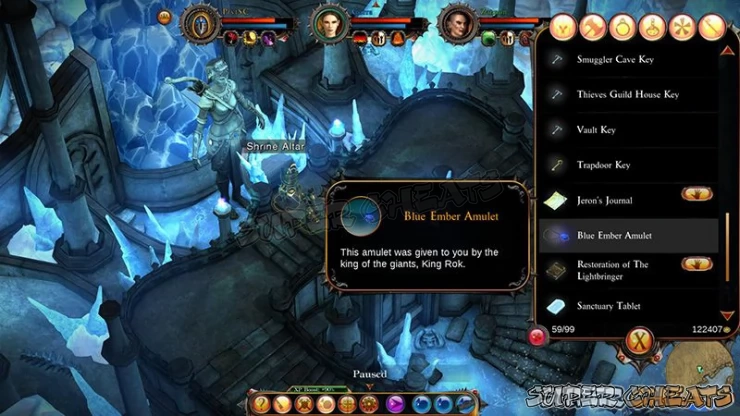
Another activated shrine.
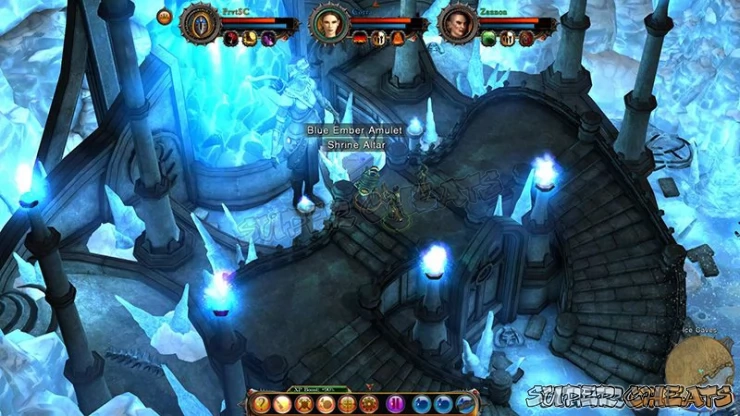
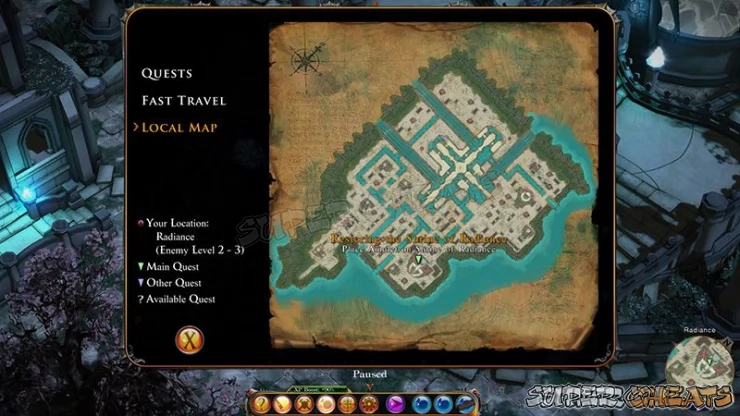
Fast Travel to Radiance.
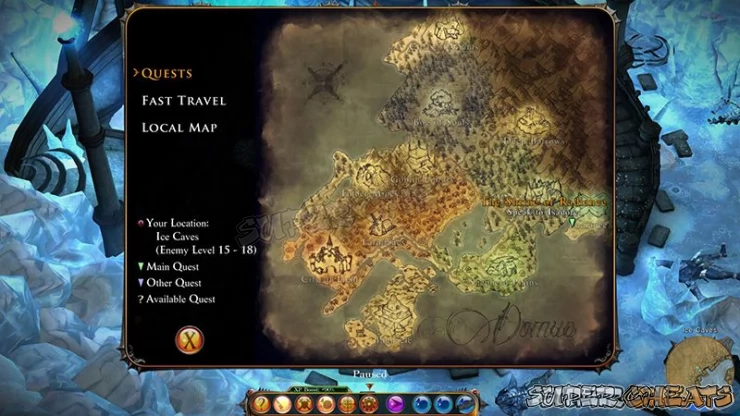
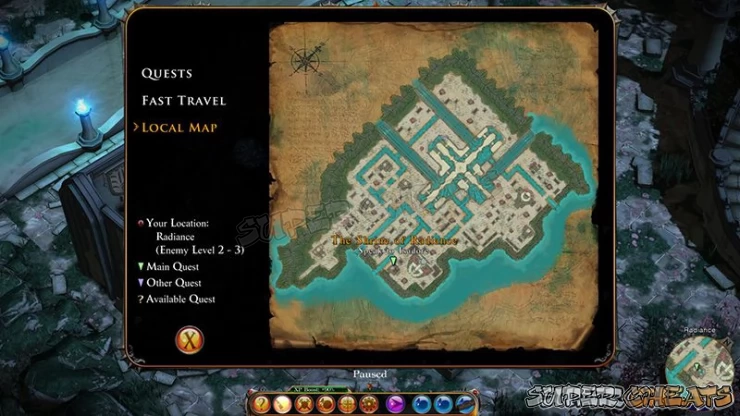
Go to the location indicated here on the map.
Speak to Isadore.
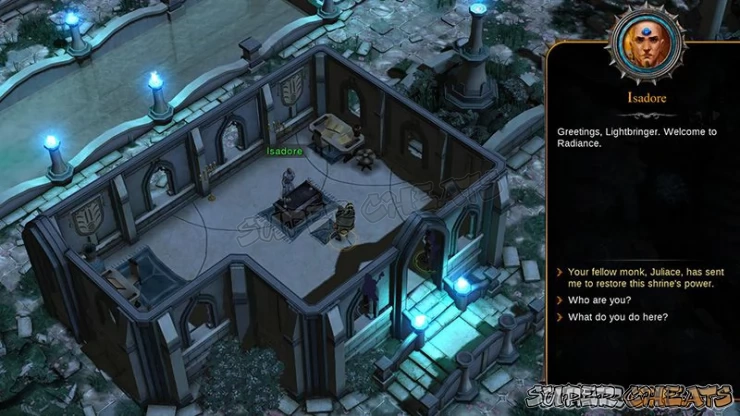
The Shrine isn't too far away from Isadore. Go to it.
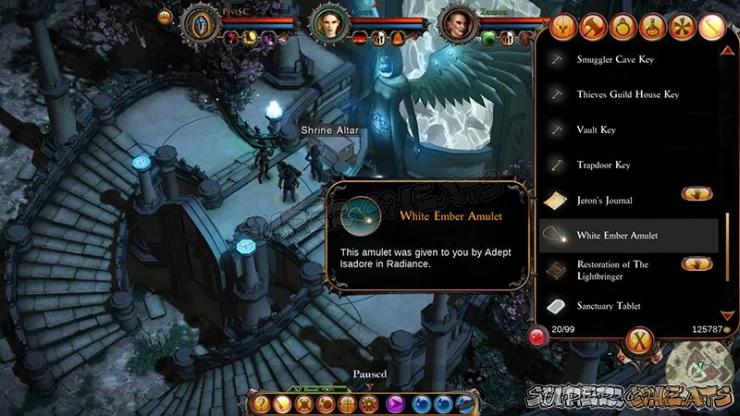
Same with the other shrines, drag the White ember Amulet onto the shrine to activate it.
Anything missing from this guide?
ASK A QUESTION for Ember
 Join us on Discord
