3: Iacon Destroyed
Transformers: War for Cybertron Walkthrough and Guide
by vhayste
Chapter 3: Iacon Destroyed
Infiltrating Iacon
Objective: Enter the Stellar Galleries
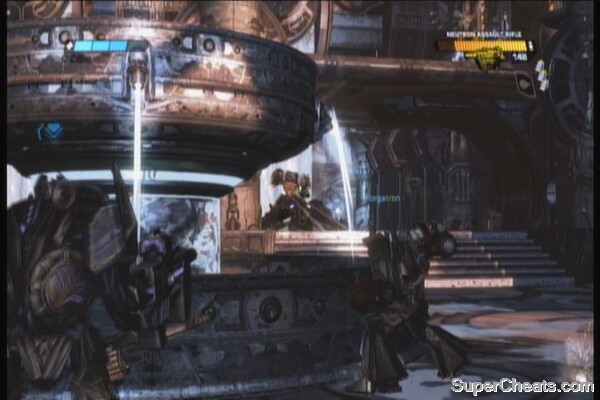
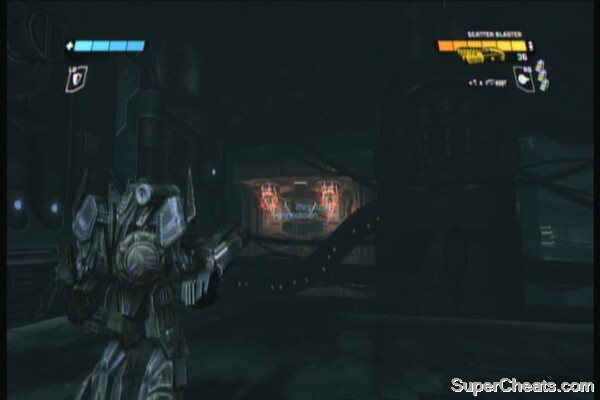
Fight through the only path, past the fountains and to the next gate. Enter the gate to reach the plaza. There will be several cloakers here so take cover and destroy them all as soon as they start attacking. Continue along the path, grab the weapon and pickups along the way until you reach another open area with snipers. Dig in and clear the place. Continue forward and follow your teammates until you reach the walkway leading to the Stellar Galleries.
 |
AUTOBOT symbol: Take note of the two large status and the circle in the middle. You should see the symbol there.
 |
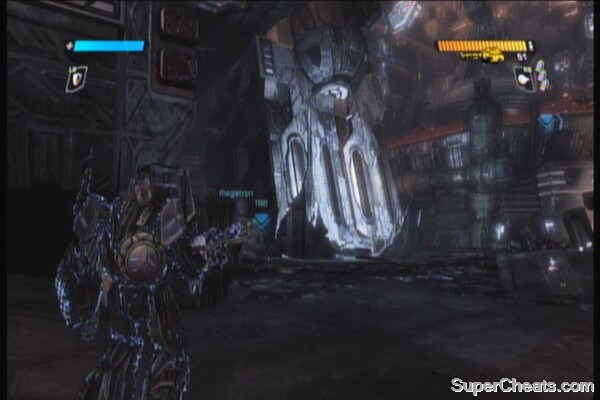
After Megatron opens the door, head inside and grab the energon cube and ammo cache if you need them.
Security Station
Objective: Disable the Security System
Continue to the next room and the security system will trigger, shooting rotating lasers across the room. Just use the platforms on either side of the room to reach the switch. After disabling the laser pillar, jump down to the bottom and engage the autobots beyond the hallway. There is also a trio of missile sentries so it will be a great idea to fall back to the hallway and have the autobots chase you there. Once cleared, destroy the three sentries to open the gate. Before heading there, find some new weapons, grenades, ammo cache and an Overshield upgrade around the room.
 |
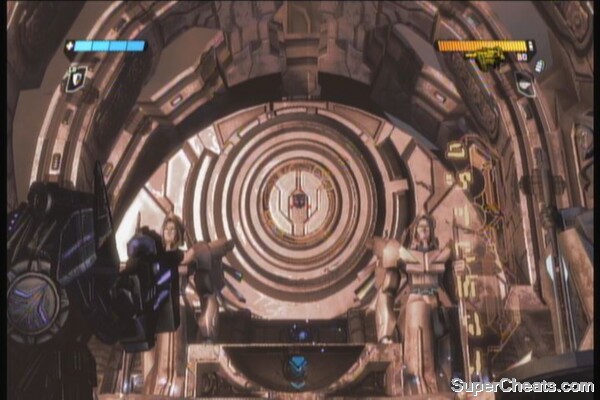
The Stellar Galleries
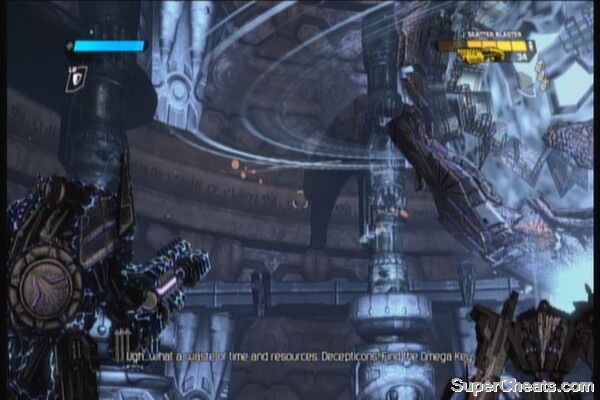
Objective: Find the Omega Key
Enter the room the find a planetarium. Destroy all planets to “corrupt” Cybertron and to unlock the achievement “Chaos Bringer”.
 |
Objective: Defeat Autobot Ambushers
Find cover quickly, preferably behind one of those pillars along the ramp. Kill the flyers first then the remaining enemies. Two heavily armored autobots will break through the door so use the pillars as cover and route them.
Objective: Proceed to the Lower City
Iacon City Subsystems
After destroying them, break through the next door and collect the energon cubes and ammo as you need. Break the hinges in the next door and smash it open with a melee attack.
AUTOBOT symbol: Carefully jump down on the first moving fan blade and face the central pillar. Just ride it while facing the pillar and you'll see the symbol there.
 |
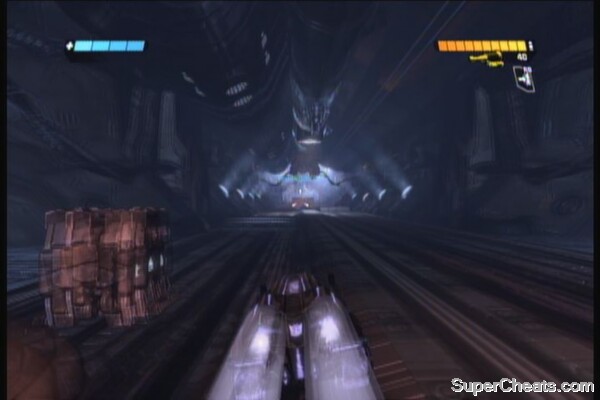
Jump down the fan blades cautiously and make your way to the next hallway. Continue along and kill the autobot there. Grab the Overshield upgrade behind. Transform into vehicle mode and dash through the tracks. Use the ramps to increase the distance and height of your jump. Continue boosting your way until you reach cross-rail. Follow your allies and you'll be inside a hallway.
Grab the grenades at the fork and proceed further by following your team mates to the right path. You'll then need to break the locks behind the door so return to the fork and take the other path this time. Find a Scatter Blaster and some rockets, then destroy the locks.
 |
Jump down and engage the cloakers. While you're at it, activate the consoles. Finally, activate the last terminal and go down the ramp. You'll need to boost your way through the train tracks. Jump off the ramps while boosting to get a higher jump and avoid the crossing trains.
 |
Upon reaching the end of the tunnel, you'll find a train wreck. Check out the path to the left for a weapon chest, and an Energon Repair Ray down the ramp. Regroup with your teammates and move forward. If you need health, there is an energon vendo on the left side. Go up the ramp to reach the next area.
Autobot Transit Center
Objective: Pass through the lower city
There will be a squad of autobots waiting here so use the covers and slowly push them back. There will be multiple weapons and ammo here so make sure you use them wisely. The second wave will consist of Overshield autobots. EMP shotgun and stun grenades will be greatly effective against them. Finally, the last wave of heavier armed autobots will engage you. Like before, use some cover and take them out one by one. Continue up the ramp.
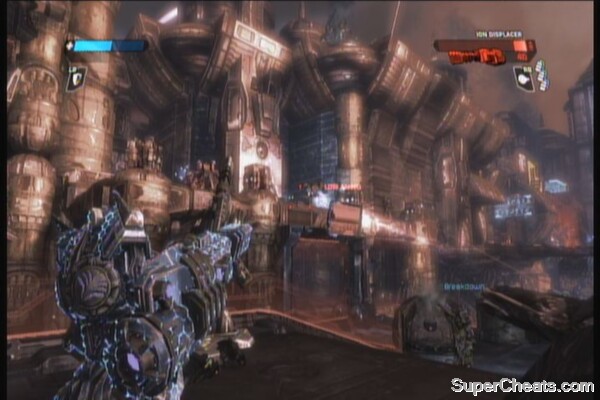
Follow the path and you'll find a fortified autobot position. Just stand still and wait for them to be bombed. Climb up the newly created walkway. There is an Ion Displacement Turret on the ledge to the left if you want. After getting it, you can carry it to the other side by jumping on the piece of debris between the broken bridge. Follow your allies and head to the end of the tunnel.
 |
You'll find another trainyard with tons of autobots. Clear them all then jump down, grab the pick-em-ups then go up the ramp.
AUTOBOT ICON: After going up the ramp, turn around to the other side of the exit to find the symbol hanging on the ceiling of the train tunnel.
Follow the mission marker and go through the train tunnel. There will be a train passing here every few seconds so use the bays on the sides of the tunnels to avoid getting crushed. Head to the platform and hit it with a melee attack to fall down.
War in the Streets
Objective: Approach the Iacon Vaults
Activate the console and go up the ramp. Fight your way through until you reach a room with a Brute and several Overshield autobots. If you have the stun grenades, this is the best time to use them. Kill the Overshield soldiers first then finally gang up on the Brute to destroy it.
Follow the next path and continue clearing the place. Once done, jump down and enter the two arcs to find an Overshield upgrade. Continue to the mission marker to proceed with the story. After Brawl calls in the bombers, head to the next mission marker and activate the console to open the door. Enter the door and watch the scenes.
 |
Assault the Anti-Air Gun
Objective: Destroy the AA guns
Snipe the enemies then move forward with your allies. There will be energon cubes and ammo caches scattered in the area; just scour for if you need to. Push forward until you meet a heavy fortified autobot position. Don't bother wasting your ammo to clear the turrets; there will be infinite replacement gunners that will just occupy them. Instead, head to the next mission marker.
AUTOBOT symbol: Your marker will be the large, silver debris. Behind that is the symbol you're looking for. You can jump over the large metal chunk to the left or walk around it.
 |
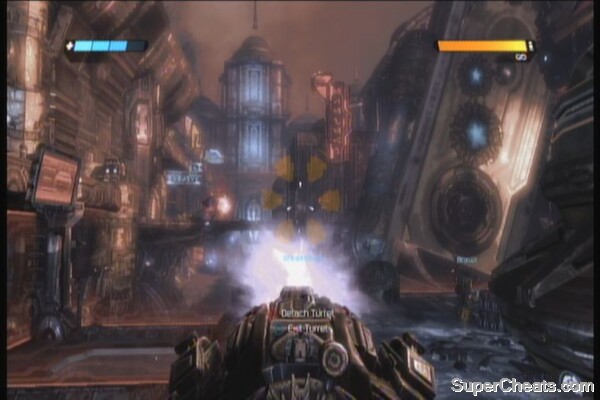
If you approach the door near the autobot symbol, a Brute will burst out and attack you so be careful. After dealing with it, enter the nearby building and go up the ramp to reach the turrets. Kill the gunners, detach one and use it to clear the area. Continue moving up the ramp, open the door to finally reach the gun controls. Examine the console to deactivate the guns. The guns will overload so jump down and head to the next mission marker.
Defend the Anti-Air Gun
Objective: Defend the AA guns
There will waves of autobots that will start to flood in. You have the turrets nearby for your convenience so make sure to use them. After the initial wave, the autobots will start pouring in from the building to the left. Find a suitable cover and take out the snipers first. Finally, flyers will start coming in, as well as heavy gunners on the bridge. Dispatch them quickly using a mounted or detached turret. The final wave will be a combination of all the previous waves and they will attack from all directions. The best way to deal with them is to occupy the last turret near the stairs leading to the gun controls (unless you've detached it earlier). Just keep your position and survive until the bombers arrive during a scene.
 |  |
Tank Battle
Objective: Enter the Iacon Vaults
Make your way to the next marker and pickup items along the way. Upon reaching the marker, you'll face a huge obstacle.
First, while in tank form, flank around it and shoot the energy cell behind it. Once it transforms into its normal form, run around while shooting its chest or back. Don't come to close or you'll get blown by its shockwave. Be careful of its powerful beam attack that can take out ¾ of your HP.
After the battle, examine the console in the vault's entrance and proceed inside.
Inside the Iacon Vaults
Objective: Find the Omega Key
Shoot the hanging debris to create a hole on the floor. Jump down, grab the items if you want then continue down the ramp.
 |
AUTOBOT symbol: After witnessing one of your guys get crushed by the large pistons, go through the door and immediately look up behind. You should find the chapter's last symbol on top of the arc. Shoot it immediately then get out of the way to avoid getting crushed.
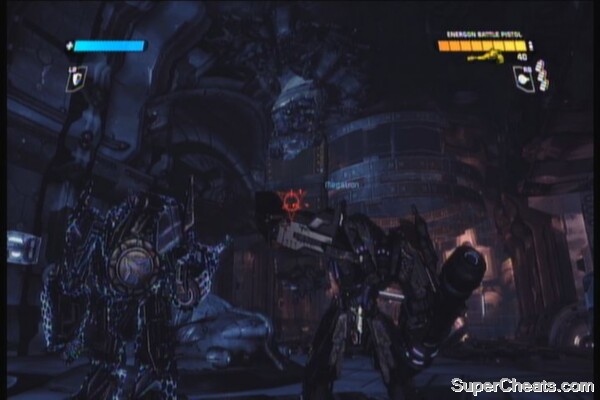
Carefully cross the pistons. Have Megatron open the door then continue to the next room for the boss battle.
Objective: Defeat Zeta Prime
The room is filled with giant pistons ready to crush you anytime. Not only that you have to worry about the giant chunks of metal overhead but also his destructive energon clones. These guys only have melee weapons but they hit hard and create a shockwave that will restrict your movement and disrupt your targeting. As much as possible, avoid getting trapped in the middle of these guys. Transform into vehicle mode to gain distance and to shoot them safely.
After surviving Zeta's string of attacks, he'll reveal his core as he charges up. Unload everything you got to that core until you damage it considerably. There are three phases in this battle, all marked by auto-saves. As you progress, Zetas attack will become more frequent, aggressive and erratic. Just apply the same strategies you used in the beginning of the fight but of course, you need to be extra careful as well.
Boss Battle
No comments yet. Tell us what you think to be the first.