9: Aerial Assault
Transformers: War for Cybertron Walkthrough and Guide
by vhayste
Chapter 9: Aerial Assault
Attack on the Relay Station
Objective: Enter the Relay Station
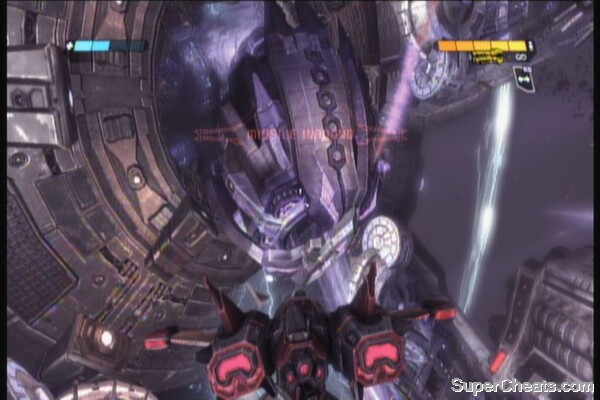
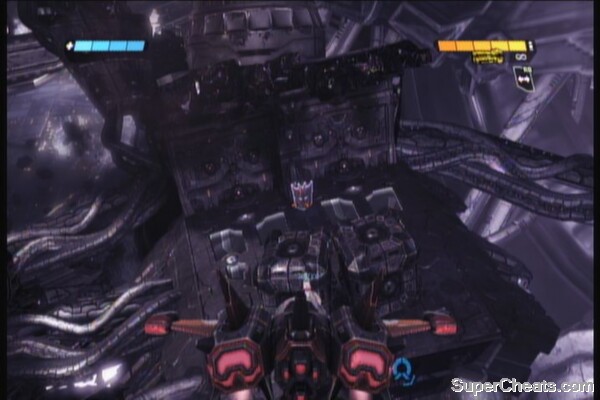
Follow the beam until you reach the opening of the station.
DECEPTICON symbol: As soon as you enter the station, look down to find a large chunk of debris blocking the straight path. The symbol should be there.
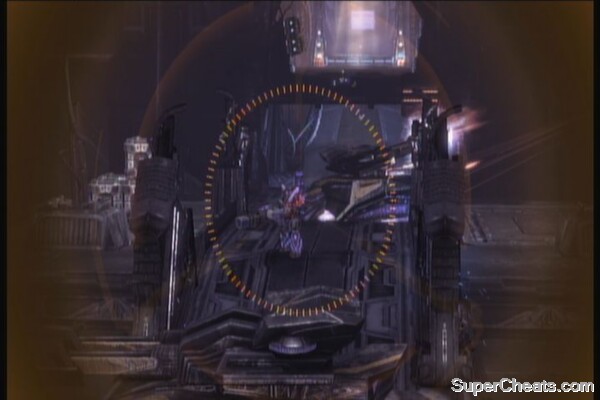
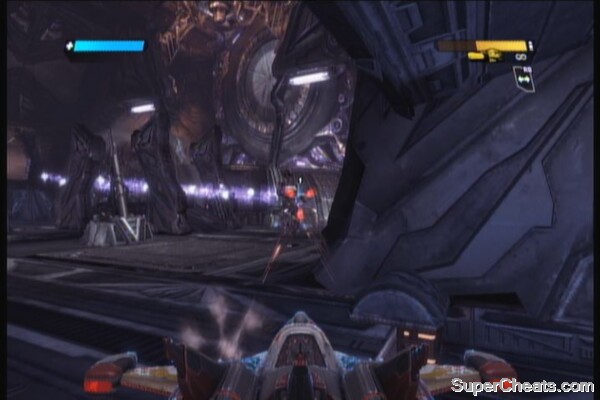
Fly through the mines; you can destroy them with your guns. Continue following the path and dodging obstacles until you reach the other end of the tunnel. Here's you'll need to take out a wave of enemy jets. After clearing the skies, the station defender will appear. Just keep on your toes to avoid the missiles while shooting at its marked parts. You need to take out its fighter escorts first then concentrate on firing on the weapon systems, one at a time. The missiles aren't that agile so its possible to just normally strafe without barrel-rolling and still evade the missiles.
 |
After destroying its weapon systems, it will start firing a large laser, as well as sending more missile barrages. You can only damage it when its charging its weapon so make sure you're out of the laser's path and evade all the missiles its throwing at you. If you need healing, there are two orange platforms behind you where energon cubes spawn; use them as you need.
 |
 |
After disabling the defender, fly inside it, activate the console and shoot the node. Fly out there immediately then head to the vents.
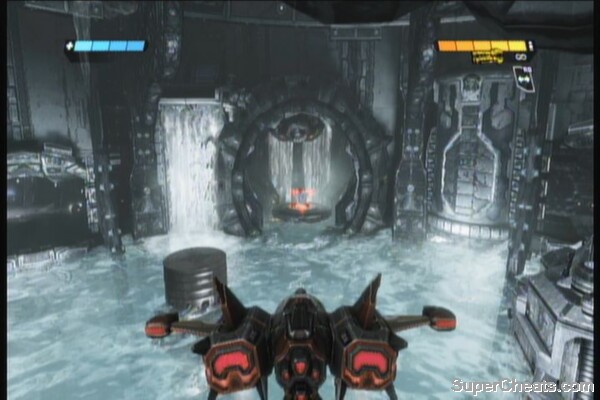
Coolant Chamber
Objective: Infiltrate the coolant room
Destroy the first two energy cylinders to reveal the console. Defeat the decepticons guarding it and activate the console. More enemies will appear just get rid of them. In a short distance, you'll need to take out three sentries and the door.
DECEPTICON symbol: There is a destructible door to the left. The symbol is right behind it.
 |
Continue forth and follow your allies. Fly until you reach a platform. There will be a couple of missile soldiers that will ambush you from the another platform above. There is also an overshield behind the large tube to the left, from where you landed.
Into the Belly of the Machine
Objective: Destroy the coolant pump
Fly a bit then you'll find the cooling pump. There will be sentry guns here and a small number of enemy forces. Destroy them all then proceed on destroying the marked parts of the coolant to disable it.
Objective: Lower the relay station coolant
Proceed to the large area next and wait for the control bubble to appear. Destroy the missile defenders inside and activate the console.
 |
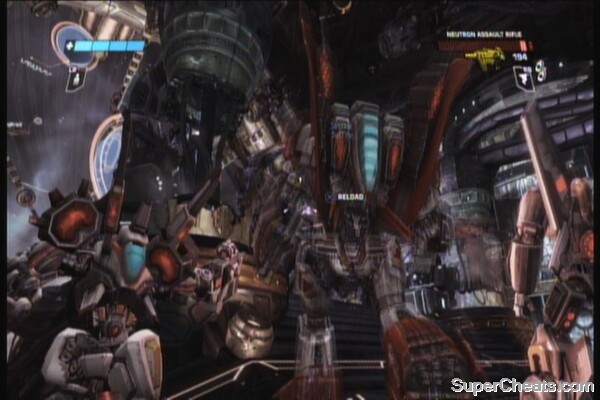
Coolant Control Room
Grab the supplies you need and head to the next room. Approach the console but a shield will cover it and after a few seconds, enemies will start to pour in. The best position is the platform up the ramps just across the console. You can safely snipe enemies here without drawing too much fire yourself.
 |
Just fight through the waves of enemies, including the final wave that consists of two heavy gunners and a brute.
Activate the console after killing them.
Coolant Tunnels
Objective: Overload the pulse regulator
This is the part where you need to fly through the tunnel within 22 seconds to unlock the achievement “Powerglide Performer”. It may take a few runs but you should be able to do it. At the end of the tunnel, grab all the supplies you need then activate the platform. You need to defeat all enemies here; be careful of the snipers on the other end of the area. Use covers efficiently to avoid too much damage from the destroyer. After killing the destroyer, a couple of missile defenders will break through the door. Get rid of them and follow the path.
 |
Fly through the long corridor until you reach the next room with enemy forces. Quickly land and deal with them in normal mode since missiles easily lock on vehicle/ jet modes. After clearing the area, resupply and take any of the two paths outside. In the next room, you'll find more enemies and turrets.
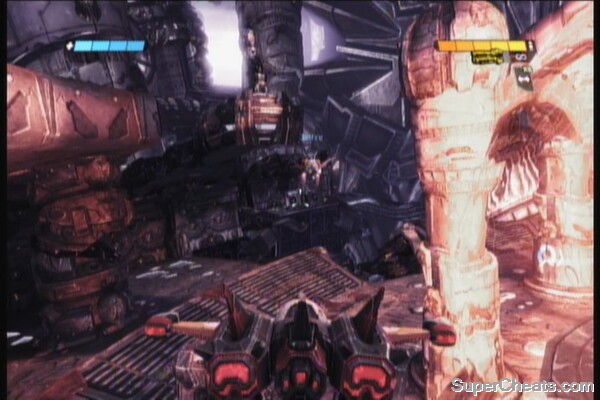
The Nerve Center
DECEPTICON symbol: Transform and fly so you can reach the top of the large tube in the middle. The symbol should be there alongside an Overshield.
 |
The overhead tube where you found the symbol is a great place to take out the gunners below. Once cleared, your allies will move to occupy them. The last line of defense of the enemies here would be a couple of missile launchers which you can dispatch easily. Clear the enemies in the area and finally, activate the two consoles on each side to overload the regulator. More enemies will arrive from the direction you came from so you can either man the turrets or take them out one by one from the higher platforms. Remember that snipers will also make an appearance in addition to overshielded soldiers. Hold your ground until a scene triggers.
Approaching Trypticon
Objective: Enter the Orbital Gun
Fly ahead and avoid the massive mines that shoots missiles. You'll encounter turrets and enemy jets along the way; take them out and the lift will be activated. Cloakers will appear so mop the area and resupply. Before going down, you'll need to find the Decepticon symbol here.
 |
DECEPTICON symbol: From the lift, look at the left to find some crates at the far end, by the separated platform. Approach it and look behind the crate to find the symbol.
 |
 |
Grab the overshield behind the console then proceed to activate it. Fly through the new opening.
Decepticon Destroyers
Objective: Disable Trypticon
DECEPTICON symbol: Boost towards the gun's opening and follow the straight line in the middle. You'll eventually reach the symbol between the two platforms.
 |
Land in one of the platforms and take cover. There are two tanks in both platforms, accompanied by snipers and two heavy gunners. Take out the snipers first then the heavy gunners. It is safer to fly through the trenches below and flank the enemies. The sniper platforms have several weapons and supplies in them so make sure you put them to good use.
 |
 |
Inside Trypticon
Fly through the tunnel, avoiding the crushing walls and other traps. You'll finally reach the boss itself: Trypticon. This is just his first form. Just keep shooting the marked targets while evading all projectiles. Finally, you'll need to boost your way out of here to trigger the next phase of the battle.
A Titan Falls
Objective: Destroy Trypticon's Jetpack
This battle is relatively simple. You need to destroy Trypticon's jetpack. Remember that you can switch between your missiles and machine gun by pressing triangle. While in this form, the boss will has three types of attacks: homing missiles, laser beam and a quick jab. These are very easy to evade. Just throw everything you have at the boss when its jetpack is exposed and he'll go down in no time.
No comments yet. Tell us what you think to be the first.