2: Fuel of War
Transformers: War for Cybertron Walkthrough and Guide
by vhayste
Chapter 2: Fuel of War
Kaon Cliffs
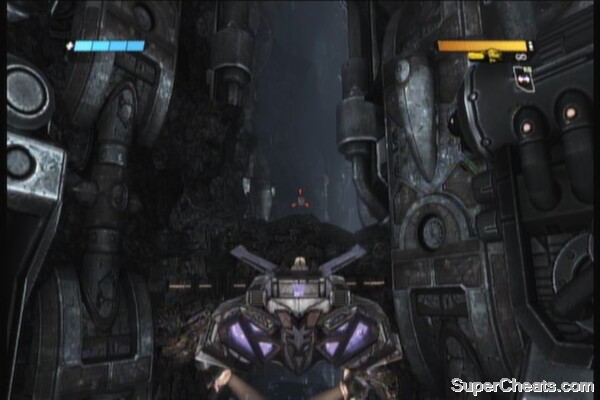
You'll start the stage in flyer mode (regardless of the character you selected). View the tutorials for the controls of this mode in the start menu.
Objective: Find the hidden underground entrance
AUTOBOT symbol: As soon as the stage starts, press A to ascend. The symbol should be barely visible on top of the rocky arc ahead.
 |
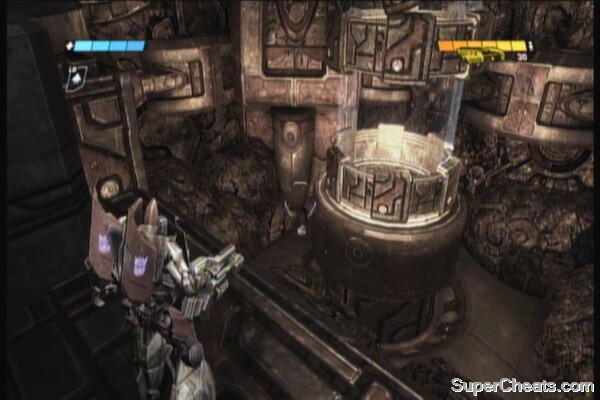
Continue flying towards the large pipes then land on the platform there. Look at the bottom of the large pipe to the left to find an Overshield upgrade. Join your other team mates. Destroy the probe on the next room to avoid detection. Fly around the place until you reach the hatch. Go through there and another hatch to find a closed door at the end of the hallway. Open the door, then shoot the red circle in the middle of the path to deactivate the trap.
 |
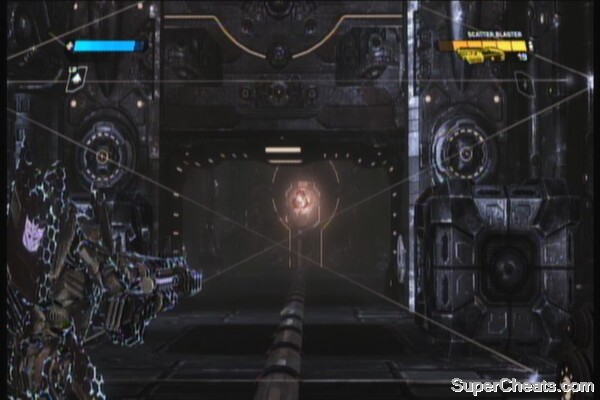 |
There is another trap that will halt your progress on the next turn. Transform into flyer mode then fly through the narrow corridor to the right. This will lead you into another trap but the power core should be visible. Shoot it to deactivate the traps.
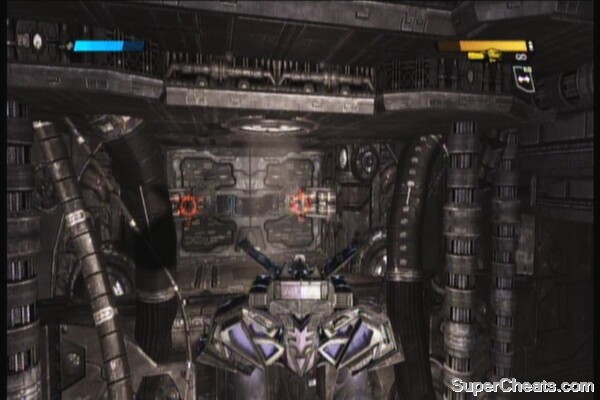
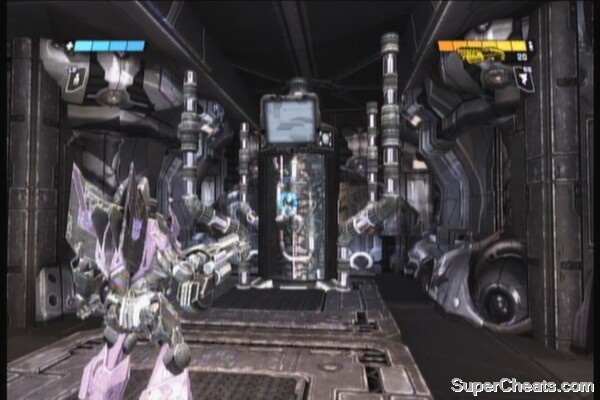
Continue along, grab the ammo cache and energon cube at the end of the ramp. At the end of the hallway, you'll find some autobots being briefed by Zeta Prime. Use your elevated position to your advantage; I suggest using a grenade to destroy all of them at once to unlock the “There are Parts Everywhere” achievement. There will be another trip-wire trap here so fly up to find a large door. Shoot the hinges to open it, then shoot the core inside.
 |
Follow the path in the bottom floor then engage the autobots along the way. Continue along this straightforward path until you reach a locked door. Open it, and take out the charging, overshielded autobot. You'll be locked out from the main path so look for a small shaft to your right. Fall through it to find a new path.
Energon Reservoir
AUTOBOT symbol: Transform into flyer mode and immediately look for the fall to the left. Follow the narrow path as it leads to an symbol and two Overshield pickups. If you don't need the Overshield upgrades, you can just shoot the symbol from this angle.
 |
Energon Reservoir Autobot Symbol
Follow your teammates until you reach a checkpoint guarded by several missile-launcher wielding autobots. Destroy them all.
AUTOBOT symbol: After destroying the missile defenders, turn around then follow the narrow valley. The symbol should be on the platform at the end.
Autobot Symbol
Canyon Cruiser
Objective: Destroy the Shield Generator
Proceed to the main path continue forward until you encounter the autobot dropship. You need to take out the mortar launchers but you should always prioritize taking out the jets since they're more agile and can be an annoyance in the long run. Just avoid hovering in the same place to avoid getting hit by the mortars.
After destroying the mortars, get rid of the additional flyers the cruiser will launch to open its launch bay. Fight your way inside to reach the ship's core and interact with it to destroy it.
 |
Objective: Escape the autobot dropship
You'll be trapped inside so make your way to the ship's second level and wait for an opening to appear. Fly your way out of the crashing ship and regroup with your team mates.
Cruiser Battle
Autobot Menace
Objective: Continue your search for the underground
Grab the ammo caches and grenades, then turn right to find an Overshield in the hallway. Follow the path and you'll see a new type of enemy here; the Cloaker. Just jump to the shaft then continue to the next room. There will be multiple cloakers here so take cover and look for the shimmering movements. You should also see their charging plasma cannons to mark their locations.
If you managed to land a headshot to a cloaker while its invisible, you'll unlock the achievement “That’s No Mirage”. Activate the console next and proceed to the next area. There are two very useful weapons here, the Null Ray and the missile launcher. The Null Ray is a very powerful sniper rifle while the missile launcher is very useful for its lock-on ability against jets.
 |
Entrance to the Underground
Objective: Deactivate the forcefield
After clearing the enemies, follow the hallway to the left to find another trip-wire trap. Shoot the energy core then proceed. This will lead you to one of the main platforms. Destroy the autobots inside and activate the console to reveal the shield batteries. More autobots will appear so get rid of them as well.
 |
Return to your starting point in this stage then take the hallway to the right this time. Destroy the core to deactivate the trip-wire. This should be enough to unlock the achievement “Thief in the Night” - that is, if you destroyed all the energy cores powering the traps you've encountered so far (total of 5). Continue along this platform and do the same thing; clear the enemies, activate the console and destroy the shield batteries.
Objective: Destroy the Armor Plating
More autobots will appear. Just get rid of them and finally, shoot at the gate to destroy the armor plating. Go through the gate.
Deeper into the Core / Sublevel Access Controls
Objective: Re-route the power to the Energon Bridge
Just follow the long tunnel and shoot any alien-looking lifeforms you encounter. You'll eventually reach the core. Approach it from any side; as long as you take out the missile turrets and probes. Continue inside the core and go to the lower level. Fight some more cloakers inside then activate the console. More autobots will appear so fight your way through the upper level and activate another switch.
 |
Nearing the Energon Bridge
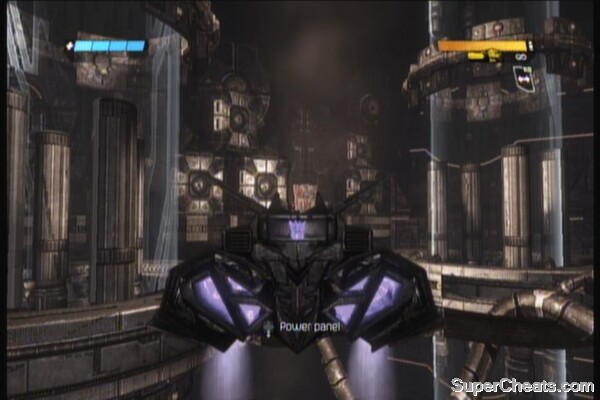
Transform and fly through another tunnel. Continue along and fight through several autobot resistance. There is a Null Ray and Thermo Rocket Launcher on the first platform that you can use to take out the enemies. Or you can just remain in jet-form and kill the enemies using your trusty machine gun.
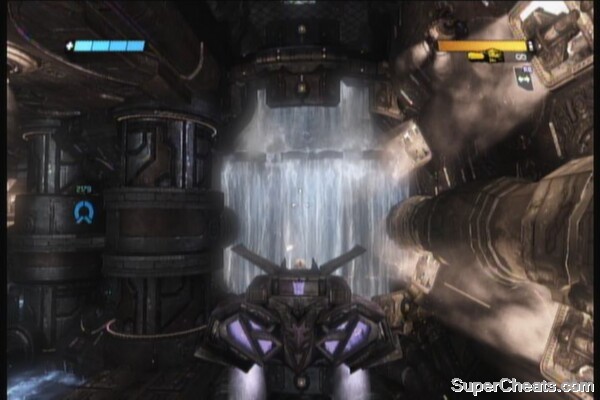
AUTOBOT symbol: You'll find a large waterfall at the end of this tunnel. Just go through there to find the symbol, along with two Overshield pickups.
 |
Just follow the path and land on the next platform. There will be a console that needs to be activated; before doing it, you can find an EMP shotgun, Neutron Assault rifle, some mortars and an energon cube beside the console. Activate the console to open the door.
Kill the autobot that's standing behind the door and take cover. Thin out the resistance by killing as much as you can. If you want, you can just kill one of the turret gunners, commandeer the turret and use it against the autobots. You can also detach it and carry it with you for some heavy firepower.
Autobot Command Station
Open the central room and clear it. Then, destroy the lock to open the gate and jump down to reach the power control panel.
AUTOBOT symbol: Before doing anything else, transform into jet mode then face the door where you jumped from. Fly to the right and you should find the symbol in the middle of some crates in the upper platform.
 |
Activate the control panel. Another console will be brought up. Destroy the locks on each side of the canisters up front then activate the panel. Next, you'll need to find three power cores. Just fly around the place to destroy all three of them. They'll be marked automatically so you shouldn't have any problems locating them. You should also find an Overshield upgrade in one of the corners of this room as well. Finally, activate the central control panel in the middle again to power up the place and to open the next gate.
Fly through the gate and land on the platform with the mission marker. Take note of the energon cube here as you'll probably need it in the upcoming boss battle. Activate the switch and face the final boss of this chapter.
Cybertron's Sentinel
Objective: Destroy the Energon Bridge Guardian
Destroy the Energon Bridge Guardian
For its normal attack, it will release a volley of homing projectiles, which can be easily evaded with barrel rolls or just simply keeping on the move. You can shoot and destroy the launchers to ease your burden. After a while, it will retract its guns and start shooting lasers in two directions. You can avoid it by flying along the direction of the laser sweep. After those two cycle of attacks, the guardian will reveal its vulnerable core. Use this chance to unload everything and damage it. You need to repeat the process two more times after this to defeat it. During this time, the only change would be the pattern of its laser sweeps and additional volleys of fiery projectiles during the last phase.
Objective: Escape to the surface
Just fly through the shaft and the chapter will end after your climactic escape.
No comments yet. Tell us what you think to be the first.