- Get to Safe House #3
Left 4 Dead 2 Walkthrough and Guide
Swamp Fever - Get to Safe House #3
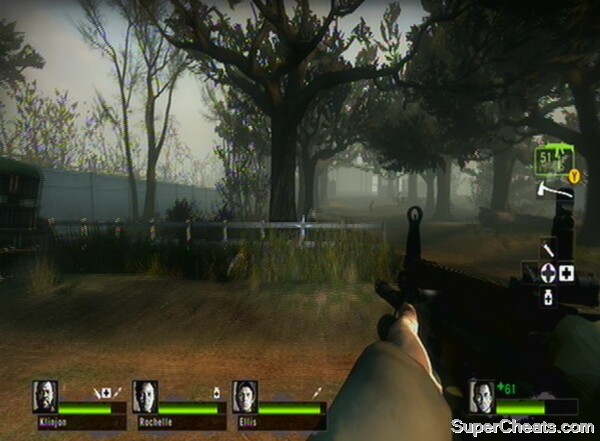
Emerge from the safe house into the village. Move into the house with the bright light on and then descend the hill into the swamp. Do some house clearing and head up the steps to the higher level. Follow the walkway until you leave the village area. Once you come upon the set of houses on stilts, the next set-piece is nearly ready to begin. This is the easiest one in the level, however. Locate the stilt-house with the lever inside to lower the bridge across. Unlike the ferry, as soon as the lever is pressed you can begin to move across (you may have to wait a short while to allow it to lower far enough – but it doesn't have to be all the way down).
When ready, initiate the set-piece. As soon as possible, head across the bridge – make sure the coast is clear, however, so as not to risk falling off. Once on the other side, hold out in the building until the horde stops coming.
Pass this relatively simple set-piece.
Make your way across the various rooftops and gangways until you are back in the swamp. Follow the path into the final safe-house.
Get to the Plantation House and Reach the Rescue Boat:
Upon leaving this final safe-house you will notice that the sun has risen, making the final section a little clearer. Stock up and head out into the village. Explore the houses (remember that the end of the level is near, so certain items may need to be picked up based on your preferences in these situations) and continue along the road until you come to the row of trees leading to the plantation house.
 |
Proceed along this route until you come into the grounds of the house itself. This is where the final showdown takes place, but you need to get round the front of the building first. Climb the ladder to the right of the main door and move through the house. Once out the front stock up on ammunition and medkits, and use the radio by the front gate. You have to do two interactions before the final showdown begins, so for now just use the radio once. You should also find grenades in the front rooms of the mansion.
For this battle the best tactic is to take up residence on the balcony overlooking the garden. It is a pain to get down to the ammunition stash and indeed to escape at the end, but you are better protected than downstairs and there is a mounted gun waiting to be used on the balcony. It must be remembered that you cannot survive the jump down unless you land on the wooden plank that is below the right hand side of the balcony. Players should be willing to battle down through the house and outside. I recommend heading down before the final wave begins and fighting in the front hall of the building. You can then make a quick getaway before the final Tank arrives.
This is one of the hardest final stages due to the crowd of Tanks that will come charging at you. In the first wave you should encounter just one (like with the other showdowns, this will occur during a lull from the horde). The second wave finishes with two tanks, so if you are up on the balcony be aware that you could be overwhelmed. The third and final wave has the fourth tank as you have to make your escape.
TIP: There should be some Adrenaline on the lower floor of the house – using this can make your escape much, much easier.
If you are playing with human allies, get everyone in position and send someone out to signal the boat when you are ready. Then sprint back through the door, up the stairs, over the gap (watch out for this!) and back onto the balcony.
 |
I recommend that you have one man on the mounted turret, one watching the left and another watching the right (while also ensuring the gunner does not get hit by Special Infected or overwhelmed by the horde) with the fourth team member guarding the door into the house – many Infected drop down from the roof and will overwhelm the balcony and turret if this is not done.
The Tanks should come from the front.
TIP: In the small confines of the balcony, melee weapons can deal devastating damage to the Tank. If you watch its movements you can tell when it has been stunned or is interacting with the scenery. Getting a couple of axe blows in here and there can be vital to bringing the Tank down quickly. Moreover, if it is pummelling a team mate, using a melee weapon is the quickest way to help – though it puts you at considerable risk. Clearly the best tactic is to take them out from range, but this is not often possible, and once the Tank is on the balcony things get pretty hectic.
Just after the pair of tanks attacks at the end of the second wave a horde will come, complete with plenty of Special Infected, and the boat will arrive. You may wish to make your way into the house and downstairs as soon as you kill the Tanks – you should be able to deal with the horde from here. Once the boat arrives, sprint out of the house and follow the wall to the right. Use your Adrenaline if you picked some up. The garden can be something of a maze, and the last thing you need is to be trapped by a Tank at a dead end.
Escape the plantation.
If you follow the fence you should come to the front gate and then simply have to make it down the pier, through the shallow water and onto the boat.
No comments yet. Tell us what you think to be the first.