Stubbs' Optional Jobs
Grand Theft Auto 4: The Lost and Damned Walkthrough and Guide
GTA 4: The Lost and the Damned Guide
Stubbs' Optional Jobs
Sometime after completing “This Shit’s Cursed” in Billy’s mission line, you’ll get a call from Stubbs. He tells you to call him when you’re looking for work. Select “Job” from Stubbs’ phonebook menu to get started.
Knowing Me, Knowing You
The target vehicle is parked outside of one of the mansions up in Westdyke, so make your way over there by following the marked trail on your radar. When you reach the vehicle, get in and start towards the bugging expert in Acter Industrial Park. You have a limited amount of time to bring the car back, so get going immediately.
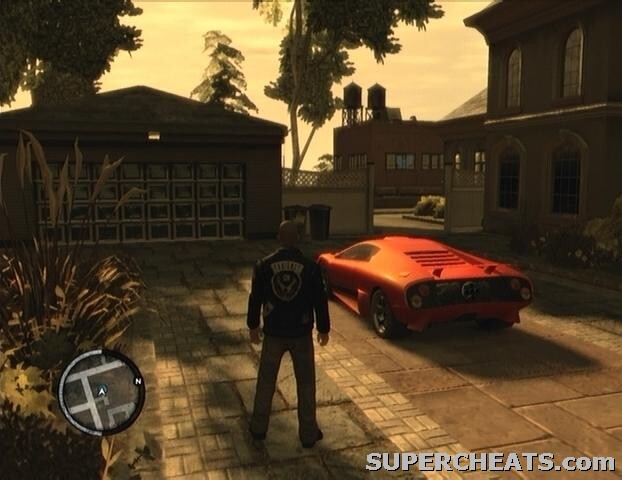 |
There’s no problem if the car gets a bit busted up on the way there, since the bugging expert can buff out any scratches. Once the car has been bugged, you’ll have to get it back to Deputy Mayor Dawkins home before he notices that it’s missing and reports it as stolen. The car has to be in pristine condition, otherwise Dawkins will realise that it’s has been tampered with. You don’t have a whole lot of time, so you won’t be able to get the car repaired in the event of a collision. Drive steadily around corners, but speed down large stretches of road to make up for lost time.
Get the car back to Dawkins house in time and park it back in its place, facing the same direction it was before you got to it. Once the car is in place, flee the area to complete the mission.
Phone Ho’
Head to the marked location in Port Tudor. You’ll have to climb up on the building here to reach the lookout spot. You can get up onto the roof by standing on the platform along the south side of the building, jumping onto the crate there, and then climbing up onto the roof. When you reach the lookout point, Johnny will call Stubbs. Stubbs should inform you that the politician drives a red Cognoscenti.
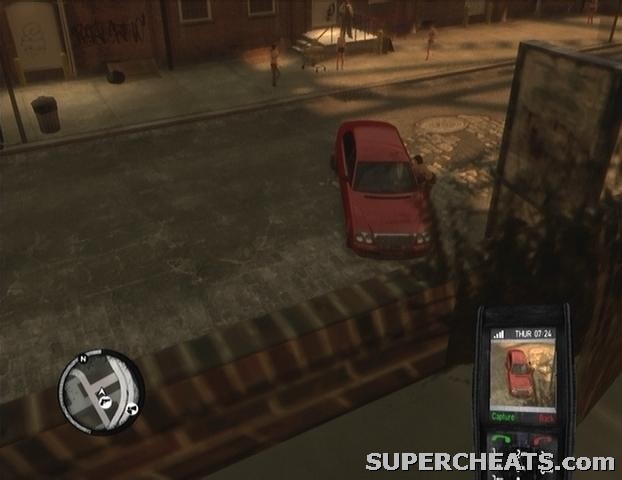 |
The first car that arrives is not the politician’s, but it does show you where to look. When the politician’s car pulls up, take out your cell phone, select “Camera” from the menu and then snap a picture of the politician through the windshield. Afterwards, send the photo to Stubbs to complete the mission.
Communication Breakdown
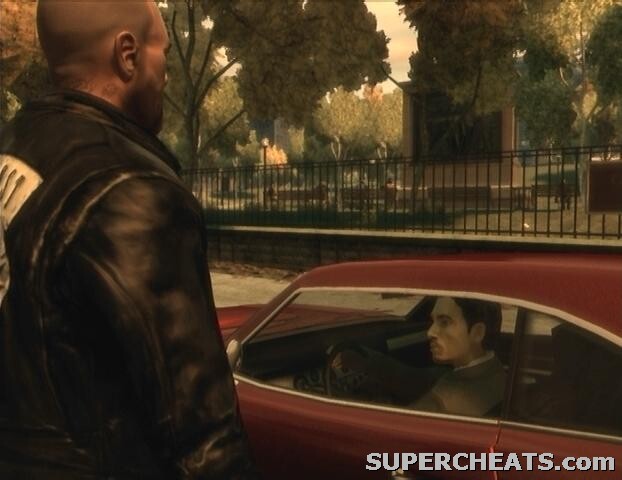
The contact is over in Hove Beach, so travel there to get started. The contact promptly takes off, so get back in your vehicle and chase after him. All you must do is kill the contact to complete the mission.
 |
When The Blue Chips Are Down
The CEO is being held in an alley in Birchem, Alderney, so make your way over there. Mow down the officer blocking your path and sprint over to the cuffed CEO. Press LB to uncuff her, and then immediately get in the car and tear out of the alley. You need to bring the CEO to the helipad on top of the Booth Tunnel so she can escape. This will be difficult with the three-star wanted level that has been attributed to you, so you have to make it there quickly before your pursuers manage to wreck the car.
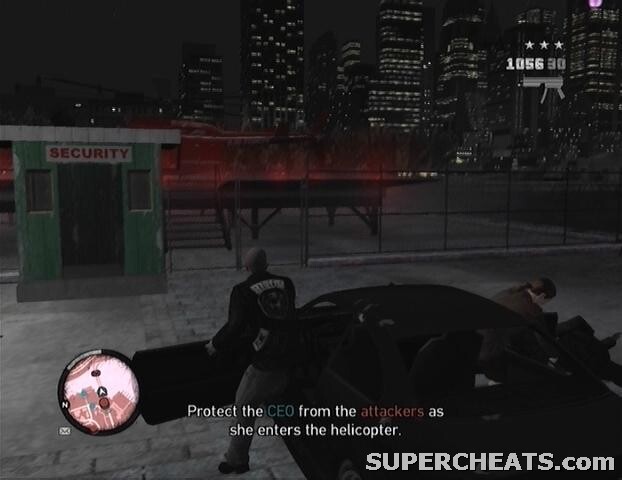 |
When you reach the helipad, get out of the car and protect the CEO from her pursuers while she boards the helicopter. The mission is complete when the CEO escapes in the helicopter.
First Impressions
This is the last of Stubbs’ optional phone-in missions. This time Stubbs wants you to eliminate a friend of his. Travel to the Superstar Cafe in Lancaster, Algonquin. Just walk in there and blast him. There are some armed guards inside though, so you may want to bring along some Body Armor to absorb their bullets while you dash out.
 |
When the target is dead, flee the scene to complete the mission.
More for this game on SuperCheats
CAN YOU PLEASE GIVE ME A FULL TIME JOBS AS A DETECTIVE POLICEMAN BECAUSE I WANT TO HAVE THAT JOB BECAUSE I NEED WORK TO DO BECAUSE I NEED TO HAVE CASH AND I WANT ALL SUSPECT LIST AND THE EVIDANCE CRIME LIST AND I LIKE HAVING THAT JOB IT MEANS A LOT TO ME AND PLEASE PUT ME DOWN BECAUSE I DONE THE GANG JOBS AND AS YOU AS MY BOSS CAN YOU GET ME THAT JOB PLEASE AND I DONE YOUR WORK ALREADY.
this jobs are not good
First Impressions was one of the more satisfying missions in the game from the standpoint of I like to try and do missions in a unique way like you used to be able to do so often in the old games. I keep useful cars in various spots such as securicars (bulletproof) and fast cars etc. I just grabbed a securicar, parked it across the street, went in and verified the target then went back out to the securicar. Park it so that the entrance side is away from the mark. With a sniper rifle, jump up on top of the van and shoot him in the head through the window, jump back down on the other side to avoid taking any fire whatsoever, and get out of there. So much more fun than just walking in and blasting your way out.
There is a smarter way to complete Communication Breakdown - as soon as I saw his car I drove into it, head on collusion and jumped out of my inferno and riddled his car with bullets, careful not to hit the driver. It triggered a scene where Johnny warns him and he says, he knows when he is beat and vows to keep quiet. Mission over, as is Stubbs communication breakdown - target understood perfectly and lived.
how do you get the cheat for gitting a job
the missions dont go in a particular order. the last mission was only my third.
in communication breakdown you dont have to go to hove beach i met him in leftwood
you suck