Ray's Missions
Grand Theft Auto 4: The Lost and Damned Walkthrough and Guide
GTA 4: The Lost and Damned Guide
Ray's Missions
You’ll get a call from Ashley sometime after the completion of “Shifting Weight” in Elizabeta’s mission line. She asks you to meet Ray in Little Italy, Algonquin. Follow the “RB” symbol on the GPS and hit the marker outside to get started.
Mission 1: Diamonds in The Rough
Make sure you have a fully-loaded Micro-SMG before starting this mission. From Jim’s phonebook menu, select “Weapons” and then “Micro-SMG” to have him leave the weapon for you in The Lost clubhouse. Once you’ve spoken to him, you can find the weapon on a table in the arm-wrestling room on the second floor.
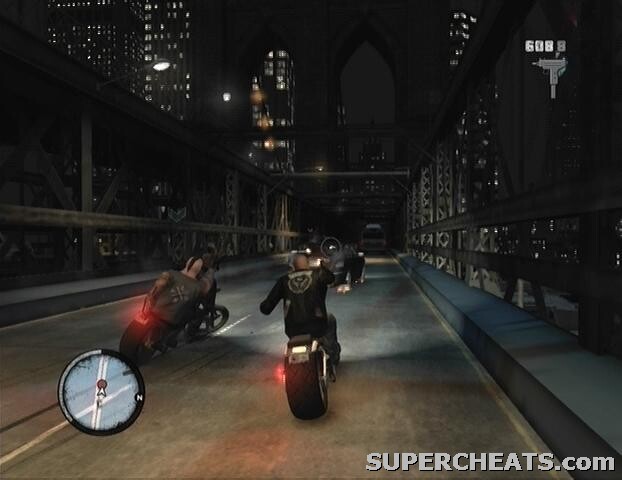
Meet up with The Lost gang members by the south bridge to Broker and make your way to the front of the pack. Lead the gang to the dock in East Wood and hit the marker there to trigger a cutscene. After the cutscene, start after that limo. To get the diamonds, you first must damage the limo enough to force the carrier to bail out. The gunners in the limo and the gunners in the car accompanying the limo can make retrieving the diamonds fairly difficult.
 |
Work on taking out the support vehicle first, even if just the gunman. If you acquired a fully-loaded SMG from Jim, wrecking the limo shouldn’t be too difficult a task. Silence the gunman first, and then start hitting the limo with gunfire. If you can, get in front of the limo and take out the driver. When the diamond-carrier bails out, kill him and pick up the bag of diamonds he drops.
With the diamonds in your possession, stash them in the two trash bags marked on your GPS to complete the mission.
Mission 2: Collector’s Item
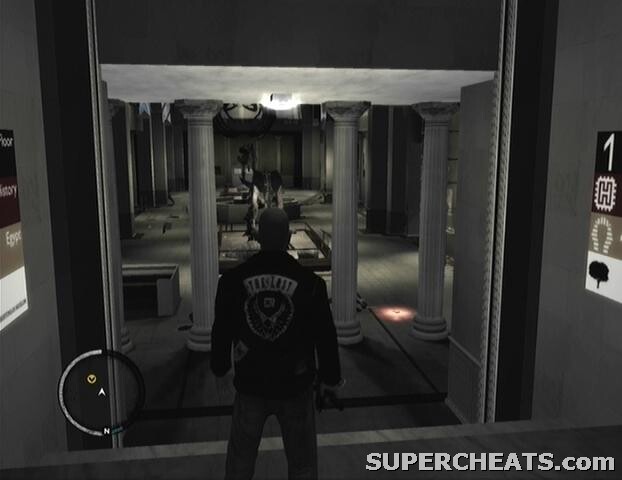
You’ll get a call from Ray sometime after the completion of “Roman’s Holiday” in Ashley’s mission line. The mission commences automatically after the call. The diamond deal is set to happen at the Libertonian museum in Middle Park, so make your way over there. When you reach the museum, head through the front door and climb up the steps. Be sure to grab the Body Armor on the table in the main exhibit hall. Follow the marker on your GPS to meet up with Niko.
After the cutscene, stay behind cover and gun down the enemies along the walkway as they pop out. There’s one live enemy along the walkway behind you, so take him out first. When the enemies closest to you have been dealt with, move to one of the pieces of cover further ahead. Keep moving up and killing the enemies as they pop out until you’re at the end of the walkway. There’s a health pack attached to the wall before the next room, so be sure to grab it if necessary.
 |
Take out the two guys in this room, and then make your way down to the main exhibit hall. There are likely a couple of live enemies here, but Niko has evidently taken care of the majority. If the enemies are at the other end of the hall, just ignore them. If you didn’t pick up the Body Armor on the desk on your way in, grab it now before continuing through the marked door.
Have your gun ready, because an enemy will rush you in the next room. Once he’s been taken care of, continue to the exit, but don’t head through the door just yet. A large number of Ray’s goons are waiting for you outside, so you’re going to have to take it slow here. There should be a car parked just over to the left of the door which you can take cover behind, but don’t step out of the museum yet. When the goons spot you, a number of them should come right up to the door, so be ready to blast them as soon when they step through.
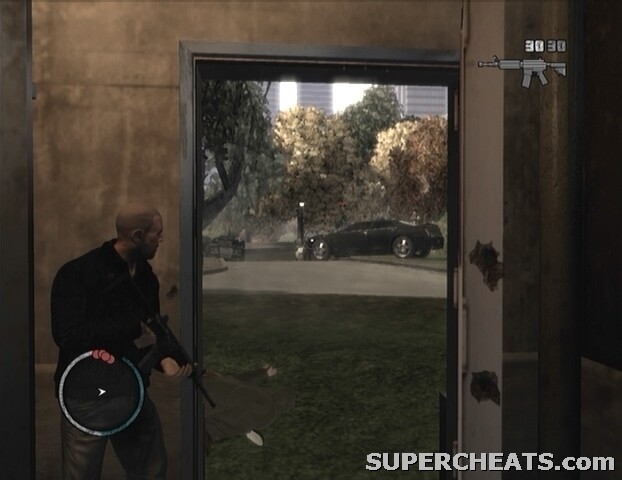 |
If you can get your hands on a fallen enemy’s Carbine Rifle, it will definitely come in handy here. When the majority of the enemies outside have been eliminated, some of them will take off in a couple of cars. Quickly get in one of the vehicles parked outside and start after them. Chase after the fleeing enemies marked on the radar and kill each of them.
Bring the money to Jim in East Holland to complete the mission.
Mission 3: Was It Worth It?
After the cutscene, travel to The Lost clubhouse to meet with Ashley. While on your way to clubhouse, Ashley calls to inform you that Ray has sent a number of hitman your way. You have to kill each and every one of them before they can kill you. You’ll definitely want help from Clay and Terry; phone either one for backup, and they will set up an ambush in Alderney City. Quickly get to the ambush spot and climb up the ladder on the front of the building.
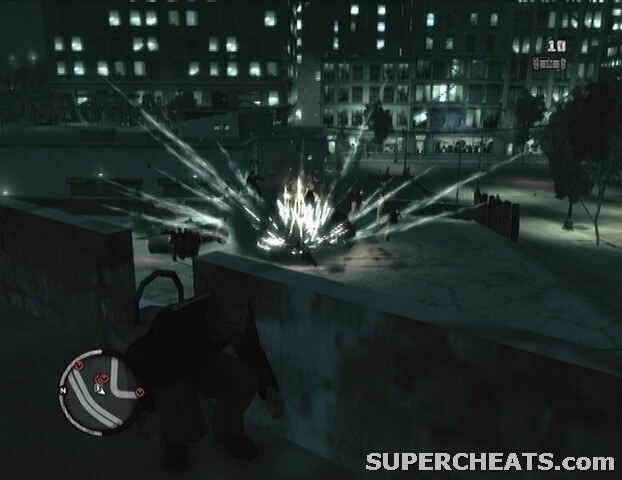
If you have some Pipe Bombs or any other thrown explosive handy, they will be of great use here. Five or so cars, each packed with four goons, will pull up in the lot below. You have a nice vantage point up on this roof, so surviving this onslaught shouldn’t be overly difficult. If you have explosives, just toss them by the parked cars as the enemies step out.
 |
After the battle, scour the wreckage for ammo and then make your way to The Lost clubhouse in Acter. Hit the marker outside of the clubhouse to complete the mission.
More for this game on SuperCheats
No comments yet. Tell us what you think to be the first.