6 - Crash and Grab
Battlefield: Bad Company Walkthrough and Guide
Battlefield: Bad Company Guide
Level 6: Crash and Grab
In an exciting plot twist, you wake up to find your team gone and you stuck on your own in Russia. While the help they usually provide is debatable, you still need to wake up and go and retrieve them. Leave no man behind! Luckily we can still contact Miss July who recommends looking for the team at the nearby military command post.
 All alone |
Locate squad inside the village
Objective: Investigate the command post
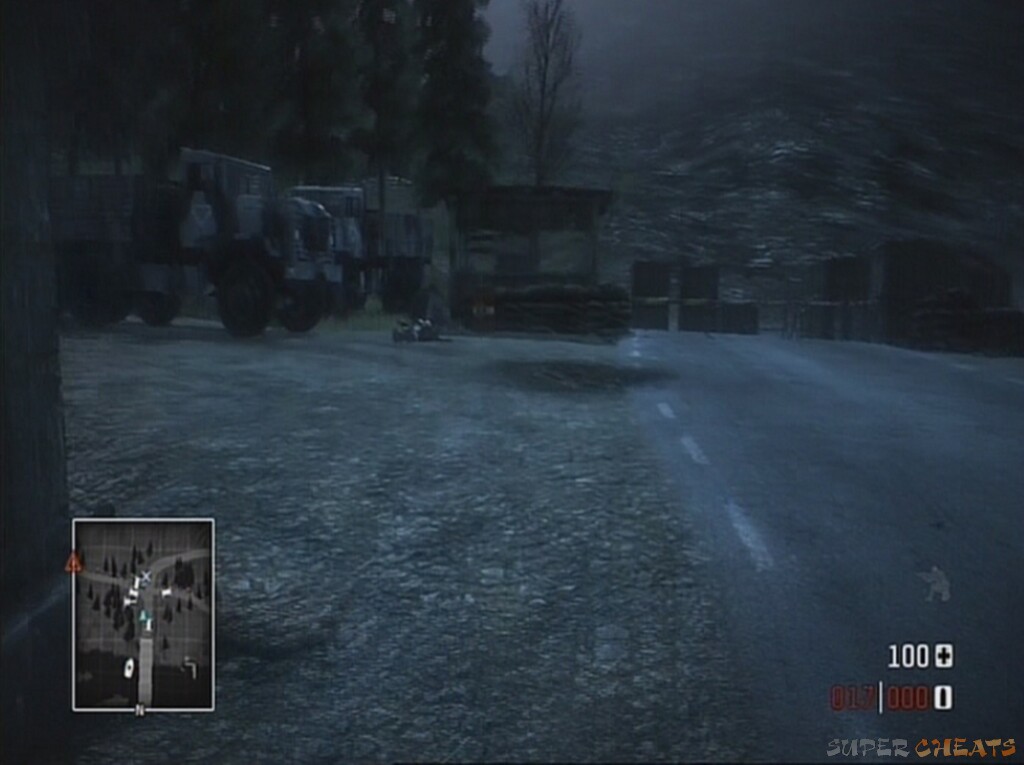
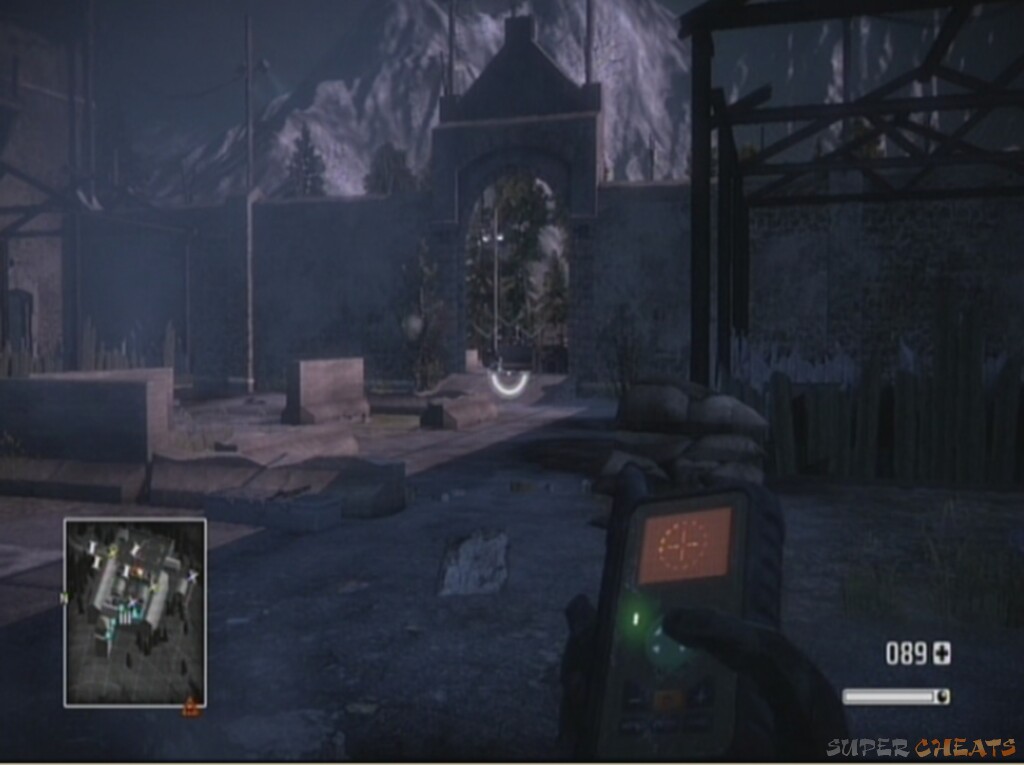
First things first, we need to find a proper gun. Ignore the trucks coming through as you can't reach them, and head past the helicopter wreckage towards the road. There's a guard patrolling outside the house on the right, but taking him out alerts others, so try and shoot him then take his weapon as quickly as possible. Once this is done, move round the side of the house to the right, taking out the guards amongst the trees with your newly-found gun.
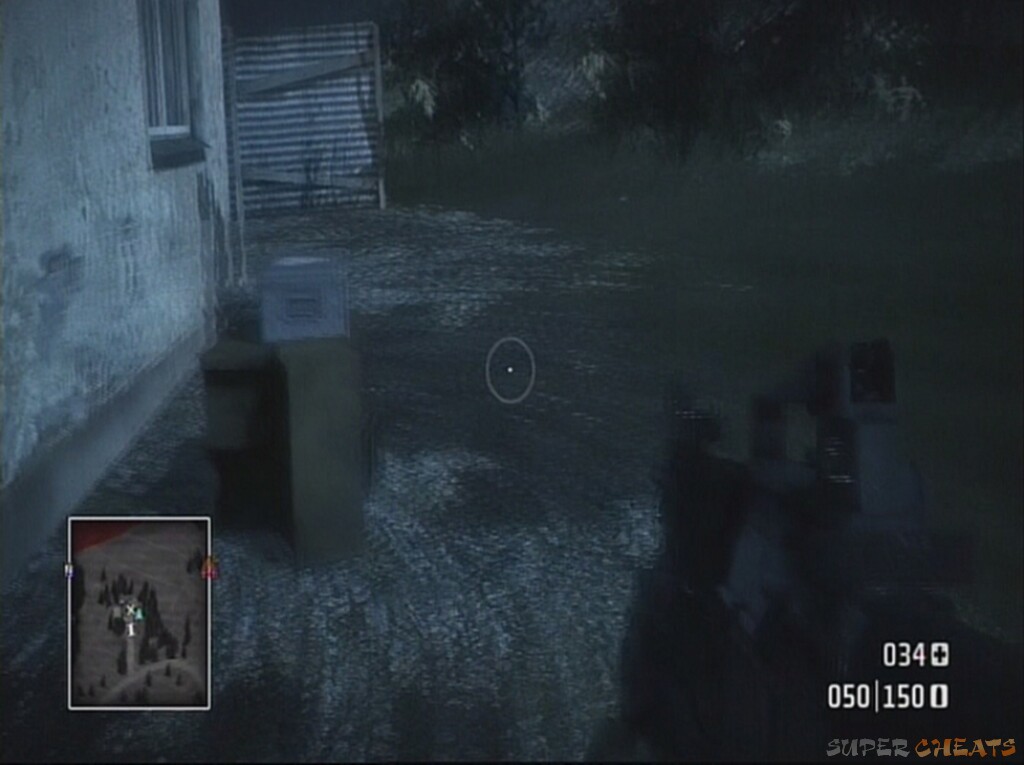
Move down the hill through the trees, using rocks for cover. Pick up any additional ammo you need from the dead as you go. Head into the house at the bottom of the hill with the guards in (take them out first). The actual quality of the enemies in this situation isn't that high, but the sheer quantity of them makes it tougher. Climb the ladder in the building by the door you come in by to get a vantage point and some breathing. From the roof, blow the two red cylinders dead ahead (to the east) to make a hole in the objective building. Jump down, move round the iron fencing and enter.
This triggers a cutscene and safety.
Barrels of enemies
Learn the location of the squad
Collctible weapon (1/3, 2/3 and 3/3):
1. M95 sniper rifle in the building you begin this section in.
2. An XM8 LMG can be found. In the 'reach the communications center' section, go south in your boat until you come to the river side camp with houses and numerous enemies. Enter the house with the northern equipment marker and collect the weapon.
3. Some guards in and around the communications center have AK74u weapons. You can also find it in the green building marked with an equipment spot near the comms center itself.
Gold (1/5 and 2/5):
1. Locate the circular camp to the southeast on the map. Using a vehicle, enter the camp and you'll find the gold in the southerly building, by the entrance.
2. Head northeast from the last gold to the river, then east until you find a house and metal shack. This is following the thin road off the main one. The gold is next to the house and is marked with an equipment spot. This gold is also described in the objective walkthrough 'reach the communications center'
Unfortunately the team is another base. Miss July suggests moving on to a communications hub to try and find out where that is.
Objective: Reach the communications centre
Pick up the RPG launcher in the equipment spot inside the building you're in. There is also a sniper rifle which comes in handy for the next section. An armoured car will move in. Use your RPG to take it out, or simply knife the fence and leg-it down towards the river. Get in the boat and move to safety down the river, heading east towards the objective marker. There shouldn't be any threatening enemies until you disembark down river.
 The bridge provides good cover |
Head underneath the three-arch bridge and get out of your boat just after it, using the structure itself to help cover your position. Stick your head over the top of the bank and snipe or pick off any enemies in range. There will be one perilously close to your position, and he'll doubtlessly alert the rest. Some are sniping and using RPGs too. A truck will come in and if you have eyes on it you can RPG it before the majority get out. Otherwise, as the horde closes on your position, use your assault rifle or pistol to take them out at close range, and swap out your sniper rifle for a gun with a higher rate of fire as soon as possible.
Begin to move up, using the stack of crates by the road for thin cover. Watch out for a mounted machine gun at the start of the eastern road if you move into the open. With the base cleared, collect as much ammo as possible and pick a vehicle. The equipment spot contains a power tool, which isn't necessary for the next section.
 Clear the area |
Drive up the eastern dirt road with the machine gun at its head. Take the first left turn, destroy the two guards at the end, one in the house and one outside it, before going in and collecting the machine gun if you wish, and the gold outside by the north-eastern wall of the house.
 Gold! |
Get back in the truck and rejoin the road we left for the gold. Continue south-east up the road. There are no enemies until you reach the steep hillside and large bend in the track. You'll see a mounted gun on the map guarding the road ahead, so disembark and climb up the sloped road to the right. Use your height advantage to get an easy shot on the guard manning the turret. Continue up the sloped path until you come out upon a metal hut with a vehicle in. These buggies are a new introduction from here on in and are really fast, cool, and deadly. Reaching the metal shack triggers the objective's completion. This time however, there is no cutscene, so be prepared to take out the nearby guard, one on the footbridge in the middle of the base, and any others milling around you.
Objective: Investigate security room
If you take the buggy and drive it directly forwards until it's nearly under the footbridge before switching to the gunner seat and taking out any enemies, it will save you time and health while on foot later. There are quite a few enemies at the end of the road who you should be able to take out with either the grenade launcher or machine gun emplacements on the feisty buggy. There are explosive-equipped enemies in the area. Move along the road and clear the lower level.
The buggy's are great fun
Get out and back to the edge of the level by the cargo containers. There will be a few enemies higher up that you can pick off from here.
Move through the crates and boxes until you have access to the metal footbridge. Climb the stairs slowly, picking off any enemies you see along the way. You should be able to clear the majority of the compound from here, retreating down the steps if you come under too-heavy fire. Move across the bridge with the area cleared or if you can't identify where the enemy fire is coming from, and shelter behind the crates on the other side.
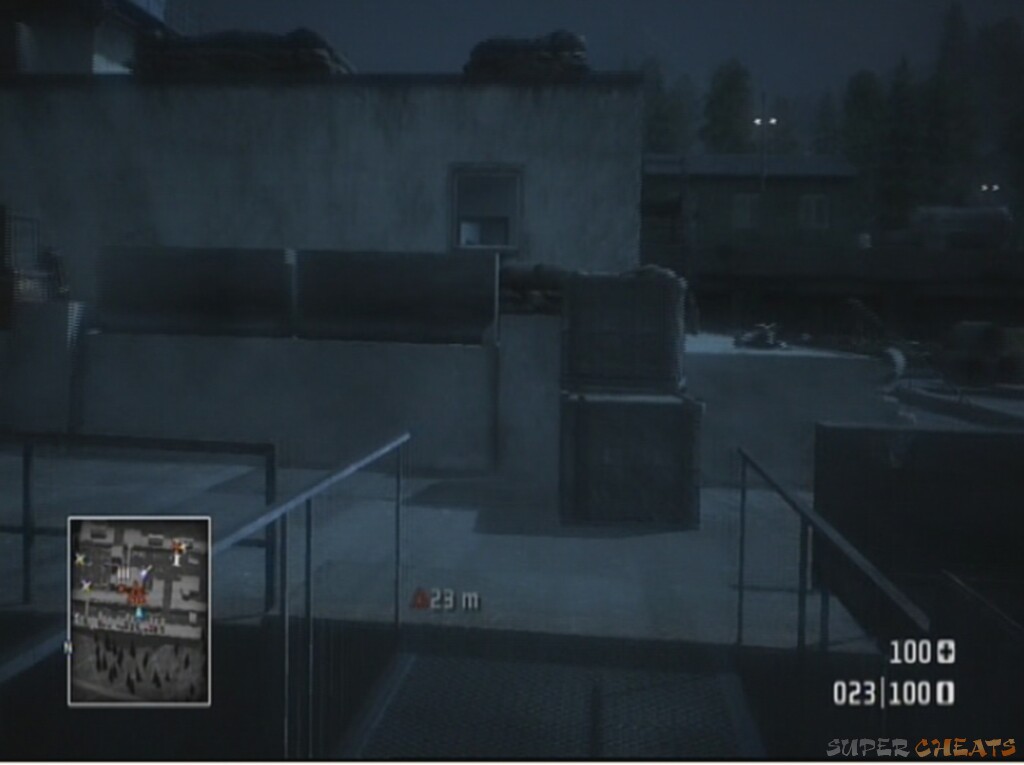 This area is crawling with enemies |
Use a grenade launcher or the red explosive crate near the end of the wall of the objective building to enter the security hub. If there are still enemies outside you can (you'll have to in fact) deal with most of them later.
Move through the rooms, which will contain guards, until you come upon the staircase leading deeper in. Follow them down and a cutscene will trigger the objective's completion.
More from the President and he reveals, via security camera alongside the Legionnaire, that the team are being held in a monastery. The Legionnaire cut the transmission before we could learn of the President's location however. Of course, we need him to find the gold trucks.
 That dastardly Legionnaire |
Rescue the squad
Gold (3/5, 4/5 and 5/5):
3. Just before you get to the last major town before the monastery (the one where I advise bearing right and going up the hill to avoid it), take the northern road and follow to the right. There is a house on the right and enemies in the road, the gold is just outside the building.
4. Head up the mountain to the northeast from the last bidge before the monastery, or southwest from the top just outside the monastery wall to the castle ruins. The gold is inside.
5. At the opposite end of the monastery to the one we come in at using this walkthrough is a narrow bride. Across it are some more ruins and more gold, northwest of the ammo crate marked on the map.
Objective: Reach the monastery
Miss July will tell you that something is going down at the monastery too – effectively wasting all the time and energy you spent getting to the security room. However, we now need to fight our way out of it and go find the team. Head back up the stairs and get back out through the same explosion hole you went in through. More enemies will have come in using trucks at the northern exit of the base, which we need to get past. Using the height advantage, pick off the enemies around the vehicles. It would be handy to preserve a buggy for our own journey to come. There will be more enemies on all sides, but not in enough numbers to stop you from concentrating on those by the vehicles.
Fight until their numbers are sufficiently thin, then make a dash for a vehicle. You can use the metal shielding on the footbridge to get down slowly, or simply jump over the edge and sprint for the nearest vehicle to get out of the base quickly. There are quite a few troops by the trucks, so take them out unless you're close enough to get in quickly without receiving too many shots.
 Smash your way through! |
Go down the road north-east, sloping down the hill. Follow it until you see a vehicle in the distance. You'll approach a small incline in the road. Get out and take out the incoming enemies. Without sufficient armour or weaponry on the truck you'll need to disembark to survive.
If you get out far enough away the enemy buggy will stop and the troops will get out. You can then pick them off from range. They are also equipped with rockets so moving closer using the truck cannot be recommended. Move up and take one of the two buggies that now lie unoccupied.
Farther down the road is a village. This is extremely heavily protected and unfortunately, there is no way round. Move to the boundary and use the buggies mounted weaponry to clear enemy cover, destroy the armoured car, and pick off any straggling enemies.
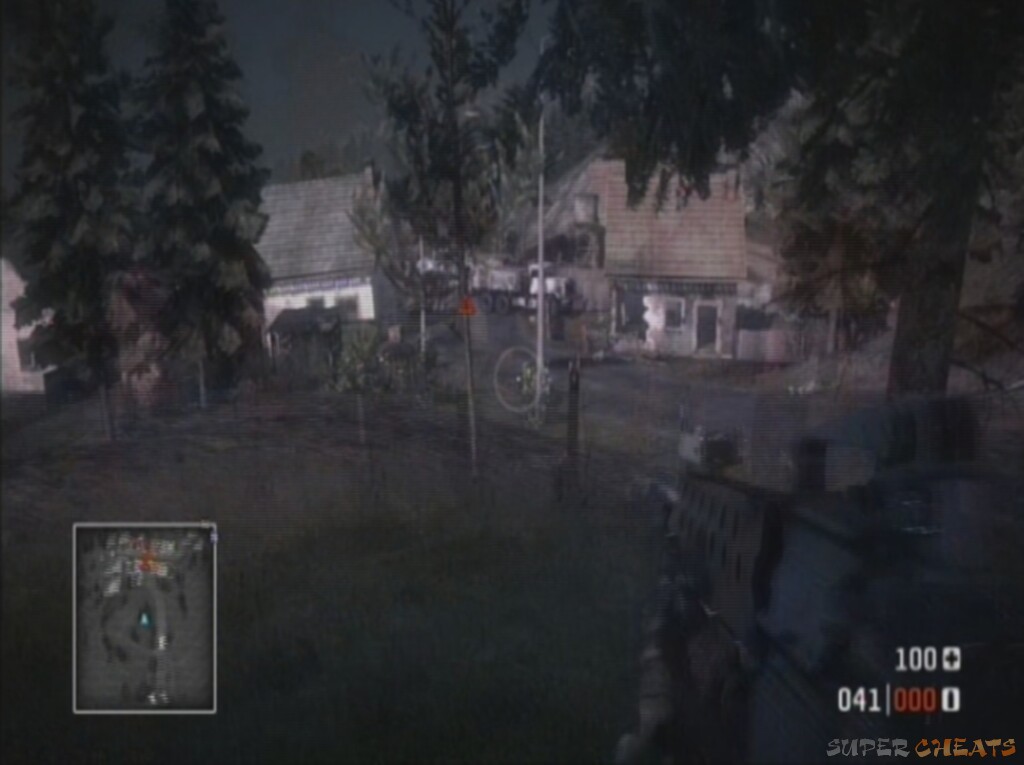 Use the trees for cover |
Be aware that there are many explosively-armed soldiers in the vicinity, so be prepared to abandon-buggy at the earliest sign of trouble. You should be able to draw quite a few enemies out of the village to pick off in open ground. This is far preferable to taking them on in the houses, as there is a deadly mounted grenade launcher to come in the centre of the village. Use the extremities of the hillside position to flank through the trees and remain in cover.
Use your RPG if you still have it to take out any hard-to-reach targets, before moving slowly into the first house on the left of the village. The ideal house is the one with the wooden fence around the garden, and a yellow skip in the garden itself. Knife through the fence and move into the house. Be ready to fallback, as this will start the grenade bombardments. The main purpose of this exercise was to locate the position on the map, and to get it concentrating on this house so we can flank it effectively. You will likely have to move back a long way to find cover, though the yellow skip may be sufficient for your situation. The problem is that the grenade turret will assume what you are covering behind and bombard it regardless of whether you're actually there or not. Move back up the incline further back and then into the left hand road of houses to get a shot on the flank of the gunner. You'll have to be quick.
 A tricky section indeed |
Should you come under fire, repeat our process of directing the attention to the right, then move round and surprise it from the left. A RPG in this situation is excellent if you do still have one!
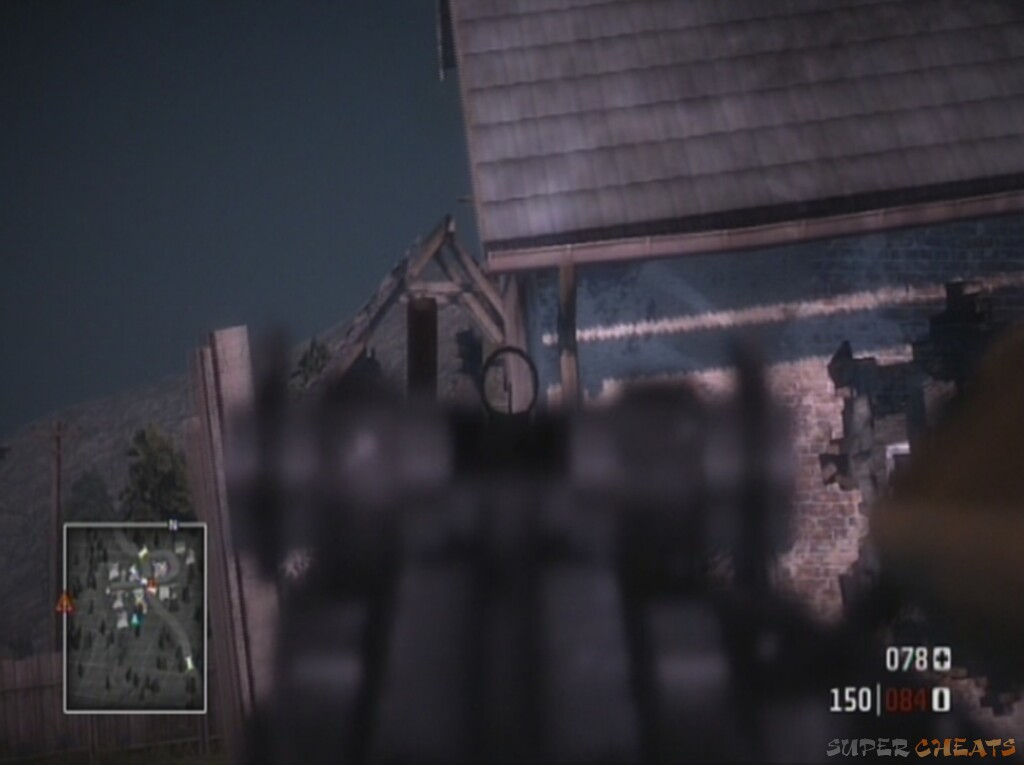
With this problem finally addressed, move back into the village centre and proceed down the road leading to the northwest. Commandeer the unoccupied buggy and follow the road. Keep going and cross the river using the ford. At the top of the hill which emerges from the ford is a small settlement. Included in this is a mounted gun capable of quickly taking you out, so drive into the centre, but be ready to switch to your own mounted gun so as to take out the turret as fast as possible. An armoured car will be in view around the corner of one of the houses so take it out using your grenade launcher gun on the buggy. Use it also to kill any other soldiers pestering you from the surrounding houses of the settlement.
Shell them to hell
You can (finally) find a mortar strike in the equipment spot in the house on the left of the mounted gun building as you look at it from the road we came in on. Return to your buggy and go along the road going northwest. A larger complex will appear on the horizon and this is a perfect time to use our new mortar strike. Bomb the hangar and immediate buildings. There's a guard patrolling the road a way from the entry to the complex, take him out first.
Move up along the road on foot, taking out any guards who reveal themselves. Without going into the base's centre, move to the right hand side on the river bank. There is at east one enemy low by the riverside.
The heavily defended bridge |
Move up the road on foot, taking out the RPG and infantry troops further up. Miss July informs us of a 'secret' entrance via the eastern wall. This provides a much easier entrance than trying to fight through the middle of the base on your own.
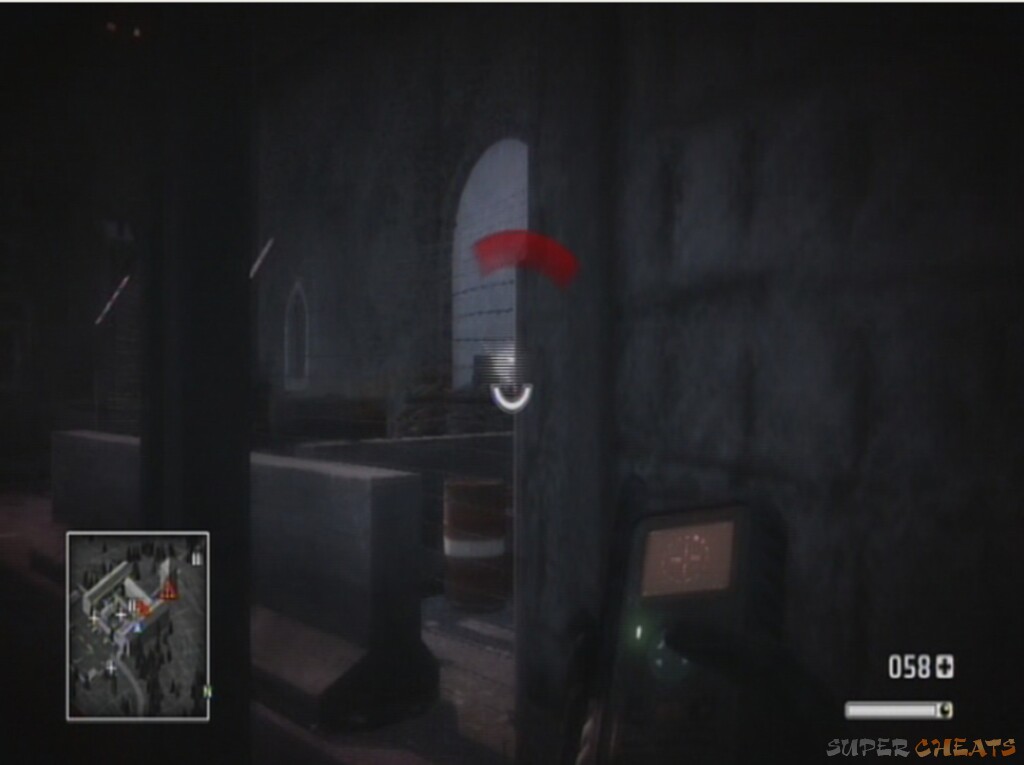
As the two guard towers come into site at the main entrance to the base, use your mortar strike to render them useless. Then bear right along the eastern wall of the main monastery building. There will be a few guards in some of the lower monastery windows, so take them out as you move along. Turn left into the doorway and clear the immediate internal areas, which may contain a few explosive-minded infantry.
 The monastery side entrance |
Head down the wide hallway, eliminating the guards within. Turn right at the end and use your mortar strike on the buildings in the courtyard ahead of you. There are tonnes of guards in the area, so use as many strikes as you can before turning immediately right outside, using the barrack-building as cover.
As you move along you'll see some large archways which house a mounted machine gunner and a good few infantry units. Also watch out for a guard up high on the gangway above you. A mortar strike launched from cover behind the boxes in the northwestern corner of the courtyard should take the majority out.
 More sneaky mortar strikes |
Proceed straight under the arches and forward through the corridor, turning right inside. You'll see an enemy guard engaged in the wrong direction – guess who with. Finally, we've rejoined the team. They seem to have done alright for themselves.
We now need to find the President, who knows the location of the gold, who Miss July suggests is down by the river (yes, across the other side of the map).
Reach the river mouth
Objective: Locate Serdar
Miss July reveals that a mass of enemies are bearing down on our position, so get ready for some more intense combat. Go back into the courtyard area and head towards the main arch right in front of you, leading back into the open of the complex. Enemy vehicles will come in which you should be able to see outside through the arch. Use a mortar strike on them nice and early, before covering against the main wall in which the arch is housed.
 Watch for the enemy retalliations |
Turn left as you emerge from the arch and move along the wall. Enemies will be covering behind the crates and there will be two trucks blocking the route out. Use the guard tower and the window in the lower level to provide cover and shoot out at the infantry by the trucks.
This is one of the most enjoyable sections in the game, on Easy or Medium at least. Get in a buggy (speed is more important than armour here) and head out of the base the way we came in, following the road down the mountainside. There will be vehicles blocking the bridge but just drive past them rather than stopping to engage. This section is crucially linked with speed, and stopping for each enemy will leave you having to walk the rest of the way. It may take a few goes to get down safely, but don't be afraid to get out if the buggy gets too damaged and locate another vehicle – just don't stop for every enemy you see. Continue down the path and feel free to barrel over the edge of the hill to cut corners if you find slopes that are safe enough.
Head through the settlement ignoring the tank – just use your superior pace to outmaneuver it. A helicopter will come in overhead as you approach the river and dam we were at before. This time however, that unoccupied boat will come in handy. Get as close as you can before abandoning-buggy, shooting close-quarter enemies and jumping into the icy river. Swim to the boat, get in, and power it south towards the coast. The helicopter will deal some damage, but there's no easy way to take it down, so carry on apace.
The escape down the mountains
The best you can do here is to go as fast as possible and use evasive steering to avoid the helicopter and cruisers in the river itself. As with the buggy, your team should deal damage on most of the enemies, providing suppressing fire to allow you to concentrate on the driving.
Head through the three-arch bridge, recalling our squad-less exploits from earlier (and the boat we used will still be there should you need to change because of damage). The river opens up into a wider area and some seriously powerful cruisers will lay waste to you. It is probably worth changing craft before you get to this stage if the opportunity presents itself. It also may take a few goes to get through, but you'll restart just before the river widens each time, so you shouldn't be stuck here for too long. Once you brave the first barrage from the cruiser it can't turn quickly enough to hit you. Race for the next triple-arch bridge – once under it, you're pretty much in the clear. The key to this section is sheer power and speed. Don't flinch or stop for anything except to get a new boat if absolutely necessary, or if the area is perfectly clear.
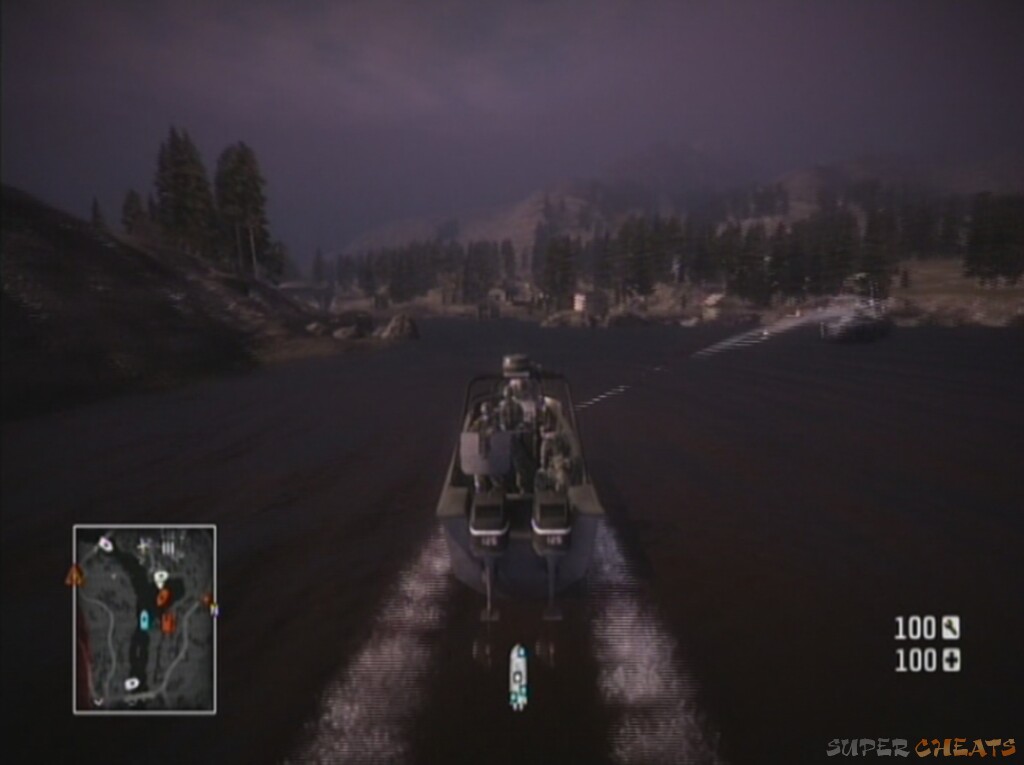 Get past that cruiser as quickly as possible |
Once underneath the next bridge head alongside the left bank and a cutscene will trigger, ending the level. Phew – pretty intense!
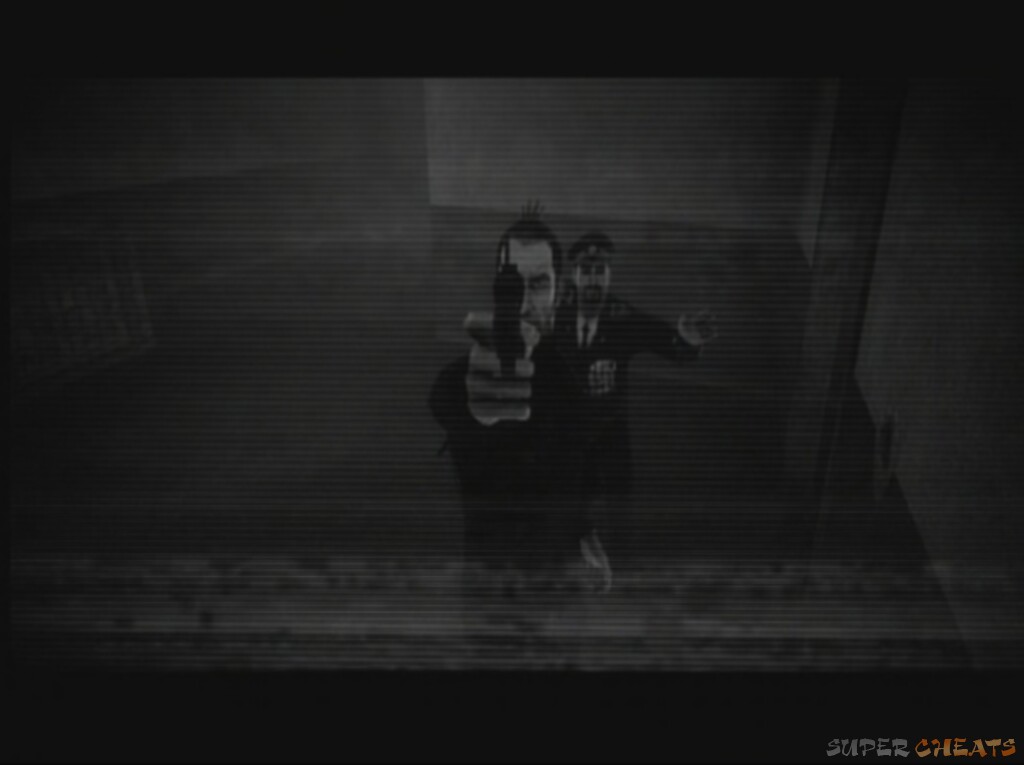
The President is being held by the Legionnaire and his men. Once he leaves, you intervene to stop the execution and save the valuable information the President holds.
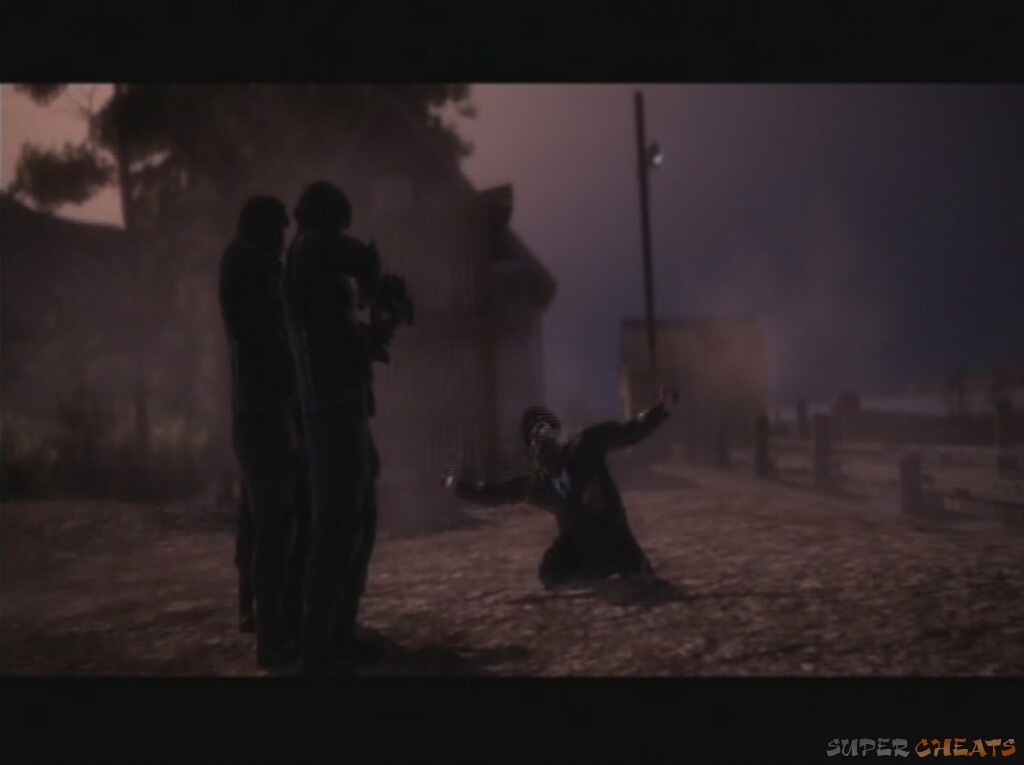 It's his lucky day |
If possible try and keep your anti tank wepon, as if like me your driving skills aren't that of a world rally champion, you can take out the tank and other armoured vehicles so to allow you to proceed at a more leisurely pace. I also removed some of the threats that you meet after rescuing your squad, on the way up to the monestry a few less to have to deal with, plus good fun too.