Cannery
Wolfenstein Walkthrough and Guide
Wolfenstein Guide - Walkthrough
Cannery
Set “Return to the Kreisau Safe House” as your active mission and follow the marker on your compass. Once there, speak to Caroline Becker to get started. Follow the marker on your compass to the mission start point in Midtown East.
Objective: Infiltrate the Cannery.
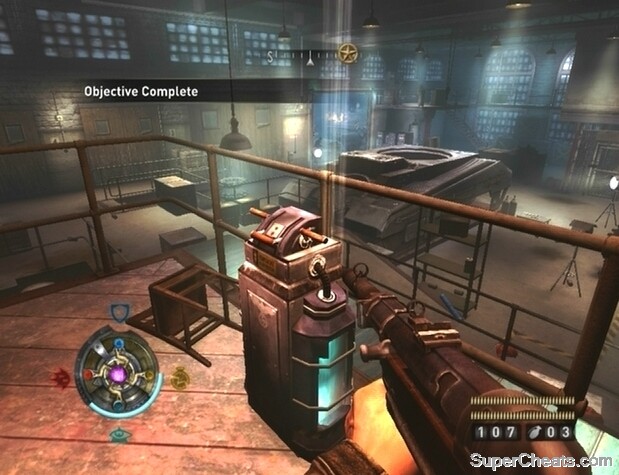
Start down the tunnel, gun down the Nazis that you come to, and shoot the explosive barrel by the broken brick wall to create a larger opening. Switch on Veil Sight and be on the lookout for a Veil Assassin. Equip your Tesla Gun or Particle Cannon if you have ammo, though an upgraded MP40 or MP43 would work just as well. Look for GOLD (1/20) behind the skid at the end of the tunnel just before the steps. Use the switch to send the Nazis below to the large fans at the other end of the room. When the area below is clear, switch off the fans and climb down the ladder.
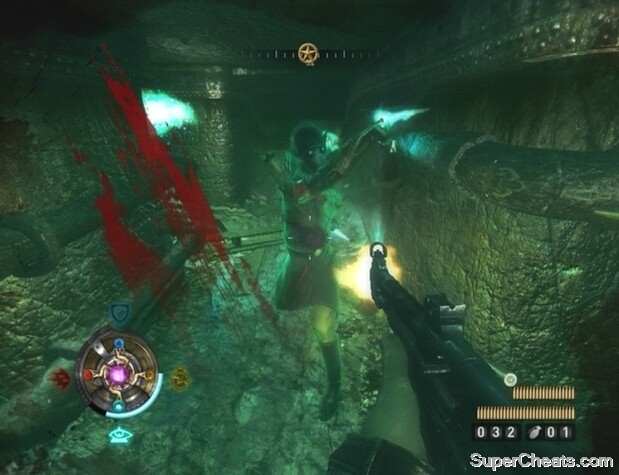 Activate Veil Sight to detect the Veil Assassin in the tunnels. |
Climb up the ladder through the doorway at the other end of the area. Walk down the tunnel and turn into the room that you come to on your left. Kill the Nazis inside and then activate Veil Sight. Look for a red panel along the west wall of this room; break the panel to reveal TOME (1/1). Look for INTEL (1/6) on the table next to the doorway before heading out.
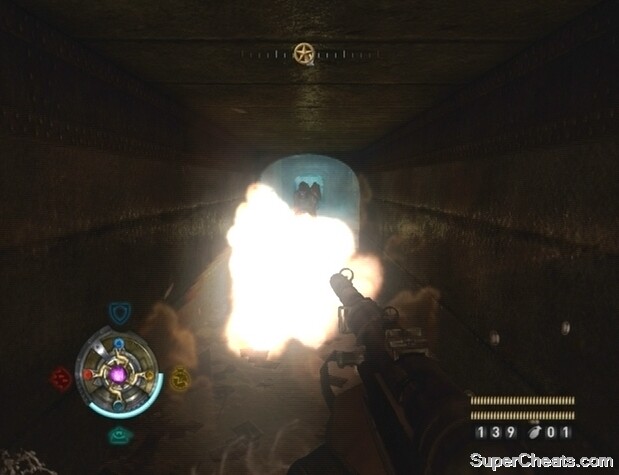
Continue down the tunnel and be ready for some resistance. A Drache Trooper is among the enemies in the next area. This guy wields a Flammenwerfer (flamethrower), so keep your distance to avoid being set aflame. Activate Empower and down him with your MP40 or MP43. He moves very slowly, so all in all he isn’t much of a threat if you manage to spot him while he is distant. Be sure to pick up the Flammenwerfer for your own use.
When the room is clear, stand in the Veil Pool under the walkway to recharge your medallion if necessary, and then continue up the steps in the southeast corner of the room. Make your way over to the steps at the other end of the walkway and activate Veil Sight. There’s another Veil Assassin in the tunnel, so be ready with your Particle Cannon or Tesla Gun. To make matters worse there’s also a Veil Inhibitor somewhere nearby, so Veil Sight will be switched off as you move further down the tunnel. Hopefully you can catch sight of the Assassin before that happens, and then just back away and attack him while he runs at you. GOLD (2/20) is in the container behind the stack of breakable crates at the northeast end of the tunnel, and GOLD (3/20) is in the container at the southeast end (just to the left when you first enter the tunnel).
 Drache Troopers wield flamethrowers; they’re quite slow, so back away when you spot one to avoid being set aflame. |
After collecting the Gold and killing the Veil Assassin, start following the marker on your compass through the tunnel. The Veil Inhibitor is behind the railing next to the steaming tanks. There’s another Veil Assassin in this area, so destroy the Veil Inhibitor from afar and then immediately switch on Veil Sight. When the Assassin and Veil Inhibitor are destroyed, look for GOLD (4/20) below the punctured pipes along the east wall. Turn right at the bottom of the decline west of the Gold and look for GOLD (5/20) behind the barrels in the alcove there. With that, continue down the stairs across from the alcove.
There’s another Drache Trooper in the area through the west tunnel. Activate Empower and gun him down with your MP43 or MP40 before he can get too close. When the Drache Trooper has been dealt with, proceed through the tunnel. There are several soldiers along the walkway in this area, so fallback to the previous area if you’re wounded. Clear out the enemies and then approach the gate in the southeast corner of the area. GOLD (6/20) is in the container behind the gate; it’s close enough to reach through and grab, so crouch, hug the gate, and open the container to retrieve it.
Proceed through the tunnel at the west end of the area. Destroy the Veil Inhibitor and activate Veil Sight to reveal a Veil Door. Move through the Veil Door, up the steps, and look for GOLD (7/20) behind the breakable objects at the north end of the walkway. GOLD (8/20) is on the shelf at the other end. When you have the Gold, follow the marker on your compass to a ladder. Climb up the ladder to reach street level.
Objective: Get to the Factory.
Once on street level, look for GOLD (9/20) behind the barrels along the side of the house south of the sewer opening. With that, start east down the road, mowing down any enemies that you encounter, and duck into the building along the south side of the road. A Veil Heavy Trooper should soon break through the wall; destroy the crystals on his shoulders and the one on his back, and then keep your distance to avoid taking damage from his dying blast. There’s a mounted MG42 on the sandbags outside, so try to take out the gunner and other troops around him before stepping outside.
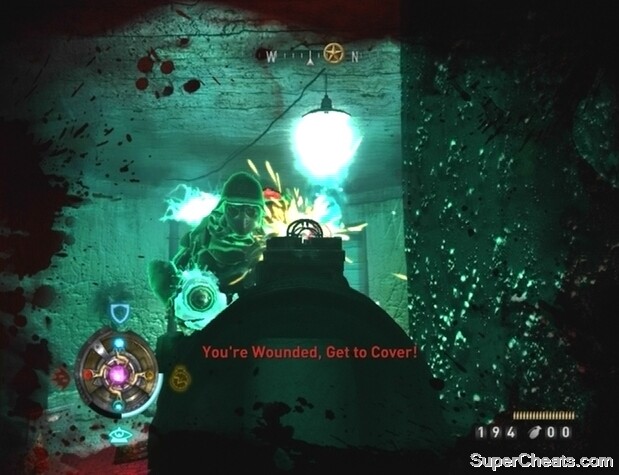 A Veil Heavy Trooper will break through the wall when you enter the building across from the sandbags. |
When the Heavy Trooper has been dealt with, move through the opening on the east wall. Look for GOLD (10/20) next to the tank along the south wall of this room. Exit through the door at the east end of the room and fire at the enemies outside. Set off any explosive barrels you see as a precautionary measure. There is likely a soldier on the rooftop of the building you just came through, so whip around and gun him down before he can do any damage. Use your Kar 98 to pick off any other soldiers up on a rooftop or balcony and then look for GOLD (11/20) between the large, unbreakable crates at the east end of the area.
After collecting the Gold, head northwest to the factory entrance. GOLD (12/20) is in the wrecked train-car nearby. Proceed through the door and blast the two enemies in the opening area. Grab INTEL (2/6) on the table by the door before moving on.
Objective: Search the Factory.
Once through the door, look for GOLD (13/20) between the two shelves straight ahead. With that, follow the marker on your compass to the door into the next area. Kill any enemies you can see, then hop over the railing along the catwalk and down to the area below. GOLD (14/20) is in the container by the large pipe along the north wall. GOLD (15/20) is behind the breakable boxes across from the steps at the west end. At the top of the steps, shoot the explosive barrels and any enemies that are visible through the window. Then, make your way to the other end of the catwalk.
 Fight your way through the factory. |
Follow the marker on your compass until you come to a room with a Veil Pool, some crates, and a conveyer belt. Look for GOLD (16/20) behind the stack of breakable boxes next to the conveyer belt. With that, stand in the Veil Pool to recharge your medallion if necessary, then continue through the doorway along the north wall and head up the stairs. There’s a Scribe and a couple of soldiers here, so switch on Empower and mow them down. GOLD (17/20) is behind the breakable crates in the corner at the south end of the walkway. Follow the marker on your compass through the corridors until you come to a room with another Veil Pool. Look for INTEL (3/6) on the table by the door at the other end of the room. Be sure to restore your Veil Energy before moving on.
Proceed through the door in the northwest corner of the room to enter a warehouse. You’re up on a catwalk and there are several enemies below, so your Kar 98 will come in handy here. Pick off the enemies below, retreating to the previous room to heal or restore your Veil Energy as necessary, and then approach the steps at the other end of the walkway.
Objective: Disable the Shield Door.
When the area below is clear, climb down the steps and make your way over to the conveyer belt at the northeast end of the room. Jump onto the conveyer belt and then onto the platform with the switch. Use the switch to disable the shield door. A group of enemies will then enter the warehouse, so be ready.
 Use the switch on the platform behind the conveyor belt to disable the shield door. |
Objective: Get to the Control Room.
Once you’ve killed the reinforcements, exit through the disabled shield door. Switch on Veil Sight and run along the cover to avoid the blasts from the Test Weapon. When you’ve made it past the Test Weapon, climb up the ladder behind it to reach the control room. There’s a Scribe and several soldiers in the control room, so switch on Shield and Empower and quickly clear them out.
Objective: Disable the Super Weapon.
Interact with the highlighted switch in the control room to take control of the weapon. Use it to obliterate the Nazis at the other end of the yard, and then take to destroying the four electric coils along the walls on either side. Before leaving the control room, look for INTEL (4/6) behind the table in the northeast corner of the control room.
Climb back down the ladder and look for some large, unbreakable crates and some steps along the southeast end of the yard. Jump on top of the single crate and look for GOLD (18/20) behind it. Climb back up to the control room and proceed through the doorway at the other end. Head up the steps and look for GOLD (19/20) under the machine by the metal door. Through the metal door, look for INTEL (5/6) beneath the counter in the southwest corner.
 Target the four electric coils to disable the Super Weapon. |
Objective: Disable the Shield Door.
Through the second metal door, head south and enter the cage that you come to. Look for GOLD (20/20) in the corner by the machine. When you have the Gold, climb up the steps across from the cage and use the switch in the control room to disable the shield door. INTEL (6/6) is under the sink along the west wall through the shield door.
Go down the steps in the northeast corner of room and turn into the caged area to find a bunch of ammo for your guns. Stock up and then follow the marker on your compass to the next area.
Objective: Defeat General Zetta.
This boss battle is a cinch with Empower and an upgraded MP43. You should have collected plenty of ammo for that weapon and your MP40 in the previous room. Switch on Veil Sight and you’ll see that General Zetta is more creature than human. He’s fast and has a number of damaging attacks in his arsenal, but thankfully the multiple Veil Energy sources in this room will permit you to make prolonged use of your Veil Powers.
At the start of the fight, activate Empower, equip your MP43, and back away from Zetta while firing at him. His close-range melee attacks can be devastating, so you’ll want to keep your distance for the entirety of the battle. Pieces of Zetta’s armor will fall off as he takes damage. When he’s had enough, he’ll retreat to one of the Veil Energy sources to recharge. With Empower still active, move over to one of the other Veil Energy sources and stand in it. Then, look to the machine that Zetta is using to recharge and fire at the highlighted upper portion of it. Destroy the two pieces that make up the machine to destroy it. As soon as the machine has been destroyed, switch off Empower and recharge as much Veil Energy as you can before Zetta gets too close.
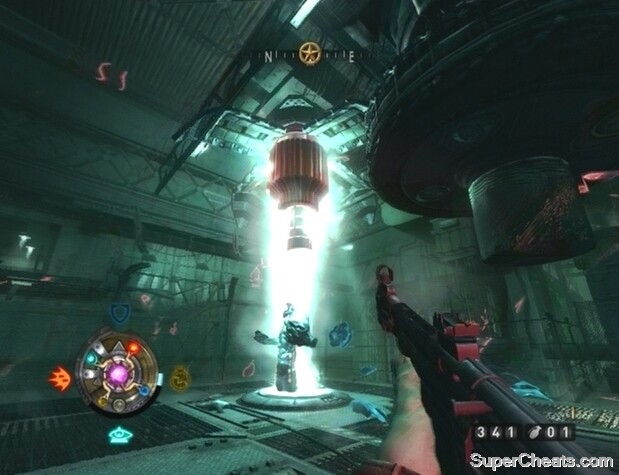 Target and destroy the machine while Zetta restores his energy. |
Zetta has a number of ranged attacks. One is a circular shockwave that expands in size until it finally reaches you. You can crouch to avoid this attack, but another variant is too low to crouch under. He may also throw a number of small projectiles that spread apart as they travel further out. To avoid this, simply back away, side step to one of the higher projectiles, and crouch to avoid it.
Destroy the three Veil Energy sources in the same fashion to kill General Zetta. Then, follow the marker on your compass out of the Cannery to complete the mission. Back in Midtown, return to the Kreisau Circle Safe House in Midtown West and speak to Caroline Becker there. You’ll be pointed to the new safe house Downtown.
Killing General Zetta.
"well this game has to be one of the most tedious and irritating games I have ever played!! whatever happened to quality gaming?
I think it's an awesome game ! So get a grip !!
HINT: After you collect the Tome and leave the room, at the first right turn in the tunnel, you will see a flashing light ahead on the left. After taking out the Nazis in the tunnel ahead, slowly approach the flashing light. Above it there is a red wheel valve. Activate this valve to kill several Nazis ahead, then turn it off again. If you don't close the valve, it will kill you too, as you ascend to the platform.
Probably not new to some, but if you are a good shot with the sniper rifle you can shot the crystals on the back of the big guy with the particle cannon and never have to get close to him... just stay hidden so he doesn't know where the shots are coming from... Good Luck....
well this game has to be one of the most tedious and irritating games I have ever played!! whatever happened to quality gaming?